To stitch unique Christmas cards on paper, choose sturdy cardstock, pierce your design holes before sewing, and use simple embroidery stitches with light, even tension. The basic process is: draw or trace a Christmas motif, place the card on a soft piercing pad, make evenly spaced holes with an awl or needle, then stitch through the holes with embroidery floss, metallic thread, or sewing thread. Start with simple shapes like stars, trees, ornaments, snowflakes, or holly. The key is to let the holes guide the stitches instead of forcing the needle through unprepared paper.
Why Stitch Christmas Cards on Paper?
Paper stitching combines the crisp look of cardmaking with the texture of embroidery. Instead of gluing on every detail, you create raised lines, sparkle, and pattern with thread. The result feels personal but does not require advanced sewing skills.
Think of the card as a firm fabric that cannot stretch or heal. Every hole is permanent, so the design needs planning before you sew. Short stitch paths, spaced holes, and gentle tension are what keep the paper neat. Once you understand that, stitched Christmas cards become a simple, relaxing holiday project.
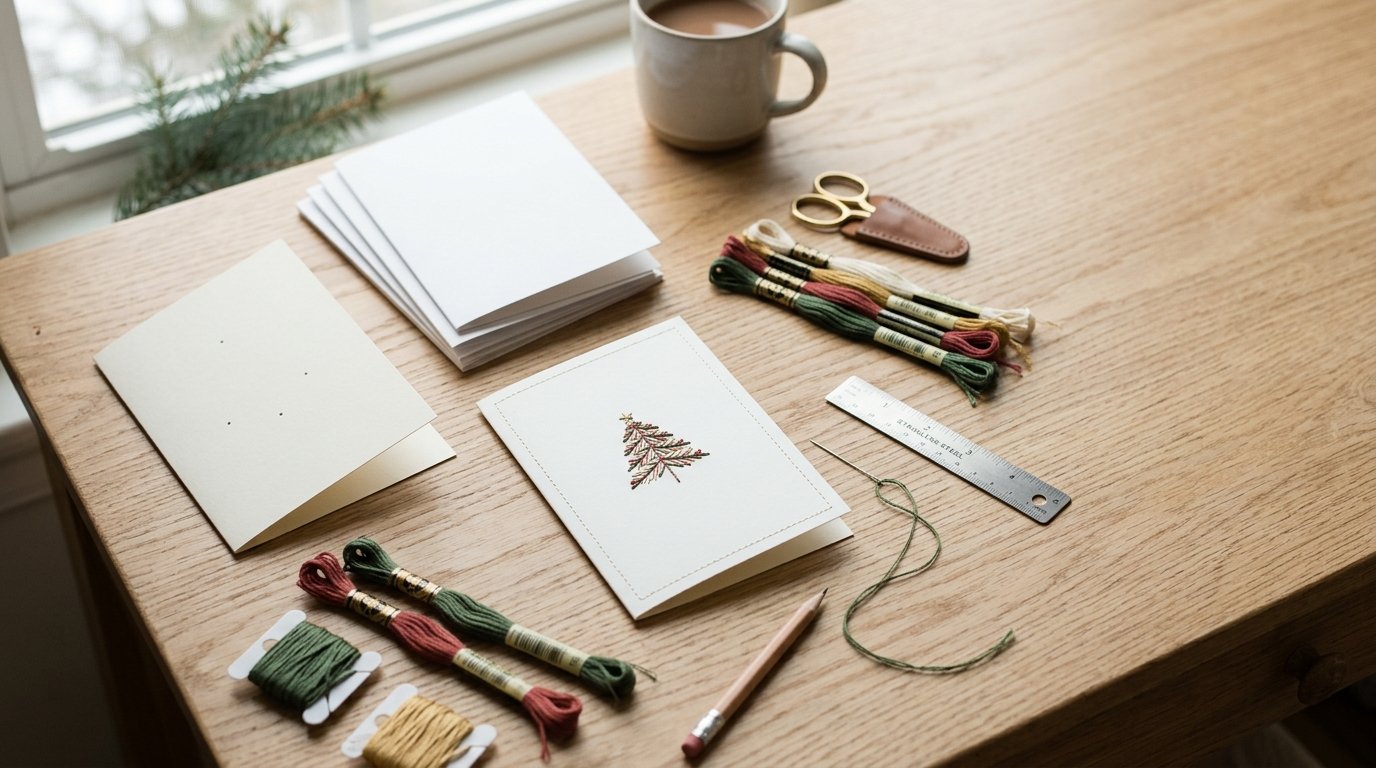
Supplies You’ll Need
Gather everything before you start so you are not handling a half-stitched card with messy fingers or searching for tools mid-project.
| Supply | Best choice | Why it matters |
|---|---|---|
| Card base | 220–300 gsm cardstock | Strong enough to hold holes and thread |
| Piercing tool | Awl, push pin, or sharp embroidery needle | Makes clean guide holes |
| Piercing surface | Foam mat, cork board, or folded felt | Protects the table and supports the paper |
| Thread | Embroidery floss, pearl cotton, metallic thread, or sewing thread | Adds color and texture |
| Needle | Fine embroidery needle with an eye that fits the thread | Passes through holes without enlarging them |
| Template | Pencil sketch, printed motif, or stencil | Keeps the design even |
| Tape | Low-tack tape or washi tape | Holds templates without tearing paper |
| Finishing paper | Thin card or patterned paper | Covers the back of stitching |
You may also want scissors, a ruler, an eraser, glue stick, and a bone folder for crisp folds.
Choose a Christmas Design That Works for Paper Stitching
The best stitched card designs are simple, open, and easy to break into short lines. Good beginner motifs include Christmas trees, stars, baubles, candy canes, snowflakes, candles, bells, mittens, stockings, wreaths, and holly leaves.
Avoid tiny curves, dense lettering, or designs with holes packed close together. If holes sit too near each other, the paper can split between them. A good rule is to leave at least 1/8 inch between holes, and more if your cardstock is thin.
For a modern look, try one large stitched motif centered on the card. For a playful look, stitch several small shapes in different colors.
Prepare the Card Before You Stitch
Fold the cardstock first if you are making a folded card. It is easier to align the design once you know the front panel. Use a bone folder or the back of a spoon to sharpen the crease.
Lightly mark the design in pencil or tape a printed template over the card front. Place the card on a foam mat, cork board, or folded felt. Do not pierce directly on a hard table because the needle may slip and create ragged holes.
Pierce all holes before threading the needle. Keep the tool upright and push straight down for clean openings. If using a template, remove it carefully after piercing. Check that every hole is open and visible before you begin stitching.
How to Stitch Unique Christmas Cards on Paper: Step-by-step
- Cut and fold the card.
Trim your cardstock to size and fold it neatly. A common finished size is 5 x 7 inches or A6, but any card size works if the paper is sturdy.
- Plan the design placement.
Center your motif or place it slightly above center to leave room for a greeting. Keep the stitched area away from the folded edge and outer edges so the paper stays strong.
- Draw or attach the template.
Use light pencil marks or tape a paper template over the card. Mark dots where each stitch will start and end. For curves, use more holes; for straight lines, use fewer.
- Pierce the holes.
Set the card on your soft surface. Pierce each marked point with an awl, pin, or needle. Make the holes large enough for your threaded needle, but not so large that they look punched out.
- Thread the needle.
Use a short length of thread, about 12 to 18 inches. Long thread tangles more easily. For embroidery floss, try two or three strands instead of all six for a flatter finish.
- Secure the thread on the back.
Instead of tying a bulky knot, tape the thread tail to the back of the card with a small piece of clear tape or washi tape. You can also catch the tail under later stitches.
- Stitch through the prepared holes.
Bring the needle up from the back and down through the next hole. Pull gently until the thread lies flat. Do not tug hard; paper can buckle or tear.
- Finish the thread neatly.
Tape the final tail on the back or weave it under nearby stitches if there is enough space. Trim excess thread.
- Cover the back.
Glue a slightly smaller piece of paper or thin cardstock inside the card front to hide thread ends and tape. Let it dry flat under a book.
- Add the greeting.
Write or stamp “Merry Christmas,” “Peace,” “Joy,” or another short message after stitching, unless the greeting is part of your pierced design.
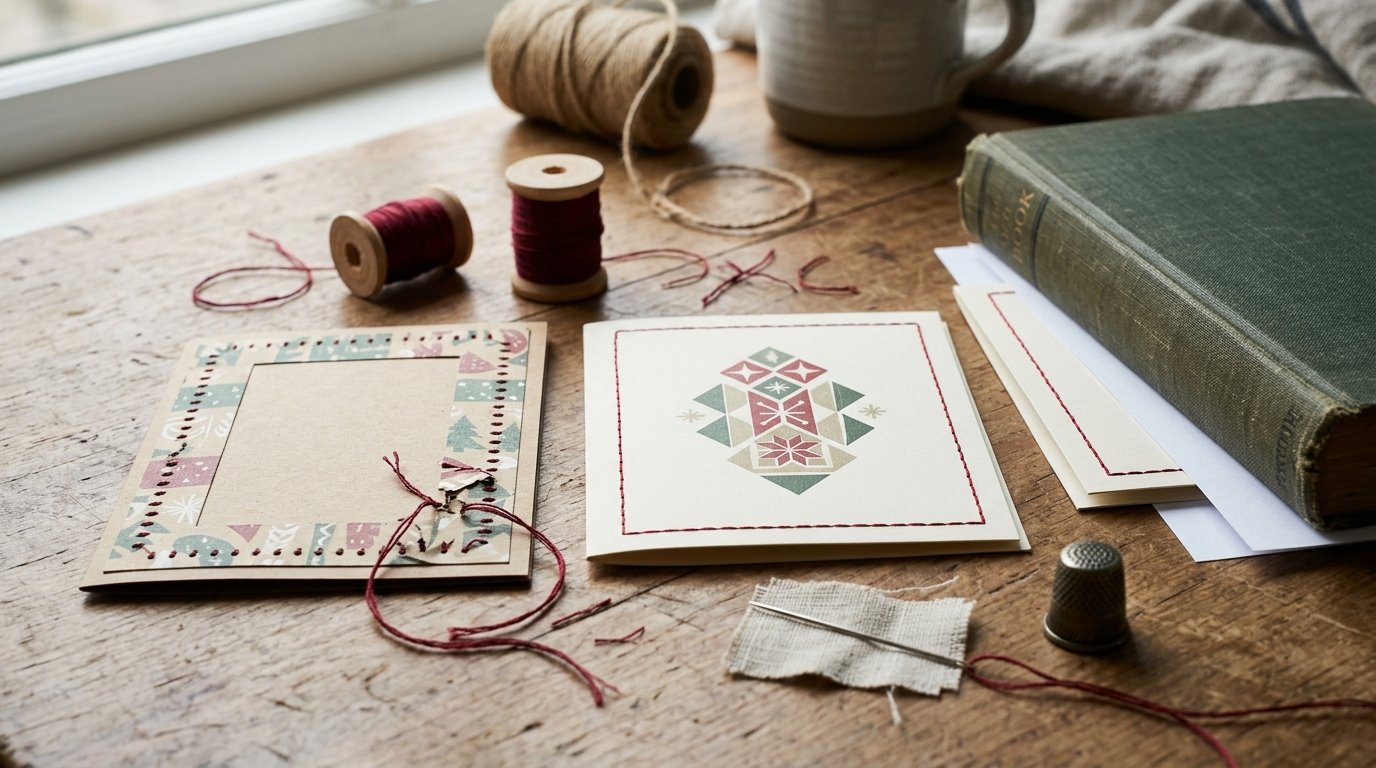
Simple Stitch Ideas for Christmas Card Designs
Use familiar stitches in small ways rather than trying to embroider like you would on fabric.
- Backstitch tree: Stitch a triangle outline, then add a trunk and tiny star.
- Straight-stitch starburst: Bring long stitches from outer points into a center hole.
- Running-stitch ornament: Make a circle of dashed stitches and add a bow.
- Snowflake lines: Stitch straight spokes from the center, then add short branch stitches.
- String-light border: Use black or green thread for the cord and small colored stitches for bulbs.
- Holly sprig: Backstitch the stem and use simple angled stitches for leaves and berries.
Metallic thread looks festive, but it can fray. Use shorter lengths and stitch slowly.
Tips for Clean, Professional-looking Paper Stitching
Keep your thread tension relaxed. The thread should rest on the paper, not pull it inward. If the card starts to curl, you are probably pulling too tightly or using thread that is too thick.
Pierce from the front for the cleanest visible holes. Space holes evenly, especially around curves. If you want a bold look, use more color rather than thicker thread.
Work with clean, dry hands so the card does not pick up smudges. For white cardstock, keep a scrap paper under your hand while stitching. Always test thread, hole size, and spacing on an offcut before stitching your final card.
Troubleshooting Common Problems
If the paper tears, the holes may be too close together or the thread tension too tight. Start again with wider spacing and gentler pulling.
If the card buckles, use fewer strands of floss or a heavier cardstock. Press the finished card under a book after covering the back.
If the needle is hard to pull through, enlarge the holes slightly before stitching. Do not force the needle, as that can crease the card.
If the back looks messy, add a liner paper. This is normal and gives the card a polished inside finish.
Batch-making Stitched Cards for the Holidays
To make several cards efficiently, create one simple template and reuse it. Pierce all the cards first, then stitch them in batches by color. For example, stitch all green tree outlines, then all gold stars, then all red ornaments.
Keep the design simple if you are making many cards. A single stitched snowflake or ornament can look elegant and save time. Prepare liners in advance so finishing is quick once the stitching is done.
FAQ
What Should a Beginner Know First About Stitch Unique Christmas Cards on Paper?
Start with sturdy cardstock, simple designs, and pre-pierced holes. Paper does not behave like fabric, so you cannot pull stitches tight or move holes later. Practice on scrap cardstock first to learn how much pressure and spacing your paper can handle.
What Matters Most When Evaluating Stitch Unique Christmas Cards on Paper?
The most important factors are cardstock weight, hole spacing, thread thickness, and stitch tension. A beautiful design can still tear if the holes are too close or the thread is bulky. Clean preparation matters more than complicated stitching.
What Mistakes Should Readers Avoid with Stitch Unique Christmas Cards on Paper?
Avoid stitching without piercing holes first, pulling the thread too tight, using flimsy paper, or placing many holes close together. Also avoid large knots on the back, because they create bumps. Tape or cover thread ends for a flatter finish.
What Is the Next Logical Step After Learning About Stitch Unique Christmas Cards on Paper?
Make one practice card with a basic tree, star, or snowflake. Once you are comfortable, create a reusable template and try variations in thread color, metallic accents, or border stitching. Then batch-make a small set for holiday giving.