Quick Answer
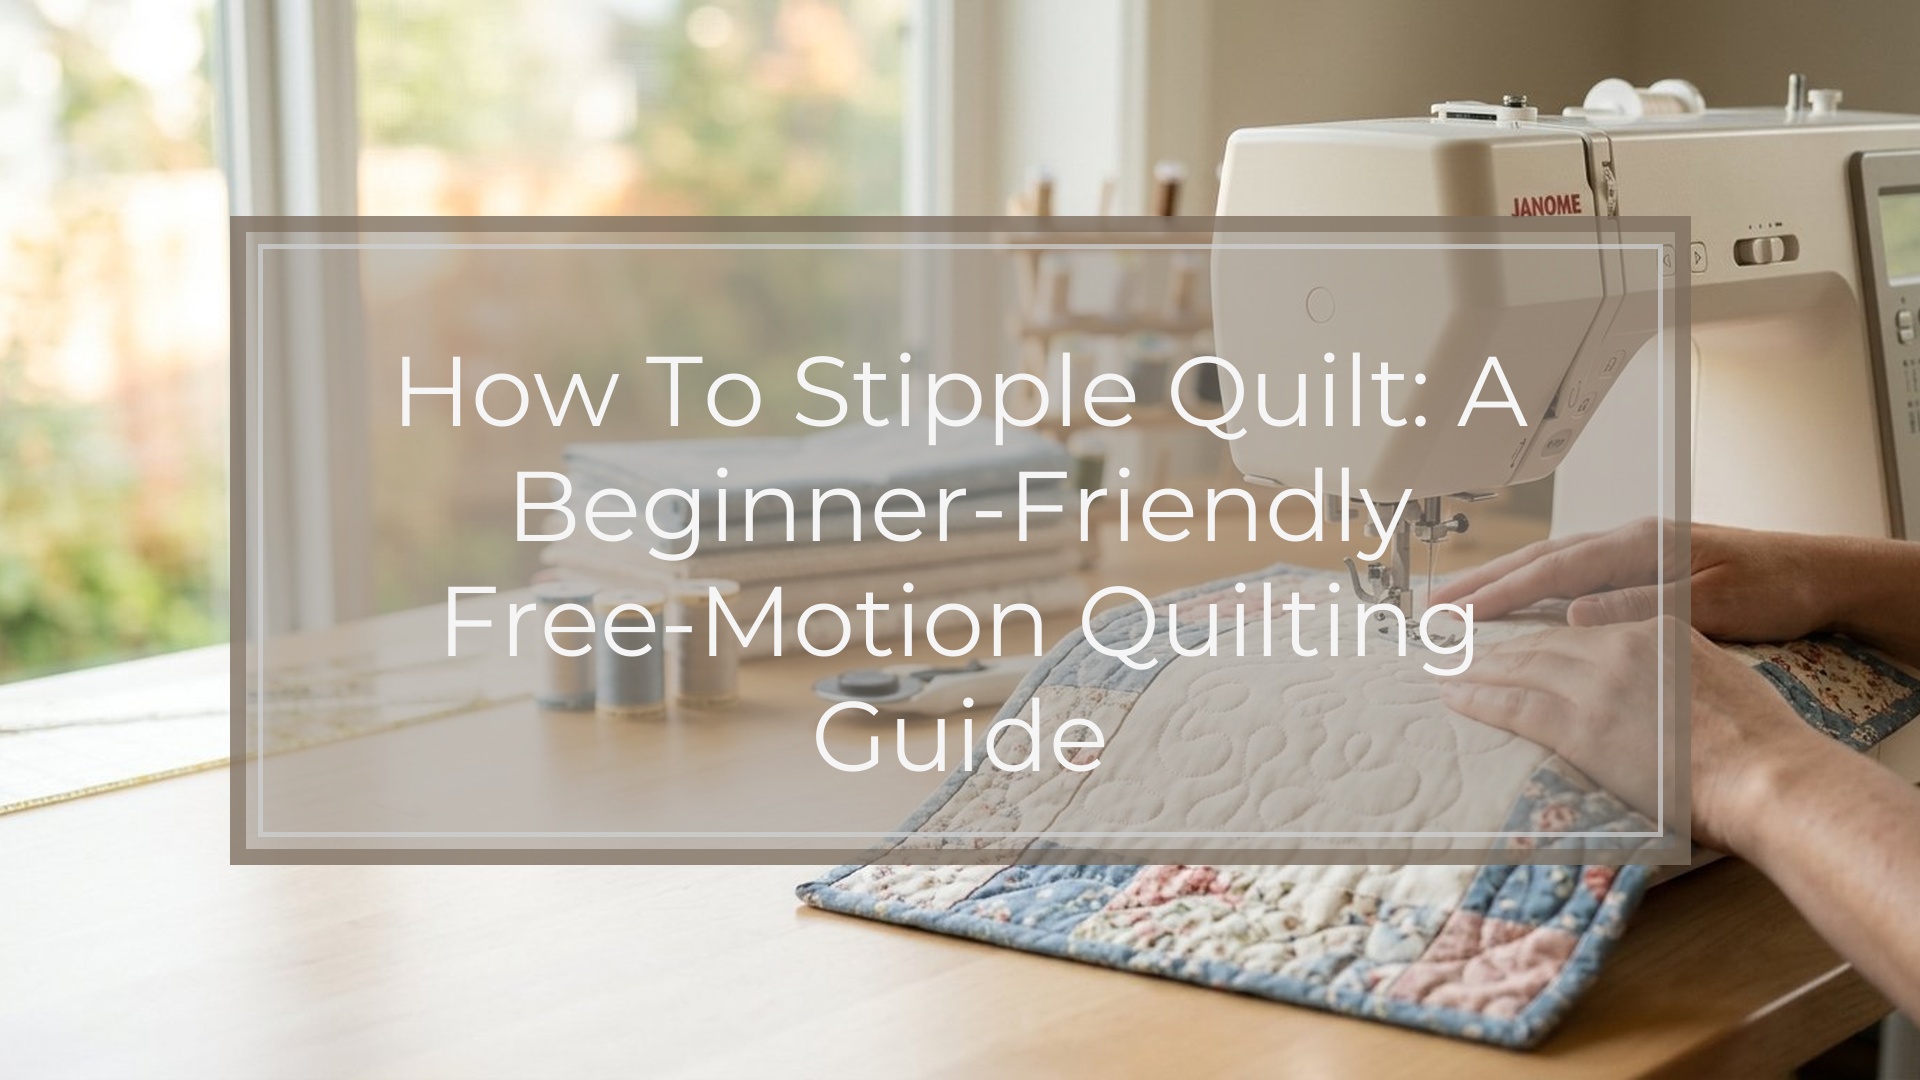
To stipple quilt, sew one continuous, rounded, wandering line over the quilt surface without crossing your previous stitching. The main takeaway: stippling is not a drawing of objects or shapes; it is an even filler pattern, often described as a meandering puzzle path, used to hold the quilt layers together and add texture.
A basic beginner process looks like this:
- Prepare a quilt sandwich with backing, batting, and quilt top basted securely.
- Set up your machine for free-motion quilting by lowering or covering the feed dogs and attaching a darning or free-motion quilting foot.
- Choose a smooth thread and suitable needle, usually a quilting or topstitch needle that matches your thread weight.
- Practice the stipple path on paper first, drawing rounded curves that do not touch or cross.
- Move the quilt with your hands while stitching, keeping the machine speed steady and your hand movement smooth.
- Fill the space evenly, turning before you run into your previous line.
- Check stitch quality often, adjusting speed, tension, or movement if stitches look uneven.
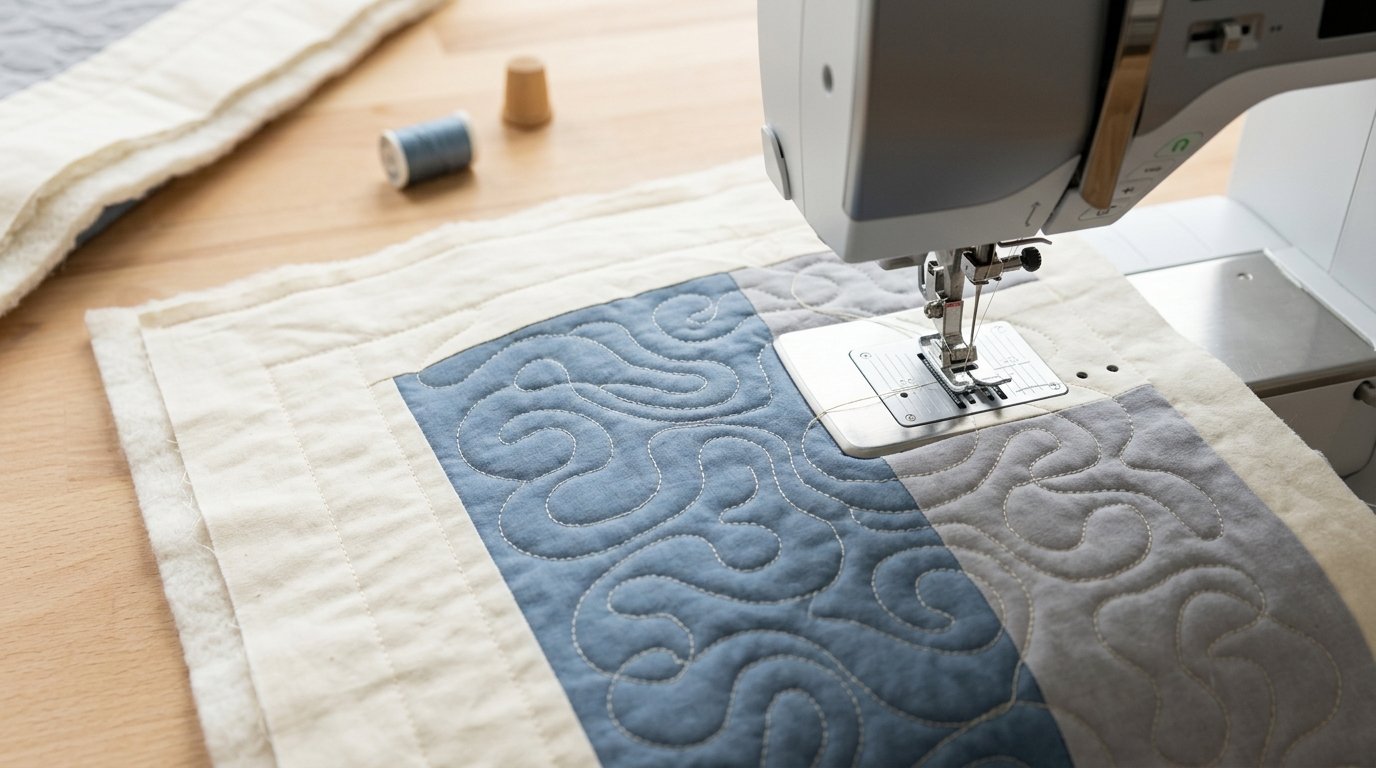
The stipple shape should look like soft, irregular puzzle pieces or little islands of negative space. Avoid sharp corners, long straight lines, repeated loops, and crossing over previous stitches. The goal is not perfection; it is consistent spacing and a relaxed flowing motion.
For a first project, use a small practice sandwich or a simple baby quilt rather than a large bed quilt. Start with a medium-scale stipple, where the spaces between lines are about 1/2 inch to 1 inch wide. Tiny stippling is harder because it requires more control, while very large stippling can show uneven movement more clearly.
How to Think About This Topic
Stipple quilting is easiest to understand as drawing with the needle while you guide the fabric. In regular sewing, the feed dogs pull the fabric forward and the machine controls the stitch direction. In stipple quilting, you take over that job. Your hands move the quilt in any direction, and the needle simply stitches wherever you guide the fabric.
The mental model is simple: one continuous, rounded, non-crossing line that fills space evenly. Imagine walking through a garden without stepping on the same path twice. You curve left, curve right, turn before you hit a boundary, and keep moving. That is the basic feel of stippling.
The hardest part for many beginners is coordinating machine speed with hand speed. If the machine is running fast but your hands move slowly, your stitches become tiny. If your hands move too quickly while the machine stitches slowly, your stitches become long and uneven. Good stippling comes from matching the two speeds, not from forcing the quilt through the machine.
Here is a quick setup guide for common choices:
| Setup choice | Beginner-friendly option | Why it matters |
|---|---|---|
| Presser foot | Free-motion or darning foot | Lets the quilt move freely in all directions |
| Feed dogs | Lowered or covered | Prevents the machine from pulling fabric forward |
| Needle | Quilting or topstitch needle | Helps prevent skipped stitches and thread shredding |
| Thread | Good-quality cotton or polyester | Smooth thread reduces breakage and tension problems |
| Stitch length | Not controlled by dial in free motion | Your hand speed creates the stitch length |
| Gloves | Quilting gloves or grippy fingertips | Help you move the quilt without gripping tightly |
| Practice size | 12-inch to 18-inch quilt sandwich | Large enough to move, small enough to control |
Before stitching on a real quilt, draw the pattern. Use a pencil and paper and make a stipple line without lifting the pencil. This trains your brain to plan turns before you get boxed in. If you repeatedly draw yourself into corners, you will probably stitch into corners too.
Scale matters. A small stipple creates dense quilting and can make the quilt feel firmer. A medium stipple is a good beginner choice for lap quilts, baby quilts, bags, and table runners. A large stipple gives a softer quilt but needs enough open space to look intentional.
Also remember that stippling shrinks and textures the quilt. The denser your stitching, the more the quilt may draw in. If your quilt has blocks that need to remain very flat or crisp, use a consistent stipple scale across similar areas so one section does not tighten more than another.
Think of learning stippling in layers: first learn the path, then learn speed control, then learn spacing, then learn how to travel through a real quilt top. You do not need to master every free-motion quilting design before stippling. You only need a smooth meander, steady hands, and enough practice to keep the line from crossing itself.
Practical Guidance
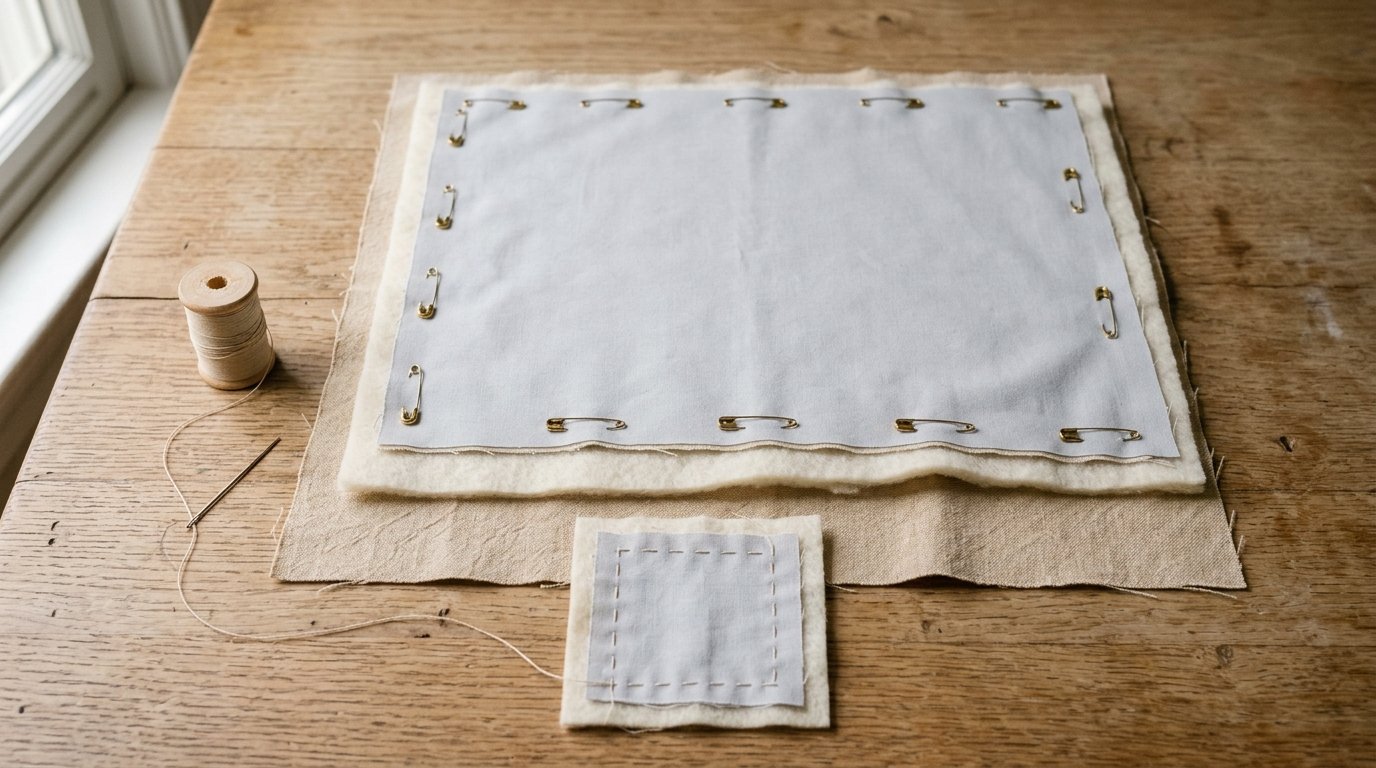
Start by making a practice sandwich: backing fabric right side down, batting in the middle, and a plain cotton top right side up. Baste it with safety pins, spray baste, or large hand stitches so the layers cannot shift. Use a light solid fabric if possible; it makes your stitches easier to see.
Thread the machine, attach the free-motion foot, and lower or cover the feed dogs. Bring the bobbin thread to the top before you begin: hold the top thread, take one stitch, and pull the bobbin loop up. Hold both thread tails for the first few stitches so they do not tangle underneath.
Begin near the center of your practice piece. Take a few tiny stitches in place or very close together to secure the thread. Then start moving the quilt in slow, rounded curves. Do not aim for identical shapes. Stippling looks natural when the curves vary slightly.
A useful beginner exercise is to quilt around imaginary pebbles without making full circles. Curve around one space, turn away, create another rounded space, and keep going. If you approach a stitched line, turn before touching it. If you approach the edge of your quilting area, curve back into the open space.
Use your hands like a frame around the needle area. Keep them several inches apart, palms resting lightly on the quilt. Move the quilt by shifting both hands together, not by pulling from one side. Stop with the needle down whenever you need to reposition your hands. This prevents jumps and keeps your place.
Try these practice stages:
- Paper first: Draw five minutes of stipples without crossing lines.
- Unthreaded machine: Move a practice sandwich under the needle to feel the motion.
- Threaded practice: Stitch medium stipples and watch stitch length.
- Small project: Quilt a potholder, panel, table mat, or cushion front.
- Real quilt: Work from the center outward, managing bulk as you go.
When quilting an actual project, divide the quilt visually into sections. You do not need to mark every stipple line, but you can mark boundaries with a removable fabric marker. For example, stipple one block, one border section, or one background area at a time. This keeps the pattern from drifting too large or too dense.
If your stitches are uneven, slow down and focus on rhythm. Many beginners improve by running the machine at a moderate constant speed and moving their hands more deliberately. If your thread breaks, check the needle, rethread the machine, reduce tension slightly, and make sure the quilt is not dragging off the table. If you get sharp points instead of curves, practice wider turns and look ahead of the needle rather than directly at it.
Common mistakes to avoid include crossing lines, making the pattern too tiny too soon, gripping the quilt tightly, and quilting a large project before practicing. Also avoid starting with high-contrast thread on a precious quilt. Matching thread is more forgiving while you learn.
For a beginner-friendly stipple, aim for consistency rather than beauty in each individual curve. A few awkward spots disappear in the overall texture. What people notice most is whether the quilting density feels even across the quilt. If one area is packed with tiny stipples and another has large open gaps, the difference will stand out more than a single wobbly curve.
Once you finish a section, stop and check the back of the quilt. Look for eyelashes, loose tension, puckers, or skipped stitches. Fixing problems early is much easier than discovering them after quilting the whole top. With practice, stippling becomes a steady, relaxing motion rather than a tense drawing exercise.
FAQ
What Should a Beginner Know First About How to Stipple Quilt?
A beginner should know that stipple quilting is one continuous, rounded line that does not cross itself. The goal is even texture, not perfect shapes. Practice the path on paper before stitching, then use a small quilt sandwich to learn hand speed and machine speed.
What Matters Most When Evaluating How to Stipple Quilt?
The most important things are smooth movement, steady stitch length, and even spacing between the stitched lines. Your stipple does not need to be identical everywhere, but the quilting density should look balanced. Good setup also matters: use the right foot, needle, thread, and basting.
What Mistakes Should Readers Avoid with How to Stipple Quilt?
Avoid crossing your stitched lines, making sharp corners, and starting with a very tiny stipple. Do not pull or drag the quilt; guide it gently. Also avoid quilting a large, important quilt before checking your tension and practicing the motion on a sample sandwich.
What Is the Next Logical Step After Learning About How to Stipple Quilt?
After learning the basics, practice on small projects such as placemats, potholders, cushion covers, or baby quilts. Then experiment with stipple scale and thread color. Once you feel comfortable, you can try related free-motion fillers, but keep the same smooth, non-crossing control.