This free pattern for an easy reusable bunny snack bag is a beginner-friendly sewing project you can finish in an afternoon. The bag is a small lined fabric pouch with soft bunny ears caught into the top seam and a simple closure to keep snacks tucked inside. It is useful for crackers, dry cereal, cookies, small treats, or non-food items like crayons and hair clips.
You do not need advanced sewing skills. If you can sew straight seams, turn small fabric pieces, and topstitch slowly, you can make this project. The tutorial below includes cutting measurements, construction notes, and simple options for adding a bunny face without making the bag harder to wash or reuse.
What You’ll Make
You’ll sew a lined reusable snack bag with a flat bottom, a fold-over or press-shut top, and two bunny ears on the front edge. The outer fabric gives the bag its cute bunny look, while the lining keeps the inside neat and easy to wipe or wash.
The finished bag works best for dry snacks. It is not intended to be leakproof, so avoid applesauce, yogurt, or juicy fruit unless you use a food-safe waterproof lining and test the seams.
Skill Level, Time, and Finished Size
This is a confident beginner project. The most important skills are accurate cutting, sewing with a consistent seam allowance, and turning the ears neatly.
Plan on 45 to 90 minutes for one bag, depending on whether you add a face or decorative details. The finished size is about 6 inches wide by 6 1/2 inches tall, not including the bunny ears. It is a good size for a child’s snack, a small lunchbox treat, or a reusable favor bag.
Supplies and Fabric Choices
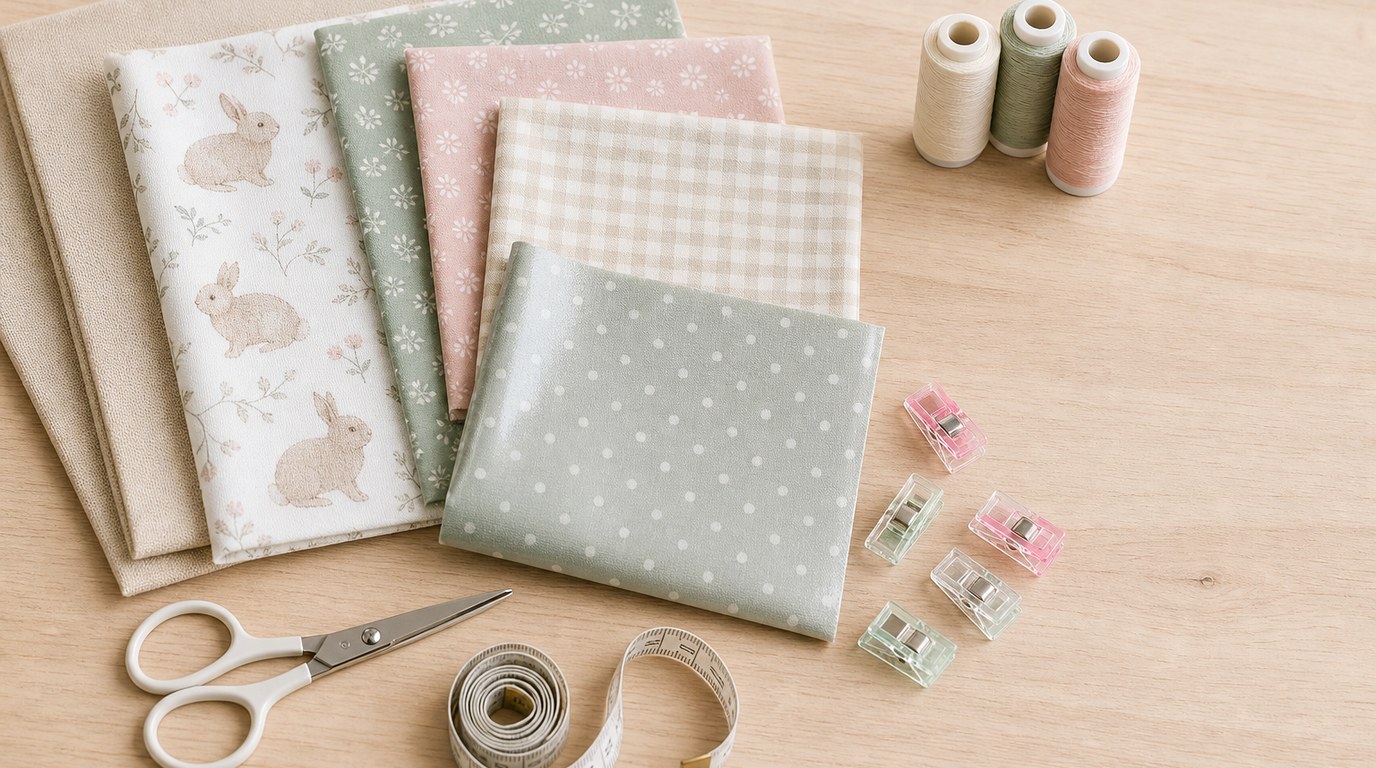
You will need:
- Outer fabric: quilting cotton, cotton canvas, or lightweight denim
- Lining fabric: cotton, ripstop nylon, PUL, or food-safe laminated cotton
- Small scraps for inner ears, if desired
- Hook-and-loop tape, snaps, or a button-and-loop closure
- Matching thread
- Fabric scissors or rotary cutter
- Pins or clips
- Turning tool or chopstick
- Iron and ironing board
- Sewing machine
For the easiest version, use quilting cotton for both the outside and lining. It presses well and is easy to sew. For a sturdier bag, use cotton canvas outside and quilting cotton inside. If you want a wipeable lining, choose food-safe laminated cotton or PUL, and use clips instead of pins to avoid extra holes.
Reusable Bunny Snack Bag Cutting Guide
Use a 1/4-inch seam allowance unless a step says otherwise. These measurements include seam allowances.
| Piece | Cut From | Quantity | Size |
|---|---|---|---|
| — | —: | —: | — |
| Outer bag front and back | Outer fabric | 2 | 6 1/2 in x 7 in |
| Lining front and back | Lining fabric | 2 | 6 1/2 in x 7 in |
| Bunny ears | Outer fabric | 2 | 2 1/2 in x 5 1/2 in |
| Inner ears | Contrast fabric or lining | 2 | 2 1/2 in x 5 1/2 in |
| Hook-and-loop tape | Closure | 2 | 4 in long |
For the ears, round one short end of each ear piece into a soft bunny-ear shape. You can draw this by hand. The bottom short edge stays straight so it can be sewn into the top seam.
Before You Start: Pattern and Sewing Notes
Prewash cotton fabrics if the finished bag will be machine washed. Press everything flat before cutting. If using PUL or laminated cotton, do not press directly with a hot iron; use low heat, a pressing cloth, or finger-pressing.
Mark the right and wrong sides of fabrics if they are similar. Keep the lining and outer pieces in separate stacks. Backstitch at the beginning and end of seams, especially near the closure and top edge, because those areas get the most use.
Step 1: Cut the Bag Pieces and Bunny Ears
Cut two outer rectangles and two lining rectangles using the cutting guide. Make sure all four bag pieces are the same size so the edges line up cleanly later.
For the ears, cut two outer ear pieces and two inner ear pieces. To shape them evenly, fold one ear piece in half lengthwise, trim a rounded top, then use it as a template for the other three ear pieces. Keep the bottom edge straight and untrimmed.
If you want a face on the front, choose one outer rectangle now and mark it lightly as the front.
Step 2: Sew and Turn the Bunny Ears
Place one outer ear and one inner ear right sides together. Sew around the two long sides and the rounded top, leaving the straight bottom edge open. Repeat for the second ear.
Trim the seam allowance around the curved top to reduce bulk. Do not cut through the stitching. Turn each ear right side out using a turning tool or chopstick, gently pushing out the rounded tip.
Press the ears flat if your fabric allows it. Topstitch around the sewn edges about 1/8 inch from the edge for a crisp finish. Leave the bottom edge open. If you want floppy ears, use them as they are. For ears that stand up more, add lightweight interfacing before sewing.
Step 3: Add the Closure
It is easiest to add the closure while the bag pieces are still flat. Place one hook-and-loop strip on the right side of the outer front piece, centered horizontally and about 1 inch down from the top edge. Stitch around all four sides of the strip.
Place the matching strip on the right side of one lining piece, also centered and about 1 inch down from the top edge. This placement lets the bag close when the lining and outer are joined.
If using snaps, install them after the bag is finished so you can check the final fold and placement. If using a button and loop, baste the loop into the top seam and sew the button on last.
Step 4: Attach the Bunny Ears to the Outer Bag
Lay the outer front piece right side up. Position the ears along the top edge with the inner-ear side facing up. The raw bottom edges of the ears should align with the raw top edge of the bag.
Place the ears about 1 1/2 inches apart, or adjust them until they look balanced. The rounded ends should point down toward the body of the bag for now; they will flip upward after the top seam is sewn.
Baste the ears in place with a 1/8-inch seam allowance. This keeps them from shifting during assembly.
Step 5: Sew the Outer Bag and Lining
Place the two outer bag pieces right sides together, matching the top edges and sides. The ears will be sandwiched inside. Sew down one side, across the bottom, and up the other side. Leave the top open.
Repeat with the two lining pieces, right sides together, but leave a 3-inch opening along the bottom edge for turning later. Sew the side seams and bottom seam, backstitching on both sides of the opening.
For a simple flat-bottom bag, box the lower corners. Pinch one bottom corner so the side seam and bottom seam meet. Measure 1 inch across the point, draw a line, sew across it, and trim the excess. Repeat for the other outer corner and both lining corners.
Step 6: Join the Lining and Outer Bag
Turn the outer bag right side out. The bunny ears should now point upward from the top edge. Leave the lining wrong side out.
Slide the outer bag inside the lining so the right sides are touching. Match the side seams and top raw edges. The ears should be tucked between the outer bag and lining, not sticking out while you sew.
Clip or pin around the top edge. Sew all the way around the top using a 1/4-inch seam allowance. Go slowly over the ear areas because there will be extra layers. If your machine struggles, use the handwheel for a few stitches rather than forcing the fabric.
Step 7: Turn, Close, and Topstitch
Pull the outer bag through the opening in the lining. Work slowly so you do not stretch the top seam or tear the turning opening. Push the lining down inside the outer bag and smooth the corners with your fingers.
Fold the raw edges of the lining opening inward by 1/4 inch. Stitch the opening closed by machine close to the folded edge, or hand sew it with a ladder stitch for an invisible finish.
Press or finger-press the top edge. Topstitch around the entire top of the bag about 1/8 inch from the edge. This secures the lining, strengthens the seam, and helps the bunny ears stand neatly. Close the bag and check that the closure lines up.
Optional Bunny Face and Decorative Details
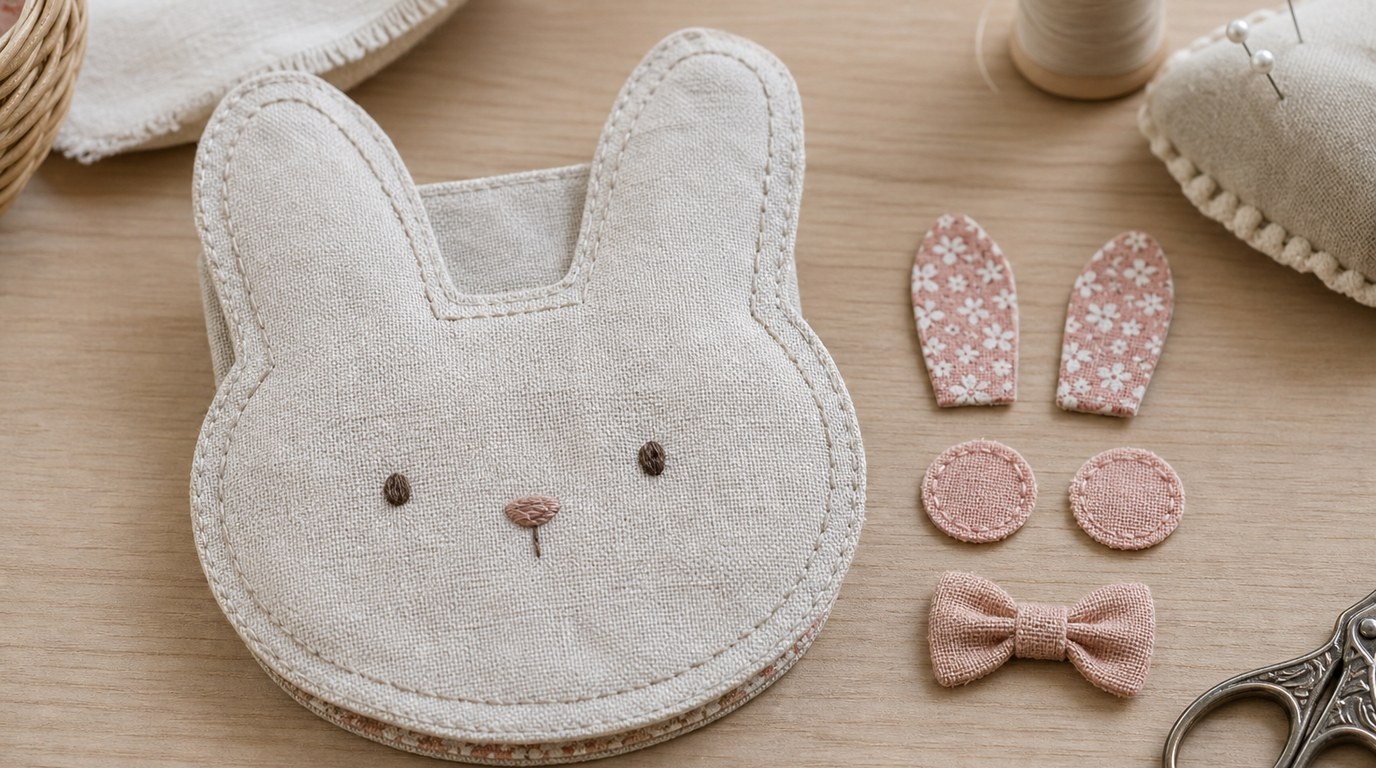
For the simplest bunny face, embroider two small eyes and a tiny nose on the outer front piece before assembling the bag. Use short stitches and secure the thread well on the wrong side.
You can also add fabric cheeks, a small bow, or contrast inner ears. Avoid glued decorations if the bag will be washed often or used by young children. For a very beginner-friendly version, skip the face and let the ears do the work.
If using fabric paint, let it cure fully according to the product directions before washing.
Washing and Reuse Tips
Shake out crumbs after each use. For cotton bags, machine wash on gentle and air dry or tumble dry low. For PUL or laminated linings, follow the fabric manufacturer’s care instructions and avoid high heat.
Let the bag dry completely before storing it. If it holds strong-smelling snacks, wash it soon after use. Keep one or two extra bags in rotation so each has time to dry between uses.
Troubleshooting Common Problems
If the ears look uneven, check that they were basted the same distance from the side seams. You can unpick the top seam near one ear and reposition it.
If the lining bunches inside, make sure the lining and outer pieces were cut the same size and the boxed corners match. Topstitching the top edge usually helps hold everything in place.
If the closure does not meet, move one side of the hook-and-loop tape or use snaps after testing the finished fold.
FAQ
What Fabric Is Best for a Reusable Bunny Snack Bag?
Quilting cotton is the easiest fabric for beginners because it cuts, presses, and sews neatly. For more structure, use cotton canvas outside. For a wipeable interior, choose food-safe laminated cotton or PUL, but remember that the bag may still not be fully leakproof.
Can I Make This Snack Bag Without a Printed Pattern?
Yes. This tutorial uses simple rectangles and hand-shaped ears, so you do not need a printed pattern. Cut the bag pieces from the measurement table, then round the tops of the ear pieces by hand or trace around a small cup.
Is Hook-and-loop Tape or Snaps Better for the Closure?
Hook-and-loop tape is easiest for children to open and close, and it is beginner-friendly to sew. Snaps look neater and last well, but they require snap tools and accurate placement. If you are new to sewing bags, start with hook-and-loop tape.
Can This Bunny Snack Bag Go in the Washing Machine?
Yes, if your fabrics and closure are washable. Cotton bags can usually go in the washing machine on gentle. Air drying helps the bag last longer. If you use laminated cotton or PUL, avoid high heat and follow the care instructions for that fabric.
How Can I Resize the Bunny Snack Bag?
To resize it, add or subtract the same amount from the width and height of all bag rectangles. Keep the lining and outer pieces identical. For a taller bag, lengthen the rectangles but leave the ears the same size or enlarge them slightly for balance.