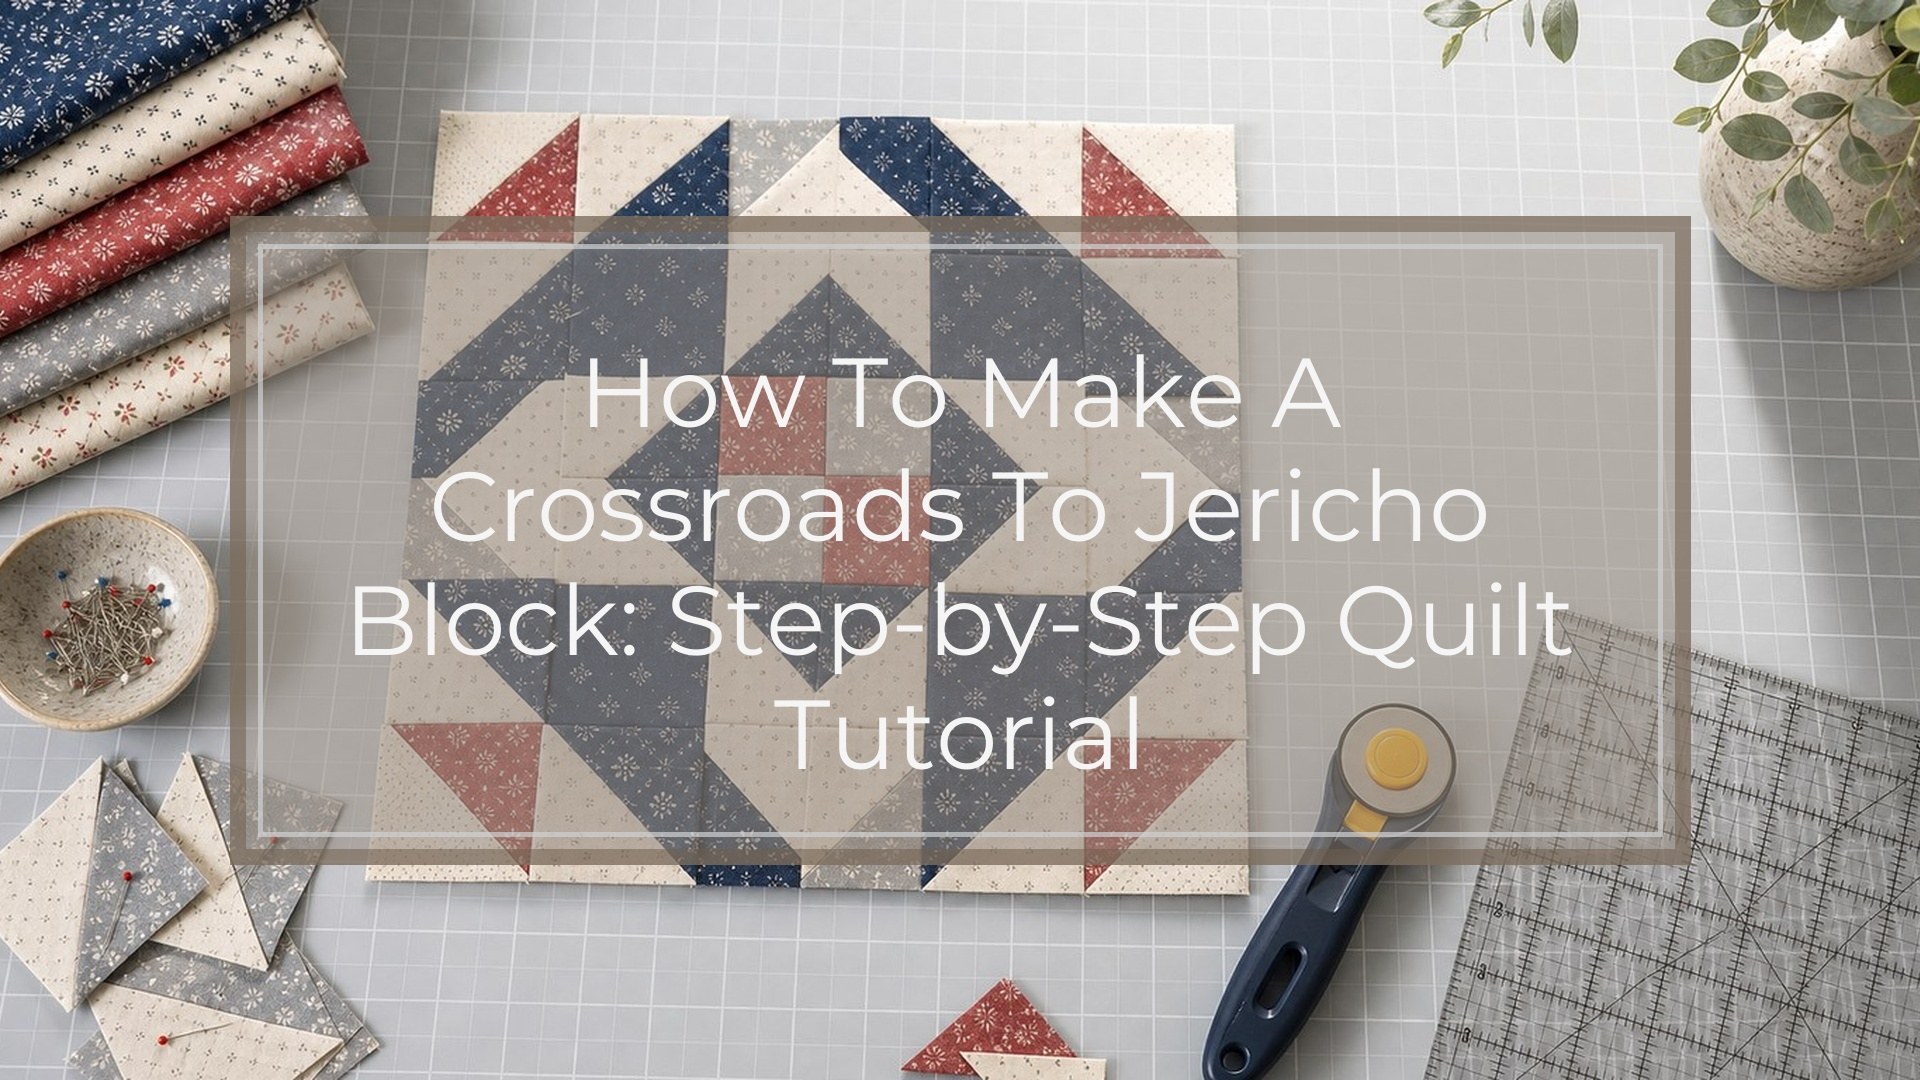
To make a Crossroads to Jericho quilt block, cut the block into a simple nine-patch layout: four half-square triangle corner units, four two-rectangle side units, and one center square. The key is contrast. One fabric should read as the “road” or path, while the background fabric lets the crossroads shape stand out.
This tutorial makes one 12-inch finished block, which will measure 12½ inches unfinished before it is sewn into a quilt. Use a consistent ¼-inch seam allowance, trim your half-square triangles accurately, and lay out every unit before sewing rows together. The block is beginner-friendly, but orientation matters, especially when rotating the side units and corner triangles.
What the Crossroads to Jericho Block Looks Like
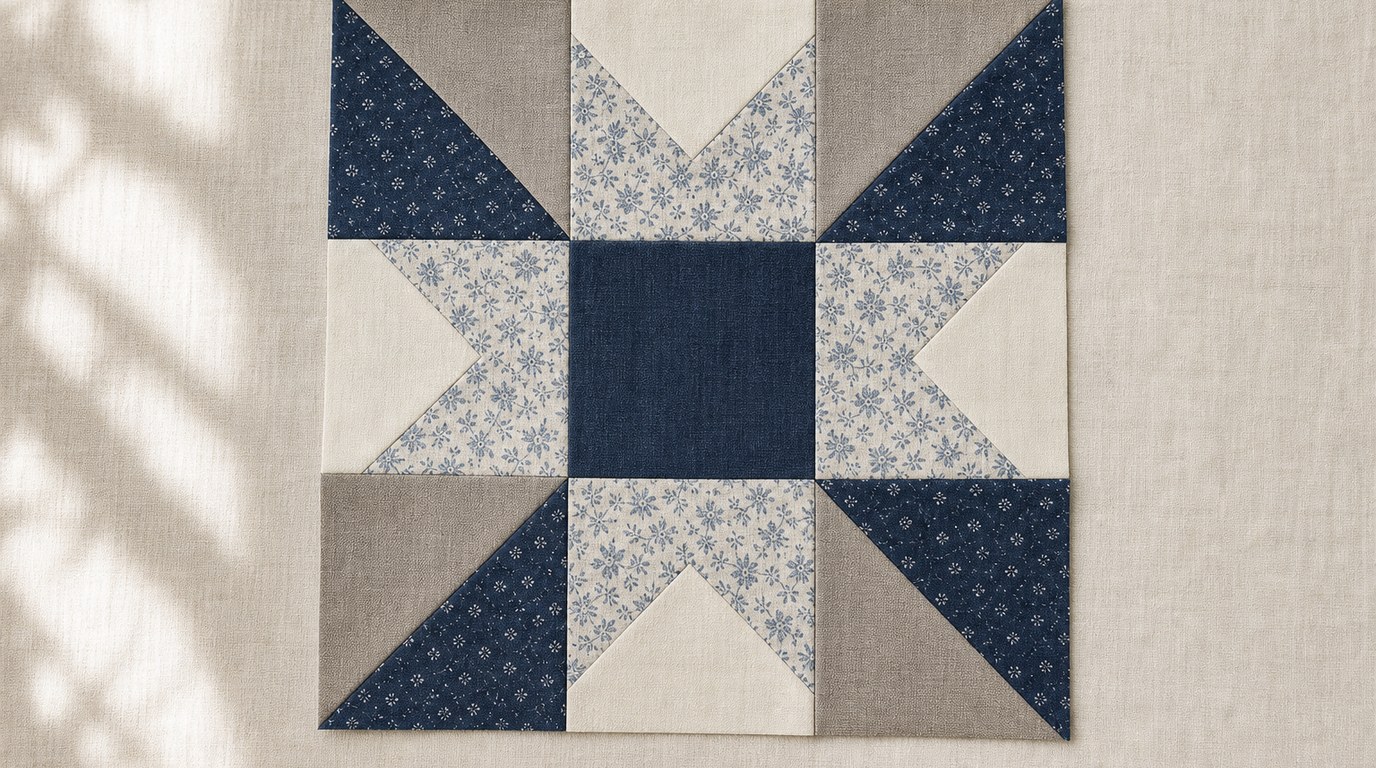
The Crossroads to Jericho block is built around the idea of paths meeting in the center. In this beginner-friendly version, the design is arranged as a three-by-three grid. The center square acts as the meeting point, the four side units form roads leading into it, and the corner half-square triangles add diagonal movement.
You may see variations of this traditional-style block with different proportions or extra piecing, but the visual goal is the same: a strong cross shape with movement toward the middle. Before sewing, think of the darker fabric as the road and the lighter fabric as the open background.
Finished Size, Seam Allowance, and Skill Level
This tutorial makes one block that finishes at 12 inches square. Before it is sewn into a quilt top, the block should measure 12½ inches by 12½ inches.
Use a ¼-inch seam allowance throughout. If your seam allowance is too wide, the block will finish small; if it is too narrow, the block may grow and distort. This is a good confident-beginner block because it uses only squares, rectangles, and half-square triangles.
Supplies and Fabric You’ll Need
You’ll need basic quilting tools: a sewing machine, rotary cutter, quilting ruler, cutting mat, pins or clips, iron, and thread. A square ruler is helpful for trimming half-square triangles.
Choose two main fabrics with clear contrast. For example, use cream or white as the background and navy, red, brown, or green as the road fabric. If the fabrics are too similar in value, the crossroads design will disappear. You may also use a third fabric for the center square if you want the middle of the block to stand out.
Cutting Chart for One Block
Cut carefully before you sew. The chart below makes one 12-inch finished Crossroads to Jericho block, measuring 12½ inches unfinished. The half-square triangle squares are cut slightly oversized so you can trim the finished units accurately.
| Fabric | Cut | Quantity | Used For |
|---|---|---|---|
| — | —: | —: | — |
| Background fabric | 5" squares | 2 | Half-square triangles |
| Road fabric | 5" squares | 2 | Half-square triangles |
| Background fabric | 2½" x 4½" rectangles | 4 | Side road units |
| Road fabric | 2½" x 4½" rectangles | 4 | Side road units |
| Road or accent fabric | 4½" square | 1 | Center square |
After sewing, each unit in the nine-patch layout should measure 4½ inches unfinished.
Step 1: Make the Half-square Triangle Units
Pair each 5-inch background square with one 5-inch road fabric square, right sides together. On the wrong side of the lighter square, draw a diagonal line from corner to corner.
Sew ¼ inch away from both sides of the drawn line. Cut on the drawn line to separate the units, then press the seams toward the darker fabric or open if you prefer flatter seams.
You will have four half-square triangle units. Trim each one to 4½ inches square. Place the 45-degree diagonal line of your ruler on the seam before trimming so the triangle stays balanced. Do not skip trimming; accurate corner units make the final block much easier to assemble.
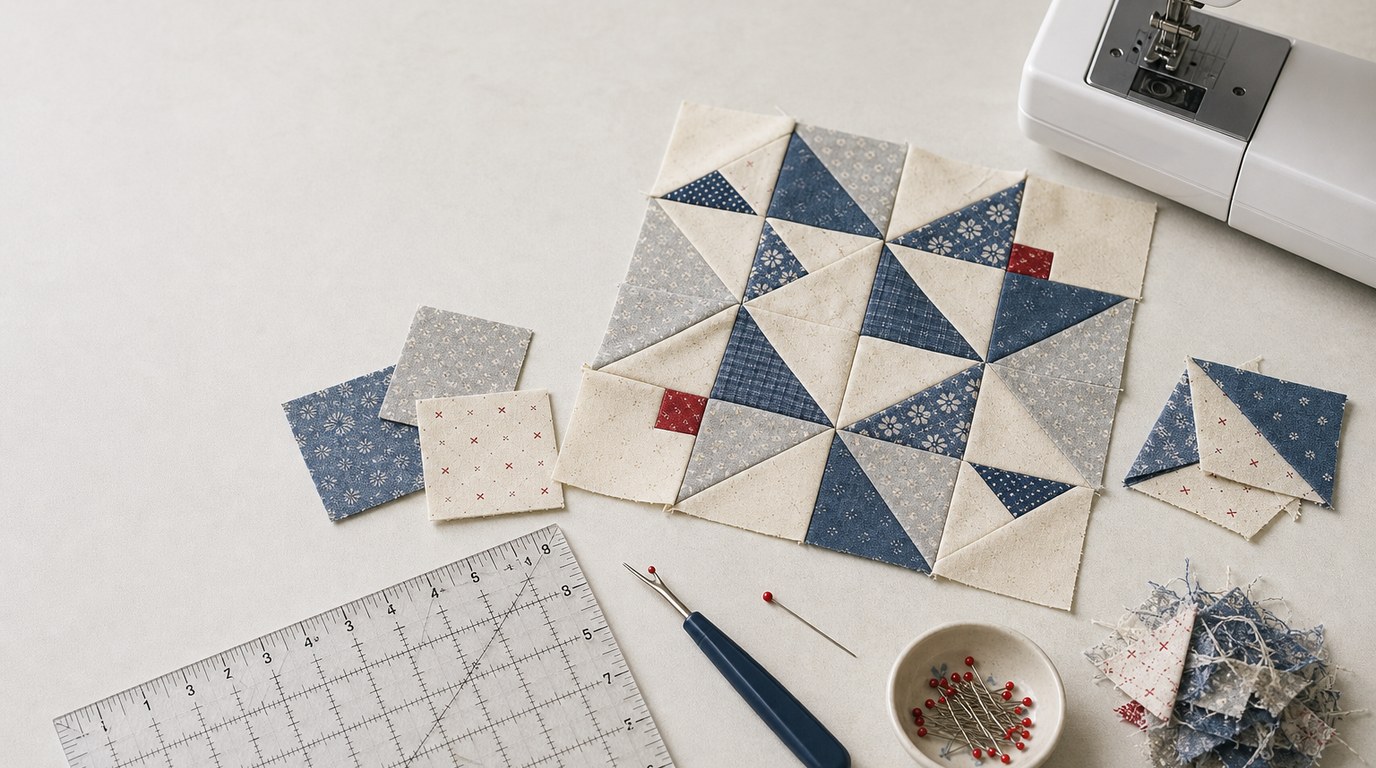
Step 2: Lay Out the Block Before Sewing
Arrange the block as a three-by-three grid.
Place the 4½-inch center square in the middle. Put one rectangle unit position above it, one below it, one to the left, and one to the right. These side units will be made from one background rectangle and one road rectangle, sewn together along the long edge.
Rotate the side units so the road fabric touches or points toward the center square. For the top unit, the road strip should be at the bottom. For the bottom unit, it should be at the top. For the left unit, it should be on the right. For the right unit, it should be on the left.
Place the half-square triangles in the four corners with the road triangles angled toward the center.
Step 3: Sew the Units Into Rows
First, make the four side units. Match one 2½" x 4½" background rectangle with one 2½" x 4½" road rectangle, right sides together. Sew along the long edge. Press toward the road fabric. Each side unit should measure 4½ inches square.
Now return to your layout and sew the block into three rows.
- Row 1: corner half-square triangle, top side unit, corner half-square triangle
- Row 2: left side unit, center square, right side unit
- Row 3: corner half-square triangle, bottom side unit, corner half-square triangle
Sew the units in each row with a ¼-inch seam. Keep the pieces in order as you move from the layout to the machine.
Step 4: Join the Rows and Match the Seams
Press the seams in Row 1 and Row 3 in the same direction. Press the seams in Row 2 in the opposite direction. This helps the seams nest when you join the rows.
Place Row 1 and Row 2 right sides together. Match the vertical seams first, then pin or clip at those intersections. Sew with a steady ¼-inch seam. Add Row 3 the same way.
As you sew, avoid pulling the fabric through the machine. Let the feed dogs move the fabric naturally. Pulling can stretch the bias edges in the half-square triangles and make the block wavy. Press the final row seams to one side or open.
Step 5: Square up the Finished Block
Your finished block should measure 12½ inches square unfinished. Place it on a cutting mat and check the size with a large square ruler.
If the block is slightly oversized, trim evenly from opposite sides so the center stays centered. Do not trim heavily from only one edge, or the crossroads design will look off-balance. If the block is a little small, check your seam allowance before making more blocks. A small difference in one block may be manageable, but repeated small errors will affect the whole quilt top.
Troubleshooting Common Problems
If your block finishes too small, your seam allowance is probably wider than ¼ inch, or your half-square triangles were trimmed too small. Test your seam on scrap fabric before sewing another block.
If the crossroads shape looks broken, recheck the unit orientation. The road fabric should point toward the center on all four sides.
If points disappear at the corners, slow down when joining rows and avoid sewing beyond the ¼-inch seam line. If the block looks wavy, press instead of ironing back and forth, especially over bias triangle edges.
Ways to Use a Crossroads to Jericho Block
One Crossroads to Jericho block makes a striking pillow front, mini quilt, or center medallion for a wall hanging. Several blocks sewn together can create a strong secondary pattern, especially if the road fabric is consistent throughout the quilt.
For a scrappy look, keep the background light and use different dark fabrics for the roads. For a modern look, use solid fabrics with high contrast.
FAQ
What Should a Beginner Know First About How to Make a Crossroads to Jericho Block?
Start by understanding the layout. This version is a nine-patch block with four corner half-square triangles, four side road units, and one center square. The sewing is simple, but the design depends on careful rotation and accurate ¼-inch seams.
What Matters Most When Evaluating How to Make a Crossroads to Jericho Block?
Accuracy and contrast matter most. Trim the half-square triangles to the correct size, keep each unit at 4½ inches unfinished, and choose fabrics that clearly separate the road shape from the background. Good contrast makes the pattern readable.
What Mistakes Should Readers Avoid with How to Make a Crossroads to Jericho Block?
Avoid skipping the layout step. Many mistakes happen when side units or half-square triangles are rotated the wrong way. Also avoid stretching triangle edges, using an inconsistent seam allowance, or trimming too much from one side when squaring the block.
What Is the Next Logical Step After Learning About How to Make a Crossroads to Jericho Block?
Make a second sample block using different fabric values, then compare the results. Once you like the contrast and size, cut pieces for multiple blocks. Chain piecing the half-square triangles and side units will make the process faster and more consistent.