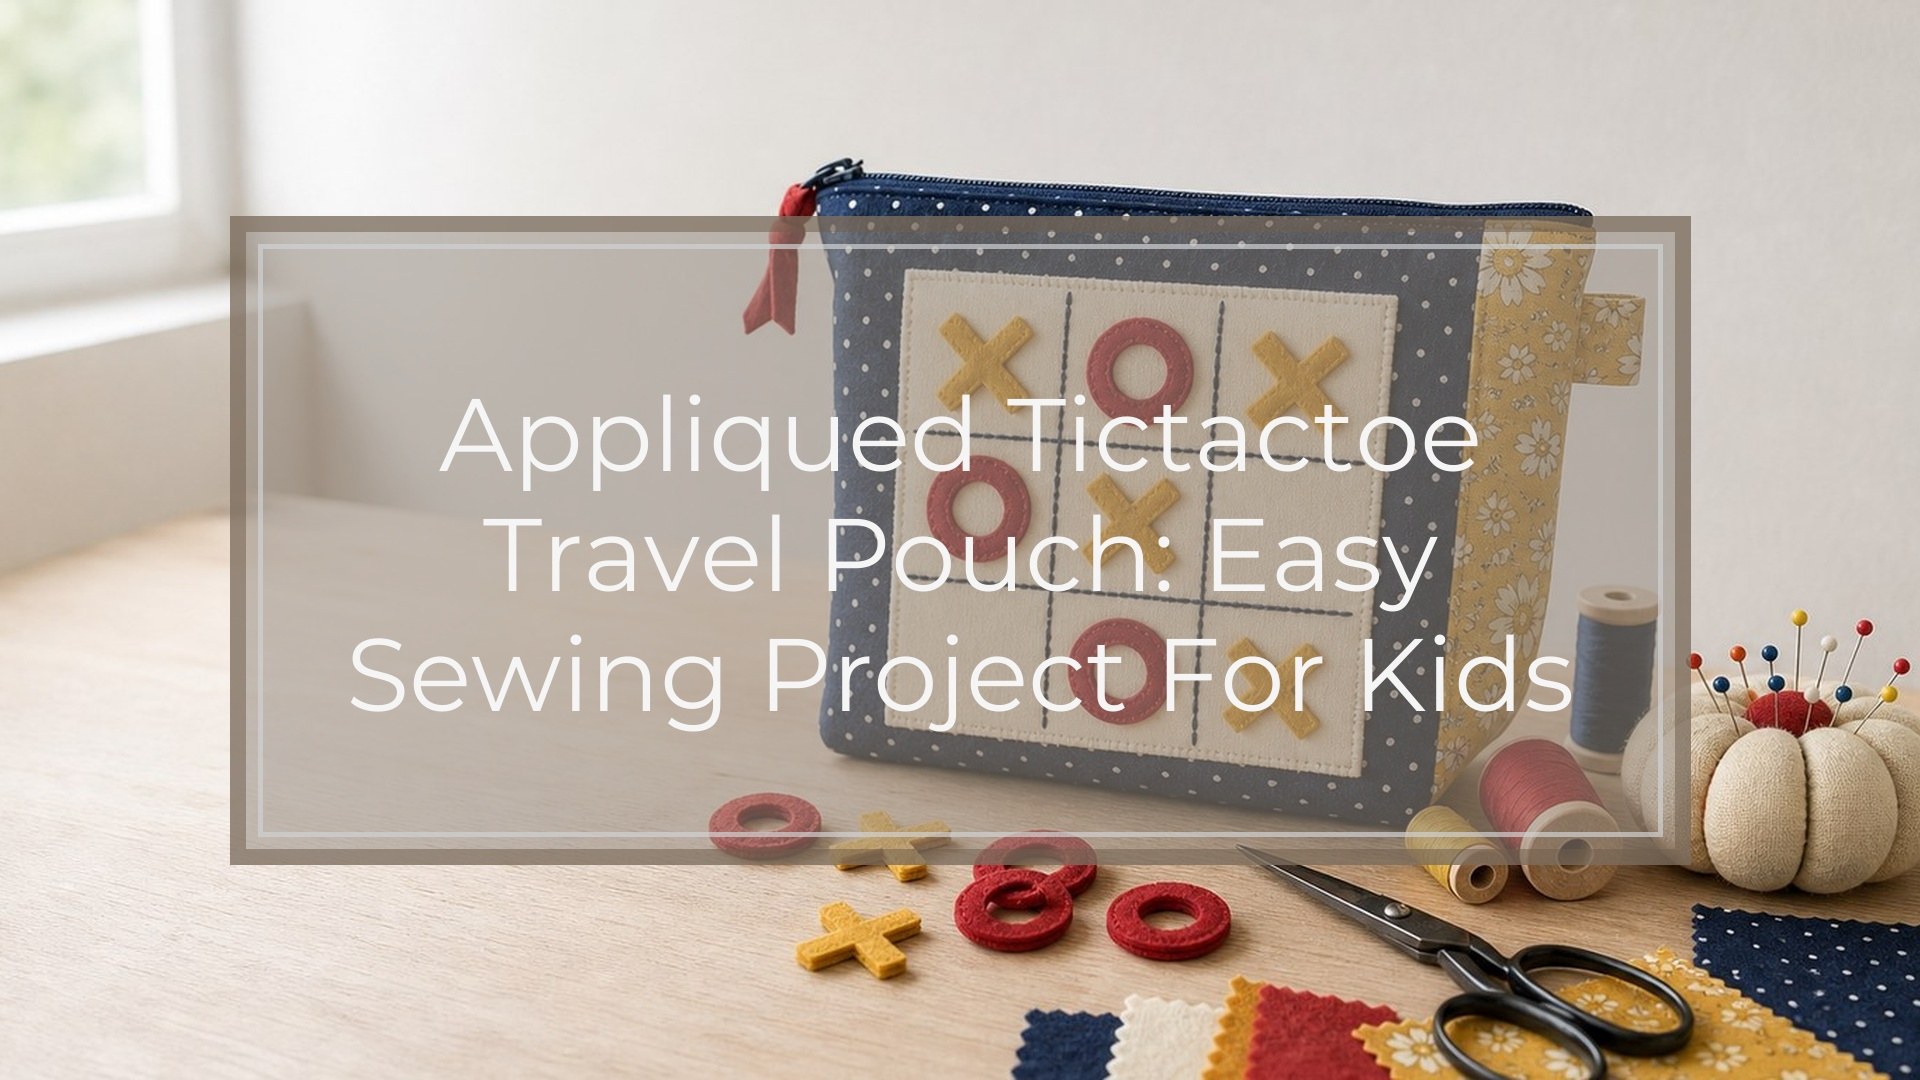
An appliqued tictactoe travel pouch is a small fabric bag with a tic-tac-toe board stitched onto the outside and game pieces stored inside. It is a useful beginner sewing project because the shapes are simple, the seams are straight, and the finished pouch is practical for car rides, waiting rooms, restaurants, or quiet play. You will cut a pouch body, applique the grid, make soft X and O pieces, then sew the pouch together with an easy closure.
| Project detail | Recommendation |
|---|---|
| Skill level | Confident beginner |
| Time needed | About 1 to 2 hours |
| Finished size | About 6 inches by 7 inches |
| Best fabrics | Quilting cotton, canvas, denim, linen blend |
| Best closure | Hook-and-loop tape, snap, button, or drawstring |
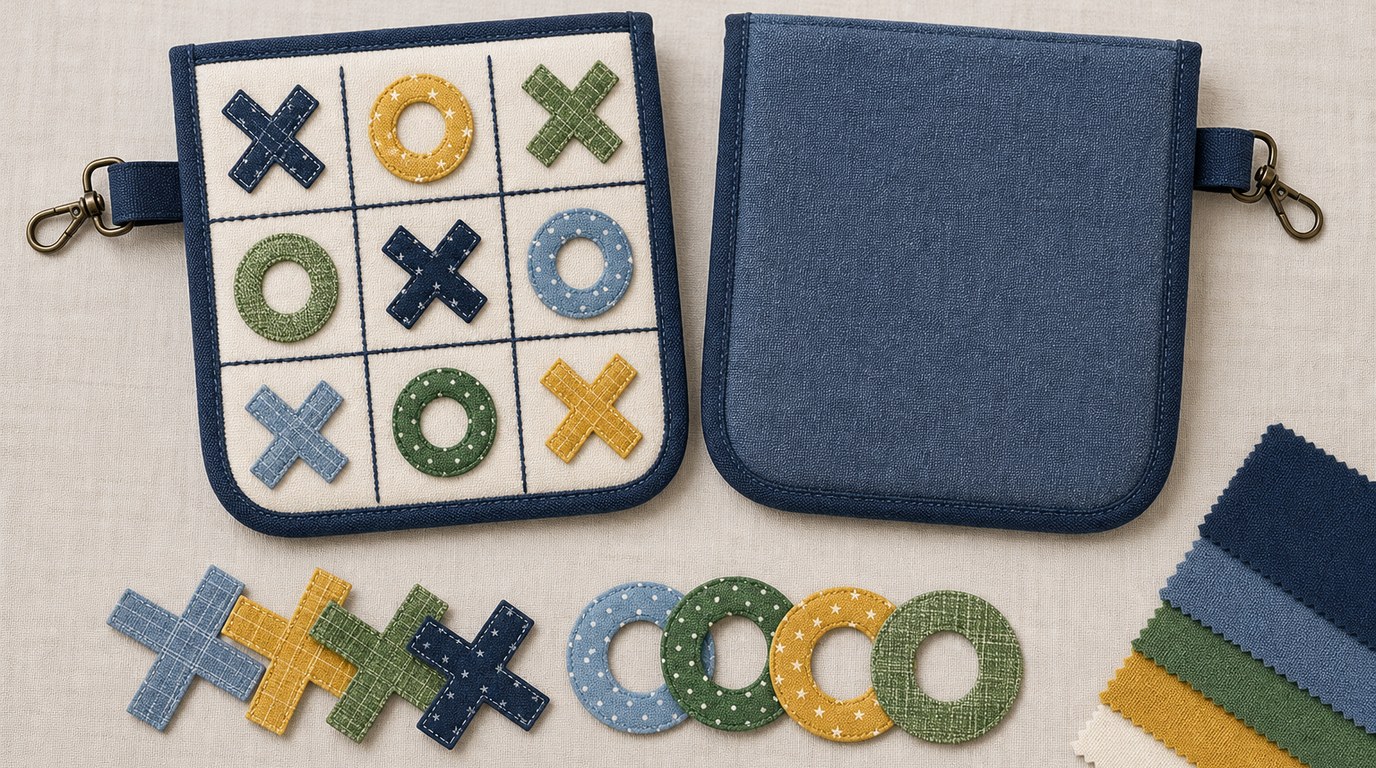
What You’ll Make
This project is a flat travel pouch that works as both storage and game board. The front has an appliqued tic-tac-toe grid, and the inside holds the playing pieces. When the pouch is closed, everything stays together in one compact set.
The design uses simple rectangles and strips, so it is easy to adjust. A lightly structured outer fabric helps the pouch hold its shape, while a soft lining keeps the inside neat.
Supplies and Tools
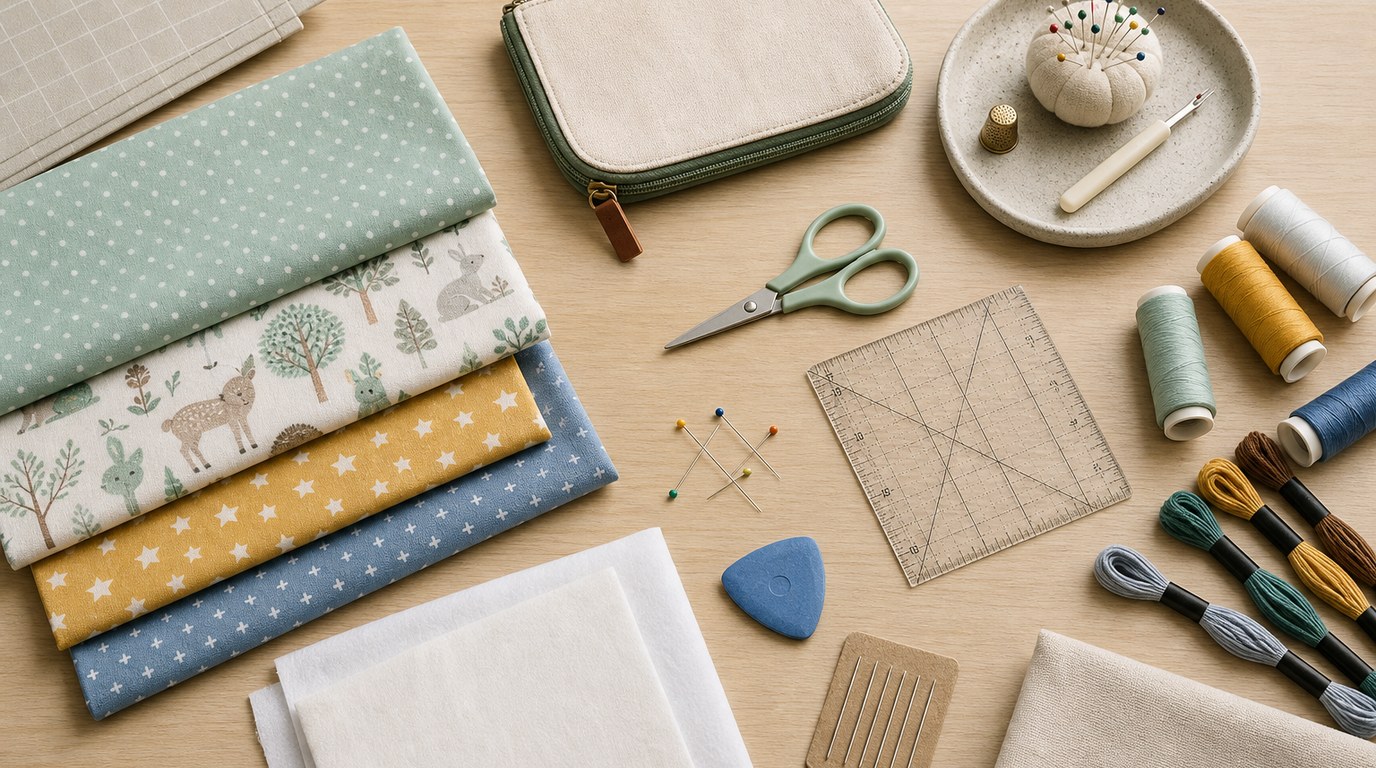
Gather your supplies before cutting so the pieces stay consistent.
You will need:
- Outer fabric: one fat quarter or scrap at least 8 by 16 inches
- Lining fabric: one scrap at least 8 by 16 inches
- Fusible interfacing: one piece about 8 by 16 inches
- Grid fabric: contrasting scrap for applique strips
- Game piece fabric or felt: two colors for Xs and Os
- Fusible web, optional but helpful
- Thread to match or contrast
- Closure: hook-and-loop tape, snap, button, or ribbon
- Scissors or rotary cutter
- Ruler
- Fabric marker or chalk
- Iron and pressing surface
- Sewing machine or hand-sewing needle
- Pins or clips
Use a 1/4-inch seam allowance unless noted otherwise.
Choose Fabrics and Plan the Design
Choose fabrics with enough contrast that the game board is easy to see. A busy print can work for the pouch body, but the grid should be plain or high contrast. For example, navy fabric with white grid strips is clearer than two similar florals.
For durability, quilting cotton with fusible interfacing is a good beginner choice. Canvas or denim works well for the outside but may be bulky at the seams. Felt is excellent for game pieces because it does not fray.
Keep the pouch washable if it will be used by children. Avoid delicate trims that may snag or loosen.
Cut the Pouch Pieces
Cut the following pieces:
- Outer pouch fabric: two rectangles, 6 1/2 by 7 1/2 inches
- Lining fabric: two rectangles, 6 1/2 by 7 1/2 inches
- Fusible interfacing: two rectangles, 6 by 7 inches
- Grid strips: four strips, 1/2 by 5 inches
- Game pieces: five Xs and five Os, each about 1 to 1 1/4 inches wide
Fuse the interfacing to the wrong side of the outer pouch pieces, centered so the seam allowance stays less bulky. If using fusible web for the grid, apply it to the wrong side of the grid fabric before cutting the strips.
Prepare the Applique Grid
Place one outer pouch piece right side up. This will be the front. Center the tic-tac-toe grid on the fabric, leaving at least 3/4 inch around the outside edges so the board does not get caught in the seam.
Lay two strips vertically and two strips horizontally to form nine squares. Aim for even spacing rather than perfection. A finished grid about 4 1/2 inches square works well on this pouch size.
If using fusible web, peel the paper backing from the strips, position them, and press according to the product directions. If not using fusible web, hold the strips with pins, glue stick, or a few hand basting stitches.
Stitch the Applique
Sew around the edges of each grid strip to secure the applique. A straight stitch close to the edge is simple and clean. For a more decorative look, use a narrow zigzag or blanket stitch.
Start with the two vertical strips, then stitch the horizontal strips. Sew slowly where the strips overlap so the stitches stay neat. Backstitch at the beginning and end, or shorten the stitch length for a few stitches to lock the thread.
After stitching, press the front piece from the wrong side. This keeps the applique flat without flattening the texture too much.
Make the Game Pieces
Make five X pieces and five O pieces. The easiest option is to cut them from felt. Felt does not need hemmed edges, and the pieces are sturdy enough for repeated play.
For fabric pieces, fuse two layers of fabric together with fusible web, wrong sides together, then cut the shapes. You can also stitch around each piece with a narrow zigzag for extra strength.
Keep the pieces large enough to handle easily but small enough to fit inside the grid squares. About 1 inch wide is a good size for this pouch.
Assemble the Pouch Body
Place the two outer pouch pieces right sides together. Sew around the sides and bottom, leaving the top open. Clip the bottom corners without cutting through the stitches.
Place the two lining pieces right sides together. Sew around the sides and bottom, but leave a 2-inch opening along the bottom edge for turning. Leave the top open.
Turn the outer pouch right side out and gently push out the corners. Keep the lining wrong side out. Slip the outer pouch inside the lining so the right sides are touching. Match the top edges and side seams, then pin or clip around the opening.
Sew all the way around the top edge. Turn the pouch right side out through the opening in the lining. Push the lining down inside the pouch and press the top edge flat. Topstitch around the top opening about 1/8 inch from the edge for a crisp finish.
Close the lining opening by machine stitching close to the folded edge or by hand sewing with a ladder stitch.
Add a Closure
Choose a closure that suits how the pouch will be used. Hook-and-loop tape is the easiest for children. Sew one small piece to the inside back and the matching piece to the inside front near the top edge.
A snap gives a tidy finish but requires a snap tool or hand-sewn snap. A button and loop look charming, but the button should be secure. For a drawstring style, you would need to alter the top casing, so it is best for a second version rather than your first pouch.
Finishing Touches and Customization Ideas
Add a small fabric tab to one side seam before assembly if you want to clip the pouch to a backpack. You can also embroider a child’s name on the back, use school colors, or make the X and O pieces from themed fabric.
For a softer look, round the bottom corners before sewing. For a sturdier game board, use canvas for the outer fabric and quilting cotton for the lining. Keep decorations flat so the pouch remains easy to pack.
Troubleshooting Common Issues
If the grid looks crooked, check that the strips are centered before pressing or stitching. A ruler and removable fabric marker help keep the spacing even.
If the pouch corners are bulky, trim the seam allowance slightly and clip the corners carefully. If the top edge looks wavy, press it well and topstitch slowly.
If game pieces get lost, make extras now from the same fabric. Store them in the pouch immediately after play.
How to Use and Care for the Travel Pouch
To play, lay the pouch flat with the appliqued grid facing up. Store the X and O pieces inside when the game is finished.
For cleaning, spot clean when possible. If the fabrics and closure are washable, place the pouch in a mesh laundry bag and wash on gentle. Air dry, then press lightly if needed. Avoid ironing directly over hook-and-loop tape or plastic snaps.
FAQ
Can I Sew This Tic-tac-toe Pouch by Hand?
Yes. Use small running stitches or backstitches for the seams, and sew the applique grid with a whipstitch, blanket stitch, or tiny straight stitches. Hand sewing takes longer, but the project is small enough to finish without a machine.
What Fabric Is Best for an Appliqued Tic-tac-toe Travel Pouch?
Quilting cotton with fusible interfacing is the easiest choice for beginners. It presses well, stitches cleanly, and comes in many colors. For a sturdier pouch, use canvas, denim, or a linen blend for the outside and cotton for the lining.
Do I Need Fusible Web for the Applique?
No, but it helps. Fusible web holds the grid strips in place while you stitch, which makes the applique neater. If you do not have it, use pins, basting stitches, or a small amount of washable glue stick to secure the strips.
How Can I Make the Pouch Safer for Small Children?
Make the game pieces larger, avoid buttons or loose trims, and choose a soft closure such as hook-and-loop tape. Stitch all pieces securely and check them regularly for wear. For children who still mouth toys, supervise play and avoid tiny pieces.
Can I Resize the Tic-tac-toe Pouch?
Yes. Keep the same basic construction and adjust the grid to fit the pouch front. Leave at least 3/4 inch around the grid for seams and handling. If you make a much larger pouch, increase the game pieces so they still suit the board.