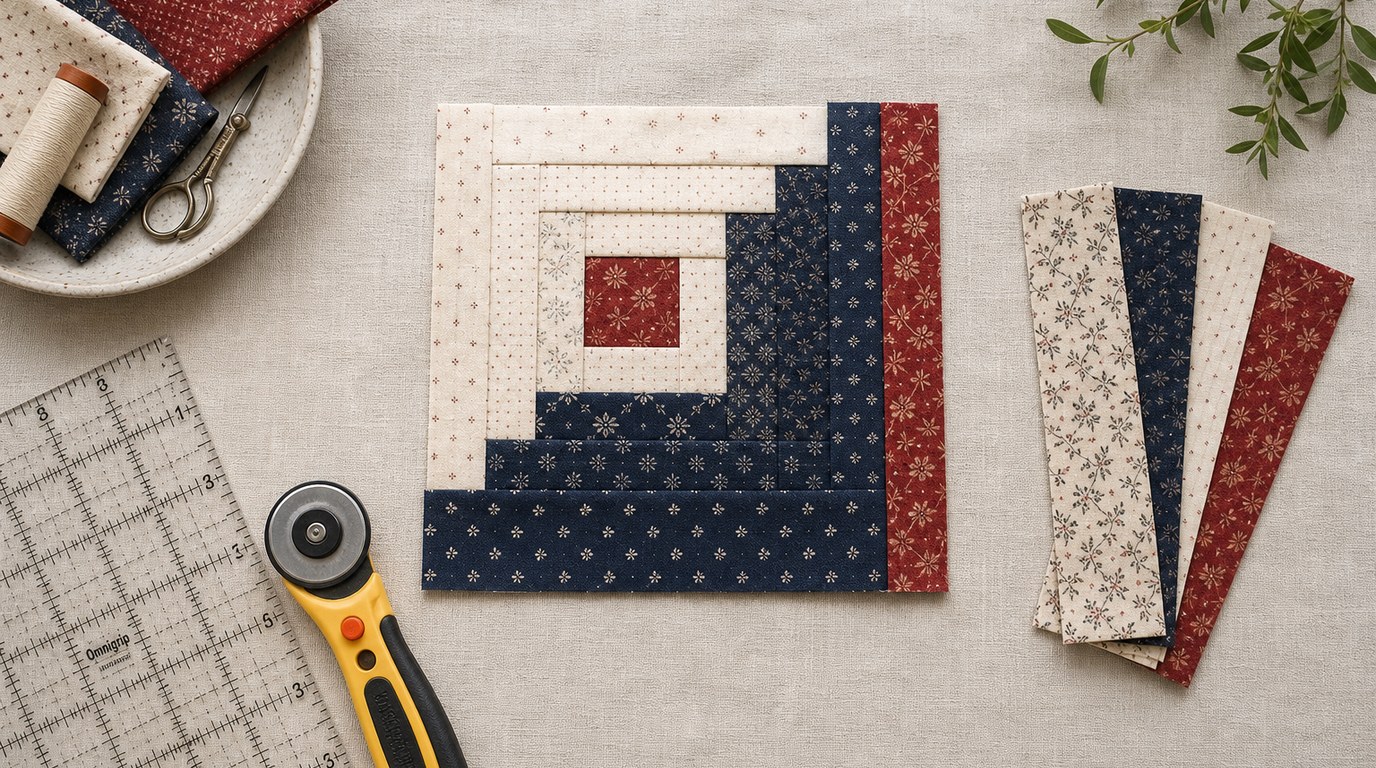
A log cabin block is built by sewing fabric strips, called “logs,” around a center square. You start with one small square, add strips in a set order, press after each seam, and keep rotating the block so the logs grow evenly around the center. The traditional look uses one side of the block in lighter fabrics and the other side in darker fabrics, creating a diagonal contrast across the finished block.
For a beginner, the most important skills are accurate cutting, a consistent 1/4-inch seam allowance, careful pressing, and trimming the block square at the end. You do not need complicated templates or advanced piecing. If your strips are straight and you add them in the correct order, you can make a clean, classic log cabin block with basic quilting tools.
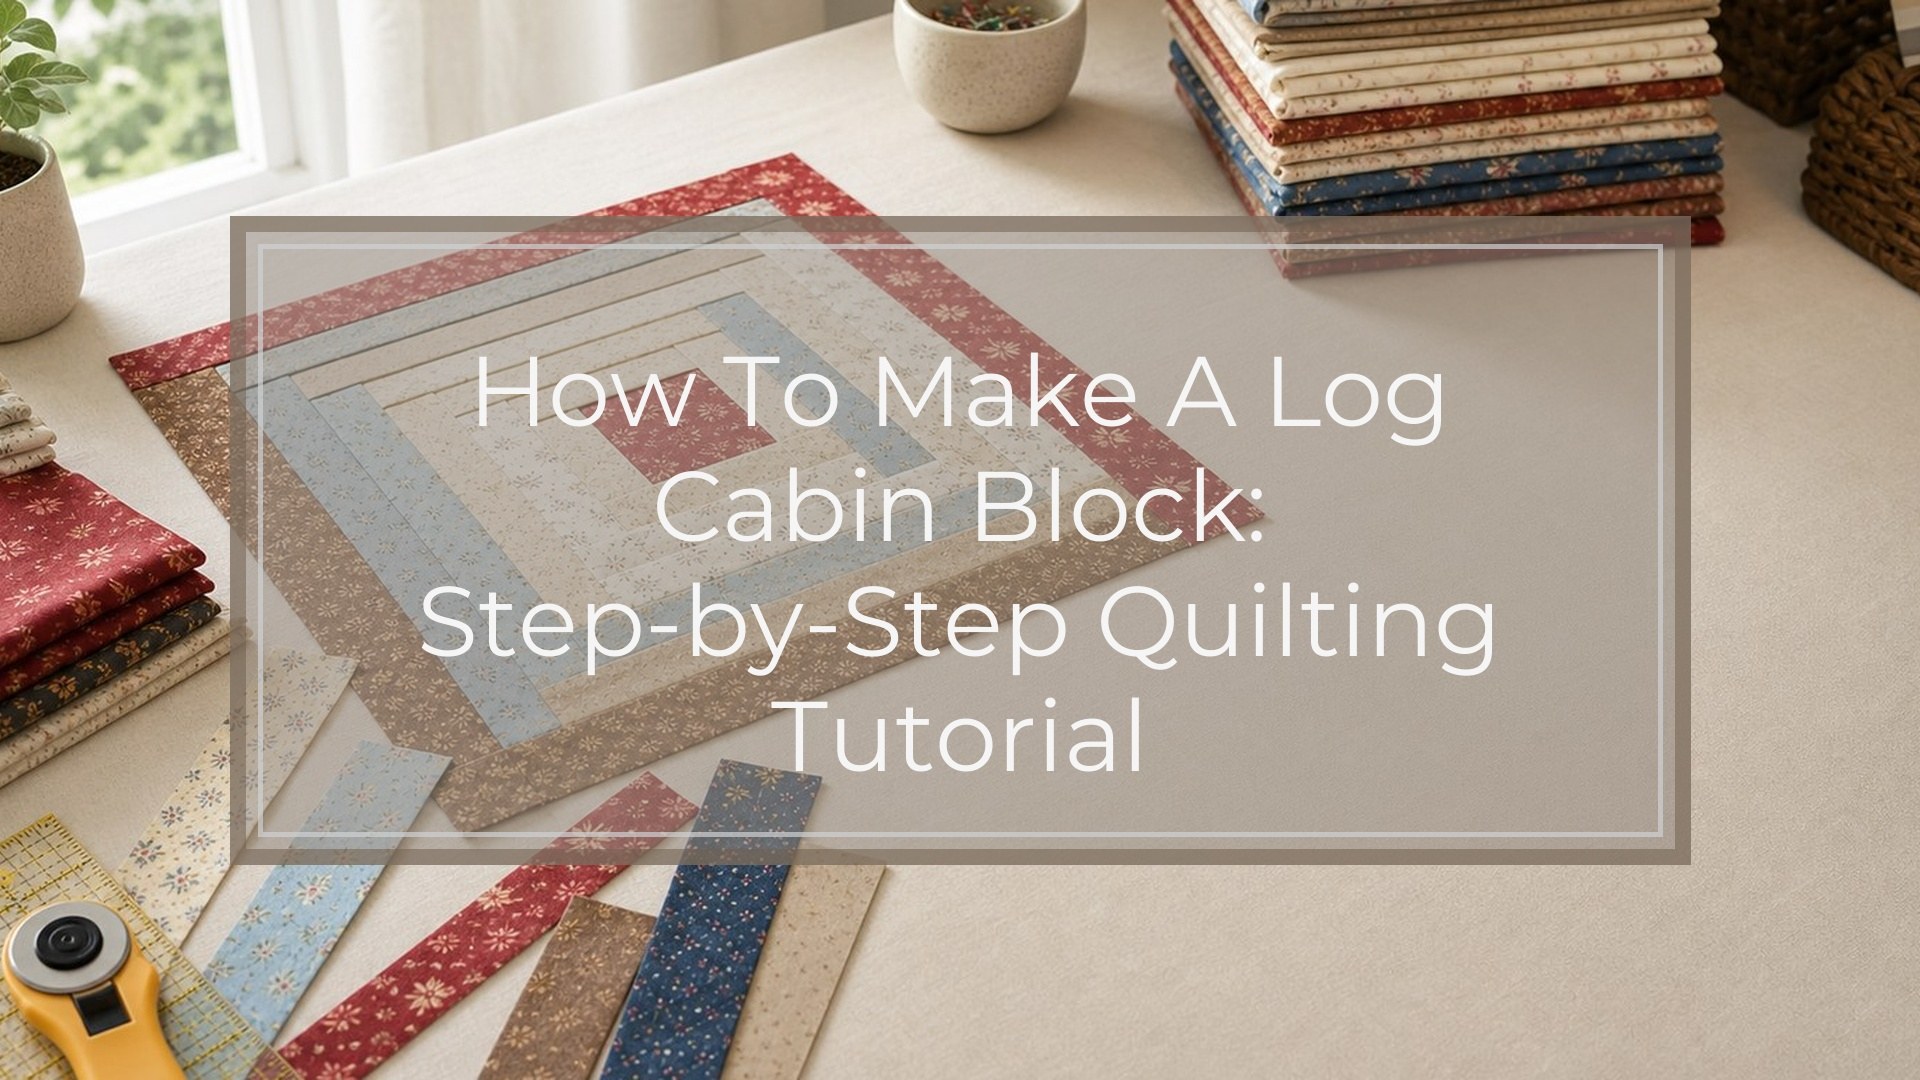
Quick Answer
To make a log cabin block, cut a center square and several strips of equal width. Sew the first strip to one side of the square, press the seam, then sew the next strip to the adjacent side. Continue adding strips around the center in a clockwise or counterclockwise direction until the block reaches the size you want. Trim the finished block so the edges are square and the final measurement is accurate.
The main takeaway: a log cabin block is not sewn in rows. It is built outward from the center, one strip at a time.
A simple beginner version uses:
- One center square
- Light fabric strips for two adjacent sides
- Dark fabric strips for the opposite two adjacent sides
- A 1/4-inch seam allowance
- Pressing after every seam
- Final trimming for accuracy
For example, if you use 2 1/2-inch-wide strips and a 2 1/2-inch center square, each finished log will be 2 inches wide after seam allowances. This is a common beginner-friendly size because the pieces are large enough to handle easily.
The sewing order matters more than the exact colors. Choose a direction and stay consistent. If you add one strip to the right side of the center, rotate the block and add the next strip to the next side. Keep going around the block in the same direction. This creates the familiar spiral structure.
Before sewing, lay out your pieces beside the machine or label them in order. That prevents the most common beginner mistake: sewing a strip to the wrong side or using the wrong length. After the block is complete, measure it, trim it square, and check that the center looks straight rather than twisted.
How to Think About This Topic
The easiest way to understand how to make a log cabin block is to picture building a frame around a small picture. The center square is the picture. Each strip you add is another piece of the frame. Instead of sewing long rows together, you are wrapping the center with strips, one side at a time.
This mental model helps because beginners often expect quilt blocks to be assembled like a grid. A nine-patch block, for example, is made from small squares arranged in rows. A log cabin block is different. Its design comes from growth and rotation. Every new strip changes the size of the unit, and the next strip must be long enough to cover the new side.
A traditional log cabin block usually has a light half and a dark half. If you place light strips on two neighboring sides and dark strips on the other two neighboring sides, the finished block will have a strong diagonal line from corner to corner. That contrast is what allows log cabin blocks to create many quilt layouts, such as barn raising, straight furrows, and chevrons. For this tutorial, though, focus only on making one accurate block.
Think of the block in three parts:
- The center square
This is the starting point. Traditionally, the center is red or warm-colored, but you can use any fabric. A high-contrast center makes it easier to see the structure.
- The logs
These are the strips sewn around the center. They are usually the same width, but their lengths increase as the block grows.
- The final square-up
Even careful sewing can create tiny shifts. Trimming at the end makes the block easier to join with other blocks later.
Accuracy matters because small errors multiply. If your seam allowance is too wide, the block will shrink. If it is too narrow, the block will grow. If strips are cut crooked, the block may lean or ripple. This does not mean you need perfection, but it does mean you should slow down at the cutting and pressing stages.
Pressing is also part of construction, not just finishing. Press each seam before adding the next log. Most quilters press seams toward the newly added strip because it keeps the block flatter and reduces bulk near the center. Use an up-and-down motion with the iron rather than dragging it across the fabric, which can stretch the strips out of shape.
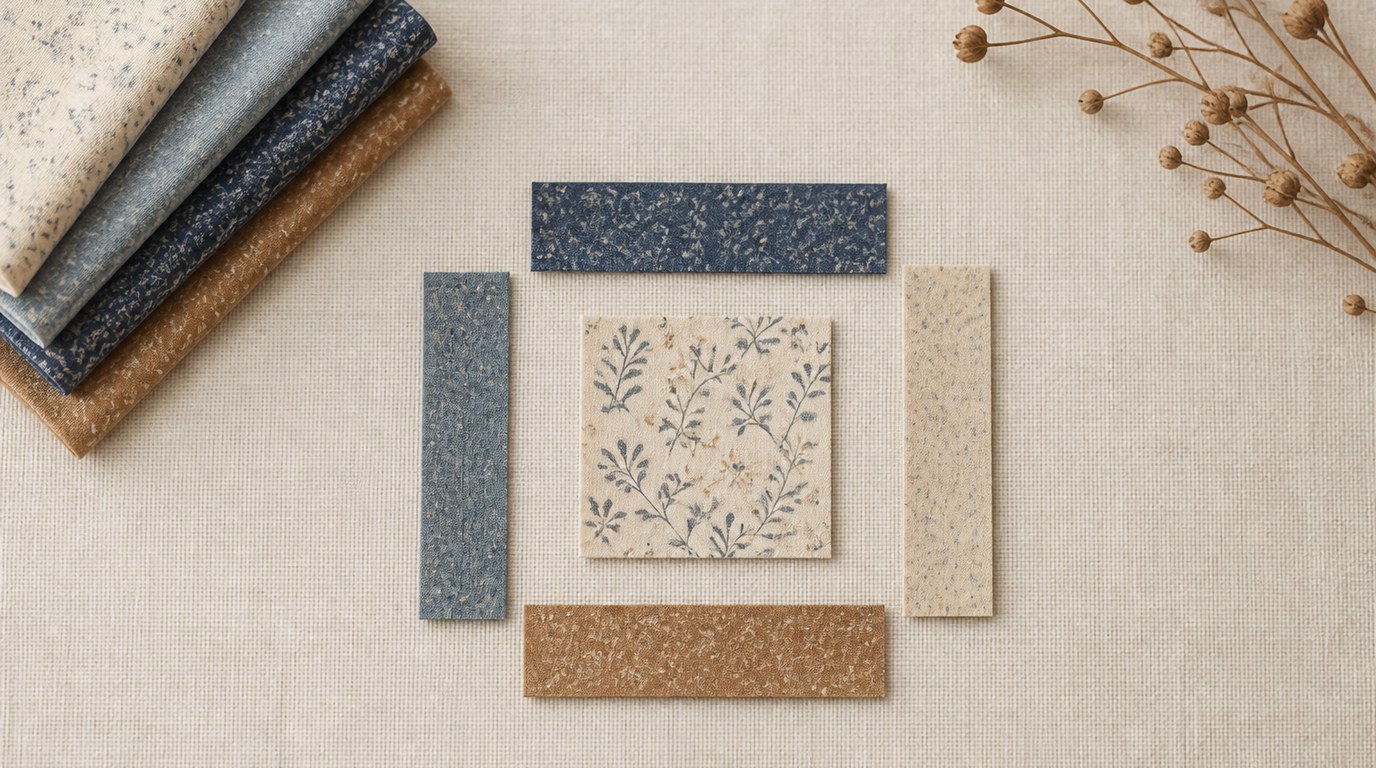
Fabric choice affects how clearly the block reads. For a first block, choose fabrics that are easy to distinguish: two or three light prints and two or three dark prints. Avoid using all medium-value fabrics, because the log cabin design may disappear. If you are unsure, take a quick photo in black and white. The light and dark areas should still look different.
The goal is not just to sew strips together. The goal is to control direction, contrast, and measurement so the block finishes square. Once that makes sense, the step-by-step process becomes much easier.
Practical Guidance
For a beginner-friendly block, use 2 1/2-inch-wide strips. The following example makes one classic log cabin block that finishes at about 10 inches in a quilt, or 10 1/2 inches unfinished before it is sewn into a quilt.
You will need:
- Quilting cotton fabric
- Rotary cutter, ruler, and cutting mat
- Sewing machine
- Neutral thread
- Iron and pressing surface
- Square ruler for trimming
- Pins or clips, if desired
Use a consistent 1/4-inch seam allowance for every seam.
Here is a simple cutting reference for one block using 2 1/2-inch-wide pieces:
| Piece | Fabric value | Cut size |
|---|---|---|
| — | —: | —: |
| Center square | Accent | 2 1/2" x 2 1/2" |
| Log 1 | Light | 2 1/2" x 2 1/2" |
| Log 2 | Light | 2 1/2" x 4 1/2" |
| Log 3 | Dark | 2 1/2" x 4 1/2" |
| Log 4 | Dark | 2 1/2" x 6 1/2" |
| Log 5 | Light | 2 1/2" x 6 1/2" |
| Log 6 | Light | 2 1/2" x 8 1/2" |
| Log 7 | Dark | 2 1/2" x 8 1/2" |
| Log 8 | Dark | 2 1/2" x 10 1/2" |
This cutting plan creates a balanced block with two rounds of logs around the center. If you want a larger block, continue the same pattern by adding longer strips.
Start by laying the center square on your work surface. Place Log 1 right sides together with the center square. Sew along one edge using a 1/4-inch seam. Press the seam toward Log 1.
Next, add Log 2 to the side made by the center square plus Log 1. This strip should cover the full length of that new edge. Sew, then press toward Log 2.
Rotate the block in the same direction each time. Add Log 3 to the next side, sew, and press. Add Log 4 to the next side, sew, and press. At this point, the center should be surrounded on all four sides, with light fabric on two adjacent sides and dark fabric on two adjacent sides.
Continue with Log 5, Log 6, Log 7, and Log 8 in the same rotation. Do not flip the block randomly between steps. Keep the same sewing direction so the spiral remains consistent.
A practical way to avoid confusion is to stack the logs in sewing order before you begin. Put Log 1 on top, then Log 2, and so on. You can also place a small paper label beside each strip. This is especially useful if several strips are close in length.
After the final strip is attached, press the whole block from the front. Check that seams lie flat and that the block does not have waves at the edges. Then place a square ruler over the block and trim it to 10 1/2 inches square, or to the size your pattern requires. Keep the center visually straight as you trim.
If the block is slightly too small, check your seam allowance first. A seam that is even 1/16 inch too wide can reduce the final size noticeably. If the block is too large, your seam allowance may be too narrow, or some strips may have stretched during pressing.
Common mistakes include cutting all strips the same length, skipping pressing between seams, mixing up light and dark placement, and changing rotation direction halfway through. Another common issue is pulling the fabric while sewing. Let the feed dogs move the fabric naturally; guide it, but do not stretch it.
If your first block is not perfect, make one more before cutting fabric for a full quilt. The second block is often much more accurate because your hands understand the rotation and pressing rhythm. Once you can make one clean log cabin block, you can repeat the process for as many blocks as your quilt requires.
FAQ
What Should a Beginner Know First About How to Make a Log Cabin Block?
A beginner should know that a log cabin block is built from the center outward. You sew one strip at a time around a center square, pressing after each seam. The order of the strips and a steady 1/4-inch seam allowance are the keys to success.
What Matters Most When Evaluating How to Make a Log Cabin Block?
The most important things are accurate cutting, consistent seam allowance, clear light-and-dark placement, and careful pressing. If those four elements are controlled, the block will usually finish square and the log cabin pattern will be easy to see.
What Mistakes Should Readers Avoid with How to Make a Log Cabin Block?
Avoid sewing strips in the wrong order, changing rotation direction, stretching fabric while pressing, and guessing strip lengths. Also avoid using fabrics that are too similar in value for your first block, because the classic light-and-dark design may not show clearly.
What Is the Next Logical Step After Learning About How to Make a Log Cabin Block?
After making one accurate block, make several more using the same measurements and color placement. Then experiment with arranging the blocks in different directions. The same basic block can create many quilt layouts simply by rotating the finished blocks.