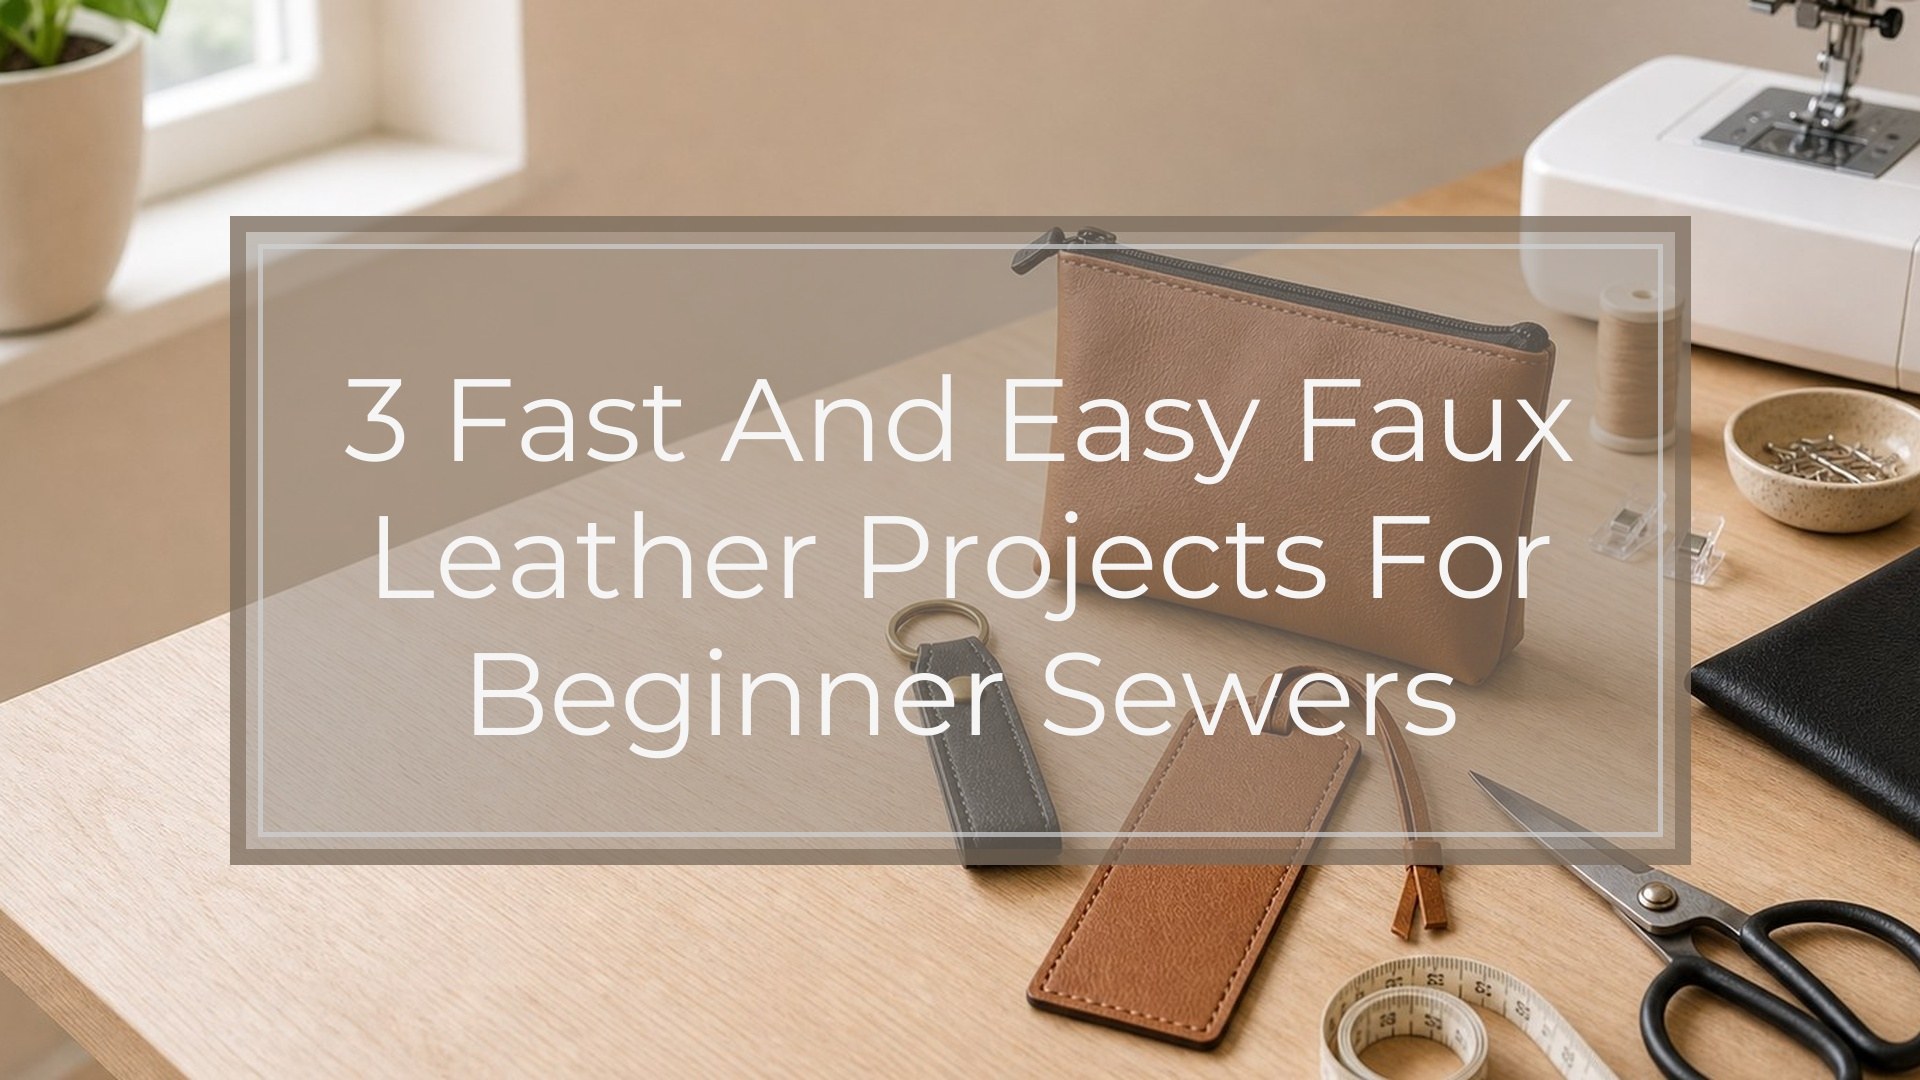
Faux leather is a great material for quick sewing because it does not fray, looks polished with very little finishing, and works well for small practical items. These 3 fast and easy faux leather projects are beginner-friendly, useful, and achievable with basic sewing tools.
| Project | Best For | Main Skills |
|---|---|---|
| Key fob | Fastest first project | Straight stitching, hardware |
| Snap pouch | Small storage | Folding, topstitching, snaps |
| Card wallet | Everyday use | Layering, neat edges |
Before You Start: Tips for Sewing Faux Leather
Faux leather behaves differently from cotton fabric. The main thing to remember is that every needle hole is permanent, so avoid pinning through visible areas. Use sewing clips, binder clips, or small pieces of tape instead.
A leather needle or sharp denim needle usually works best. Lengthen your stitch slightly, often around 3.0 to 3.5 mm, so the seam does not perforate the faux leather like a tear-off strip. If the material sticks under the presser foot, try a Teflon foot, walking foot, roller foot, or a strip of tissue paper over the surface while stitching.
Most small faux leather projects do not need seam finishing because the cut edges will not unravel. That is what makes them quick. Cut carefully with a rotary cutter and ruler, test your stitch on a scrap, and keep designs simple.
Project 1: Fast Faux Leather Key Fob
A faux leather key fob is the quickest project in this roundup and a good way to test your machine settings. It uses a small strip of faux leather, a key fob clamp or key ring, and a few lines of stitching.
Cut a rectangle long enough to fold comfortably around your wrist or make a short tab. Common sizes are about 1 inch wide by 8 to 10 inches long for a wristlet, or shorter for a basic key tab. Fold the strip wrong sides together, clip it in place, and topstitch along both long edges. If your faux leather is thin, you can place a narrow strip of stabilizer or another layer inside for more body.
Finish by folding one end through the key fob hardware and securing it according to the hardware style. Some clamps squeeze shut with pliers; others work with rivets or stitching.
Easy variations include using metallic faux leather, adding a contrast thread color, or cutting the end into a rounded or angled shape before attaching the hardware.
Project 2: Easy Faux Leather Snap Pouch
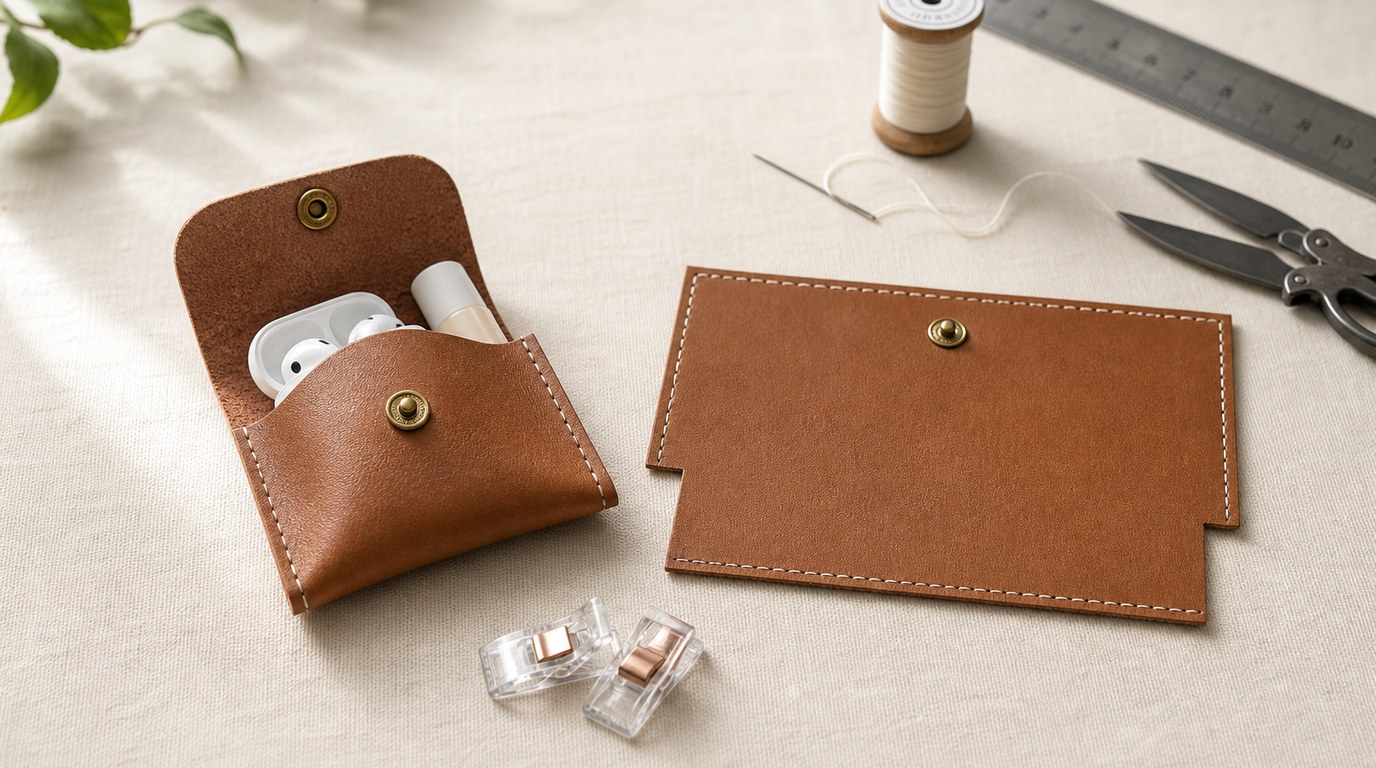
A snap pouch is still simple, but it feels more like a finished accessory. It is useful for earbuds, lip balm, coins, sewing clips, or small tools. Because faux leather holds its shape, even a basic folded pouch can look neat and structured.
Start with one rectangle of medium-weight faux leather. The exact size depends on what you want to store, but a piece around 4 by 9 inches works well for a small pouch. Fold the bottom up to create the pocket, leaving enough extra at the top to fold over as a flap. Clip the sides together and check that the flap covers the opening nicely.
Stitch up both sides of the pocket, backstitching carefully at the top edges for strength. If you want a cleaner flap, round the corners with a small cup or template before sewing. Add a snap to the flap and front layer, following the instructions for your snap setter.
For a softer look, choose pebbled faux leather. For a more modern style, use smooth faux leather and contrasting snaps. Keep the shape simple; the neat fold and snap do most of the work.
Project 3: Simple Faux Leather Card Wallet
A card wallet is the most structured of these 3 fast and easy faux leather projects, but it is still beginner-friendly because it uses small pieces and mostly straight seams. It is ideal for gift cards, business cards, transit cards, or a few everyday essentials.
Cut one back piece and two pocket pieces. A typical card wallet can be made from a back rectangle about 3 by 4 inches, with two shorter pocket rectangles layered on top. Before sewing, test the size with an actual card and leave a little ease so the card slides in and out without strain.
Layer the pocket pieces on the back piece with wrong sides together, aligning the outside edges. Clip everything securely. Stitch around the sides and bottom, leaving the top pocket openings unstitched. Use a slightly longer stitch and sew slowly over bulky areas. If the wallet feels too thick, switch to a thinner faux leather or use only one pocket layer for your first attempt.
You can leave the edges raw for a clean minimalist finish, or trim them with a rotary cutter after sewing to make all layers even. Variations include a curved pocket top, a diagonal front pocket, or two different faux leather colors for contrast.
Which Faux Leather Project Should You Make First?
Choose the key fob if you want the fastest win or if you are testing faux leather for the first time. It uses the least material and is forgiving.
Choose the snap pouch if you want something practical with a closure but not much measuring. It is a good next step after learning basic topstitching.
Choose the card wallet if you are comfortable sewing through layers and want a small everyday item that looks more polished.
Finishing Tips for Neater Faux Leather Projects
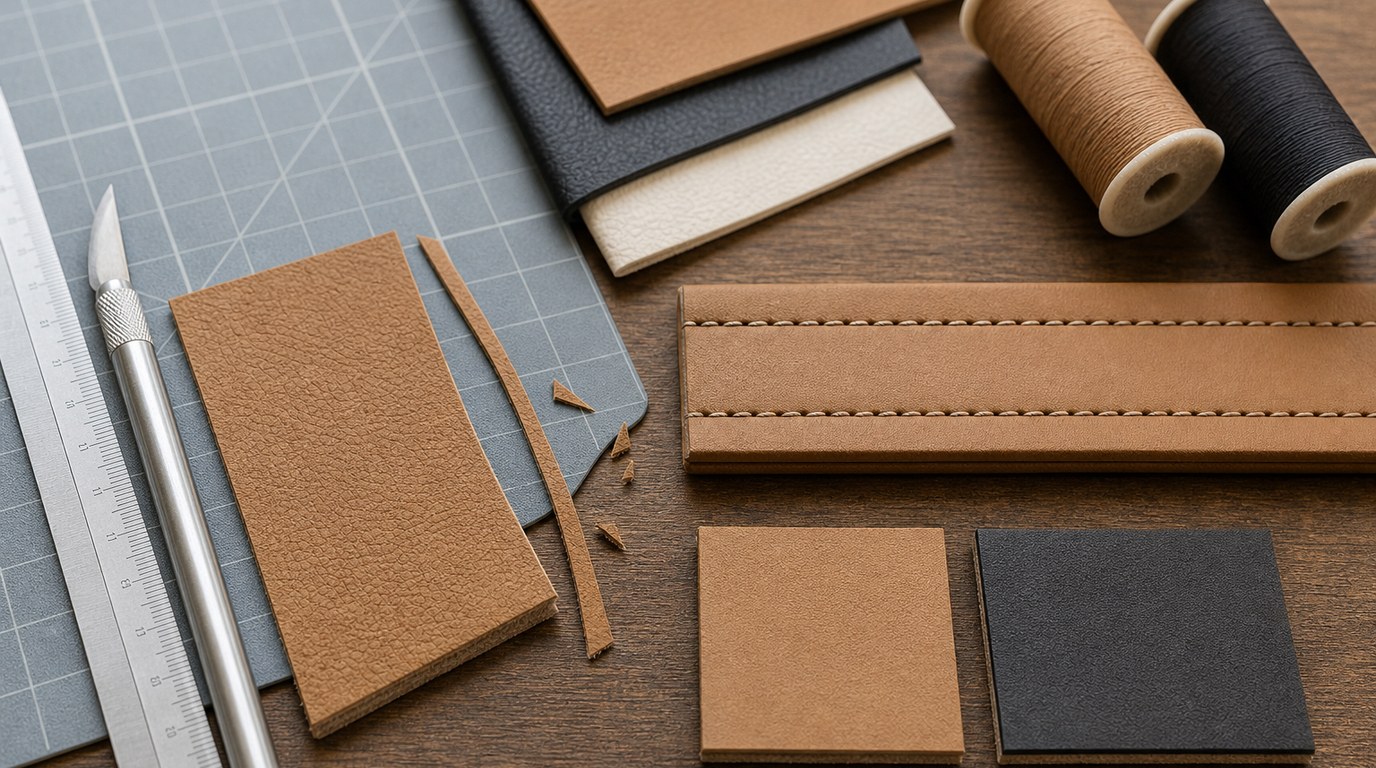
Neat cutting matters as much as neat stitching. Use a sharp blade, a ruler, and firm pressure so edges look clean from the start. Trim uneven layers after sewing rather than trying to hide them with extra stitching.
Use matching thread for a subtle finish or contrast thread only if you are confident sewing straight lines. Pressing is tricky with faux leather, so use finger pressure, clips, and low heat only after testing a scrap. For hardware, protect the surface with fabric before using pliers.
FAQ
What Should a Beginner Know First About 3 Fast and Easy Faux Leather Projects?
A beginner should know that faux leather does not fray, which makes small projects faster to finish. However, needle holes are permanent, so use clips instead of pins, test your stitch length on scraps, and start with a simple shape before adding pockets or hardware.
What Matters Most When Evaluating 3 Fast and Easy Faux Leather Projects?
The best project depends on your time, supplies, and comfort level. A key fob is fastest, a snap pouch adds a useful closure, and a card wallet teaches simple layering. Also consider faux leather thickness, because bulky material can be harder for a basic machine.
What Mistakes Should Readers Avoid with 3 Fast and Easy Faux Leather Projects?
Avoid pinning through visible areas, using stitches that are too short, and choosing faux leather that is too thick for your machine. Do not rush hardware placement. For pouches and wallets, test the size with the item you plan to store before sewing.
What Is the Next Logical Step After Learning About 3 Fast and Easy Faux Leather Projects?
After these projects, try customizing the same ideas before moving on to larger bags. Add contrast stitching, shaped flaps, rivets, labels, or extra pockets. Once you are comfortable with layers and hardware, a small crossbody pouch or zippered faux leather bag is a natural next project.