Selling crafts online starts with a focused product, a clear buyer, and a price that covers more than materials. Before opening a shop, decide what you will sell, who it is for, why it is worth buying, and how you will make and ship it consistently.
A simple path works best: choose one small product line, calculate real costs, pick one or two selling platforms, create trustworthy listings, prepare packaging, and promote where your likely buyers already spend time. For sewists and needlework makers, that might mean embroidered hoops, quilted table runners, reusable fabric bags, mending kits, or custom baby gifts. Start narrow, learn from real orders, and improve steadily.
Start with a Craft Product People Can Understand
The easiest crafts to sell online are clear, useful, giftable, or visually appealing at a glance. A buyer should understand what the item is, who it is for, and why they might want it within a few seconds.
Instead of opening with “I sell handmade sewing projects,” narrow your idea into a specific product group. For example:
- Quilted zipper pouches for makeup, notions, or travel
- Embroidered name hoops for nurseries
- Reusable fabric bowl covers in coordinated sets
- Cross-stitch bookmarks for book lovers
- Handmade needle books for sewists
A focused product line helps you buy materials wisely, take better photos, write clearer listings, and repeat your process without reinventing every order.
Before committing, test whether the item is practical to make more than once. Ask yourself: Can I make it consistently? Can I source the fabric or thread again? Is it sturdy enough to ship? Does it solve a problem, decorate a space, or make a good gift? A beautiful one-off project may be enjoyable, but a sellable product needs repeatability.
Define Your Buyer and What Makes Your Crafts Different
You do not need a complicated brand strategy, but you do need to know who your craft is for. “Everyone” is too broad. A quilted tote for busy teachers, a hand-embroidered baby keepsake for new parents, and a project bag for knitters each need different photos, descriptions, and price expectations.
Write a simple buyer sentence: “I make ___ for ___ who want ___.” For example: “I make washable fabric snack bags for parents who want a cheerful, reusable lunchbox option.”
Then define what makes your work different. It may be your fabric choices, careful finishing, personalization, local materials, heirloom style, practical design, or eco-friendly packaging. This difference does not need to be dramatic. It just needs to give buyers a reason to choose your handmade item over a cheaper mass-produced version.
Price Your Crafts for Profit, Not Just Materials

A common beginner mistake is pricing handmade crafts by adding up fabric, thread, and packaging only. That ignores your labor, selling fees, tools, electricity, mistakes, and profit. If you do that, you may sell items but still lose money.
Use a simple pricing formula:
Materials + labor + overhead + fees + profit = retail price
Materials include fabric, interfacing, batting, floss, beads, labels, boxes, mailers, tissue, and care cards. Labor is the time you spend cutting, sewing, pressing, finishing, photographing, packing, and communicating about the order. Choose an hourly rate and include it honestly.
Overhead covers smaller costs that are harder to assign to one item: sewing machine maintenance, blades, needles, printer ink, website fees, storage bins, and studio supplies. You can add a small percentage or a flat amount per item.
Selling fees vary by platform, so check transaction fees, payment processing, listing fees, and advertising costs before setting prices. Profit is not the same as paying yourself for labor. Profit helps you grow, replace tools, buy materials in advance, and handle slow months.
For example, if a zipper pouch uses $6 in materials, takes 45 minutes at $18 per hour, has $2 overhead, $3 estimated fees, and $5 profit, the price is about $29.50. If that feels too high for your market, change the design, reduce production time, or sell a higher-value version. Do not simply remove your pay.
Choose the Best Place to Sell Your Crafts Online
You do not need to sell everywhere at once. Beginners usually do better by choosing one main shop platform and one supporting promotional channel. The best choice depends on your budget, time, technical comfort, and whether you already have an audience.
| Platform | Best for | Main advantage | Watch out for |
|---|---|---|---|
| Etsy or similar marketplaces | Beginners selling handmade goods | Built-in search traffic from craft buyers | Competition, fees, and limited control |
| Your own website | Makers building a long-term brand | More control over design, email list, and customer experience | You must bring your own traffic |
| Social commerce | Sellers with active Instagram, Facebook, or TikTok audiences | Easy to show process and personality | Algorithms change; sales tools vary |
| Local marketplace groups | Custom or local pickup items | Quick testing and community trust | Less scalable and more message management |
For many sewing and needlework sellers, a marketplace is the simplest starting point because buyers are already searching for handmade gifts. A personal website can come later when you understand your best products and want more control.
If you already have an engaged social following, you may start with direct sales through posts, messages, or a simple shop link. Whatever you choose, keep it manageable. A polished Etsy shop with 10 strong listings is better than five neglected storefronts.
Set up a Simple, Trustworthy Shop
Online buyers cannot touch your fabric, inspect your stitching, or meet you in person, so your shop must create trust quickly. Start with the basics: a clear shop name, a recognizable logo or photo, an honest about section, and policies for shipping, returns, cancellations, and custom orders.
Use plain language. Explain whether items are ready to ship or made to order. State processing times clearly, especially for embroidered, personalized, or quilted items that take longer. If you accept custom fabric choices or names, describe exactly what the buyer needs to provide.
Add a short maker story, but keep it relevant. Mention your sewing experience, materials, or care standards. A sentence like “Each pouch is sewn in my home studio with reinforced seams and washable cotton fabric” is more helpful than a long life story.
Trust grows when buyers know what to expect.
Create Listings That Help Buyers Say Yes
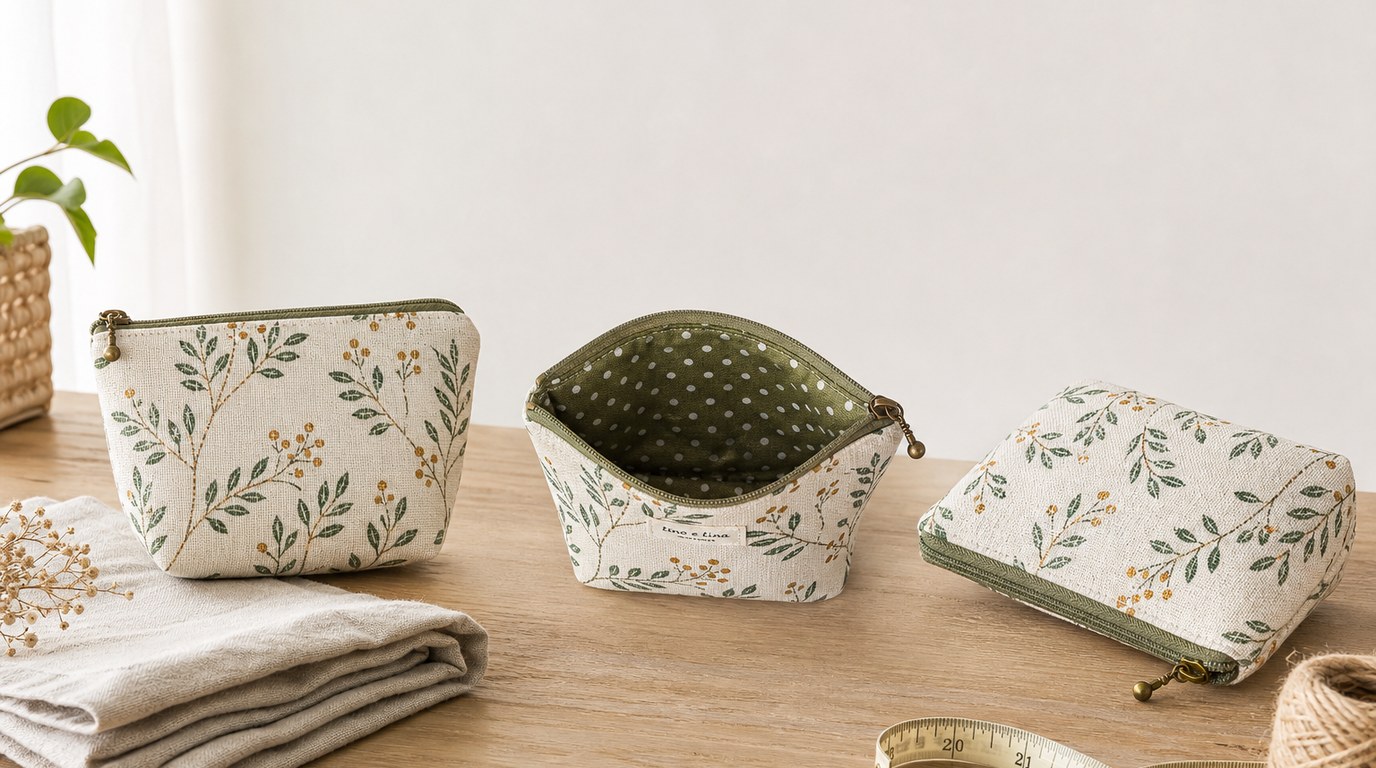
A strong listing answers the buyer’s questions before they have to ask. It should show the item clearly, explain the details, and reduce uncertainty about size, color, use, and care.
Start with photos. Use natural light, a clean background, and several angles. For fabric crafts, show texture, lining, closures, scale, and any interior pockets. Include one photo with the item in use: a project bag holding yarn, a pouch beside makeup brushes, or an embroidered hoop on a nursery shelf. If size matters, include a ruler, hand, or common object for comparison.
Your title should include the words buyers might search for, while still reading naturally. For example: “Quilted Zipper Pouch, Floral Cotton Makeup Bag, Handmade Travel Organizer” is clearer than “Pretty Handmade Bag.”
In the description, cover:
- What the item is
- Dimensions
- Materials
- Color and pattern notes
- How it can be used
- Care instructions
- Processing and shipping time
- Personalization options, if any
Be specific about handmade variation. Fabric placement may differ, thread colors may look slightly different on screens, and small variations are normal. This reassures buyers without making the item seem inconsistent.
Finally, write for benefits as well as features. “Fully lined with no exposed seams” is a feature. “So loose threads will not catch on your sewing notions” explains why it matters.
Plan Packaging, Shipping, and Delivery Before Orders Arrive
Do not wait until your first sale to figure out shipping. A smooth fulfillment process protects your item, your profit, and your customer experience.
Choose packaging that fits the product. Fabric items often ship well in rigid mailers, padded mailers, or boxes depending on structure. Embroidered hoops, delicate ornaments, and framed needlework may need extra support so they do not bend or crack. Add a simple care card, thank-you note, or branded sticker if it fits your budget.
Weigh and measure packaged items before listing them so you can estimate postage accurately. Decide whether you will charge shipping separately, offer free shipping by building it into the price, or use flat-rate shipping for similar items.
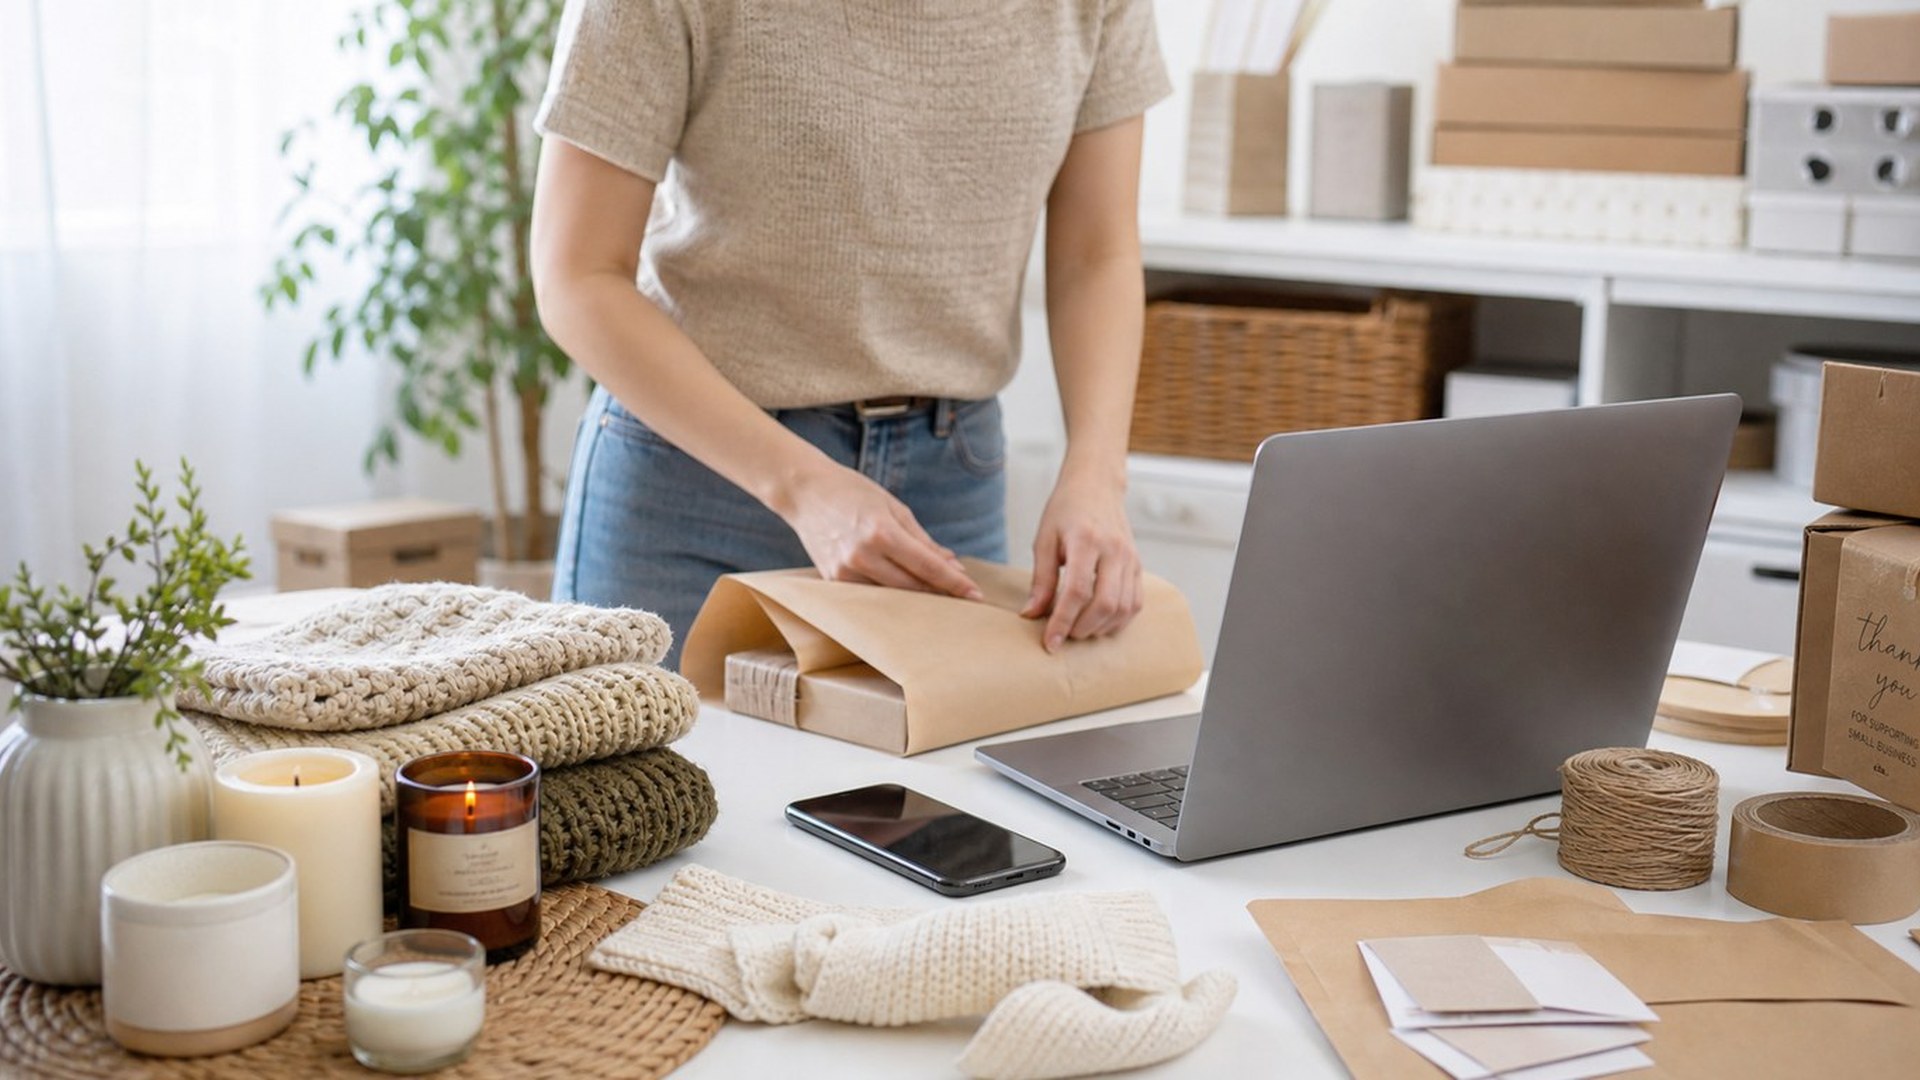
Create a basic packing station with mailers, labels, tape, tissue, scale, and finished inventory. Track order dates, ship-by dates, and tracking numbers. Clear delivery expectations reduce anxious messages and make your shop feel professional from the first order.
Promote Your Crafts Without Trying Every Marketing Tactic
Marketing handmade crafts works best when it is consistent and realistic. You do not need to post on every platform, make daily videos, run ads, and start a newsletter all at once. Pick one or two actions you can maintain.
Show the product in ways buyers care about. For sewing and needlework, useful content might include fabric selection, work-in-progress photos, before-and-after embroidery, gift ideas, care tips, or short videos of a pouch being packed for shipping. Process content helps people appreciate the time and skill behind the price.
Use keywords in your product titles, listing tags, captions, and shop descriptions. Think like a buyer: “linen embroidery hoop,” “teacher gift zipper pouch,” “quilted project bag,” or “personalized baby name wall art.”
Encourage early buyers to leave reviews, and follow platform rules about how you ask. Reviews are powerful because they reduce risk for future customers.
If you sell locally too, connect online promotion with craft fairs, guild groups, sewing circles, or community events. A customer who sees your work in person may reorder online later.
Track What Sells and Improve One Step at a Time
Once your shop is live, do not judge success by one week of results. Track patterns over time. Note which listings get views, favorites, questions, and sales. Pay attention to which photos attract clicks, which price points convert, and which products are easiest to make profitably.
Keep a simple spreadsheet with product cost, time to make, sale price, fees, shipping cost, and profit. This shows which items are actually worth repeating.
Improve one thing at a time: retake photos, adjust titles, refine descriptions, test a new fabric collection, or bundle related items. Sustainable growth comes from learning what buyers respond to and making your process easier, not constantly starting over.
FAQ
What Should a Beginner Know First About How to Sell Your Crafts Online?
Start with one clear product line instead of many unrelated crafts. Make sure the item is repeatable, priced for profit, easy to describe, and practical to ship. A small, focused shop is easier to manage and improve than a scattered collection.
What Matters Most When Evaluating How to Sell Your Crafts Online?
The most important factors are product demand, pricing, platform fit, listing quality, and fulfillment. Beautiful crafts still need clear photos, accurate descriptions, fair shipping, and a price that pays for materials, labor, fees, and profit.
What Mistakes Should Readers Avoid with How to Sell Your Crafts Online?
Avoid underpricing, copying other makers, using poor photos, offering too many custom options, and opening shops on too many platforms at once. Also avoid selling items before you know packaging costs, processing time, and whether you can make them consistently.
What Is the Next Logical Step After Learning About How to Sell Your Crafts Online?
Choose one product idea and cost it properly. Then make a small batch, photograph it well, and create listings on one suitable platform. After your first views, questions, or sales, use that feedback to improve your product, pricing, and presentation.