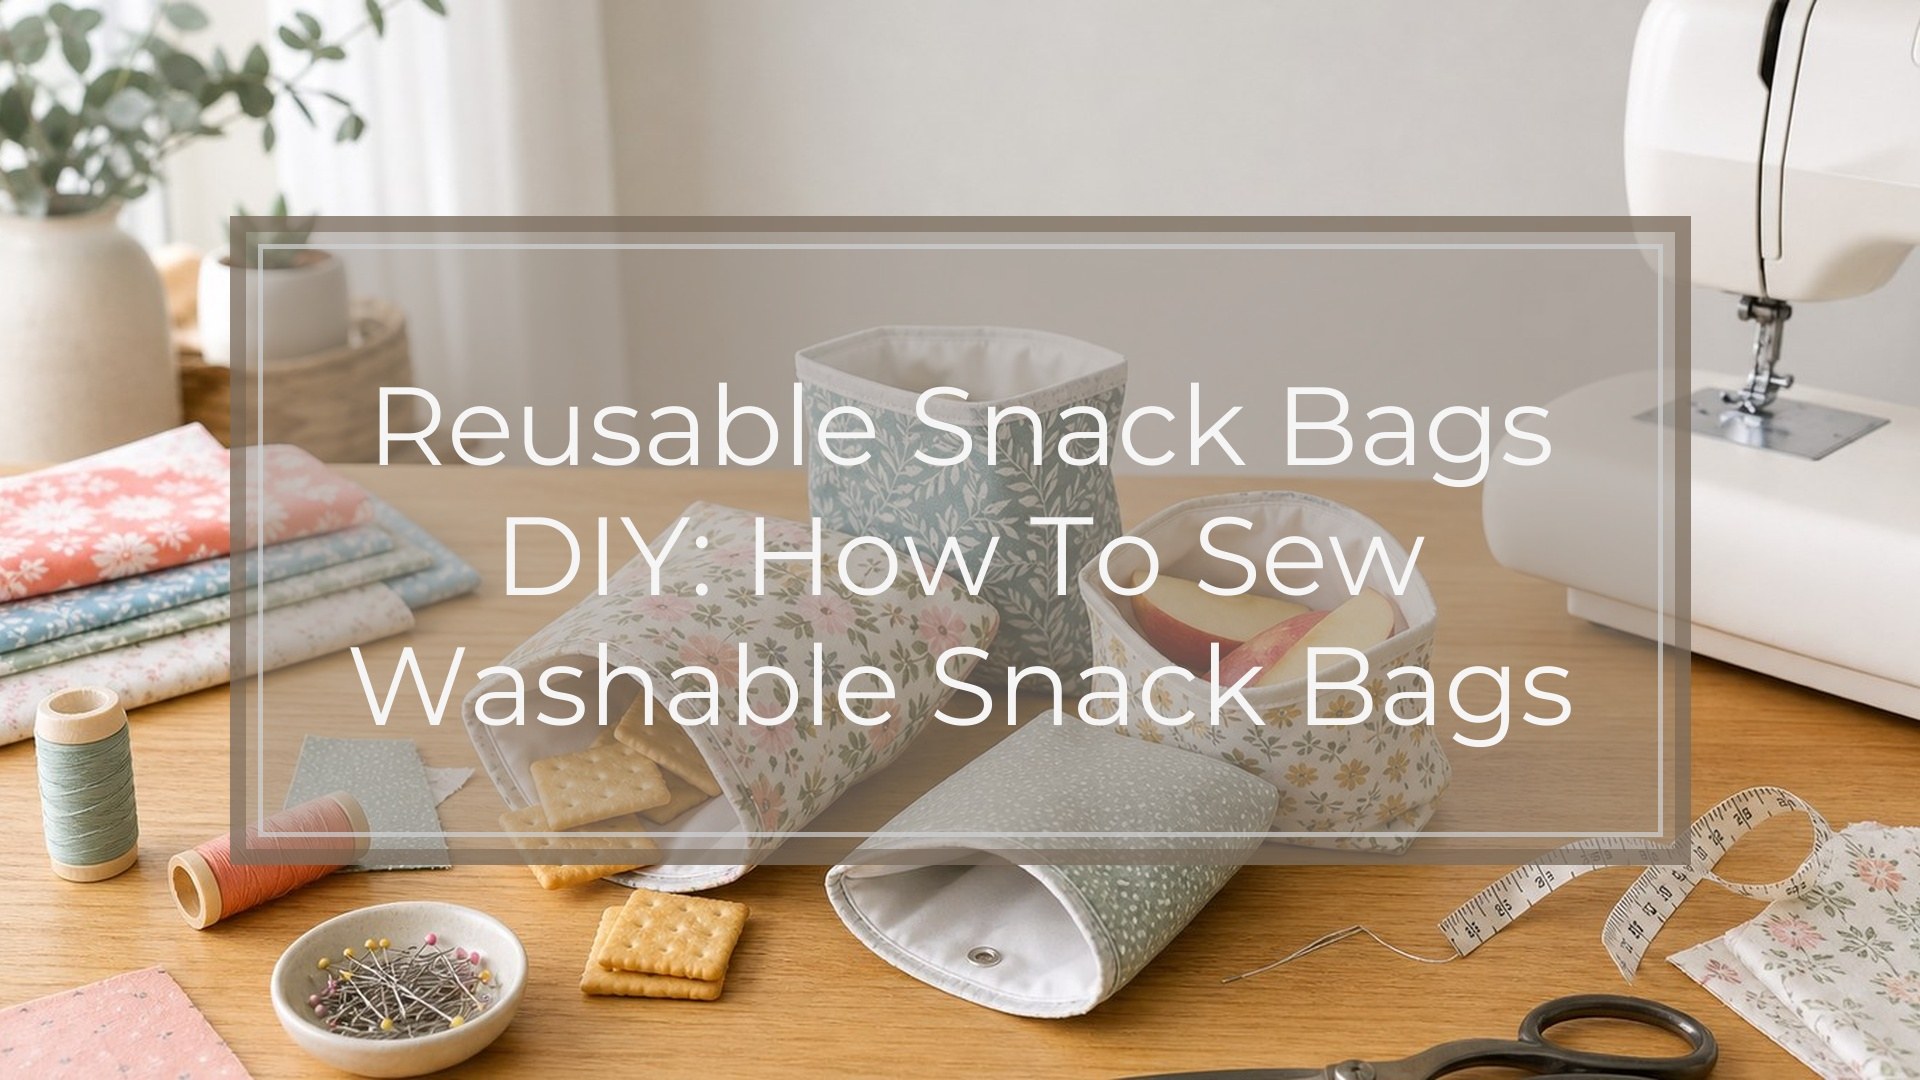
Reusable snack bags are small, washable fabric pouches you can sew at home for crackers, pretzels, dry cereal, sliced fruit in a lunchbox, or other everyday snacks. The simplest version uses two rectangles of outer fabric, two rectangles of lining, and a hook-and-loop closure at the top.
For a beginner-friendly reusable snack bags DIY project, choose cotton for the outside and a washable, food-safe lining for the inside. Sew the outer and lining pieces into a pouch, turn it right side out, topstitch the opening, then fold and stitch the sides to form the finished bag. This project is quick, practical, and a good way to practice straight seams, turning corners, and topstitching.
What You’ll Make: a Simple Washable Snack Bag
This tutorial makes one flat reusable snack bag with a fold-over style opening and a hook-and-loop closure. Think of it as a lined fabric envelope: the outside gives the bag structure and style, while the lining creates a wipeable or washable surface for snacks.
The bag starts as a long lined rectangle. After sewing and turning, you fold the bottom up, stitch the side seams, and add the closure so the top flap folds over securely. The finished bag is best for dry or lightly moist snacks, not liquids or very saucy foods.
Supplies and Tools
Gather everything before you cut so the sewing process feels smooth.
You will need:
- Outer fabric, such as quilting cotton, canvas, or cotton duck
- Lining fabric, such as food-safe PUL, ripstop nylon, or tightly woven cotton
- Hook-and-loop tape, about 6 inches total
- Coordinating polyester thread
- Sewing machine
- Universal needle, size 80/12 or 90/14
- Fabric scissors or rotary cutter
- Ruler or measuring tape
- Pins or sewing clips
- Iron and ironing board, if your fabrics can be pressed
- Fabric marker or chalk
- Point turner or chopstick
Sewing clips are especially helpful if you use PUL or coated fabric because pins can leave permanent holes. If you are using cotton only, regular pins are fine.
Choose the Right Fabric and Lining
The best fabric combination depends on what snacks you plan to carry and how you want to clean the bag. For the outside, quilting cotton is easy for beginners and comes in many prints. Canvas or cotton duck is sturdier but slightly bulkier at the seams.
For the lining, choose something washable and appropriate for food contact. Food-safe PUL is popular because it is flexible and water-resistant. Ripstop nylon is lightweight and easy to wipe, but check the manufacturer’s details if food contact matters to you. Tightly woven cotton is the easiest to sew and wash, though it is not moisture-resistant.
Avoid fabrics treated with unknown coatings, glitter, vinyl not labeled for food use, or anything that gives off a strong chemical smell. If you are unsure whether a fabric is food-safe, use it only for the outside and choose a known food-safe lining for the inside.
Reusable Snack Bag Material Options
Use this table to match your fabric choice to your sewing comfort level and intended use.
| Outer Fabric | Lining | Best For | Sewing Difficulty |
|---|---|---|---|
| Quilting cotton | Food-safe PUL | Everyday lunch snacks | Easy to moderate |
| Quilting cotton | Tightly woven cotton | Dry snacks only | Very easy |
| Canvas | Food-safe PUL | Sturdier bags | Moderate |
| Cotton duck | Ripstop nylon | Lightweight, durable bags | Moderate |
| Quilting cotton | Ripstop nylon | Flexible snack pouches | Easy to moderate |
For a first reusable snack bag, quilting cotton plus cotton lining is the easiest. For a more practical lunchbox bag, use quilting cotton with food-safe PUL.
Finished Size and Cutting Measurements
This tutorial makes a snack bag about 6 inches wide by 7 inches tall when closed. It is a useful size for crackers, grapes, cookies, trail mix, or a small sandwich half.
Cut the following pieces:
- Outer fabric: two rectangles, 7 inches wide by 8 inches tall
- Lining fabric: two rectangles, 7 inches wide by 8 inches tall
- Hook-and-loop tape: one hook piece, 5 inches long
- Hook-and-loop tape: one loop piece, 5 inches long
Use a 1/4-inch seam allowance throughout unless noted. If you want a larger bag, cut all fabric pieces 8 inches wide by 9 inches tall. For a smaller snack pouch, cut them 6 inches wide by 7 inches tall.
Before You Sew: Prep the Fabric
Wash and dry cotton fabrics before cutting, especially if the finished bag will be machine washed. This prevents shrinking after the bag is sewn. Press cotton fabric flat so your measurements stay accurate.
Do not press PUL or coated linings directly with a hot iron. If you must smooth them, use low heat, a pressing cloth, and a quick touch only, or skip pressing altogether.
Mark the right and wrong sides of your lining if they are hard to tell apart. For PUL, the shiny or laminated side usually faces the snack.
Step-by-step: How to Sew a Reusable Snack Bag
- Place the outer pieces together.
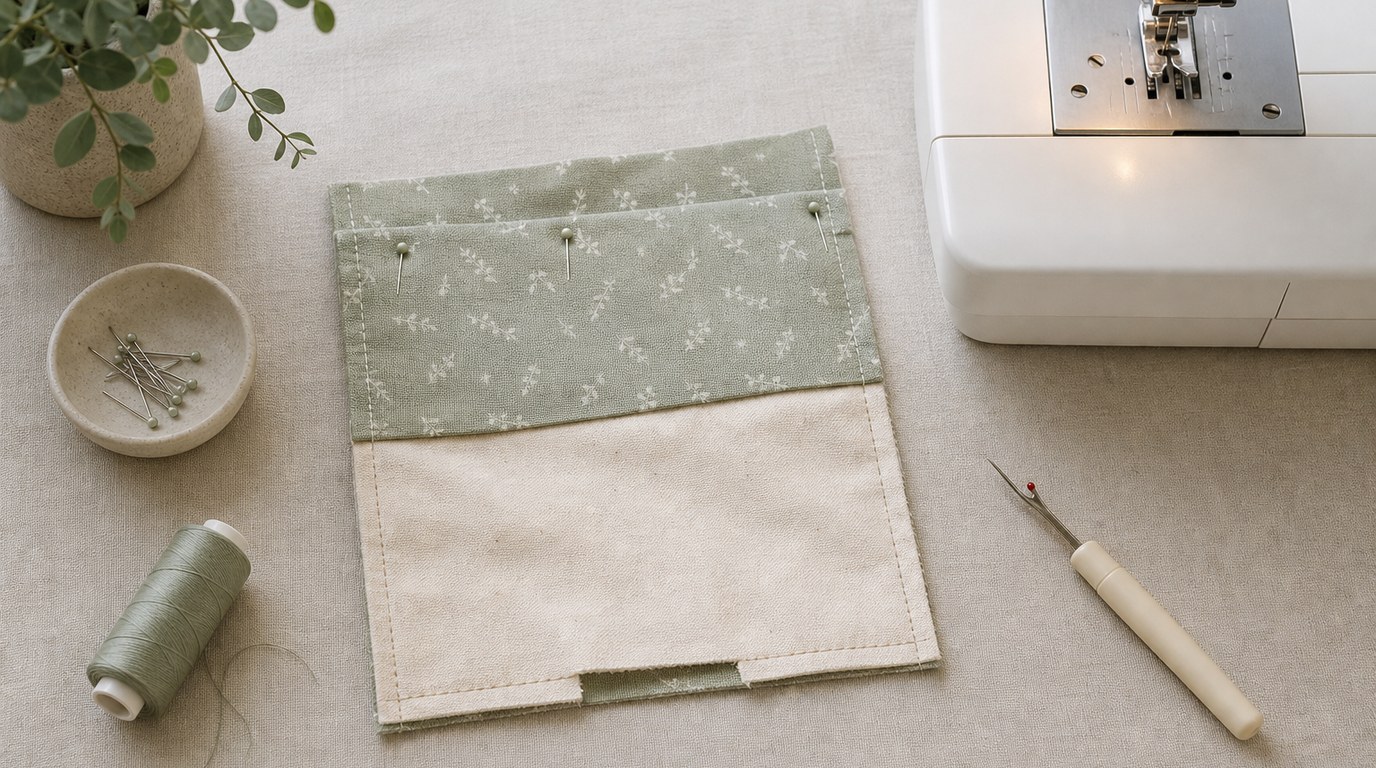
Put the two outer fabric rectangles right sides together. Sew around the sides and bottom using a 1/4-inch seam allowance. Leave the top edge open. Backstitch at the beginning and end.
- Sew the lining pieces.
Place the two lining rectangles right sides together. Sew the sides and bottom, but leave a 3-inch opening along the bottom seam. This opening will let you turn the bag right side out later.
- Trim the corners.
Carefully trim the bottom corners of both the outer bag and lining, cutting close to but not through the stitching. This reduces bulk and helps the corners turn neatly.
- Turn the outer bag right side out.
Use your fingers or a point turner to gently push out the corners. Leave the lining wrong side out.
- Nest the outer bag inside the lining.
Slide the outer bag into the lining so the right sides are touching. Match the side seams and top raw edges. Clip or pin around the top.
- Sew around the top edge.
Stitch all the way around the top opening with a 1/4-inch seam allowance. This joins the outer fabric and lining into one piece.
- Turn the bag right side out.
Pull the outer bag through the opening you left in the lining. Push the lining down inside the outer bag and smooth the top edge with your fingers.
- Close the lining opening.
Fold the raw edges of the lining opening inward. Stitch it closed close to the folded edge. You can do this by machine or with a small hand stitch.
- Topstitch the top edge.
Sew around the top opening about 1/8 inch from the edge. This keeps the lining from rolling outward and gives the bag a cleaner finish.
- Attach the hook-and-loop tape.
Place one strip on the inside front near the top edge. Place the matching strip on the outside back so it meets when the bag closes. Test the fold before sewing. Stitch around each strip in a rectangle, backstitching securely.
- Check the final shape.
Fold the top over and press with your fingers. The closure should meet evenly, and the side seams should sit flat. Trim any loose threads before using.
Optional Variations
Once you understand the basic construction, you can adjust the design.
For a fold-over snack bag, cut the fabric pieces 2 inches taller and place the closure lower so the top flap folds down farther. For a zipper version, replace the hook-and-loop tape with a nylon zipper at the top edge before sewing the side seams.
You can also add a small fabric label, use contrasting topstitching, or sew several bags in different sizes. If you make bags for children, consider using easy-to-open hook-and-loop tape instead of snaps or buttons.
Cleaning and Care Tips
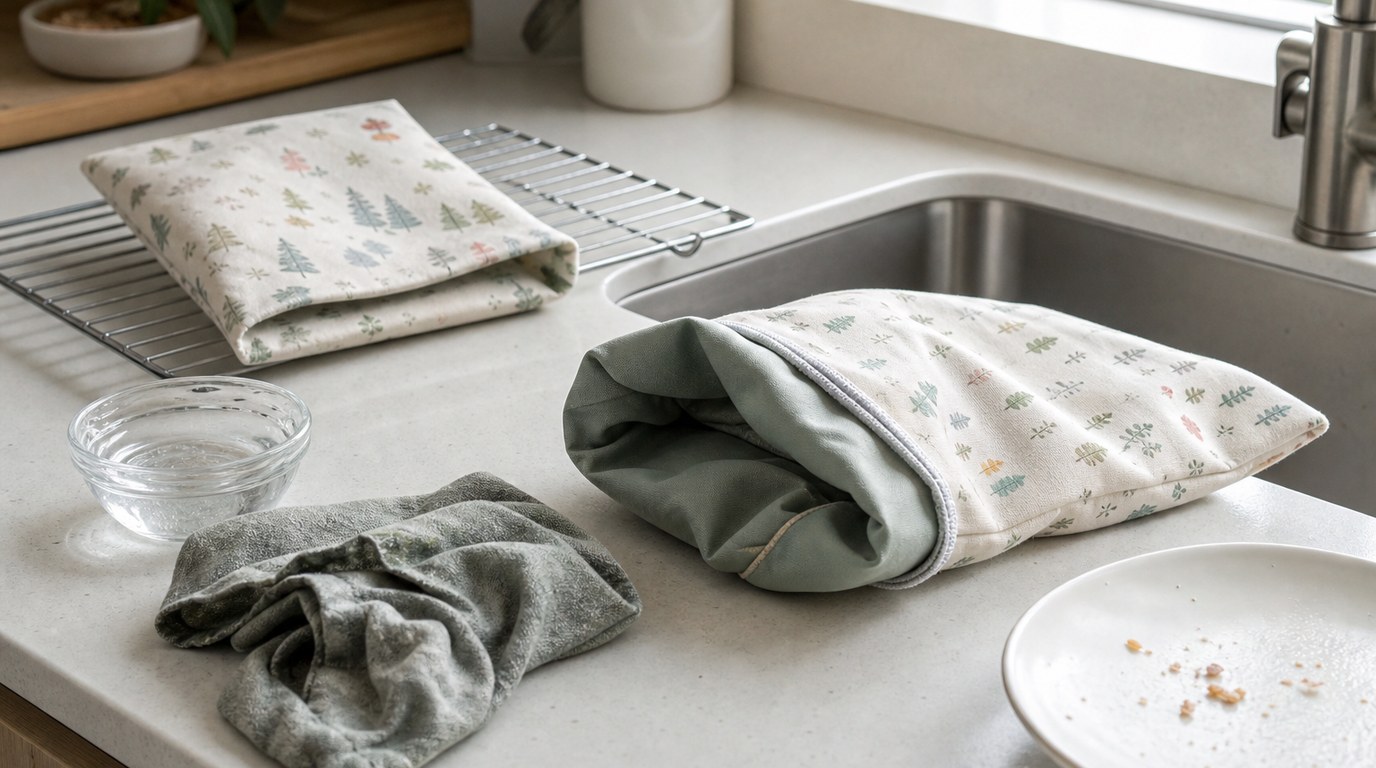
Shake crumbs out after each use. For dry snacks, a quick wipe with a damp cloth may be enough. For messier foods, turn the bag lining-side out if possible and wash according to the fabric manufacturer’s directions.
Most cotton and PUL bags can be machine washed on gentle and air dried. Avoid high heat in the dryer, especially with laminated or coated linings. Let the bag dry completely before storing it to prevent odors or mildew.
Use separate bags for strongly flavored foods like onions or spiced snacks if lingering smells bother you.
Troubleshooting Common Problems
If the lining bunches up, topstitch the opening and smooth the lining carefully into the corners. If the bag looks twisted, the side seams may not have been matched when sewing the top edge.
If your machine skips stitches on PUL or ripstop nylon, try a fresh needle, slightly longer stitch length, or a walking foot. If hook-and-loop tape is hard to sew, go slowly and use a stronger needle.
If the closure does not line up, remove only one strip, fold the bag naturally, mark the correct placement, and resew.
Beginner Tips for a Neater Finish
Use clips instead of pins on coated linings to avoid holes. Keep your seam allowance consistent, even if you sew slowly. A 2.5 to 3 mm stitch length works well for most snack bags.
Trim corners, but do not cut the stitches. Finger-press coated fabrics instead of ironing. When topstitching, use the edge of your presser foot as a guide so the stitching stays even.
Make one practice bag with cotton lining before sewing your favorite fabric.
FAQ
What Should a Beginner Know First About Reusable Snack Bags Diy?
Start with a simple lined rectangle and hook-and-loop closure. The project is mostly straight seams, so it is beginner-friendly. The most important early choices are accurate cutting, a washable lining, and matching the closure placement before you sew it permanently.
What Matters Most When Evaluating Reusable Snack Bags Diy?
The lining matters most because it touches the food and affects cleaning. Choose a washable fabric suitable for the snacks you carry. Also consider seam strength, closure security, and whether the bag can dry fully after washing.
What Mistakes Should Readers Avoid with Reusable Snack Bags Diy?
Avoid using mystery coated fabrics for the inside, skipping prewashing cotton, or placing the closure without testing the fold. Beginners also often forget to leave a turning opening in the lining, which makes the bag difficult to finish neatly.
What Is the Next Logical Step After Learning About Reusable Snack Bags Diy?
After making one basic snack bag, sew a small set in different sizes. Try one cotton-lined dry snack bag and one food-safe PUL-lined bag. This helps you compare cleaning, structure, and everyday usefulness before making more.