To make a scrunchie, cut a long fabric rectangle, sew it into a tube, turn it right side out, thread elastic through the center, join the elastic ends, and close the fabric opening. It is one of the easiest beginner sewing projects because the seams are simple, the pieces are small, and the finished item is useful right away.
A standard scrunchie works well with a fabric strip about 3.5 x 22 inches and a piece of elastic about 8 inches long. You can sew it by machine or by hand, though a sewing machine makes the long seam faster. The key is to keep the elastic secure and finish the opening neatly.
What You Need to Make a Scrunchie
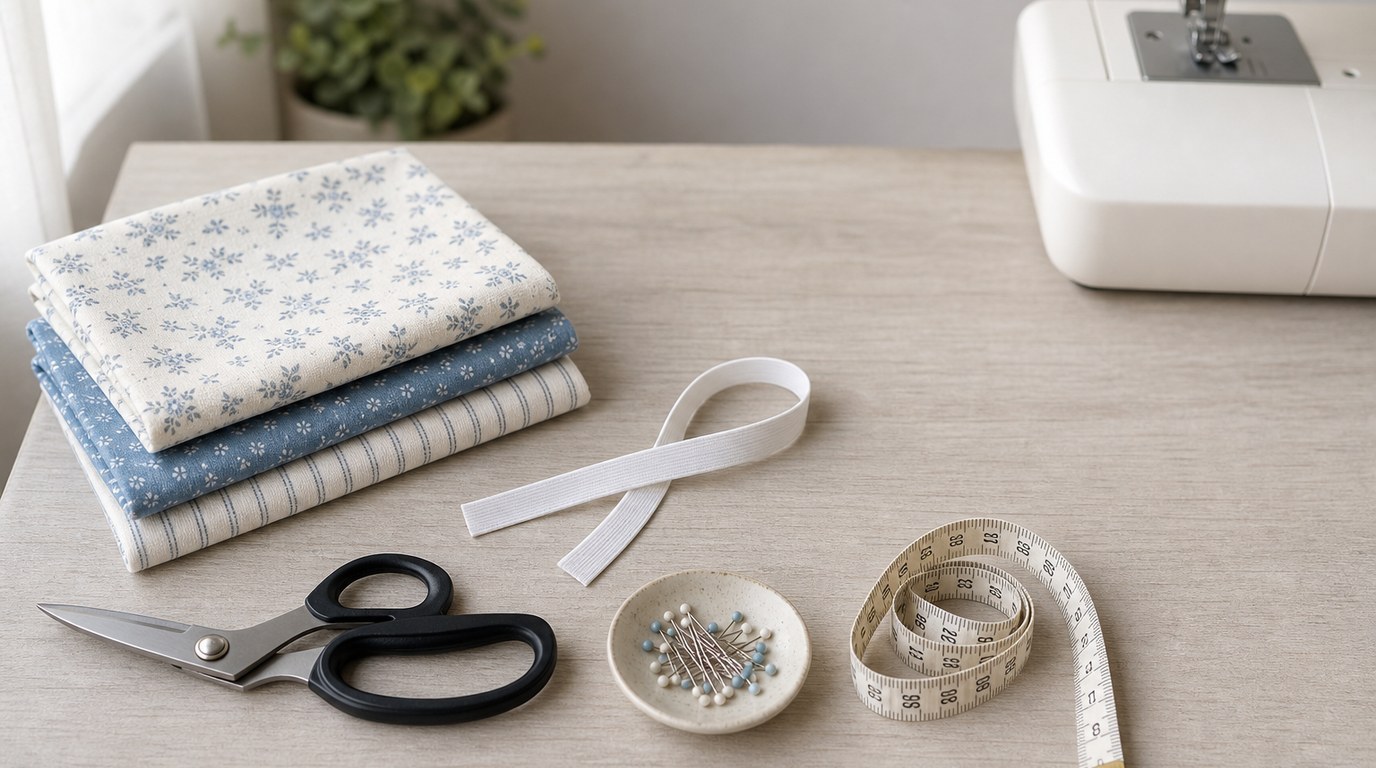
Gather your supplies before you start so you do not have to stop halfway through the project.
You will need:
- Fabric
- Elastic, usually 1/4 inch wide
- Fabric scissors or a rotary cutter
- Ruler or measuring tape
- Straight pins or sewing clips
- Safety pin or bodkin for threading elastic
- Sewing machine or hand-sewing needle
- Thread that matches your fabric
- Iron, optional but helpful
For one standard scrunchie, start with a fabric rectangle about 3.5 inches wide by 22 inches long. Use 8 inches of elastic for an average adult scrunchie. If you have very thick hair, you may prefer slightly longer elastic; for a child’s scrunchie, use a shorter piece.
Best Fabric for a Beginner Scrunchie
The easiest fabric for a beginner scrunchie is lightweight or medium-weight cotton. Quilting cotton is especially beginner-friendly because it presses well, does not slip much, and is easy to sew in a straight line.
Cotton lawn, poplin, chambray, and lightweight linen blends can also work nicely. If you want a softer, dressier scrunchie, try satin or silk-like fabric after you are comfortable with the basic method. These fabrics can be slippery, so use extra pins or clips.
Avoid very thick fabric for your first scrunchie. Heavy denim, upholstery fabric, or bulky fleece can make the tube hard to turn and the gathers look stiff.
Scrunchie Size Guide
Use these measurements as a starting point. The fabric length controls how full and gathered the scrunchie looks. The elastic length controls how tightly it holds the hair.
| Scrunchie Type | Fabric Size | Elastic Length | Best For |
|---|---|---|---|
| — | —: | —: | — |
| Mini | 2.5 x 16 inches | 6 inches | Children, fine hair, small ponytails |
| Standard | 3.5 x 22 inches | 8 inches | Everyday adult scrunchie |
| Oversized | 4.5 x 26 inches | 9 inches | Thick hair, bold gathered look |
| Extra full | 5 x 30 inches | 9 to 10 inches | Statement scrunchies |
Step 1: Cut the Fabric and Elastic
Press your fabric first if it is wrinkled. Smooth fabric is easier to measure and cut accurately.
Measure your chosen scrunchie size with a ruler or measuring tape, then cut one fabric rectangle. For a first scrunchie, cut a 3.5 x 22 inch rectangle. Try to keep the edges straight, especially along the long sides, because those edges will become your main seam.
Next, cut your elastic. For a standard scrunchie, cut one 8 inch piece of 1/4 inch elastic. Set the elastic aside until the fabric tube is sewn and turned.
Step 2: Fold and Sew the Long Fabric Tube
Place the fabric rectangle right side up on your table. Fold it in half lengthwise with the right sides together, matching the two long raw edges. The wrong side of the fabric should now face outward.
Pin or clip along the long edge. Sew this long edge with about a 1/4 inch seam allowance. Backstitch at the beginning and end so the seam does not come undone.
Do not sew the short ends closed. You are making a long tube, and both short ends need to stay open for turning and finishing later.
If sewing by hand, use small backstitches along the long edge. Keep the stitches close and even so the seam holds when the scrunchie stretches.
Step 3: Turn the Tube Right Side Out
After sewing the long seam, turn the fabric tube right side out. This step can feel fiddly at first, especially with narrow fabric.
Attach a safety pin to one open end of the tube. Push the safety pin inside the tube and guide it through the center, bunching the fabric over the pin as you go. Gently pull the fabric through until the whole tube is right side out.
You can also use a loop turner or bodkin if you have one. Once turned, roll the seam between your fingers so it sits neatly along one side.
Step 4: Thread the Elastic Through the Scrunchie
Attach a safety pin to one end of the elastic. Before threading, pin the other end of the elastic to one fabric opening. This prevents it from disappearing into the tube.
Push the safety-pinned end of the elastic through the fabric tube. Work slowly, sliding the fabric along the elastic as you go. The fabric will begin to gather, which is exactly what you want.
When the safety pin comes out the other side, hold both elastic ends firmly. Check that the elastic is not twisted inside the tube before you join it. A flat elastic loop gives the scrunchie a smoother feel.
Step 5: Join the Elastic Ends
Overlap the two elastic ends by about 1/2 inch. Sew across the overlap several times to make a strong join. You can sew a small rectangle, a zigzag stitch, or several straight rows back and forth.
If you are sewing by hand, use tight stitches and go through both layers of elastic multiple times. Pull gently on the elastic after sewing to test the join. It should feel secure and should not separate when stretched.
Once the elastic is joined, let it slip inside the fabric tube. Spread the fabric gathers evenly around the elastic loop.
Step 6: Close the Fabric Opening
Now close the fabric ends to finish the scrunchie. There are two beginner-friendly ways to do this.
The neatest method is to tuck one raw fabric end about 1/4 inch to the inside. Slide the other raw end into the folded end, overlapping them slightly. Pin the layers together and topstitch across the opening close to the folded edge. This creates a small visible seam, but it is quick, strong, and tidy.
For a more invisible finish, tuck both raw ends inside and hand sew the opening closed with a ladder stitch. This takes longer but hides the stitches well, especially on dressy fabric.
After closing the opening, adjust the gathers around the scrunchie so they are evenly spaced. Give the finished scrunchie a light press if the fabric allows it, avoiding the elastic as much as possible.
Tips for a Neater Scrunchie
Use matching thread if you want the finishing seam to blend in. If you are using printed fabric, choose thread that matches the background color.
Press the fabric before cutting and again after sewing the long tube if needed. A quick press makes the finished scrunchie look cleaner.
Keep your seam allowance even along the long edge. Uneven seams can make the scrunchie twist or look lumpy.
For slippery fabric, use more pins or clips than usual. Sew slowly and avoid pulling the fabric through the machine, which can stretch or distort the tube.
Easy Scrunchie Variations
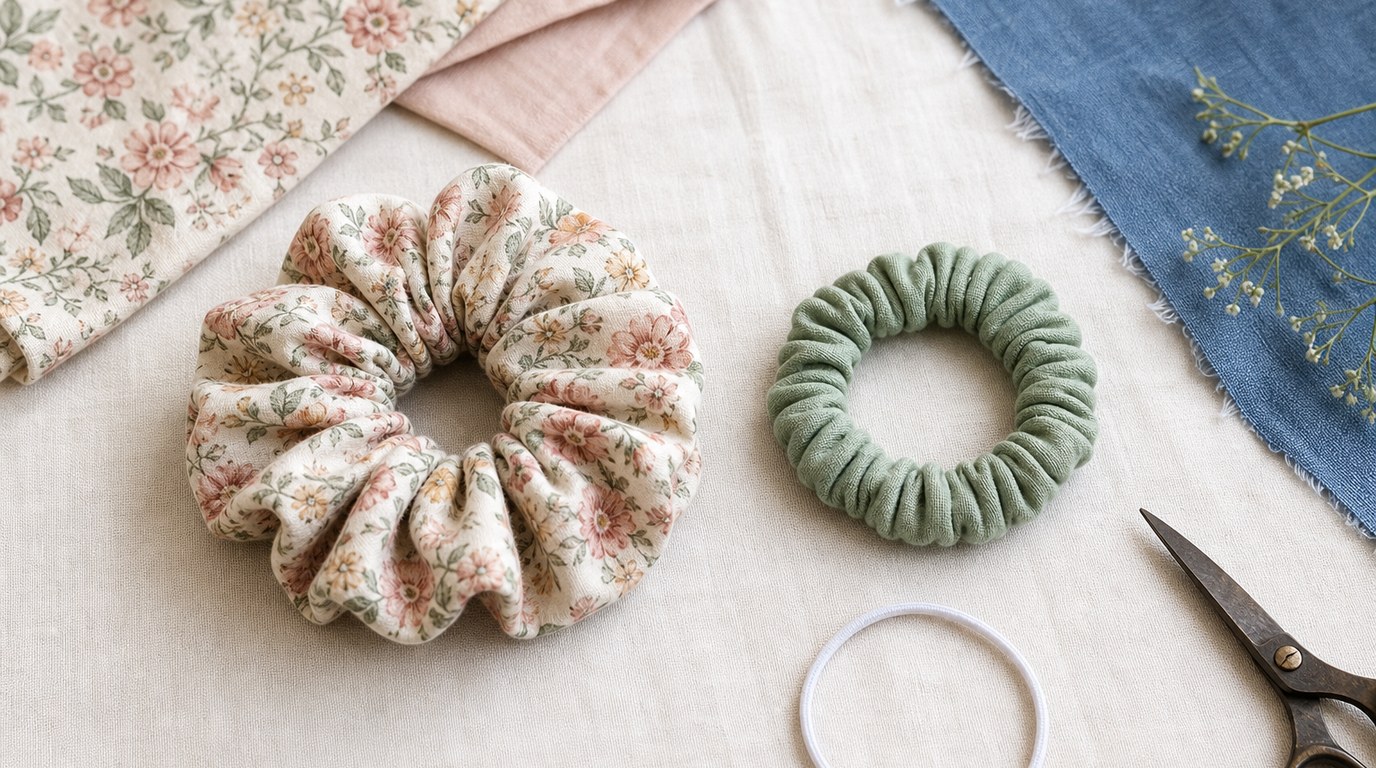
Once you know how to make a basic scrunchie, small changes can create different looks.
For a fuller scrunchie, use a longer fabric strip, such as 26 to 30 inches, while keeping the elastic close to 8 or 9 inches. For a slimmer scrunchie, cut the fabric width closer to 2.5 inches.
To make a bow scrunchie, sew a separate small fabric bow and tie or stitch it around the finished scrunchie. For a luxury look, try satin, velvet, or silk-like fabric. For everyday use, cotton remains the easiest and most durable choice.
Common Mistakes to Avoid
Do not forget to leave the short ends open when sewing the long tube. If you sew them shut too early, you will not be able to turn and assemble the scrunchie easily.
Avoid cutting elastic too long, or the scrunchie may not hold hair well. Also avoid weak elastic joins. The elastic takes the most strain, so sew it securely.
Finally, do not skip checking for twists before joining the elastic ends.
FAQ
What Should a Beginner Know First About How to Make a Scrunchie?
A beginner should know that a scrunchie is simply a fabric tube gathered around elastic. Start with cotton fabric, use a standard size like 3.5 x 22 inches, and sew slowly. The most important skills are sewing one straight seam, threading elastic, and closing the opening.
What Matters Most When Evaluating How to Make a Scrunchie?
The most important details are fabric choice, accurate cutting, secure elastic, and a neat finish. Cotton is easiest for beginners, while satin and silk-like fabrics need more control. The scrunchie should stretch comfortably, hold hair well, and have no loose seams or exposed raw edges.
What Mistakes Should Readers Avoid with How to Make a Scrunchie?
Avoid using fabric that is too thick, elastic that is too long, or stitches that are too loose. Do not let the elastic slip inside the tube while threading it. Also check that the elastic is flat before sewing the ends together, or the scrunchie may twist.
What Is the Next Logical Step After Learning About How to Make a Scrunchie?
After making a basic scrunchie, try changing the size, fabric, or style. Make a mini version, an oversized version, or a bow scrunchie. You can also practice cleaner finishing methods, such as ladder stitch, to make your handmade scrunchies look more polished.