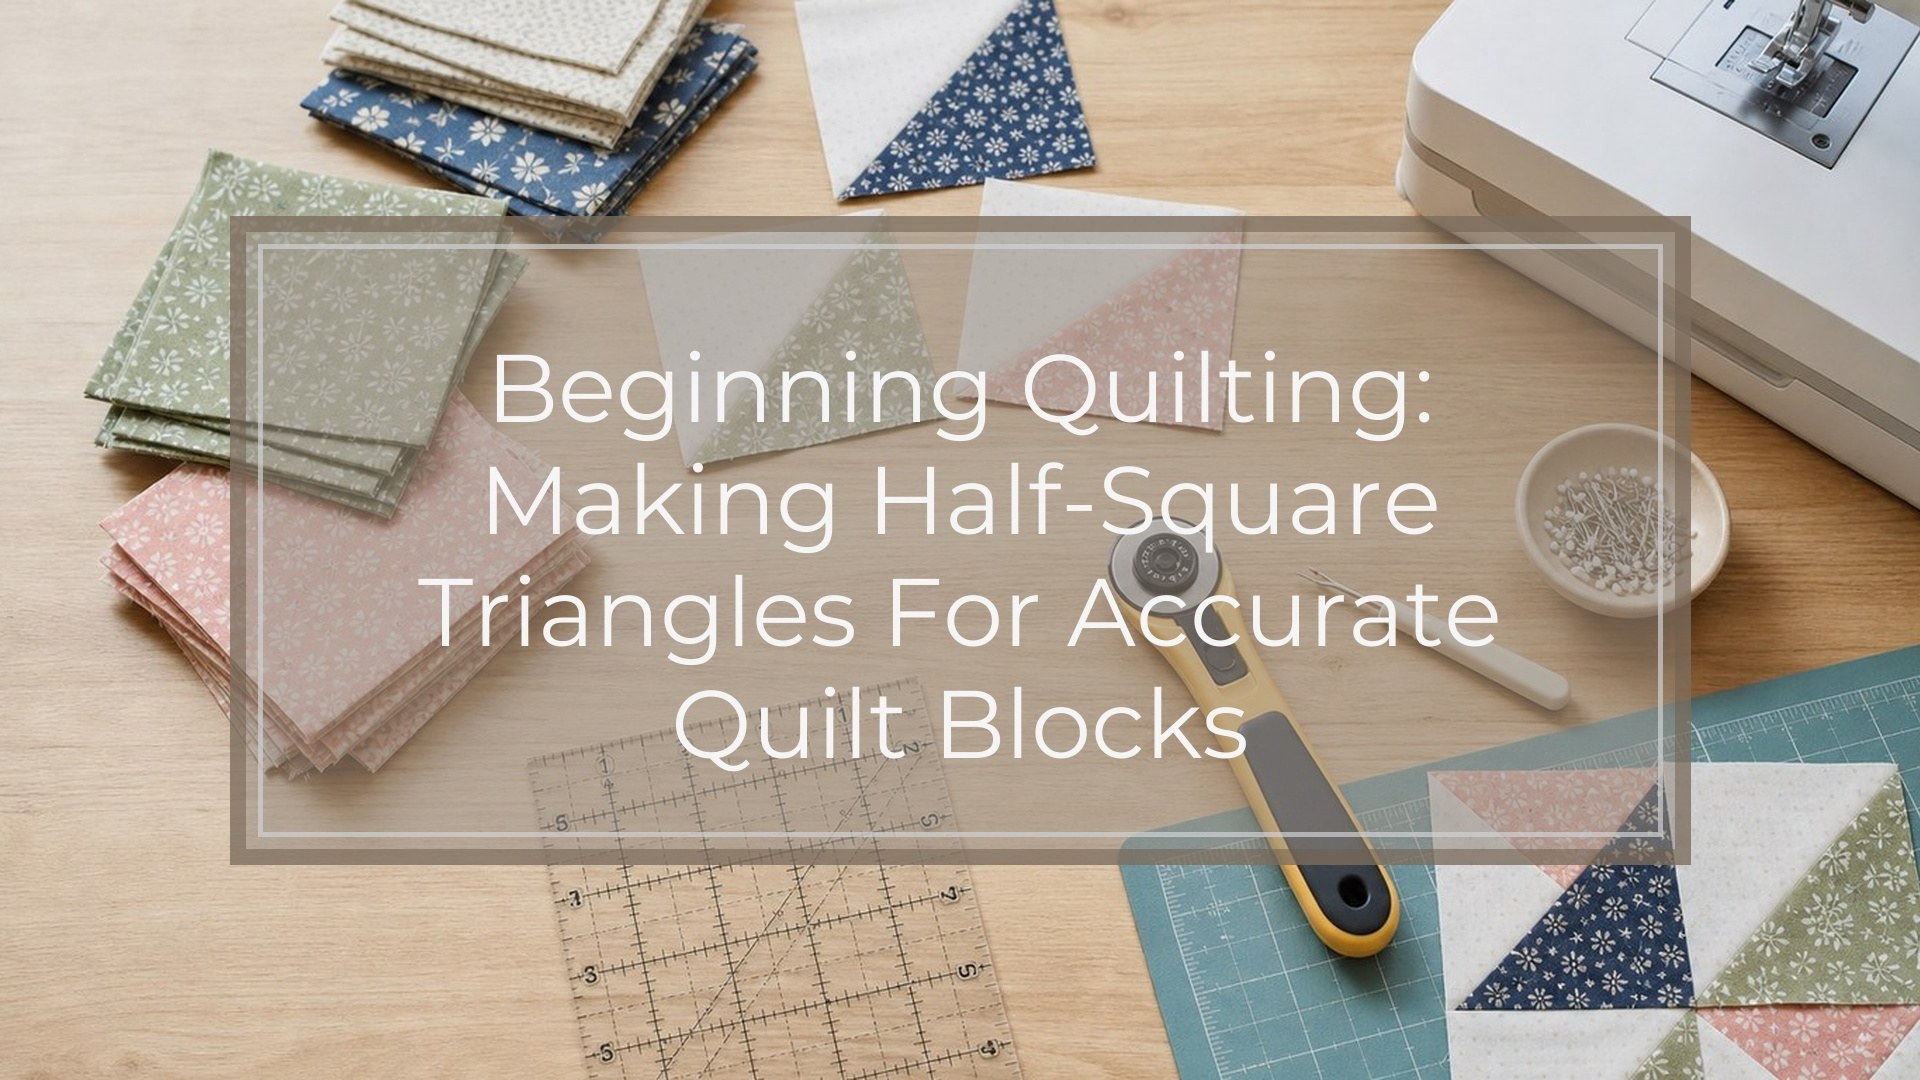
Half-square triangles, often called HSTs, are one of the first patchwork units many quilters learn. They look simple: one square made from two fabric triangles. But they can create hundreds of quilt block designs, from pinwheels to stars.
For beginning quilting, making half square triangles is easiest with the two-at-a-time method. You start with two fabric squares, draw one diagonal line, sew on both sides of the line, cut between the seams, press, and trim. The key is accuracy: cut your starting squares a little larger than needed, sew a steady 1/4-inch seam, and trim each finished unit to the correct size before using it in a quilt block.
What Is a Half-square Triangle in Quilting?
A half-square triangle is a square patchwork unit made from two right triangles. Each triangle takes up half of the square, with a diagonal seam running from one corner to the opposite corner.
For example, if you pair a light fabric with a dark fabric, the finished HST will be one square that is half light and half dark. When you rotate several HSTs together, they can form points, diamonds, zigzags, pinwheels, flying-geese-like shapes, and star sections.
The important mental model is this: you are not sewing tiny loose triangles together if you use the beginner method. Instead, you sew two full squares together first, then cut them apart. This keeps the stretchy bias edges more controlled and makes the process easier for new quilters.
Supplies You Need
You do not need many special tools to make half-square triangles, but a few basics will help you get cleaner results.
You will need:
- Two quilting cotton fabrics, usually one light and one dark or contrasting print
- Rotary cutter
- Quilting ruler
- Cutting mat
- Fabric marking pencil, chalk pencil, or fine washable marker
- Sewing machine
- Thread
- Iron and pressing surface
- Square ruler for trimming
- Pins or clips, if desired
A 1/4-inch presser foot is helpful, but not required. If your machine does not have one, place a seam guide or painter’s tape on the machine bed to help you sew a consistent 1/4-inch seam.
Choose fabrics with good contrast while learning. If the prints are too similar, it can be harder to see the design once the HSTs are sewn into a block.
Beginner Size Chart for Half-square Triangles
Half-square triangles are usually made slightly oversized and then trimmed down. This gives you room to correct small sewing or pressing errors.
The chart below uses a beginner-friendly formula: cut your starting squares 1 inch larger than the unfinished HST size you want. For example, if your block pattern needs a 3 1/2-inch unfinished HST, cut two 4 1/2-inch starting squares.
| Finished HST in Quilt | Unfinished HST Before Sewing Into Block | Cut Two Starting Squares |
|---|---|---|
| —: | —: | —: |
| 2" | 2 1/2" | 3 1/2" |
| 2 1/2" | 3" | 4" |
| 3" | 3 1/2" | 4 1/2" |
| 3 1/2" | 4" | 5" |
| 4" | 4 1/2" | 5 1/2" |
| 5" | 5 1/2" | 6 1/2" |
| 6" | 6 1/2" | 7 1/2" |
How to Make Half-square Triangles: Two-at-a-time Method
The two-at-a-time method makes two matching half-square triangles from two fabric squares. It is ideal for beginners because it is simple, repeatable, and accurate when trimmed.
1. Cut Your Starting Squares
Choose the unfinished HST size your pattern requires, then cut two starting squares using the chart above. For practice, try cutting two 4 1/2-inch squares. After sewing and trimming, these will become two 3 1/2-inch unfinished HSTs.
Cut carefully. Line up the fabric edge with your ruler, keep the rotary cutter straight, and avoid pushing the ruler as you cut.
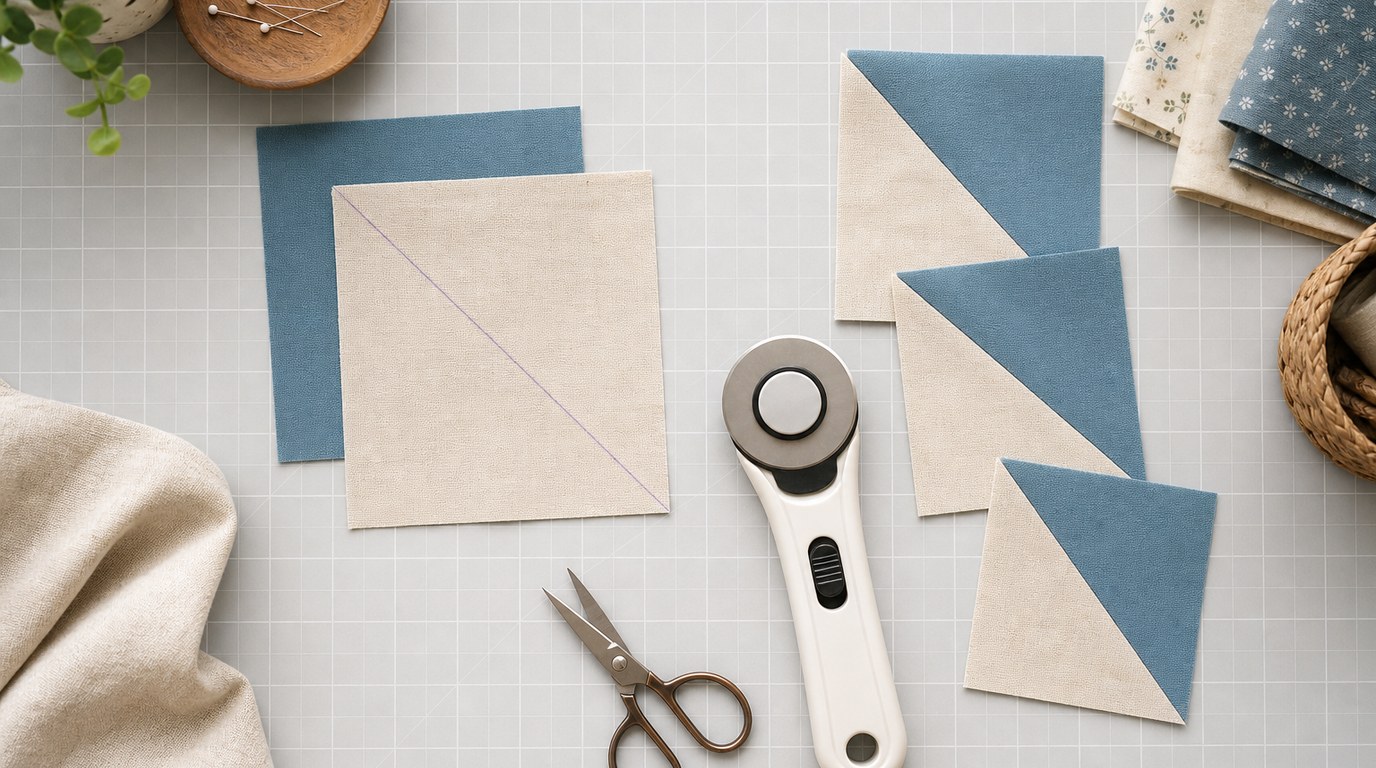
2. Place the Squares Right Sides Together
Put one square on top of the other with the right sides of the fabric facing each other. The wrong sides should be facing out.
If your fabrics have a strong directional print, pause before sewing and check whether direction matters for your project. For most beginner practice blocks, it will not be a problem.
3. Draw a Diagonal Line
On the wrong side of the lighter fabric, draw a diagonal line from one corner to the opposite corner. This is your cutting line, not your sewing line.
Use a fine marking tool so the line stays accurate. A thick line can make it harder to know exactly where to cut later.
4. Sew 1/4 Inch from Both Sides of the Line
Take the layered squares to your sewing machine. Sew a straight seam 1/4 inch away from one side of the drawn diagonal line. Then rotate the square and sew another seam 1/4 inch away from the other side of the drawn line.
You should now have two parallel seams with the drawn line running between them.
Try not to stretch the fabric as you sew. Let the feed dogs move the fabric naturally, and guide it gently with your hands.
5. Cut on the Drawn Line
Place the sewn square on your cutting mat. Using a ruler and rotary cutter, cut directly on the drawn diagonal line between the two seams.
When you open the pieces, you will have two half-square triangle units.
6. Press the Seams
Set the seam first by placing the iron on the closed unit for a moment. Then open the HST and press.
Many quilters press the seam toward the darker fabric so the seam allowance does not show through the lighter side. You may also press the seam open if your block has many bulky seams. For a beginner, pressing toward the dark side is usually easiest.
Do not drag the iron back and forth. Press up and down to avoid stretching the diagonal seam.
7. Trim to the Correct Size
Your HSTs will be slightly larger than needed. Trim them to the unfinished size required by your pattern. This step is what makes the units accurate enough to fit neatly into quilt blocks.
How to Trim Half-square Triangles Accurately
Trimming is where half-square triangles become clean and reliable. Start by placing your HST on the cutting mat with the diagonal seam running from bottom left to top right.
Lay a square ruler over the unit. Line up the ruler’s 45-degree diagonal line with the seam. Then check that the HST extends past the size you need on all sides. For a 3 1/2-inch unfinished HST, the fabric should go slightly beyond the 3 1/2-inch marks.
Trim the right side and top edge first. Rotate the HST 180 degrees. Line up the freshly cut edges with the exact ruler size, and again place the 45-degree line on the seam. Trim the remaining two sides.
A good trimmed HST has sharp corners, a diagonal seam that runs exactly corner to corner, and the correct unfinished size.
Common Beginner Mistakes and How to Fix Them
Even experienced quilters make imperfect HSTs sometimes. Most problems are fixable with small adjustments.
The HST is too small. This usually comes from cutting the starting squares too small, sewing a seam that is wider than 1/4 inch, or pressing too aggressively. Use oversized starting squares and trim down.
The diagonal seam does not meet the corners. This happens when the ruler’s 45-degree line is not aligned with the seam during trimming. Slow down and check the diagonal before every cut.
The unit looks stretched or wavy. The diagonal seam is on the bias, which stretches more easily than straight grain. Avoid pulling the fabric while sewing, and press instead of ironing back and forth.
The points disappear in the quilt block. Remember that the outer 1/4 inch will be hidden in the seam allowance when the block is sewn. Trim accurately, then sew block pieces with a consistent 1/4-inch seam.
The two fabrics seem reversed. HSTs can look different depending on rotation. Lay out all units before sewing the block together.
Simple Ways to Use Half-square Triangles in Quilt Blocks

Once you can make half-square triangles, you can build many classic quilt designs. Four HSTs arranged with the dark triangles rotating around the center make a pinwheel. HSTs placed in rows can make chevrons or zigzags. Combined with plain squares, they can form simple star points.
For a beginner project, try making sixteen matching HSTs and arranging them in a 4-by-4 grid. Rotate the units until you find a layout you like. This is a low-pressure way to see how one simple unit can create many different designs.
Tips for Making Many Half-square Triangles at Once
When a quilt pattern needs many HSTs, work in batches. Cut all starting squares first, then mark all diagonal lines, then sew all units. Chain piecing helps: sew one seam on several squares without cutting the thread between each one.
After sewing the first side of the diagonal on all squares, turn the chain around and sew the second side. Then cut the units apart, slice on the marked lines, press, and trim.
Do not skip trimming just because you made a large batch. A small size difference repeated many times can make blocks harder to assemble.
FAQ
What Should a Beginner Know First About Beginning Quilting Making Half Square Triangles?
A beginner should know that half-square triangles are easier than they look. You do not have to sew loose triangles together. The beginner-friendly two-at-a-time method uses two squares, two seams, one diagonal cut, pressing, and trimming.
What Matters Most When Evaluating Beginning Quilting Making Half Square Triangles?
Accuracy matters most. Focus on cutting the starting squares correctly, sewing a consistent 1/4-inch seam, pressing without stretching, and trimming each HST to the exact unfinished size your quilt pattern requires.
What Mistakes Should Readers Avoid with Beginning Quilting Making Half Square Triangles?
Avoid cutting starting squares too small, pulling the fabric while sewing, skipping the trimming step, and using the wrong ruler line when trimming. These mistakes can make HSTs undersized, stretched, or difficult to match in blocks.
What Is the Next Logical Step After Learning About Beginning Quilting Making Half Square Triangles?
The next step is to practice with a small block, such as a pinwheel or simple star block. Make a few extra HSTs, trim them carefully, and experiment with layouts before sewing them into a finished quilt project.