This free pattern for a cute fanny pack makes a small, wearable zip pouch with an adjustable strap. It is roomy enough for keys, a phone, cards, lip balm, and other light essentials, but compact enough to wear at the waist or crossbody. The shape is made from a front body, back body, zipper panel, gusset, lining, and side strap tabs. Use a medium-weight woven fabric such as canvas, denim, twill, or quilting cotton with interfacing. The steps below walk you through cutting, zipper installation, strap hardware, lining, and finishing. Use a 3/8-inch seam allowance unless noted.
Project Overview: What You’ll Sew
You’ll sew a soft, curved fanny pack with one main zippered compartment and an adjustable webbing strap. The finished bag is beginner-friendly if you have sewn a zipper before, and still manageable if this is your first bag project. The most important skills are accurate cutting, clipping curves, sewing slowly around corners, and keeping the zipper open before final turning.
Finished size can vary slightly, but this pattern is designed to finish at about 9 inches wide, 5 inches tall, and 2 inches deep. It is a practical small bag with enough structure to look neat without being stiff.
Free Fanny Pack Pattern Pieces
Draft these pattern pieces on paper before cutting fabric. Add all markings, grainlines, and notches so the panels line up cleanly.
You need:
- Front body: 9 1/2 inches wide by 5 1/2 inches tall, with rounded lower corners.
- Back body: same as front body.
- Zipper panel top: two pieces, each 9 1/2 inches wide by 1 3/4 inches tall.
- Bottom gusset: 9 1/2 inches wide by 2 1/2 inches tall.
- Side tabs: two pieces, each 3 inches by 3 inches.
- Lining pieces: front, back, zipper panel, and gusset matching the outer pieces.
For rounded corners, trace a small cup at the lower corners of the front and back pieces. Keep the top edge mostly straight so the zipper panel fits smoothly.
Supplies and Fabric Recommendations
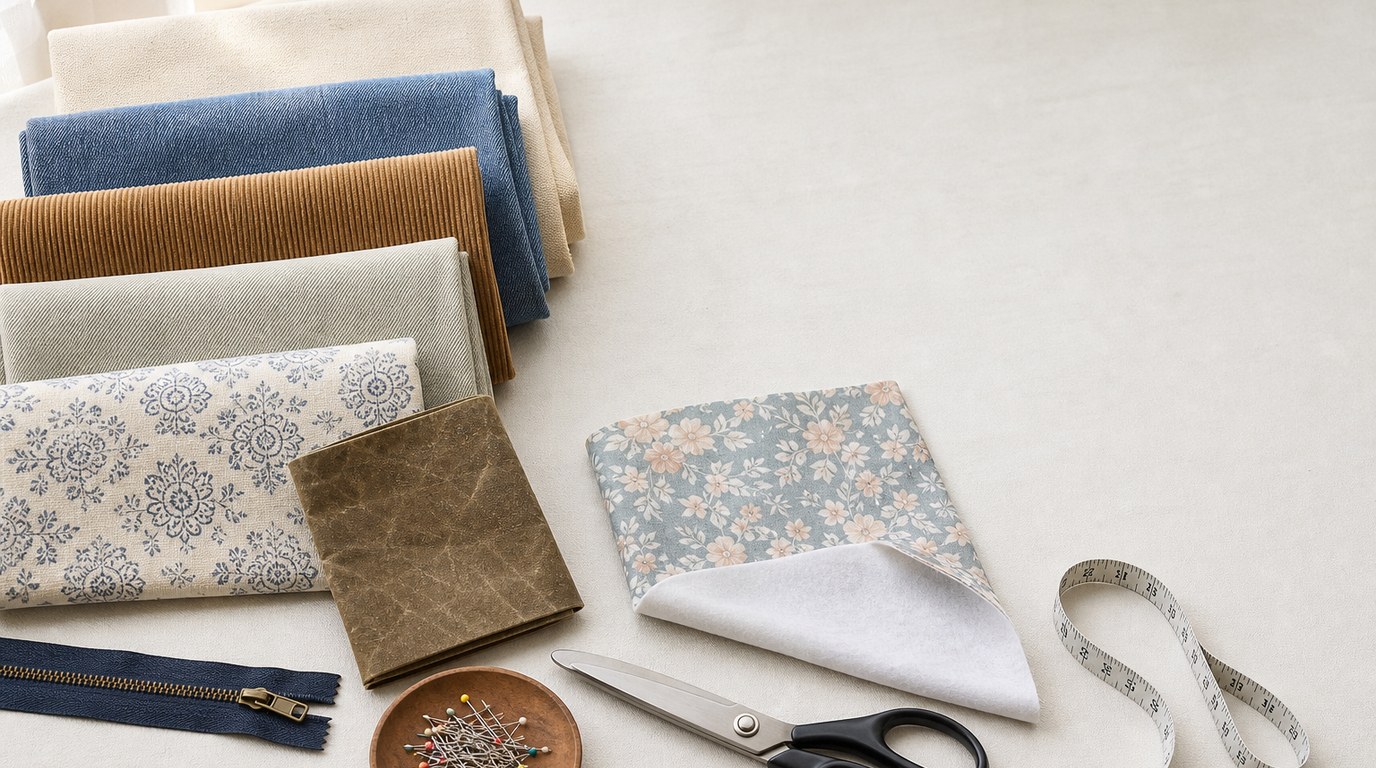
Choose fabric that can handle wear but is not too bulky for your sewing machine. Cotton canvas, denim, corduroy, twill, home décor cotton, or waxed canvas all work well. For a lighter cute fanny pack, use quilting cotton fused with medium-weight interfacing.
Avoid very stretchy knits, slippery satin, or thick upholstery fabric for a first version. These can distort, fray, or create bulky seams around the zipper and side tabs.
You’ll also need a zipper and strap hardware. A nylon coil zipper is easier to sew than a metal zipper. For the strap, 1-inch cotton or nylon webbing is simple and strong. Use one side-release buckle, one slider, and optional D-rings or rectangular rings for the side tabs. Match hardware width to the strap width.
For structure, use fusible woven interfacing on quilting cotton or lightweight twill. Skip heavy foam unless your machine can sew through thick layers.
Materials and Cutting Guide
Cut outer fabric, lining, and interfacing accurately before you begin. Label each piece with painter’s tape or small paper clips, especially the zipper panel and lining pieces.
| Item | Cut From Outer Fabric | Cut From Lining | Cut From Interfacing / Other |
|---|---|---|---|
| — | —: | —: | —: |
| Front body | 1 | 1 | 1 interfacing |
| Back body | 1 | 1 | 1 interfacing |
| Zipper panel | 2 | 2 | 2 interfacing |
| Bottom gusset | 1 | 1 | 1 interfacing |
| Side tabs | 2 | — | 2 interfacing optional |
| Strap | — | — | 30–45 inches webbing |
| Zipper | — | — | 10-inch nylon zipper |
Before You Sew: Prep the Fabric, Zipper, and Strap
Fuse interfacing to the wrong side of the outer front, back, zipper panel, and gusset pieces. Follow the interfacing instructions and press, rather than slide, the iron.
Mark the center top and bottom of the front and back body pieces. Mark the center of the zipper panel and gusset too. These marks help you match curves evenly.
If your zipper is longer than needed, trim it to 9 1/2 inches after sewing across the zipper teeth several times by hand or machine to create a new stop. Keep the zipper pull inside the trimmed length.
Cut two short strap anchor pieces from webbing, each 3 inches long, if using rings. Cut the remaining webbing for the adjustable strap.
Step 1: Sew the Zipper Panel
Place one outer zipper panel right side up. Lay the zipper right side down along one long edge. Place one lining zipper panel right side down on top, sandwiching the zipper between the outer and lining pieces. Pin or clip in place.
Sew along the zipper edge with a zipper foot using a 1/4-inch seam allowance. Fold the outer and lining away from the zipper and press carefully. Topstitch close to the folded fabric edge to keep it away from the zipper teeth.
Repeat for the other side of the zipper with the second outer zipper panel and second lining panel. When finished, the zipper should sit centered between two fabric strips, with outer fabric visible on one side and lining on the other. Trim the panel to 9 1/2 inches wide if needed.
Step 2: Attach the Front Body Piece
Place the outer front body right side up. With the zipper open halfway, place the zipper panel right side down along the top edge of the front body. Match center marks first, then clip toward each side.
Place the lining front body right side down over the zipper panel, sandwiching the zipper panel between the outer front and lining front. Sew across the top edge with a 3/8-inch seam allowance.
Fold the front outer and front lining away from the zipper panel and press lightly. Topstitch if desired, keeping the lining smooth underneath. This creates the front face of the fanny pack attached to the zip opening. Check that the zipper still opens freely before moving on.
Step 3: Add Side Tabs and Strap Hardware
Prepare the side tabs by folding each 3-inch square in half, wrong sides together, then opening it and folding the raw edges toward the center crease. Fold again to make a sturdy 3/4-inch-wide tab. Topstitch along both long edges.
If using rings, slide one tab through each D-ring or rectangular ring and fold the tab in half. Baste the raw ends together.
Place one tab on each side of the outer front body, centered near the side seam area, with raw tab ends aligned to the raw fabric edge and the ring pointing inward toward the bag. Baste securely inside the seam allowance. Sew back and forth several times; these points carry the weight of the bag.
Step 4: Sew the Back and Lining
Attach the bottom gusset to the lower edge of the front outer body, right sides together. Match center marks, then clip around the curve. Sew slowly with a 3/8-inch seam allowance. Repeat with the lining gusset and lining front, keeping the outer and lining layers separate where possible.
Now place the outer back body right sides together with the outer zipper/gusset/front unit. Match top center, bottom center, and side edges. Clip generously around the curves. Sew around the outer bag.
Repeat for the lining back, but leave a 3- to 4-inch turning opening along the bottom or lower side of the lining. Before sewing, make sure the zipper is open halfway; otherwise, you will not be able to turn the bag.
Trim bulky seam allowances and clip curves without cutting through the stitches.
Step 5: Finish the Strap and Final Details
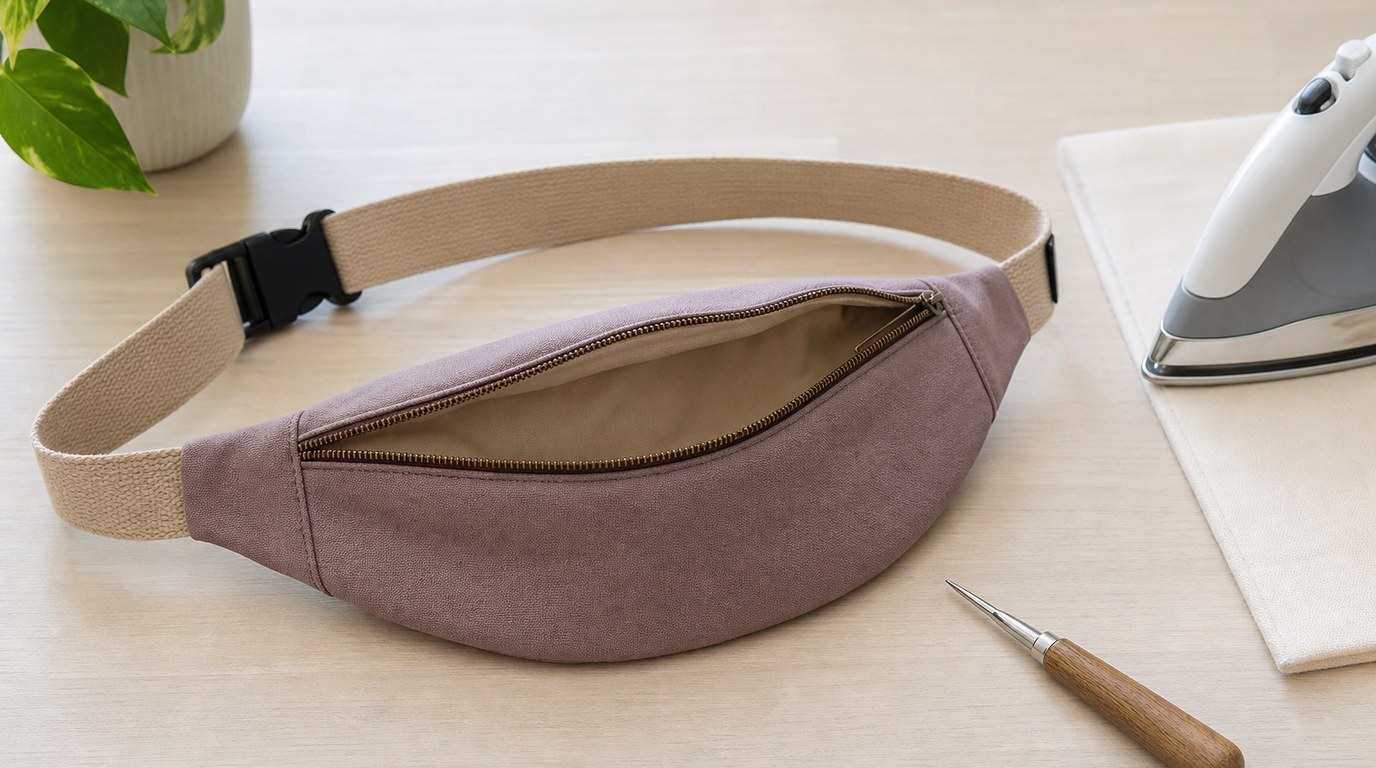
Turn the fanny pack right side out through the lining opening and then through the open zipper. Use a blunt point turner to smooth the curves and corners. Press gently, avoiding direct heat on zipper teeth or nylon webbing.
Close the lining opening by machine stitching close to the folded edge, or hand sew it with a ladder stitch for an invisible finish.
Thread the strap through the slider and buckle according to your hardware style. Attach the strap ends to the side rings. Adjust the length so the pack can be worn comfortably at the waist or across the body.
Give the bag a final press and check for loose threads.
Cute Customization Ideas
Make the fanny pack feel personal with simple details that do not complicate construction. Try a floral canvas with a contrast zipper, pastel corduroy with cream webbing, or denim with a bright lining.
Other easy options include:
- Add a small embroidered patch to the front before assembly.
- Use printed lining for a hidden surprise.
- Choose rainbow, striped, or metallic zipper tape.
- Topstitch with contrasting thread.
- Add a small tassel or charm to the zipper pull.
For a cleaner look, keep the hardware, zipper, and strap in the same color family.
Troubleshooting Common Fanny Pack Sewing Problems
If the zipper looks wavy, press the fabric flat and topstitch evenly on both sides. Waviness often comes from stretching the fabric while sewing.
If the curves pucker, clip deeper into the seam allowance, stopping just before the stitches. Curved bag seams need room to spread when turned.
If the side tabs feel weak, stitch over them again inside the seam allowance before closing the bag. Use a short stitch length for extra strength.
If the lining bunches, trim it slightly smaller at the seam allowance or press it well before pushing it inside. If the zipper sticks, check that fabric is not folded too close to the teeth.
FAQ
What Should a Beginner Know First About Free Pattern for a Cute Fanny Pack?
A beginner should know that accuracy matters more than speed. Cut the pattern pieces neatly, use interfacing for structure, and keep the zipper open before final turning. Sew slowly around curves and use clips instead of forcing the fabric flat.
What Matters Most When Evaluating Free Pattern for a Cute Fanny Pack?
The best free pattern for a cute fanny pack should include clear pattern pieces, seam allowances, hardware details, zipper instructions, and lining steps. It should also explain the construction order so the strap tabs and zipper are secured before the bag is closed.
What Mistakes Should Readers Avoid with Free Pattern for a Cute Fanny Pack?
Avoid using fabric that is too thick, forgetting to interface lightweight cotton, sewing the zipper shut inside the bag, or attaching weak strap tabs. Also avoid trimming the zipper before securing the teeth with a stitched stop.
What Is the Next Logical Step After Learning About Free Pattern for a Cute Fanny Pack?
After sewing one basic fanny pack, make a second version with small improvements. Try an exterior pocket, contrast panels, decorative topstitching, or a different strap style. Repeating the project helps you refine curves, zipper sewing, and hardware placement.