To improvise a baby quilt top, start with a loose design direction instead of a fixed block pattern. Choose a small color palette, cut simple starter shapes, sew them into small units, then arrange those units until the layout feels balanced. From there, join the units into larger sections, press often, and trim the finished quilt top square.
The key is to make one decision at a time. You are not sewing randomly; you are building with flexible rules. A baby quilt is a good size for this method because it is small enough to finish, forgiving enough for beginners, and playful enough to suit uneven shapes, scraps, and unexpected fabric combinations.
What Makes a Baby Quilt Top “Improvised”?
An improvised baby quilt top is made without following a repeated block pattern exactly. Instead of cutting every piece to a printed measurement, you start with fabric, a general idea, and a few simple limits.
Those limits might be a color palette, a shape, a strip width, or a layout style. For example, you might decide to use soft blue, cream, and yellow fabrics in wonky strips. Or you might build uneven rectangles from scraps and float them in a background fabric.
Improvising does not mean ignoring accuracy completely. You still use a consistent seam allowance, press seams, and trim edges. The freedom comes from choosing shapes and arrangements as you go.
Choose a Simple Design Direction Before You Cut
Before cutting, pick one clear design direction. This keeps the project playful without becoming confusing. Beginners usually do best with one of these approaches:
- Wonky strips: Sew uneven strips together, then trim them into sections.
- Scrappy rectangles: Combine different-size rectangles into larger panels.
- Floating shapes: Place bright pieces inside a plain background fabric.
- Color bands: Build loose rows by color, such as light at the top and darker near the bottom.
For a baby quilt, simple contrast works well. Choose one main fabric group, one background, and one accent color. If every fabric is loud, the top can feel busy. If all fabrics are similar, the improv shapes may disappear. A small plan gives your quilt direction while leaving room to adjust.
Gather Materials and Pick Baby-friendly Fabrics
Use soft, washable quilting cotton for the quilt top. Baby quilts are handled often, so avoid fragile fabrics, heavy embellishments, loosely woven materials, or anything scratchy. Prewashing is optional, but if you mix old scraps with new fabric, prewashing can reduce uneven shrinking later.
You will need:
- Quilting cotton scraps or fat quarters
- Background fabric, if your design uses one
- Rotary cutter, ruler, and cutting mat
- Sewing machine
- Thread in a neutral color
- Iron and pressing surface
- Design wall, flannel sheet, or clean floor space
- Square ruler or long quilting ruler for trimming
For a small baby quilt top, gather more fabric than the final size suggests. Improv piecing creates trimmed-off edges, and extra fabric helps you make layout changes without stress.
Quick Planning Guide for an Improvised Baby Quilt Top
Use this guide to choose a manageable starting point. These amounts are for the quilt top only, not backing or binding.
| Finished top size | Fabric to gather | Beginner-friendly design idea | Best for |
|---|---|---|---|
| — | —: | — | — |
| 30" x 36" | 1½ to 2 yards total | Wonky strips or simple rectangles | Quick gift |
| 36" x 42" | 2 to 2½ yards total | Scrappy panels with background | Everyday baby quilt |
| 40" x 45" | 2½ to 3 yards total | Floating shapes or color bands | More design space |
If this is your first improv quilt, choose the middle size only if you have enough table or floor space to lay out the pieces.
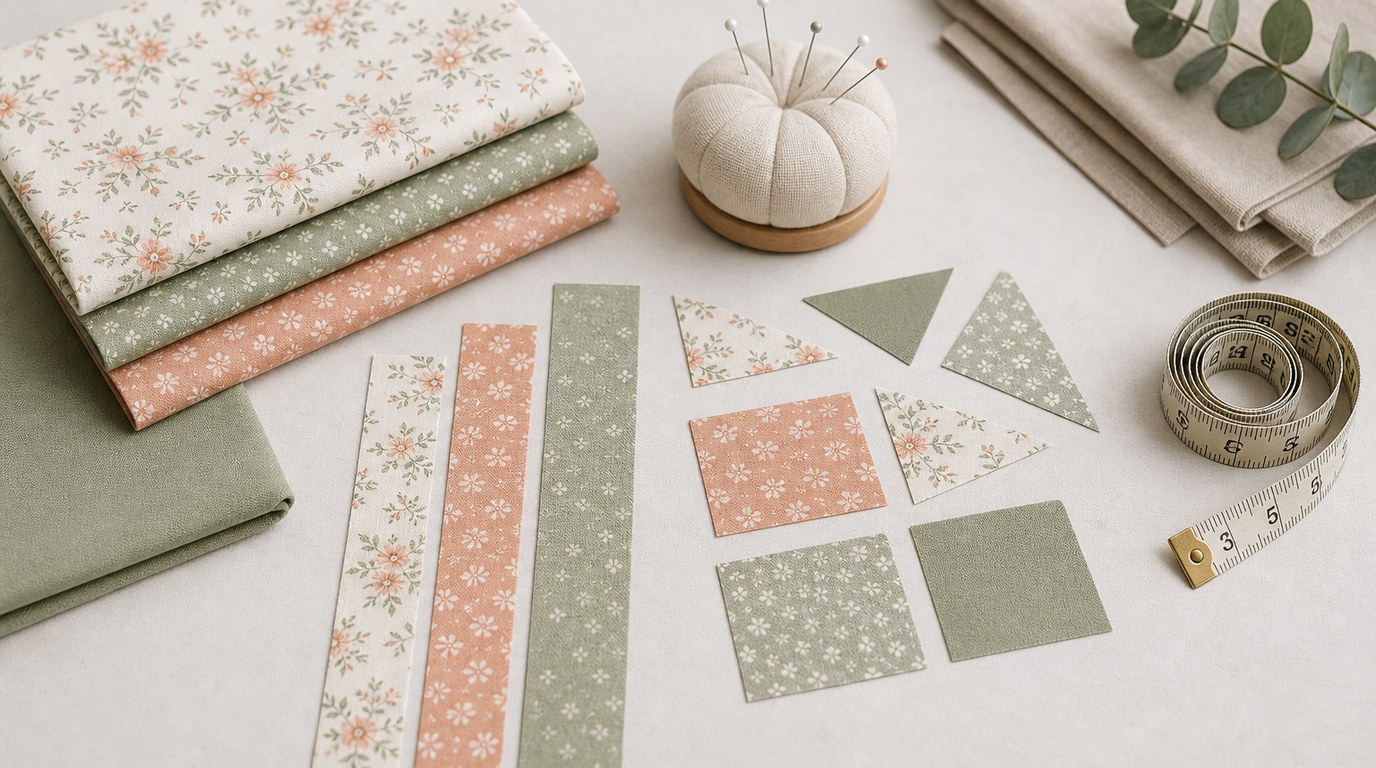
Cut Starter Pieces Without a Pattern
Begin by cutting a small batch of pieces, not the whole quilt. This lets you respond to the design as it grows. Cut rectangles, strips, and squares in a range of sizes. For example, try strips between 1½" and 4" wide, rectangles around 3" x 5", and a few larger pieces around 5" x 8".
Do not worry if some pieces are slightly angled. In improv piecing, angled cuts can add movement. However, avoid extremely skinny points at first because they can stretch, fray, or disappear in the seam allowance.
Keep the pieces manageable. If you cut everything tiny, the sewing takes longer and the quilt may feel fussy. If every piece is large, the design may look plain. Aim for variety, then add more pieces later as needed.
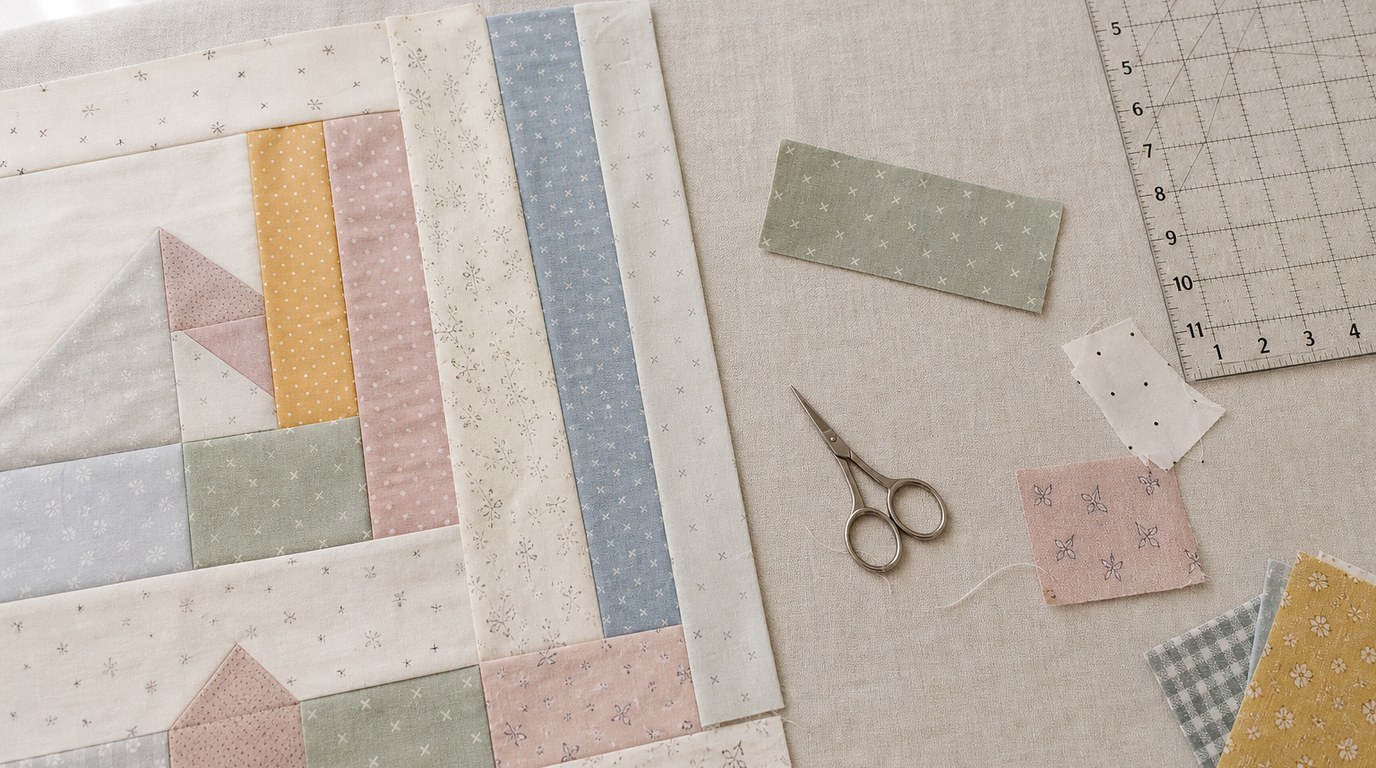
Build Small Improv Units First
Instead of designing the full baby quilt immediately, sew small units. A unit is a cluster of pieces that can later become part of a row, panel, or larger block.
Start with two pieces that share one edge. Sew them right sides together using a ¼" seam allowance, then press the seam to one side or open. Add another piece to one edge, press again, and continue until the unit is roughly 6" to 10" across.
Make several units using the same general idea. For wonky strips, sew strips together in groups, then trim the edges straight. For scrappy rectangles, add pieces around a central rectangle like a loose log cabin. For floating shapes, surround a bright scrap with background fabric.
Do not force every unit to be the same size. The point is to create building blocks that can later be joined with filler strips or trimmed into sections.
Arrange the Units Into a Balanced Baby Quilt Layout
Once you have a pile of units, place them on a design wall, flannel sheet, or clean floor. Step back often. A layout can look balanced up close but crowded from across the room.
Spread colors and values around the quilt top. If one corner has several dark pieces, place another dark piece elsewhere so the eye moves across the top. Repeat accent fabrics in at least three places if possible. This makes the design feel intentional.
Leave breathing room. Background strips, plain rectangles, or quiet fabrics can separate busy units. For a baby quilt, a calm layout is often more appealing than one filled edge to edge with tiny scraps.
Take a quick photo of the layout before moving pieces. A photo helps you spot awkward gaps and remember the arrangement while sewing.
Join Units Into Larger Sections
After choosing the layout, join units in sections rather than sewing random pieces together. Think in rows, columns, or panels. Your goal is to turn uneven pieces into larger shapes with straight edges.
If two units are different sizes, add a strip of fabric to the smaller one, or trim the larger one slightly. Filler strips are useful in improv quilting because they solve size differences and add design lines at the same time.
Press after every seam. This keeps the top flatter and helps you avoid ripples. When joining long seams, pin at key points: the ends, the center, and anywhere seams should roughly align. Exact matching is not required unless you want it, but controlled edges make assembly easier.
Build two or three larger sections first, then join those sections together. This is easier than handling many small units at once.
Square up and Finish the Quilt Top
When the quilt top is assembled, press it well from the back and then from the front. Use steam only if your fabrics tolerate it and the top is not stretching. Let the fabric cool flat before trimming.
Place the top on a large cutting surface. Use a long ruler to trim the sides straight and square the corners. If your design has angled or uneven outer edges, trim conservatively. It is better to have a slightly smaller, neat quilt top than to keep wavy edges.
Check the final size. A baby quilt top does not have to match an exact standard, but it should be flat, stable, and easy to layer with batting and backing later.
Beginner Tips for Better Improv Piecing
Use fewer fabrics if you feel stuck. Three to five prints plus a background fabric can be easier than a large scrap pile.
Repeat something. Repeated colors, strip widths, or shapes help an improvised quilt feel cohesive.
Trim as you go, but not too aggressively. Straight edges make sewing easier, while over-trimming can shrink your units quickly.
Press often. Many beginner problems come from folded seams, stretched edges, or bulky intersections.
Pause before adding more. If the quilt top feels chaotic, add quiet fabric. If it feels dull, add a small accent. Improv works best when you keep looking, adjusting, and simplifying.
FAQ
What Should a Beginner Know First About Improvise a Baby Quilt Top?
A beginner should know that improvising still uses basic quilting skills: accurate seams, pressing, trimming, and thoughtful layout. The difference is that you make design choices as you sew instead of following fixed block measurements from start to finish.
What Matters Most When Evaluating Improvise a Baby Quilt Top?
Balance matters most. Look at color placement, contrast, scale, and empty space. The quilt top does not need perfect symmetry, but it should feel stable and intentional, with no single area looking much heavier or busier than the rest.
What Mistakes Should Readers Avoid with Improvise a Baby Quilt Top?
Avoid cutting all your fabric before you begin, using too many unrelated prints, or skipping pressing. Also avoid sewing many uneven units together without trimming or adding filler strips, because that can create warped sections that are hard to square up.
What Is the Next Logical Step After Learning About Improvise a Baby Quilt Top?
The next step is to layer the finished quilt top with batting and backing, then choose a quilting plan that suits the design. Simple straight-line quilting or gentle curves often work well because they support the improv style without overwhelming it.