
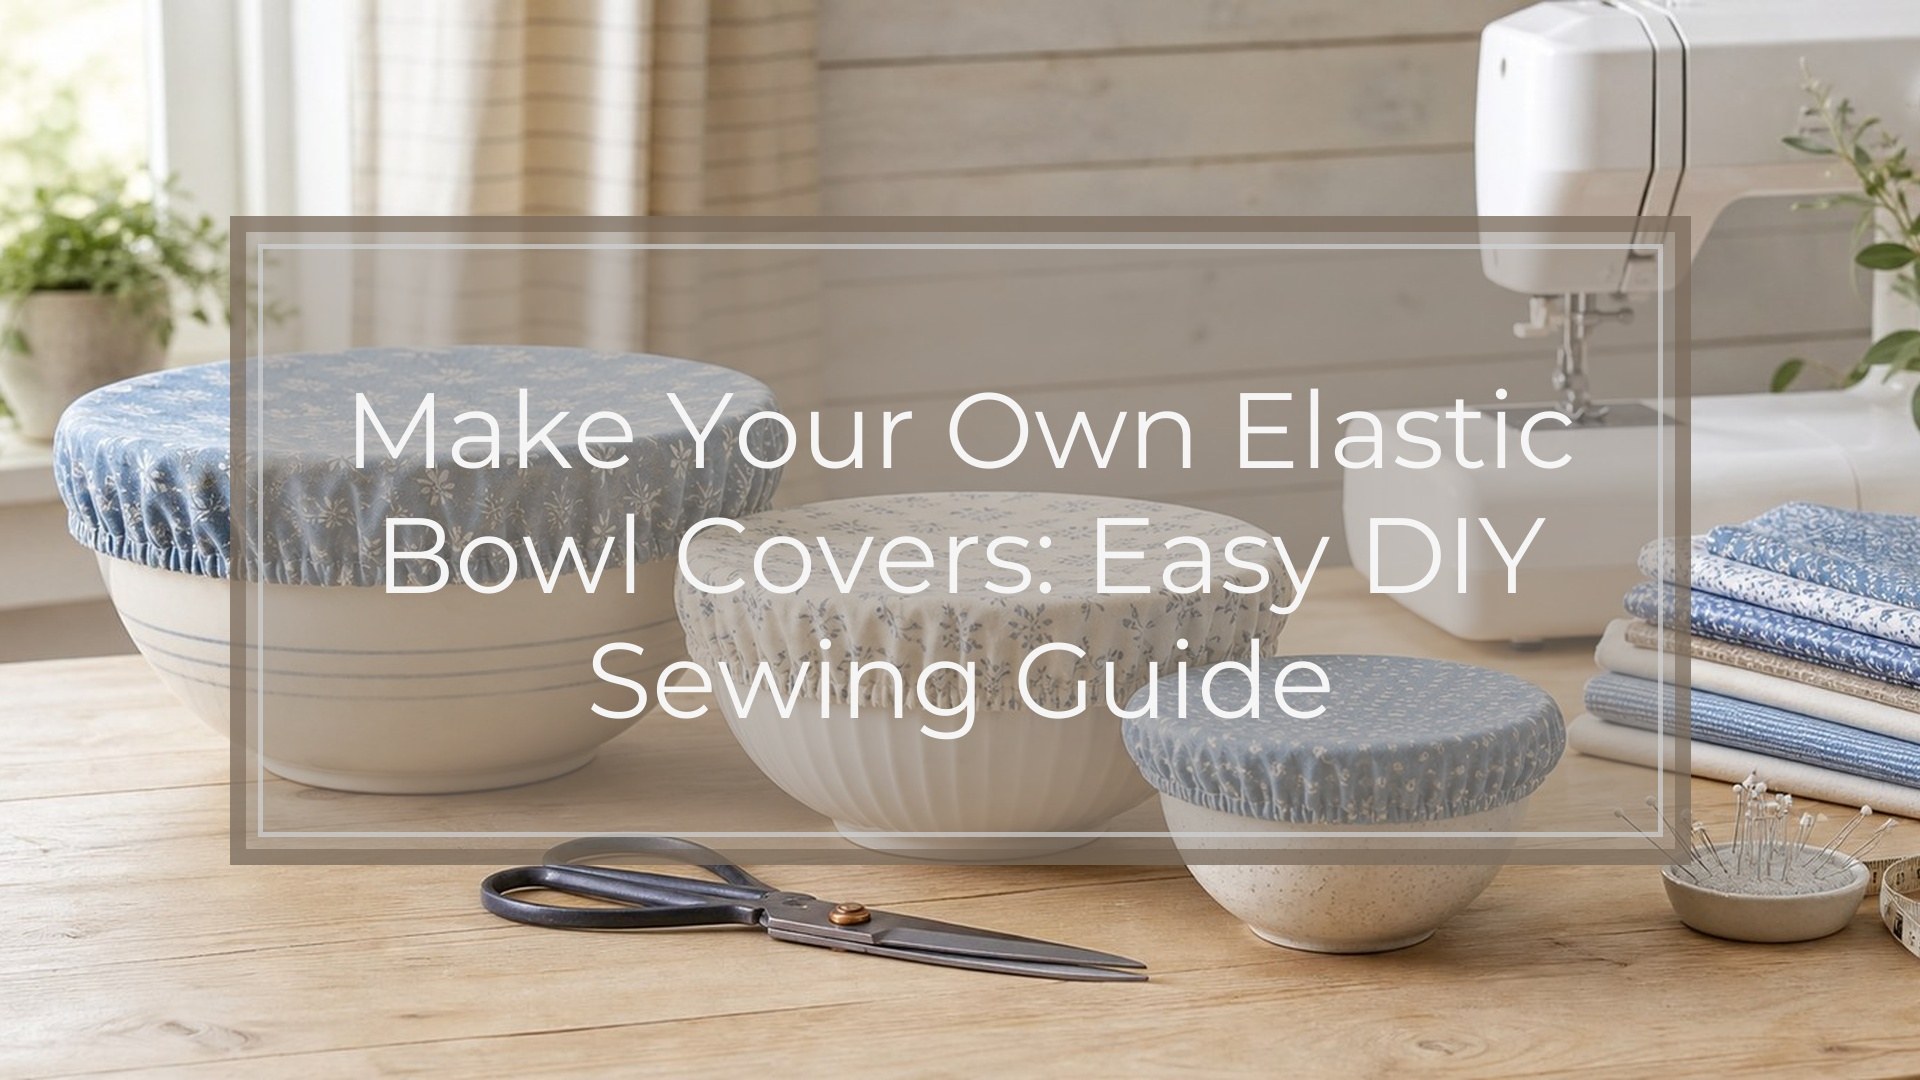
You can make your own elastic bowl covers with cotton fabric, narrow elastic, and a simple casing sewn around a fabric circle. The basic idea is easy: cut a circle larger than your bowl, finish the edge, fold the edge inward to make a channel, then thread elastic through it so the cover gathers around the rim. These reusable covers are handy for leftovers, rising bread dough, picnic bowls, and keeping dust or insects off food for short periods. They are also a good beginner sewing project because the stitching does not need to be perfect to work well.
What You’ll Make
An elastic bowl cover is a gathered fabric cap that stretches over the top of a bowl. The center stays fairly flat across the opening, while the elastic edge hugs under the rim. Think of it like a soft shower cap for your mixing bowls.
The finished cover should be loose enough to pull on without a struggle but snug enough that it does not pop off. You can make one cover for a favorite bowl or sew a set in several sizes for everyday kitchen use.
Supplies and Tools
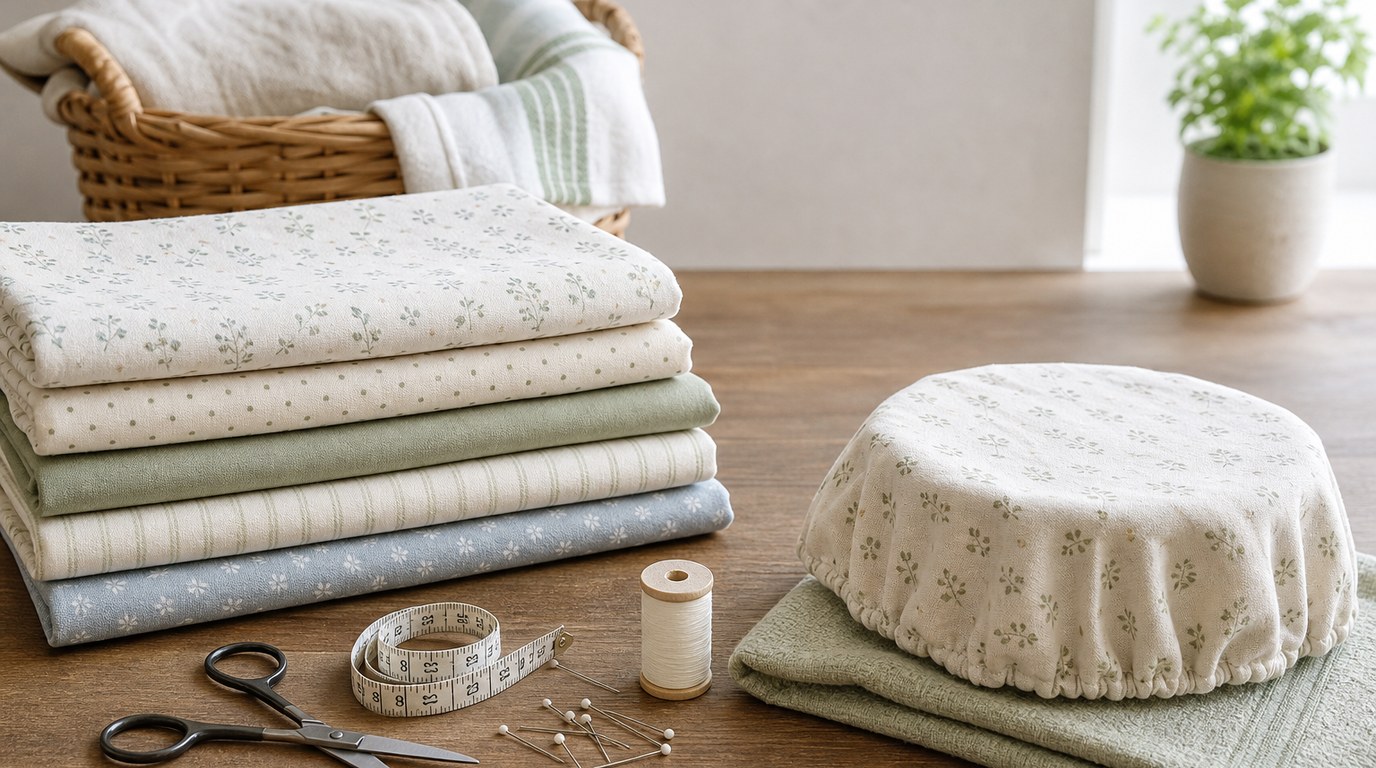
You will need:
- Cotton fabric, quilting cotton, or lightweight canvas
- 1/4-inch or 3/8-inch elastic
- Thread to match or coordinate
- Fabric scissors or a rotary cutter and mat
- Measuring tape or ruler
- Fabric marker, chalk, or pencil
- Safety pin or bodkin for threading elastic
- Straight pins or clips
- Sewing machine
- Iron and ironing board
Choose washable fabric because bowl covers will need regular laundering. Prewash and dry the fabric before cutting, especially if it is cotton, so it does not shrink after the cover is sewn. If you plan to use covers around food often, avoid glittery, heavily embellished, or dry-clean-only fabrics.
Bowl Cover Size Chart
The fabric circle needs to be larger than the bowl opening so it can wrap over the rim and form a casing for the elastic. A good starting point is to add 4 to 6 inches to the bowl diameter. Larger bowls usually need more overhang than smaller bowls.
Use this chart as a practical guide, then adjust after your first cover if you prefer a deeper or shallower fit.
| Bowl opening diameter | Cut fabric circle | Starting elastic length |
|---|---|---|
| —: | —: | —: |
| 4 inches | 8 inches | 9 to 10 inches |
| 6 inches | 11 inches | 13 to 14 inches |
| 8 inches | 13 inches | 17 to 18 inches |
| 10 inches | 16 inches | 21 to 22 inches |
| 12 inches | 18 inches | 25 to 26 inches |
The elastic length is only a starting point. You will test it on the actual bowl before sewing it closed.
Step 1: Measure the Bowl and Cut the Fabric Circle
Measure straight across the top of the bowl from one outside edge of the rim to the other. This is the bowl opening diameter. Add 4 inches for a small bowl, 5 inches for a medium bowl, or 6 inches for a large bowl.
To draw the circle, divide your final circle size in half to find the radius. For example, if you want a 13-inch circle, the radius is 6 1/2 inches. Tie a pencil to a string, hold the string at the center point, and draw around it like a compass. You can also trace a large plate, lid, or mixing bowl if it is the right size.
Cut the circle smoothly. Small wobbles are fine because the edge will be gathered.
Step 2: Finish the Raw Edge
Finishing the raw edge helps prevent fraying inside the casing. The quickest option is to sew around the circle with a zigzag stitch, keeping the stitch close to the edge. If you have a serger, you can serge around the circle instead.
For a very beginner-friendly method, use pinking shears to trim the edge. This is not as strong as stitching, but it works well for light use and tightly woven cotton.
Do not skip edge finishing if your fabric frays easily. Once the elastic is inside the casing, loose threads can make it harder for the elastic to slide and can weaken the cover over time.
Step 3: Sew the Elastic Casing
Place the fabric wrong side up. Fold the outer edge toward the wrong side by about 1/2 inch and press. Because you are folding a circle, the edge may ripple a little. Work slowly, use steam if your fabric allows it, and press small sections at a time.
Fold the edge inward again by about 1/2 inch to enclose the raw or finished edge. Pin or clip as you go. This folded channel is the elastic casing.
Sew close to the inner folded edge all the way around the circle, but leave a 1-inch opening so you can insert the elastic. Backstitch at both sides of the opening. Try not to sew the casing too narrow; the elastic should slide through without twisting or jamming.
Step 4: Insert and Adjust the Elastic
Attach a safety pin or bodkin to one end of the elastic. Insert it into the opening and guide it through the casing. Move slowly and bunch the fabric along the pin, then pull the elastic through. Keep hold of the other elastic end so it does not disappear inside the casing.
When both ends are out, place the cover over the bowl. Pull the elastic ends until the cover gathers under the rim and feels secure. It should stretch over the bowl without straining the stitches. If it feels too tight, let out a little elastic. If it slips off, pull the elastic shorter.
Mark the elastic overlap once you like the fit. For a reusable set, write down the final elastic length for that bowl size.
Step 5: Secure the Elastic and Close the Opening
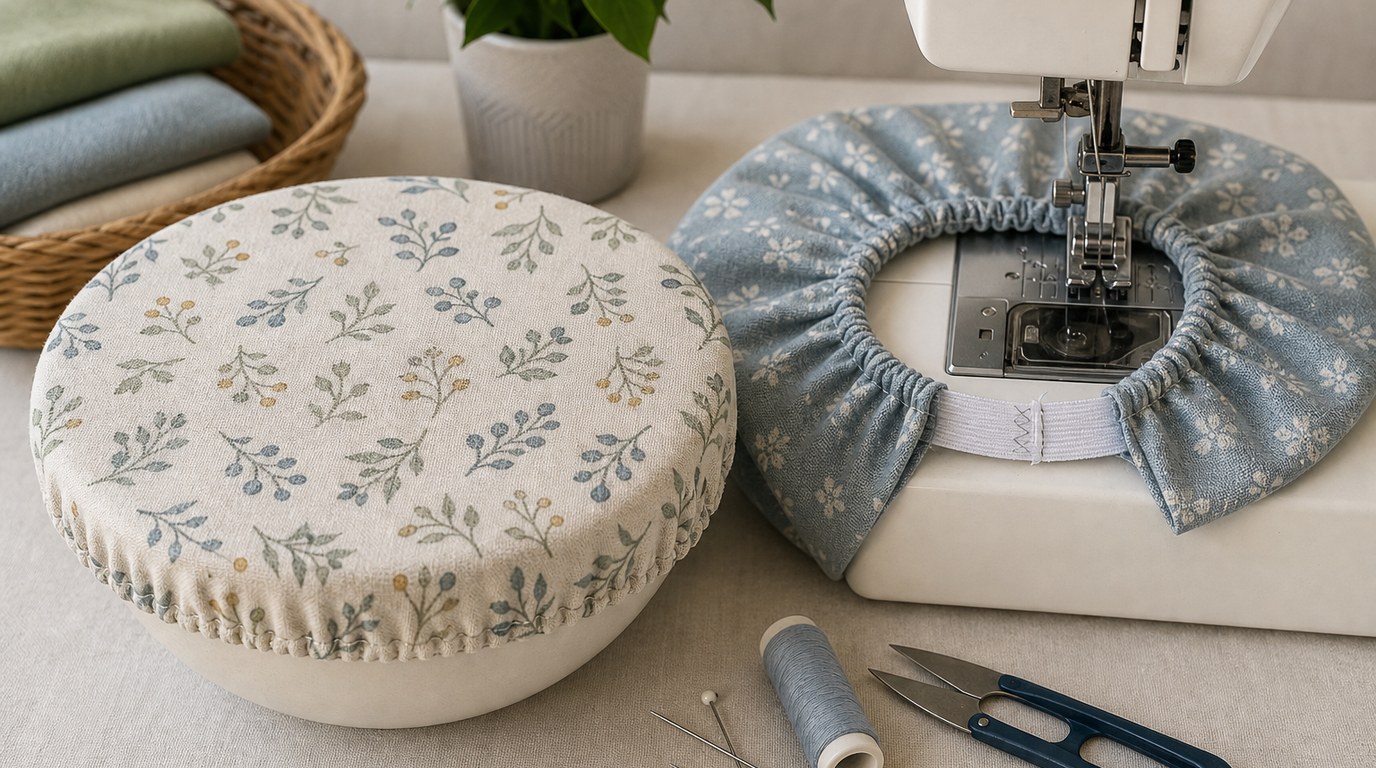
Overlap the elastic ends by about 1/2 inch. Sew them together with a zigzag stitch, sewing back and forth several times for strength. You can also stitch a small rectangle if your elastic is wide enough.
Stretch the casing gently so the joined elastic slips inside. Smooth the gathers evenly around the cover. Then sew the 1-inch casing opening closed, following the same stitch line used for the rest of the casing.
Give the cover a final press in the center if needed, keeping the iron away from elastic unless the heat setting is safe for it.
Tips for Better Fit and Longer Wear
If your cover pops off, the elastic is probably too loose or the fabric circle is too shallow. Shorten the elastic first; if that does not solve it, cut a larger circle next time.
If the cover is hard to stretch over the bowl, the elastic may be too short or too stiff. Try slightly longer elastic or use 1/4-inch elastic for small bowls.
For a neater look, distribute gathers evenly before closing the casing. For durability, choose quality elastic that recovers after stretching. If you sew several covers, make one test cover first and adjust your chart before cutting the rest.
Washing and Using Fabric Bowl Covers Safely
Wash fabric bowl covers regularly, especially after they touch food or sit near splatters. Most cotton covers can go in a normal laundry load with towels or kitchen linens, then air dry or tumble dry low. If the elastic weakens over time, open the casing and replace it.
Fabric bowl covers are useful for covering dough, salads, snacks, fruit bowls, and leftovers in the refrigerator for short storage. They are not airtight, leakproof, or safe for transporting liquids. Do not use them in the oven, microwave, or directly over hot pans.
FAQ
What Fabric Is Best for Elastic Bowl Covers?
Quilting cotton is the easiest choice because it is washable, stable, and simple to sew. Lightweight canvas also works for sturdier covers. Avoid stretchy knits for your first set because they can distort while sewing and make sizing less predictable.
How Much Bigger Should the Fabric Circle Be Than the Bowl?
Add about 4 to 6 inches to the bowl’s diameter. Small bowls usually need 4 inches extra, medium bowls about 5 inches, and large bowls about 6 inches. The extra fabric creates enough overhang for the elastic casing to grip under the rim.
Can I Make Bowl Covers Without a Sewing Machine?
Yes, you can hand sew them with small running stitches or backstitches, but it will take longer. Make sure the casing stitches are close and secure so the elastic does not break through. A hand-sewn cover works best with lightweight cotton fabric.
Are Fabric Bowl Covers Airtight?
No. Fabric bowl covers are not airtight like plastic wrap or sealed lids. They help protect food from dust, insects, and light splashes, and they are useful for short-term refrigerator storage. Use a sealed container when you need an airtight or leakproof cover.
What Size Elastic Should I Use?
Use 1/4-inch elastic for small and medium bowl covers because it is flexible and easy to thread. For larger covers, 3/8-inch elastic gives a stronger grip. Check that your casing is wide enough for the elastic to slide freely.