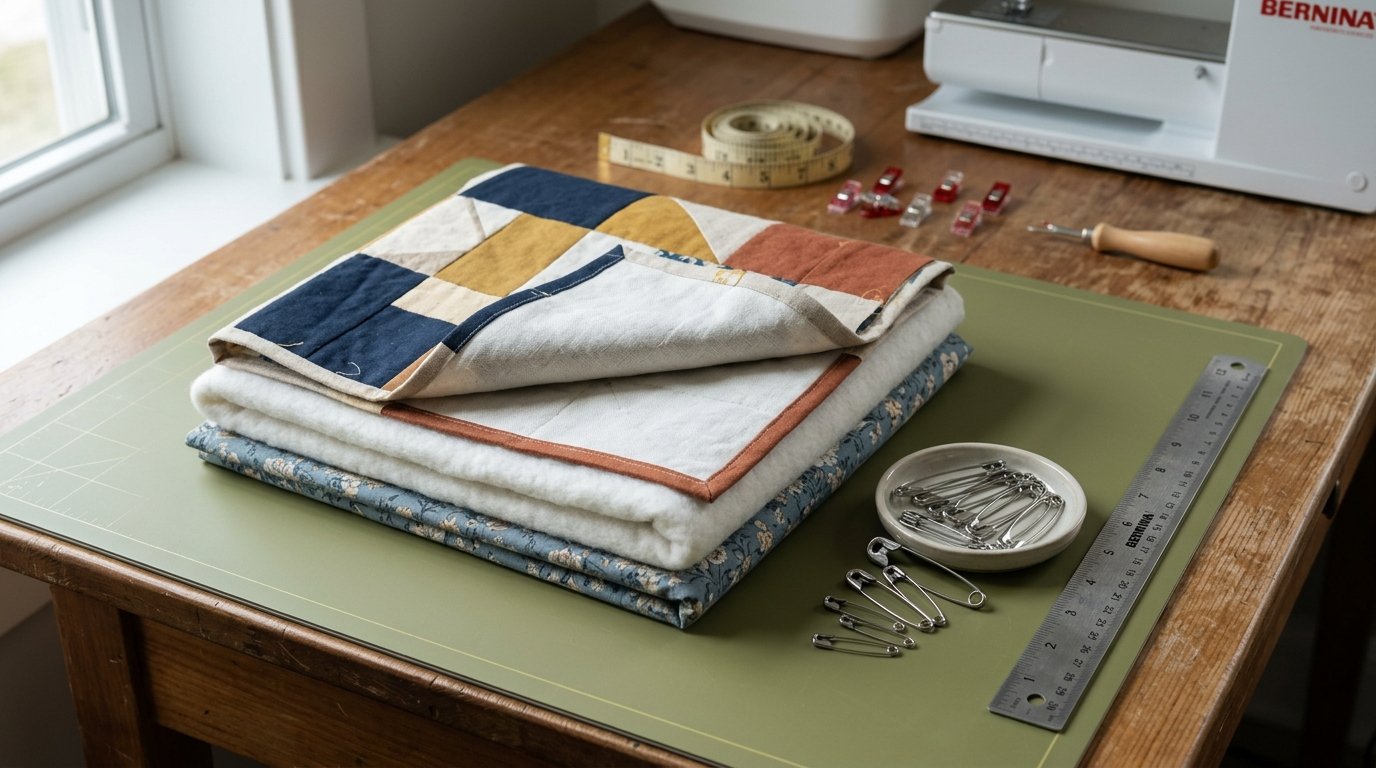
Pin basting a quilt with curved pins means building a smooth quilt sandwich, then placing curved safety pins evenly from the center outward so the top, batting, and backing stay aligned during quilting. The curved shape helps scoop fabric without lifting the whole quilt as much as a straight pin would. For most quilts, work on a hard floor or table, smooth each layer carefully, pin every 4 to 6 inches, and use closer spacing for slippery fabric, lofty batting, or dense quilting. The goal is simple: hold all three layers securely enough that they cannot shift, wrinkle, or form puckers under the needle.
Quick Answer
The main takeaway is that curved safety pins work best when you focus on three things at once: a flat setup, even smoothing, and consistent pin spacing. If any one of those is off, the quilt can shift even if you use a lot of pins.
Start by taping or clamping the backing so it is smooth but not stretched tight. Lay the batting on top, smooth it outward, then add the quilt top and smooth again from the center to the edges. Once the sandwich is flat, begin pinning near the middle and move outward in rows or a loose grid. That center-out method pushes excess fabric toward the edges instead of trapping ripples inside the quilt.
For many beginner quilts, spacing curved pins about 4 to 5 inches apart is a reliable starting point. Move closer, around 3 to 4 inches, if the batting is lofty, the backing is slippery, or the quilting design will involve lots of turning and handling. Wider spacing may work for small, stable quilts with low-loft batting, but beginners usually get better results by pinning a little more densely.
Keep the pins closed and flat to the surface. After basting, lift and drape sections of the quilt gently to check for hidden bubbles before quilting.
How to Think About This Topic
A helpful mental model is to think of pin basting as temporary engineering, not just temporary fastening. Curved pins are not there to make the quilt look neat on the floor. They are there to stop three different materials from moving at different speeds while you quilt.
The quilt top, batting, and backing each behave differently. The top may be pieced and stable in one direction but slightly stretchy on the bias. Batting may compress, shift, or cling. Backing fabric may slide or loosen as you handle the quilt. Curved pins create many small anchor points that force those layers to travel together instead of independently.
That is why setup matters as much as the pins themselves. If the backing starts with a wrinkle, pins can lock that wrinkle in place. If the top is smoothed carelessly, the quilt can look flat at first but develop a pucker once you begin quilting. Pin basting is really a process of removing movement before sewing starts.
The “curved” part helps because the pin can dip down through the layers and come back up with less strain on your hands and less distortion to the quilt sandwich. A straight safety pin often makes you lift fabric more to catch all the layers. A curved one is shaped to scoop. That makes it faster and usually easier, especially on larger quilts.
Tie this back to what most beginners actually want: fewer puckers, less shifting, and more confidence when the quilt goes under the machine. Curved pins support that goal when you place them evenly and use enough of them. They do not replace careful smoothing, but they make a careful setup hold together.
It also helps to think in zones. The center of the quilt is where trapped fullness often hides, so that area needs early attention. The edges and corners matter too, but edge problems are easier to spot and fix. Start in the middle, smooth outward, and pin in a pattern that keeps redistributing any excess toward the perimeter.
Finally, pin spacing is not about rules for their own sake. It is about matching the amount of control to the amount of risk. More handling, more loft, more slipperiness, or more intricate quilting all increase the risk of shifting. When risk goes up, pin spacing gets closer.
Practical Guidance
Here is a simple setup guide you can use while basting:
| Situation | Good starting pin spacing | Why |
|---|---|---|
| — | —: | — |
| Low-loft batting, small quilt, simple straight quilting | 5 to 6 inches | Layers are easier to control |
| Average quilt for a beginner | 4 to 5 inches | Balanced hold without over-pinning |
| Lofty batting or slippery backing | 3 to 4 inches | Extra control prevents shifting |
| Dense quilting or lots of turning under the machine | 3 to 4 inches | Frequent handling can pull layers |
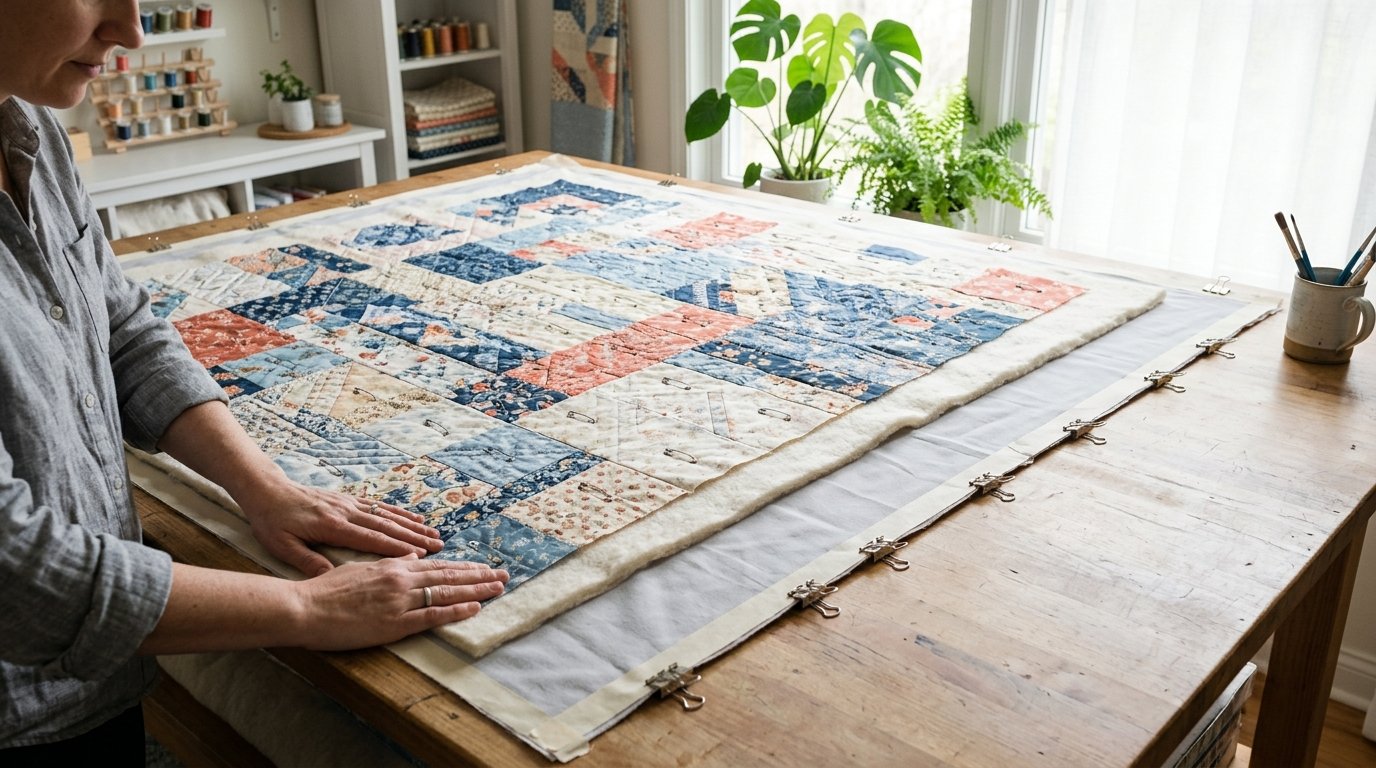
Set up the Quilt Sandwich
Use a clean hard floor, large table, or another flat surface. The backing should be at least a few inches larger than the top on all sides so you have room to smooth and pin safely. Tape or clamp the backing wrong side up so it lies flat. Smooth it firmly, but do not stretch it like a drum. Over-tight backing can relax later and cause distortion.
Lay the batting on top and smooth from the center out. Then place the quilt top right side up and smooth again. Use your hands, not just your eyes. Small ripples often disappear visually but can still be felt.
Pin in a Repeatable Pattern
Start near the center of the quilt. Place the first few curved pins in a small cluster around the middle, then work outward in rows, columns, or a loose grid. Consistency matters more than the exact pattern. For example, you might pin every 4 inches horizontally across the center, then fill the next row above and below.
Insert each pin so it catches all three layers. Keep the bite of fabric modest rather than huge; oversized bites can create little tucks. Once closed, the pin should lie fairly flat. If it arches the fabric upward, remove it and repin more gently.
Check as You Go
After every few rows, smooth the next unpinned section before adding more pins. If you notice a bubble, do not hope quilting will flatten it. Open nearby pins, resmooth, and redo that area. This is much easier now than after stitching begins.
Pay extra attention to:
- seams where the top may be slightly bulky
- the outer third of the quilt, where shifted fullness tends to collect
- corners, which can look flat while hiding tension nearby
Troubleshoot Common Beginner Problems
If the backing gets pleats, the most likely causes are a loose setup, wide pin spacing, or pushing the top while pinning. If the top seems smooth but quilting creates puckers, you probably trapped fullness between pins. Closer spacing and more frequent smoothing usually fix that.
If pinning hurts your hands, use a pin tool, spoon, or grippy rubber aid to help close the pins. Curved pins are faster when they are comfortable to use. If pins pop open, they may be too small for the thickness of your quilt sandwich.
Do a Final Readiness Check
Before quilting, remove the tape or clamps if needed and gently lift parts of the quilt to see how it drapes. If a section pulls strangely or forms a hidden bubble, repin it. Then look at the back as well as the front. A quilt is ready when both sides lie smooth, the pins feel evenly distributed, and no area can shift independently when handled.
FAQ
What Should a Beginner Know First About Pin Basting a Quilt with Curved Pins?
Start with the idea that smoothing matters as much as pinning. Curved pins hold layers together, but they cannot fix wrinkles trapped underneath. Set up the backing flat, smooth each layer from the center out, and use closer spacing than you think you need.
What Matters Most When Evaluating Pin Basting a Quilt with Curved Pins?
The big factors are layer stability, pin spacing, and whether all three layers are actually caught in each pin. A smooth sandwich with evenly placed pins every 4 to 5 inches is usually more effective than a rushed job with fewer, poorly placed pins.
What Mistakes Should Readers Avoid with Pin Basting a Quilt with Curved Pins?
Avoid stretching the backing too tightly, starting at the edges instead of the center, spacing pins too far apart, and ignoring small bubbles. Another common mistake is taking oversized bites with the pins, which can create tucks instead of holding the layers flat.
What Is the Next Logical Step After Learning About Pin Basting a Quilt with Curved Pins?
Practice on a small quilt sandwich first, then baste a real project using one spacing plan all the way through. After that, machine quilt from the center outward and notice whether the layers stay stable. Your results will help you fine-tune spacing for future quilts.