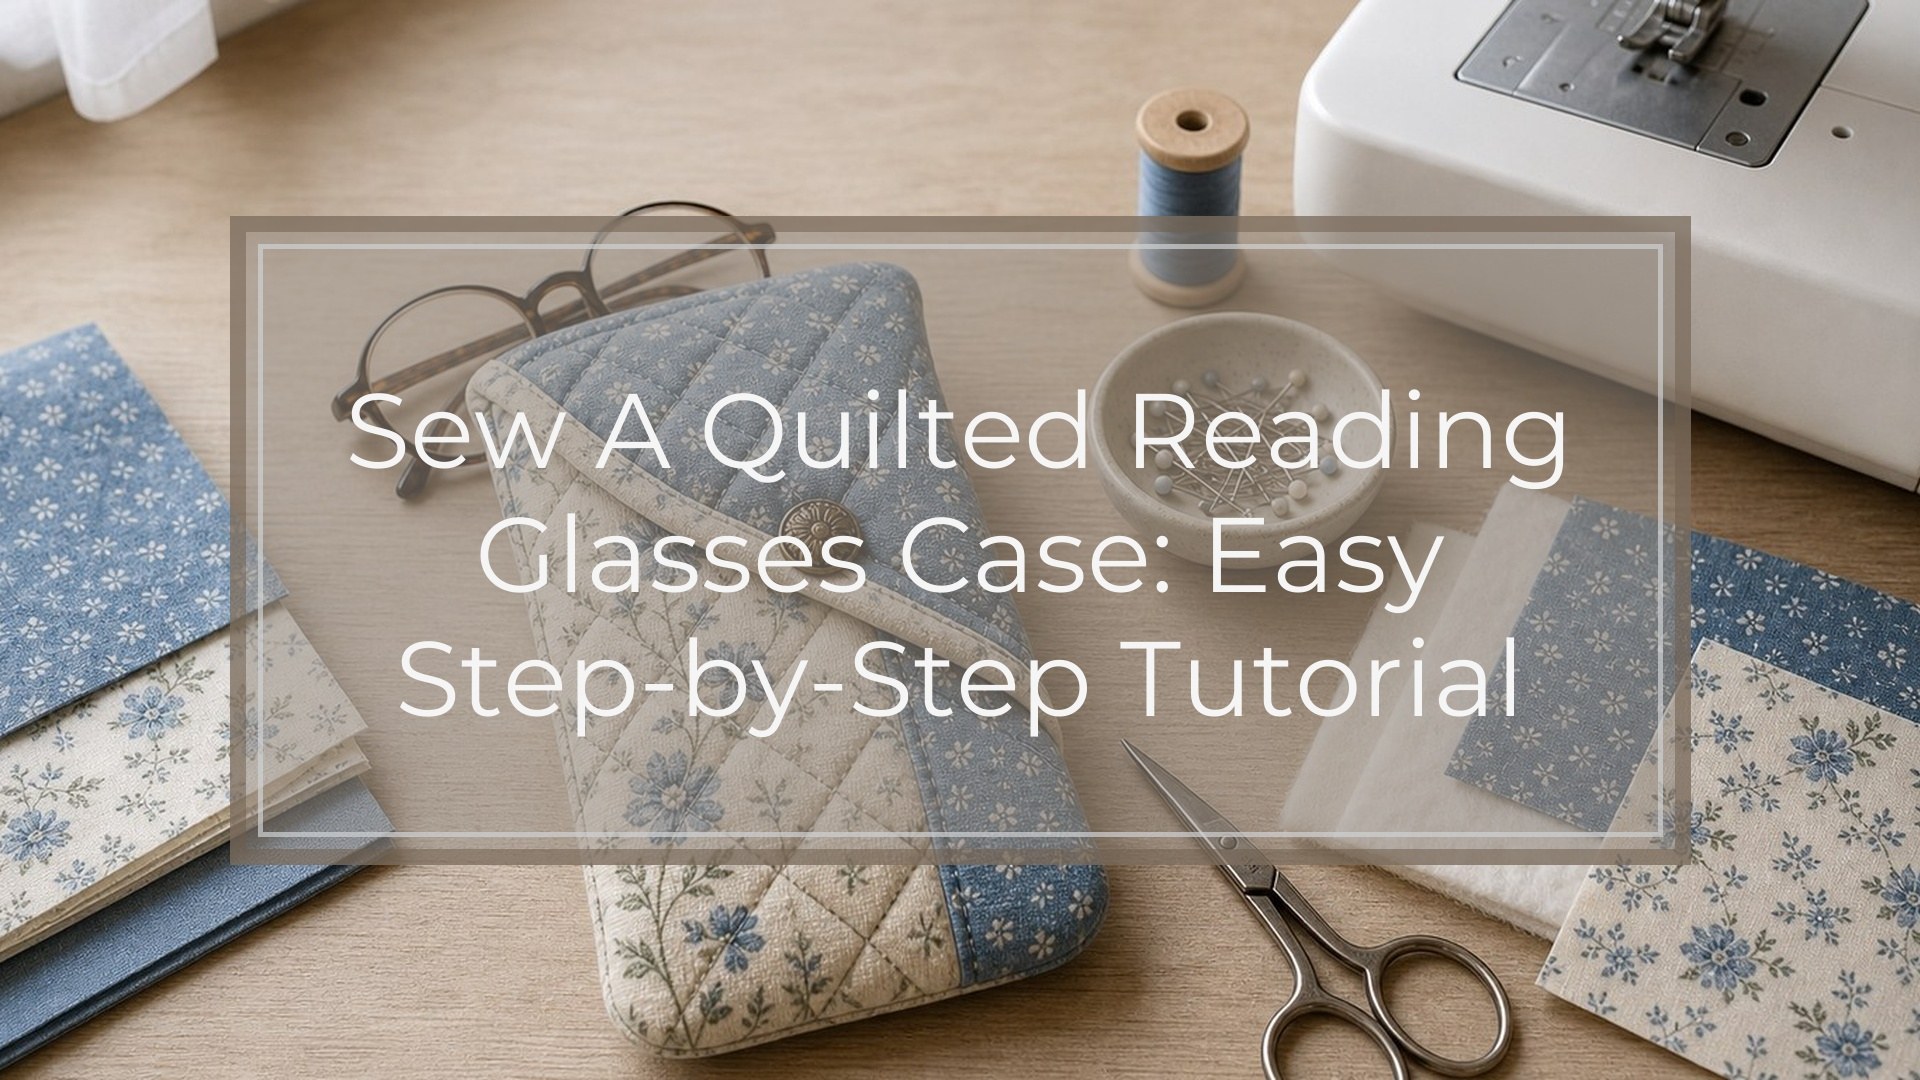
A quilted reading glasses case is a small, practical sewing project that gives your glasses light padding without adding bulk. You will make one quilted outer panel, attach a lining, fold it into a pouch, sew the sides, then turn and finish it neatly. This tutorial uses beginner-friendly straight seams and simple quilting lines, so it is a good project if you are comfortable sewing basic seams but want to practice layering fabric and batting. The finished case fits most standard reading glasses. If your glasses are oversized, you can easily add a little width or length before cutting.
Why This Quilted Glasses Case Works
The easiest way to understand this project is to think of it as a soft rectangle that becomes a pouch. First, the outer fabric is quilted to batting, which creates gentle padding. Then the lining is sewn to that quilted piece so the inside looks tidy. Finally, the rectangle is folded with the lining sides together, stitched around the edges, and turned right side out.
Because the case is made from one main shape, there are no tricky gussets, zippers, or separate binding strips. The quilting adds structure, and the lining hides the seams.
Materials and Cutting Measurements
Choose quilting cotton for both the outside and lining. Medium-weight cotton is easy to sew, presses well, and is not too bulky once folded. For padding, use low-loft cotton or polyester batting. Avoid very thick batting, which can make the case hard to turn.
| Item | Cut Size / Amount | Notes |
|---|---|---|
| — | —: | — |
| Outer fabric | 5 1/2 in x 15 in | Quilting cotton works well |
| Lining fabric | 5 1/2 in x 15 in | Smooth cotton is best |
| Batting | 5 1/2 in x 15 in | Low-loft batting |
| Thread | 1 spool | Matching or contrasting |
| Optional closure | 1 snap, button, or small hook-and-loop piece | Add after basic construction if desired |
You will also need fabric scissors or a rotary cutter, pins or clips, ruler, marking tool, iron, sewing machine, and a hand-sewing needle if you want to close the turning opening invisibly.
Finished size will be about 4 3/4 inches wide by 7 inches tall, depending on seam allowance and quilting density.
Before You Sew: Seam Allowance, Quilting Lines, and Fit
Use a 1/4-inch seam allowance unless noted otherwise. If your sewing machine has a 1/4-inch presser foot, this is a good place to use it. Press as you go; small projects look much neater when seams are flattened.
For quilting, straight lines are easiest. You can sew lengthwise lines, diagonal lines, or a simple grid. Space lines about 1/2 to 1 inch apart. Closer quilting makes the case firmer; wider quilting keeps it softer.
Before cutting, measure your glasses. If they are tall or bulky, add 1/2 inch to the width or 1 inch to the length.
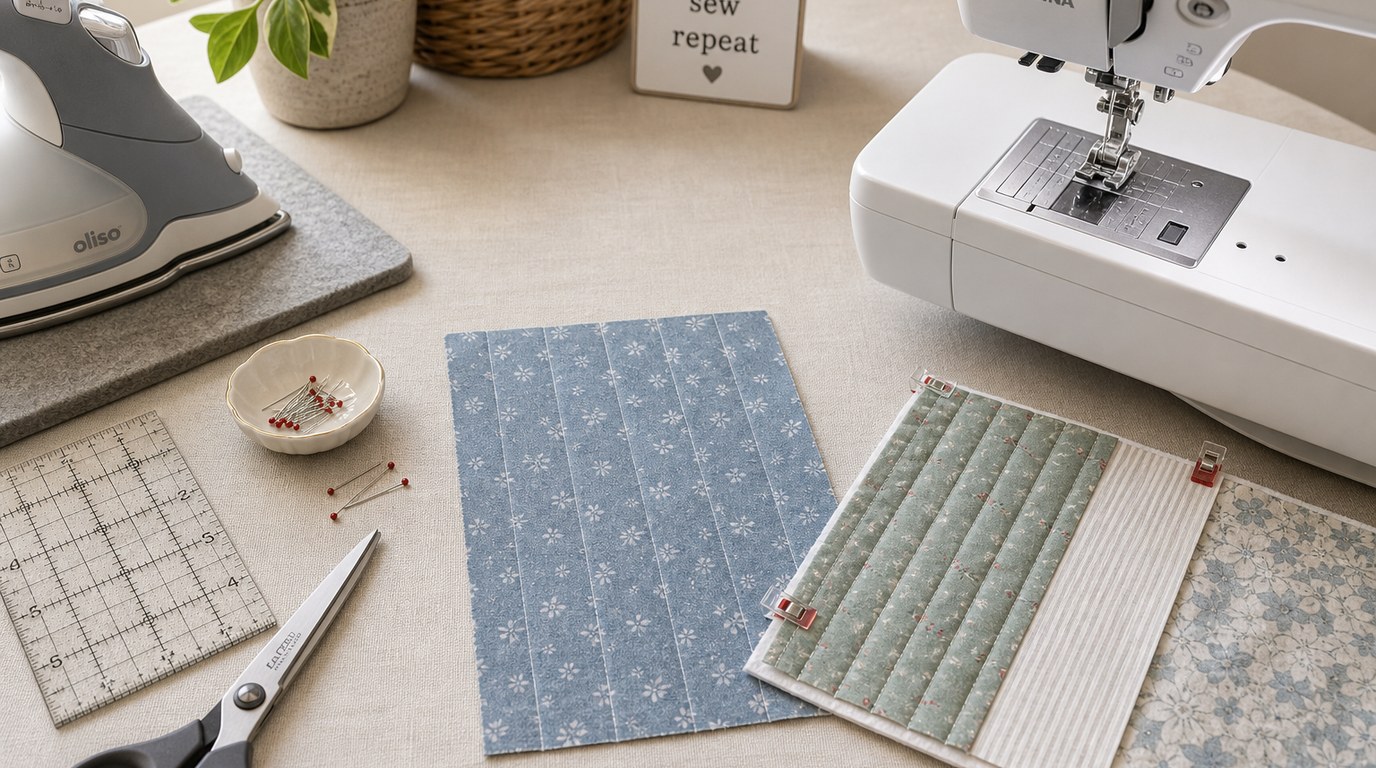
Step 1: Layer and Quilt the Outer Fabric
Place the batting on your work surface, then place the outer fabric right side up on top of it. Smooth both layers so there are no wrinkles. Pin or clip around the edges and add a few pins through the middle to keep the layers from shifting.
Mark your quilting lines with a removable fabric marker, or use the edge of your presser foot as a guide. Sew the quilting lines through the outer fabric and batting only. Backstitch at the beginning and end of each line, or shorten your stitch length for the first and last few stitches.
After quilting, trim the panel so the edges are even. Do not worry if the quilting caused slight shrinkage; just square the piece neatly.
Step 2: Join the Quilted Outer and Lining
Place the quilted outer panel and lining fabric right sides together. Match the long edges and short edges carefully, then pin or clip all around.
Sew around the rectangle with a 1/4-inch seam allowance, but leave a 3-inch opening along one long side. This opening will be used for turning later. Try to place it near the center of the long edge rather than at a corner, because a straight edge is easier to close neatly.
Clip a tiny bit from each corner without cutting through the stitches. This reduces bulk and helps the corners turn cleanly. Press the seams flat if you can, then turn the rectangle right side out.
Step 3: Fold and Sew the Case Shape
After turning, gently push out the corners with a blunt tool, such as a chopstick or point turner. Press the rectangle flat. At the opening, fold the raw edges inward so they line up with the sewn edge, then press. You do not need to close the opening yet; it can be caught in the final stitching if it falls along a side seam.
Place the rectangle with the lining side facing up. Fold the bottom short end upward about 6 3/4 to 7 inches to form the pocket. The remaining top section becomes the flap. Check the fit by laying your reading glasses on the folded pocket. The glasses should slide in easily without forcing the sides outward.
Pin or clip the folded sides. Sew down one side, across the bottom fold if needed for reinforcement, and up the other side using a 1/8-inch to 1/4-inch seam allowance. Backstitch at the top edges of the pocket.
Step 4: Turn, Press, and Close the Opening
Once the side seams are sewn, turn the case right side out so the quilted outer fabric is on the outside and the lining is inside the pocket. Work slowly, especially at the bottom corners, because the quilted layers create extra bulk.
Press the case flat, shaping the flap and pocket edges. If the turning opening was not fully caught in the side seam, close it now with a small ladder stitch by hand, or topstitch close to the edge by machine.
For a crisp finish, topstitch around the flap about 1/8 inch from the edge. This helps the flap lie flat and gives the case a polished look. Give the whole case one final press, avoiding any plastic snaps or closures if already attached.
Optional Closure and Personalization Ideas
A closure is optional because the flap usually stays in place on its own. If you want extra security, add a small snap, a button and thread loop, or a short piece of hook-and-loop tape. Keep closures flat so they do not press into the glasses.
To personalize the case, use contrasting quilting thread, add a small fabric label, or piece together scraps for the outer panel before quilting. You can also round the flap corners before sewing the outer and lining together. Use a cup or spool as a curve template.
Troubleshooting: Common Problems and Easy Fixes
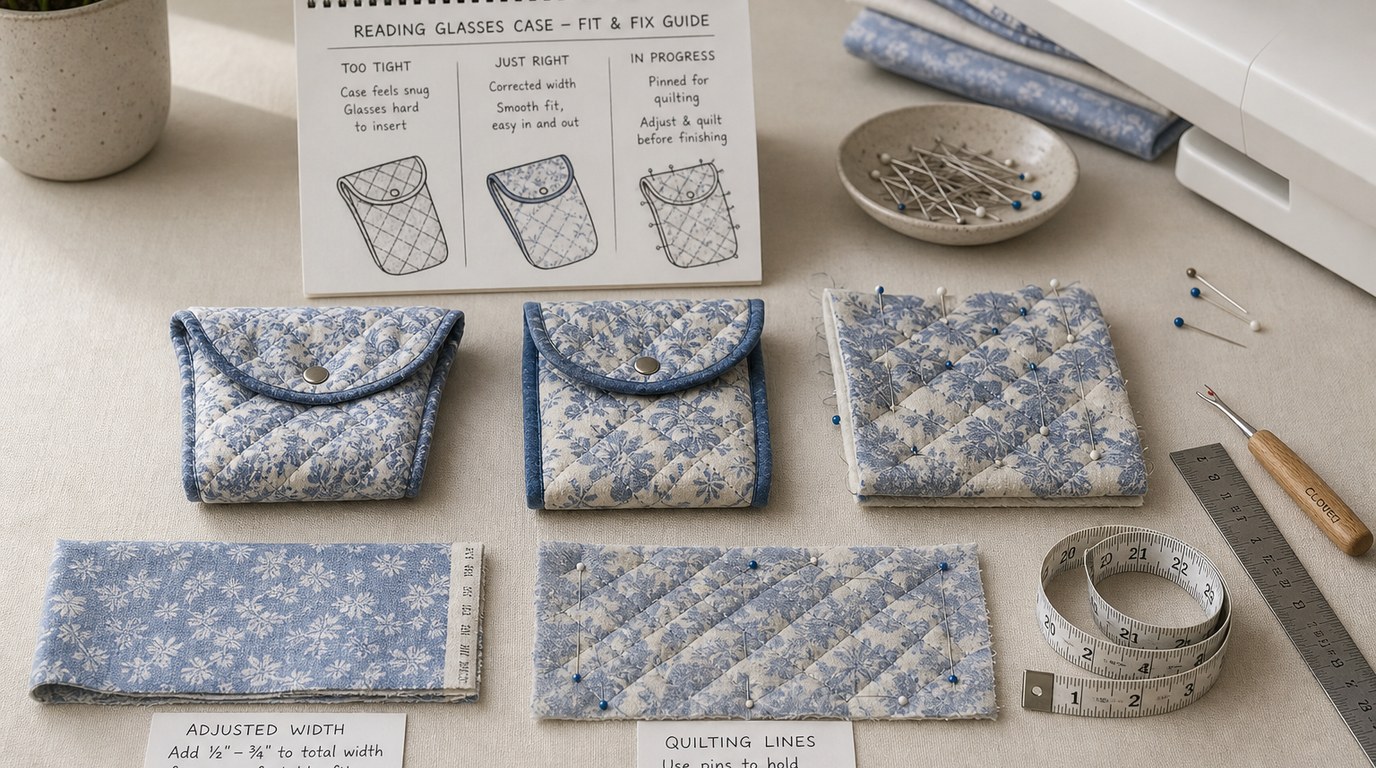
If the case feels too tight, sew the side seams with a narrower allowance, or make the next version 1/2 inch wider. If the glasses sink too far inside, shorten the starting rectangle by about 1 inch.
If the layers shift while quilting, use more pins or spray baste lightly before stitching. If the corners look bulky, trim seam allowances more closely at the corners and press well.
If the flap will not lie flat, add topstitching around the flap edge. If your stitches look uneven through the quilted layers, switch to a new universal needle and sew a little slower.
FAQ
What Should a Beginner Know First About Sew a Quilted Reading Glasses Case?
A beginner should know that this project is built from one padded rectangle. You quilt the outer fabric to batting, add a lining, fold the piece into a pouch, and sew the sides. Accurate cutting, pressing, and slow stitching matter more than advanced sewing skills.
What Matters Most When Evaluating Sew a Quilted Reading Glasses Case?
Fit and padding matter most. The case should be wide enough for glasses to slide in easily, but not so loose that they fall out. The batting should cushion the lenses and frame without making the case bulky or difficult to turn.
What Mistakes Should Readers Avoid with Sew a Quilted Reading Glasses Case?
Avoid using thick batting, skipping the pressing steps, or forgetting the turning opening. Also avoid making the side seams too wide if your glasses are larger than average. Test the fold around your glasses before sewing the final side seams.
What Is the Next Logical Step After Learning About Sew a Quilted Reading Glasses Case?
The next step is to make a second case with small adjustments. Try a different quilting pattern, a rounded flap, or a snap closure. Once you understand the rectangle-and-fold construction, you can resize the pattern for other small padded sleeves.