
A simple shirred dress for girls is one of the most beginner-friendly clothing projects because it starts with a rectangle of fabric. Rows of elastic-thread stitching gather the top into a stretchy bodice, while the lower part stays loose like a skirt. Add straps, sew one side seam, hem the bottom, and the dress is ready to wear.
The key is measuring the child, cutting enough width for gathering, and testing your shirring before sewing the dress. You do not need a printed pattern for this version. Think of it as a fabric tube with a stretchy top and simple straps, made to fit comfortably over the chest.
What This Simple Shirred Dress Project Makes
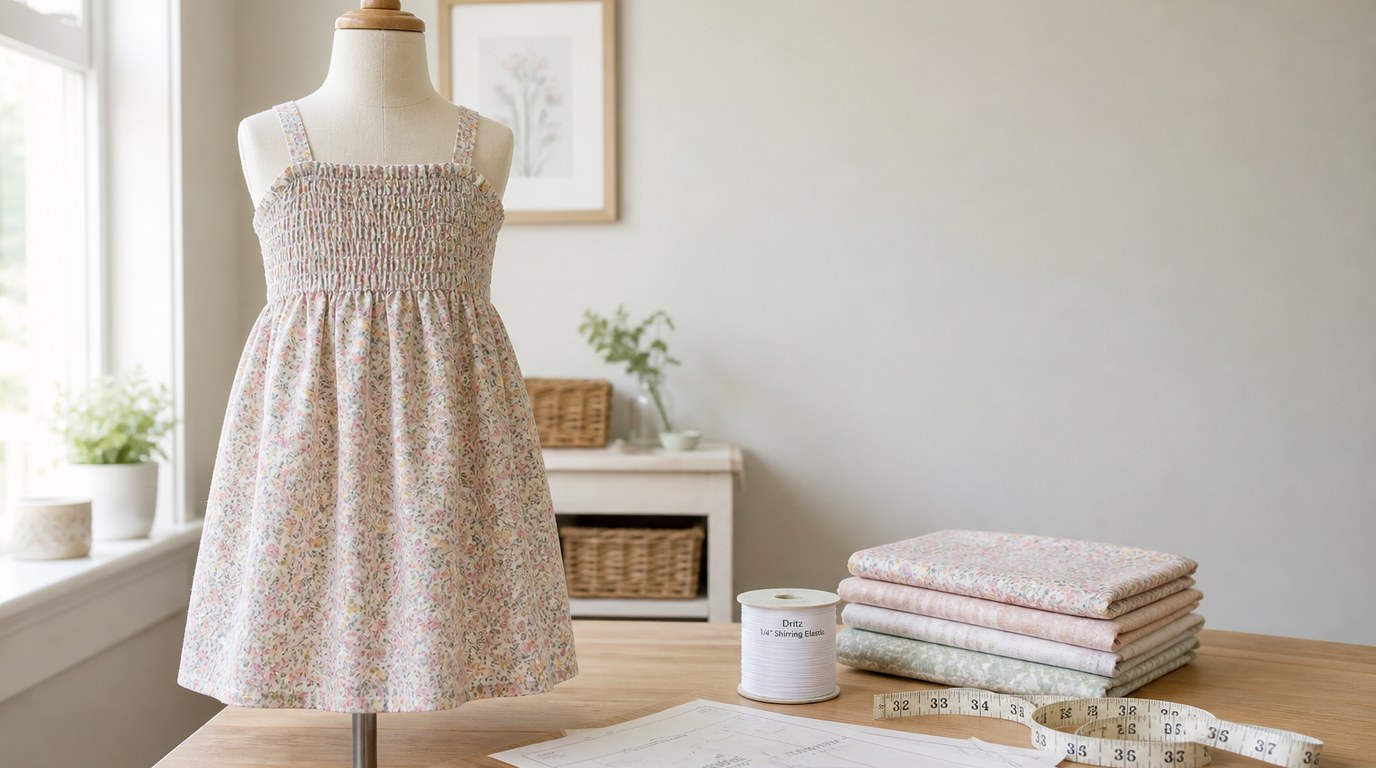
This project makes a sleeveless summer-style dress with a shirred bodice and gathered skirt. The bodice is created by sewing several parallel rows with elastic thread in the bobbin. As the rows build up, the fabric pulls in and becomes stretchy.
The dress is cut from one main rectangle. The width wraps around the body, and the length runs from the upper chest to the desired hem. Straps are added separately so you can adjust the fit on the child.
Lightweight cotton, lawn, voile, double gauze, or quilting cotton all work well. Avoid very heavy fabric for your first try because it may not gather tightly.
Supplies and Tools
You will need:
- Lightweight woven fabric
- Elastic thread for shirring
- Regular all-purpose sewing thread
- Sewing machine
- Empty bobbin
- Fabric scissors or rotary cutter
- Measuring tape
- Pins or clips
- Iron and ironing board
- Safety pin or turning tool for straps
- Ruler or seam gauge
- Fabric marker or chalk
Choose a fabric that feels comfortable against the skin and has enough drape for a child’s dress. Prewash and dry the fabric before cutting, especially cotton, because it may shrink.
Use regular thread in the needle and elastic thread only in the bobbin. A universal needle, size 80/12, is usually suitable for cotton fabrics. If your fabric is very fine, use a smaller needle.
Suggested Measurements for a Simple Shirred Dress
Measure the child for the best fit. The table below gives starting points, but children vary, and shirring stretches differently depending on fabric and machine settings.
| Child size | Approx. chest | Cut fabric width | Finished dress length |
|---|---|---|---|
| — | —: | —: | —: |
| 2T | 20–21 in | 40–42 in | 18–20 in |
| 4 | 22–23 in | 44–46 in | 21–23 in |
| 6 | 24–25 in | 48–50 in | 24–26 in |
| 8 | 26–27 in | 52–54 in | 27–29 in |
A good rule is to cut the fabric width about twice the chest measurement. For a fuller dress, add a few inches. For length, measure from the upper chest to where you want the hem, then add hem allowance and top edge allowance.
Measure and Cut the Fabric
Measure around the child’s chest at the point where the top of the dress will sit. Double that number for the main rectangle width. For example, if the chest is 24 inches, cut the rectangle about 48 inches wide.
Next, measure from the upper chest to the desired dress length. Add 1 inch for the top edge finish and 1½ to 2 inches for the bottom hem. If you want a 24-inch finished dress, cut the rectangle about 26½ to 27 inches long.
Cut one main rectangle using those measurements. Keep the grain straight so the dress hangs evenly.
For straps, cut two strips about 2½ inches wide. The length depends on the child, but 16 to 20 inches is a useful starting range. You can make them longer, fit the dress, and trim the excess before final stitching. If you prefer tie straps, cut four longer strips instead of two fixed straps.
Prepare Your Machine for Shirring
Shirring uses regular thread in the top of the machine and elastic thread in the bobbin. Wind the elastic thread onto the bobbin by hand. Do not stretch it tightly as you wind; guide it with gentle, even tension. The elastic should sit smoothly on the bobbin without being pulled thin.
Place the elastic-thread bobbin into the machine as usual. Thread the top of the machine with regular thread that matches your fabric. Set the stitch length slightly longer than normal, usually around 3.0 to 4.0 mm.
Before sewing the dress, test on a scrap of the same fabric. Sew several rows about ½ inch apart. The fabric should begin to gather after a few rows. If it barely gathers, check that the elastic bobbin is wound correctly and that your stitch length is long enough. Some machines may need a slight bobbin tension adjustment, but test first before changing settings.
Sew the Shirred Bodice Rows
Finish the top edge before shirring. Fold the top edge to the wrong side by ¼ inch and press. Fold again by ¼ inch, press, and stitch close to the inner fold using regular thread in the bobbin. This creates a clean top edge.
Now switch back to the elastic-thread bobbin. With the right side of the fabric facing up, sew the first shirring row about ½ inch below the finished top edge. Backstitch lightly at the beginning and end, or leave thread tails and knot them securely.
Use the presser foot as a guide for spacing, or mark light lines with chalk. Sew each row parallel to the last, about ⅜ to ½ inch apart. Keep the fabric flat in front of the needle, but do not stretch it hard. Let the machine feed the fabric naturally.
Continue sewing rows until the shirred area is deep enough for the bodice. For toddlers, 4 to 5 inches may be enough. For older girls, 6 to 8 inches often looks better and feels more secure.
As you add rows, the fabric will gather more. If the gathering looks mild while sewing, press the shirred section with steam after several rows. The elastic often tightens noticeably with steam. Do not iron directly with heavy pressure; hover or press gently so you do not flatten the texture.
Sew the Side Seam
Fold the dress rectangle in half with right sides together, matching the side edges. Pin or clip carefully so the shirring rows line up across the seam. This makes the bodice look neater and helps the top edge sit evenly.
Sew the side seam using a ½-inch seam allowance. Use regular thread in the needle and bobbin for this step, not elastic thread. After sewing, finish the raw seam allowances with a zigzag stitch, serger, or pinking shears.
Press the seam to one side. If the seam feels bulky through the shirred bodice, press gently and avoid crushing the elastic rows. Turn the dress right side out and check that the tube stretches comfortably.
Make and Attach the Straps
Fold each strap strip in half lengthwise with right sides together and press. Sew along the long edge using a ¼-inch seam allowance. Turn the strap right side out with a safety pin or turning tool, then press it flat. Tuck the short raw ends inside or finish them with a narrow fold.
Try the dress on the child before final strap placement if possible. Mark the front strap positions first, usually a few inches in from each side of the center front. Then bring the straps over the shoulders and mark the back positions. The straps should hold the dress up without pulling the bodice too high under the arms.
Pin the straps to the inside of the dress at the top edge. Stitch each strap securely with a small rectangle or a few rows of straight stitching. For extra strength, sew across the strap at the top edge and again slightly below it. Trim any excess strap length after checking the fit.
Hem the Dress
Try the dress on or measure from the top edge to confirm the final length. Trim the bottom if needed before hemming.
For a simple hem, fold the bottom edge to the wrong side by ½ inch and press. Fold again by ½ to 1 inch, depending on how much allowance you left. Press well and stitch close to the upper folded edge.
A narrow hem gives a light finish for lawn or voile. A deeper hem adds a little weight to quilting cotton and helps the skirt hang nicely. Press the finished hem for a clean look.
Fit Check and Troubleshooting
After the dress is assembled, check three things: stretch, security, and comfort. The shirred bodice should stretch over the chest and gently hug the body without feeling tight. The top edge should stay up with help from the straps, and the underarm area should not rub.
If the shirring is too loose, add more shirring rows. More rows often create more contraction. You can also steam the shirred area to encourage the elastic to shrink. If it is still too wide, take in the side seam slightly.
If the bodice is too tight, remove the side seam and resew it with a smaller seam allowance if you have enough fabric. If not, save the dress for a smaller child or add a side panel.
If elastic thread breaks, the bobbin may be wound too tightly, the stitch length may be too short, or the fabric may be too heavy. Rewind the bobbin gently and test again. If rows look crooked, use the presser foot edge as a guide and sew slowly.
Simple Variations to Try Next
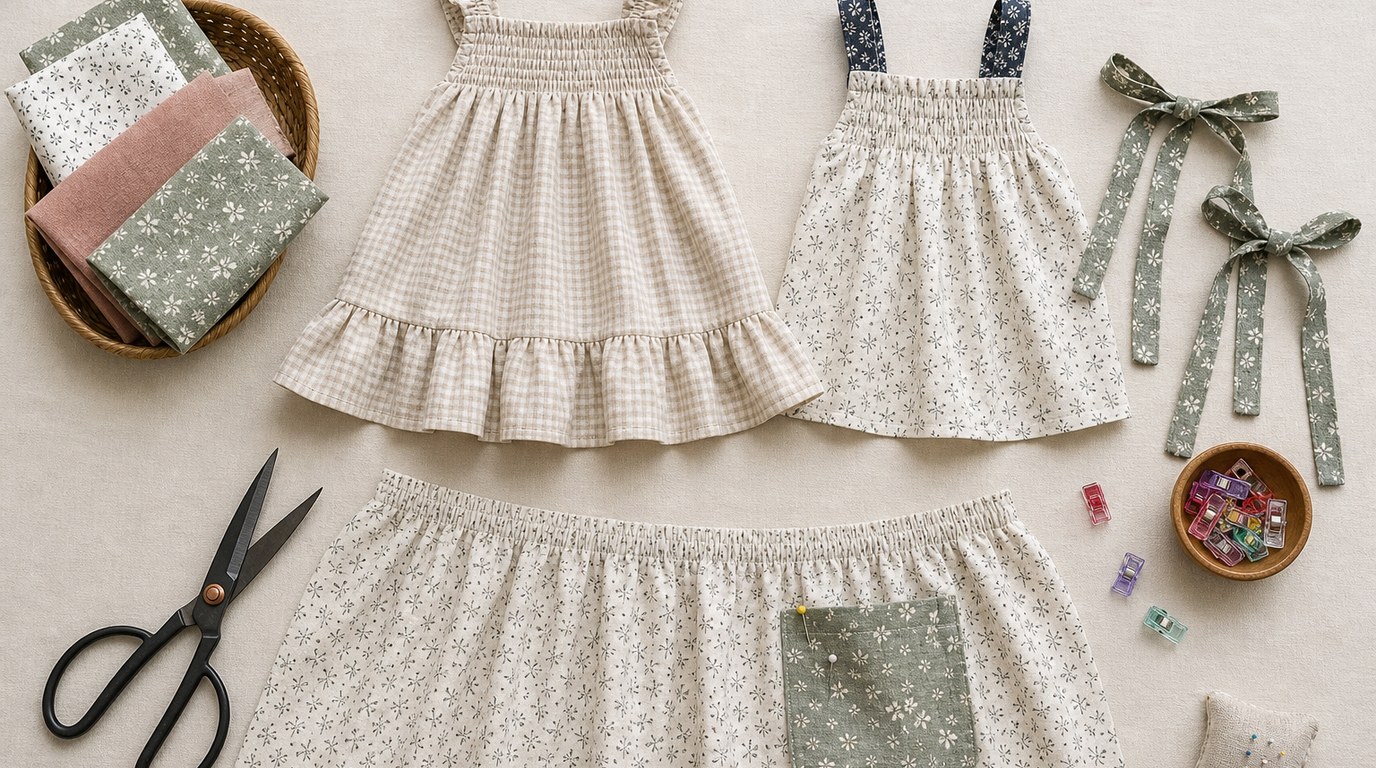
Once you can sew a basic shirred dress, small changes are easy. Add a ruffle to the hem, use contrast fabric for the straps, or make tie straps instead of fixed straps. You can also add a patch pocket to the skirt before sewing the side seam.
For a fuller dress, cut the main rectangle slightly wider. For a top instead of a dress, shorten the length and use the same shirring method. Keep the construction simple until you are confident with consistent shirring.
FAQ
What Should a Beginner Know First About Simple Shirred Dress for Girls?
Start with the basic shape: one fabric rectangle becomes the dress body, and elastic-thread rows create the stretchy bodice. The most important beginner step is testing shirring on scrap fabric before sewing the actual dress. This helps you check gathering, stitch length, and elastic tension.
What Matters Most When Evaluating Simple Shirred Dress for Girls?
Fit and stretch matter most. The shirred bodice should gently hug the chest without squeezing, and the straps should keep the dress secure. Fabric choice also matters; lightweight woven cottons gather more easily and are usually more comfortable for children than stiff or heavy fabrics.
What Mistakes Should Readers Avoid with Simple Shirred Dress for Girls?
Avoid cutting the fabric too narrow, winding elastic thread too tightly, and skipping the shirring test. Also avoid pulling the fabric hard while sewing shirring rows. Let the machine feed the fabric, sew evenly spaced rows, and steam the shirring before judging the final fit.
What Is the Next Logical Step After Learning About Simple Shirred Dress for Girls?
After sewing one basic version, make another with small improvements based on fit. Adjust the width, bodice depth, strap placement, or hem length. Once you are comfortable, try tie straps, a hem ruffle, or a shirred top using the same rectangle-and-elastic method.