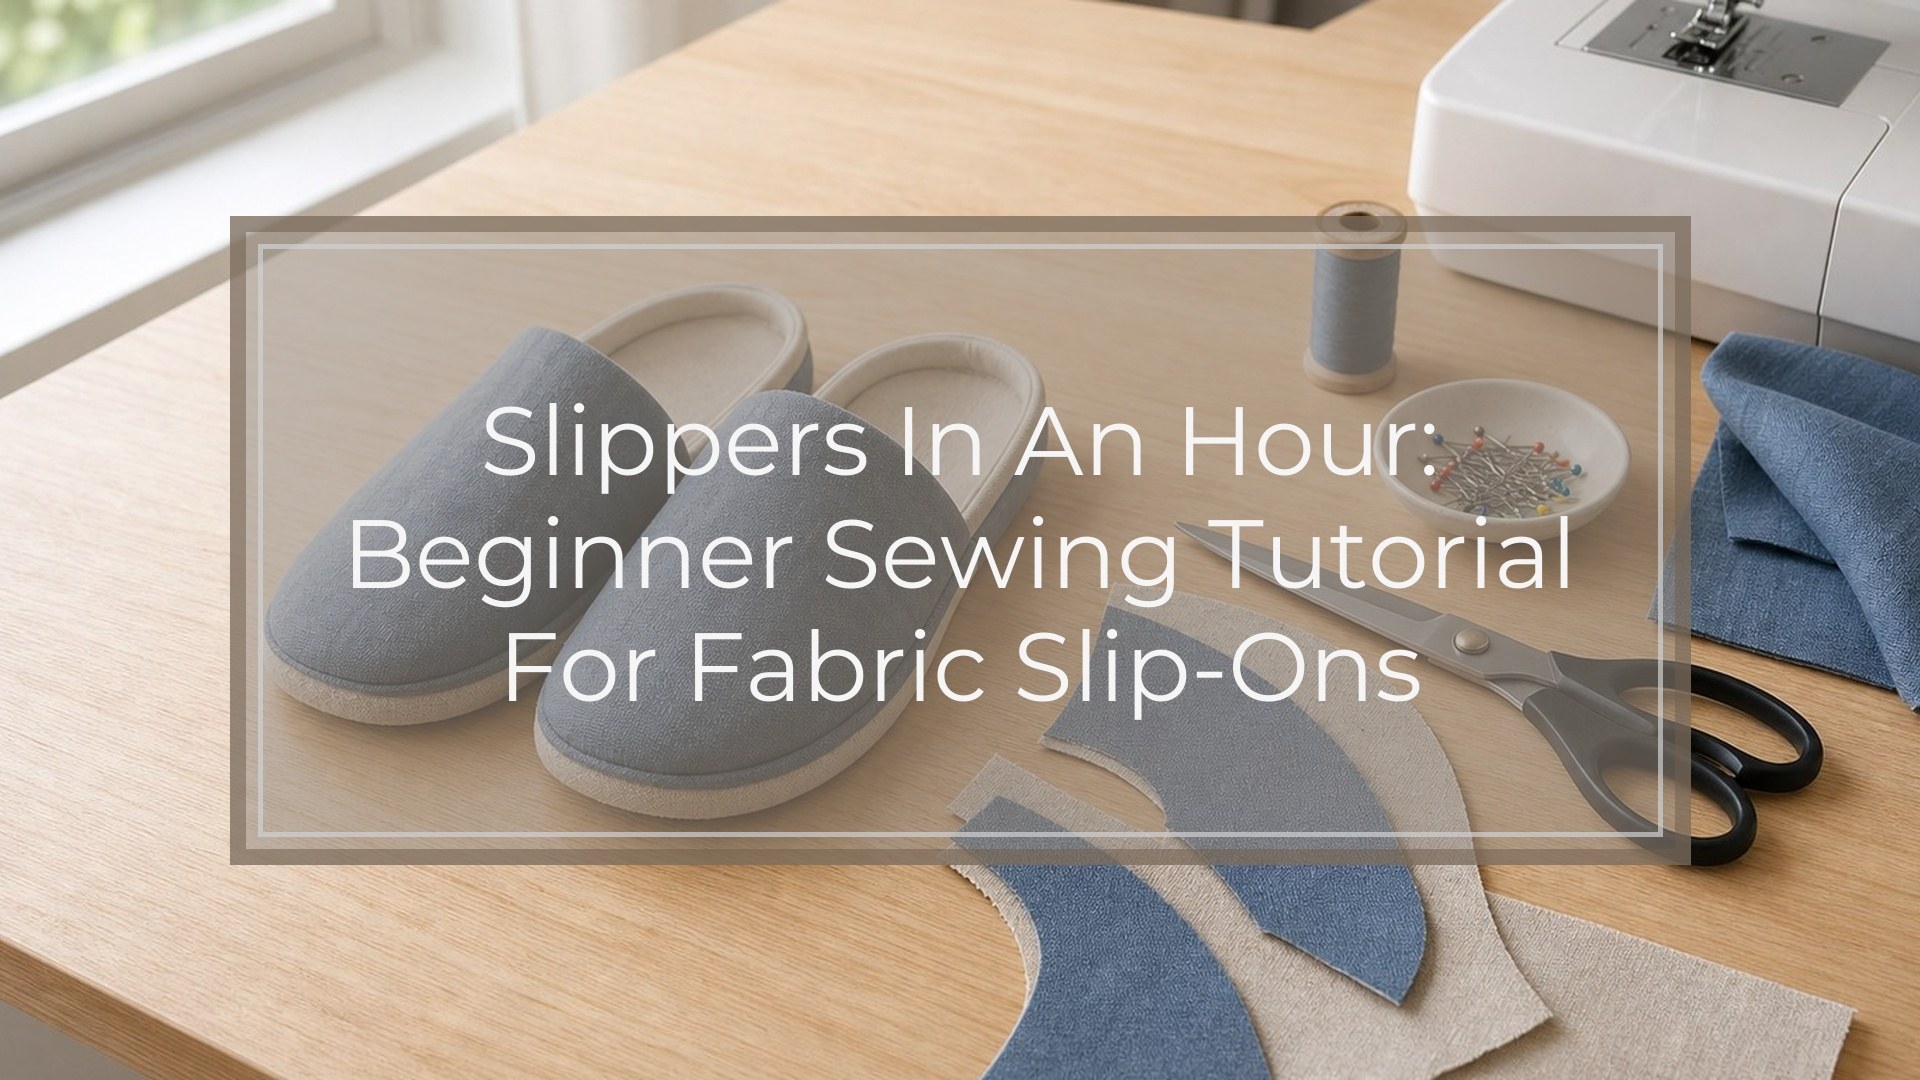
You can sew simple slip-on fabric slippers in about an hour by using a basic two-part pattern: a sole piece and a curved upper piece. The fastest version uses soft fleece, sweatshirt fabric, felt, or quilted cotton, with a non-slip sole layer if you have one. This is a beginner-friendly indoor slipper project, not a structured outdoor shoe. The key is to cut matching left and right pieces, sew the upper neatly, attach it evenly to the sole, then finish the bottom seam so it feels comfortable underfoot.
What You’ll Make: One-hour Slip-on Fabric Slippers
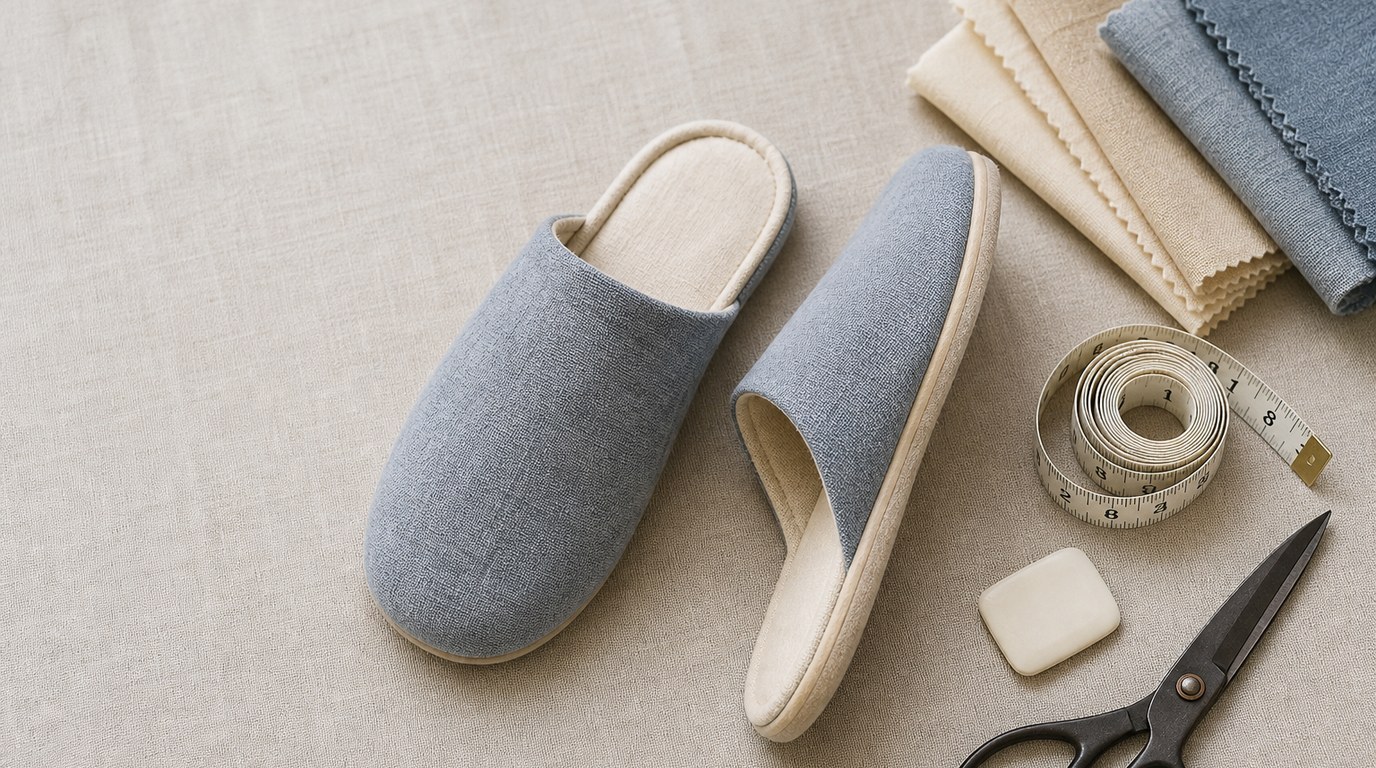
These slippers are soft, low slip-ons with a fabric upper and flexible sole. They are meant for wearing around the house, especially on carpet, rugs, or dry floors. The shape is simple: your foot slides under a curved top piece, while the sole follows the outline of your foot.
This project is best for beginners who can sew a basic straight stitch and handle curves slowly. The one-hour timing is realistic if you use an existing slipper pattern, avoid extra decoration, and choose fabric that does not fray badly.
Supplies and Tools
Gather everything before you start so the project stays quick.
You will need:
- Outer fabric, such as fleece, felt, sweatshirt knit, canvas, or quilting cotton
- Lining fabric, such as fleece, flannel, cotton, or jersey
- Sole fabric, such as felt, denim, faux suede, canvas, or grippy sole fabric
- Optional thin batting, foam, or fusible fleece for cushioning
- Paper for the pattern
- Pencil or fabric marker
- Fabric scissors or rotary cutter
- Pins or clips
- Sewing machine
- Thread
- Hand sewing needle for closing small gaps, if needed
- Iron, if using cotton or fusible materials
Use a ⅜ inch or ½ inch seam allowance unless your pattern says otherwise. If your fabric is thick, clips are easier than pins.
Quick Slipper Materials and Substitutions
Choose materials that are soft, flexible, and not too bulky for your sewing machine. For quick slippers, easy handling matters more than fancy fabric.
| Slipper Part | Good Choices | Quick Substitutions | Notes |
|---|---|---|---|
| Upper outer | Fleece, felt, sweatshirt knit, canvas | Quilting cotton with interfacing | Softer fabrics feel cozy; woven cotton may need support. |
| Upper lining | Flannel, fleece, cotton jersey | Old T-shirt fabric | Keep lining smooth against the foot. |
| Sole inside | Fleece, felt, quilted cotton | Same as lining | Add batting for extra comfort. |
| Sole bottom | Faux suede, denim, canvas, grippy fabric | Felt with puff paint dots | Avoid slick fabric on hard floors. |
Choose or Make a Simple Slipper Pattern
A simple slipper pattern has two main shapes: the sole and the upper. The sole looks like your foot outline with a little extra room. The upper is a rounded piece that covers the toes and top of the foot.
To make your own, stand on paper and trace around each foot. Add about ⅜ inch for seam allowance and a little ease around the toes. Mark the heel and toe. For the upper, measure from one side of the ball of your foot, over the top, to the other side. Draw a curved dome shape long enough to cover your toes and the front half of your foot.
For the fastest result, trace a pair of slippers that already fit, or use a printed pattern in your shoe size.
Cut the Fabric Pieces
Cut carefully so both slippers match. For each slipper, you need one upper outer, one upper lining, one inner sole, and one bottom sole. If you want extra cushioning, cut one batting or fusible fleece sole for each foot.
Remember that feet are left and right. Cut one sole with the pattern facing up and one with the pattern facing down, or mark the fabric clearly before cutting. Do the same for the sole lining and bottom sole.
If your fabric has stretch, place the greatest stretch across the width of the upper, not from toe to heel.
Sew the Upper Pieces
Place one upper outer and one upper lining right sides together. Sew along the top curved edge only, leaving the lower edge open. This curved edge is the part that will sit across the top of your foot.
Trim the seam allowance slightly if the curve feels bulky. Clip small notches into the curve, being careful not to cut the stitches. Turn the upper right side out and press or finger-press the edge flat.
Topstitch along the curved edge if you want a neater finish. This also helps the lining stay inside while you wear the slippers.
Repeat for the second upper.
Attach the Upper to the Sole
Lay one inner sole right side up. Place the finished upper on top, outer fabric facing up. Match the center front of the upper to the toe of the sole. The raw lower edge of the upper should line up with the raw edge of the sole.
Pin or clip from the toe outward on both sides. The upper should cover the front part of the sole and stop around the ball or arch area, depending on your pattern. If it feels too wide, overlap the side edges slightly or ease the extra fabric evenly. If it feels too tight, move the side edges slightly farther back.
Sew the upper to the inner sole using a slow stitch around the attached area. Keep the fabric flat and avoid tucks near the toe. Repeat for the other slipper.
Add the Sole Layer and Finish the Edges
Place the bottom sole over the slipper, right sides together, sandwiching the upper between the inner sole and bottom sole. Match toe, heel, and side edges. Pin or clip all the way around.
Sew around the sole, leaving a 2 to 3 inch opening at the heel or inner side for turning. Trim bulky seam allowances, especially around the toe. Turn the slipper right side out through the opening. Push out the toe gently with your fingers, not sharp scissors.
Fold the raw edges of the opening inward and hand stitch it closed, or topstitch close to the edge around the entire sole. Topstitching gives a flatter finish and helps the layers stay in place.
Fit Check and Fast Adjustments
Try on both slippers before calling them finished. Your toes should have room to move, and the upper should hold your foot without squeezing. If the slipper slips off, sew a short line at each side where the upper meets the sole to tighten the opening.
If the toe feels bulky, trim the seam allowance more next time or use thinner lining. If the sole feels slippery, add dots of fabric puff paint, silicone grip, or a non-slip sole patch to the bottom. Let any grip treatment dry fully before wearing.
Time-saving Tips for Finishing in an Hour
Use fleece or felt because they are forgiving and do not need much pressing. Cut both slippers at the same time if your fabric layers are stable. Skip decorative topstitching unless it helps control the lining.
Choose one thread color that works for all layers. Keep the pattern simple, with no heel piece, binding, or elastic. If you are sewing for the first time, make a test slipper from scrap fabric before starting your final pair; it can save time overall.
Optional Variations
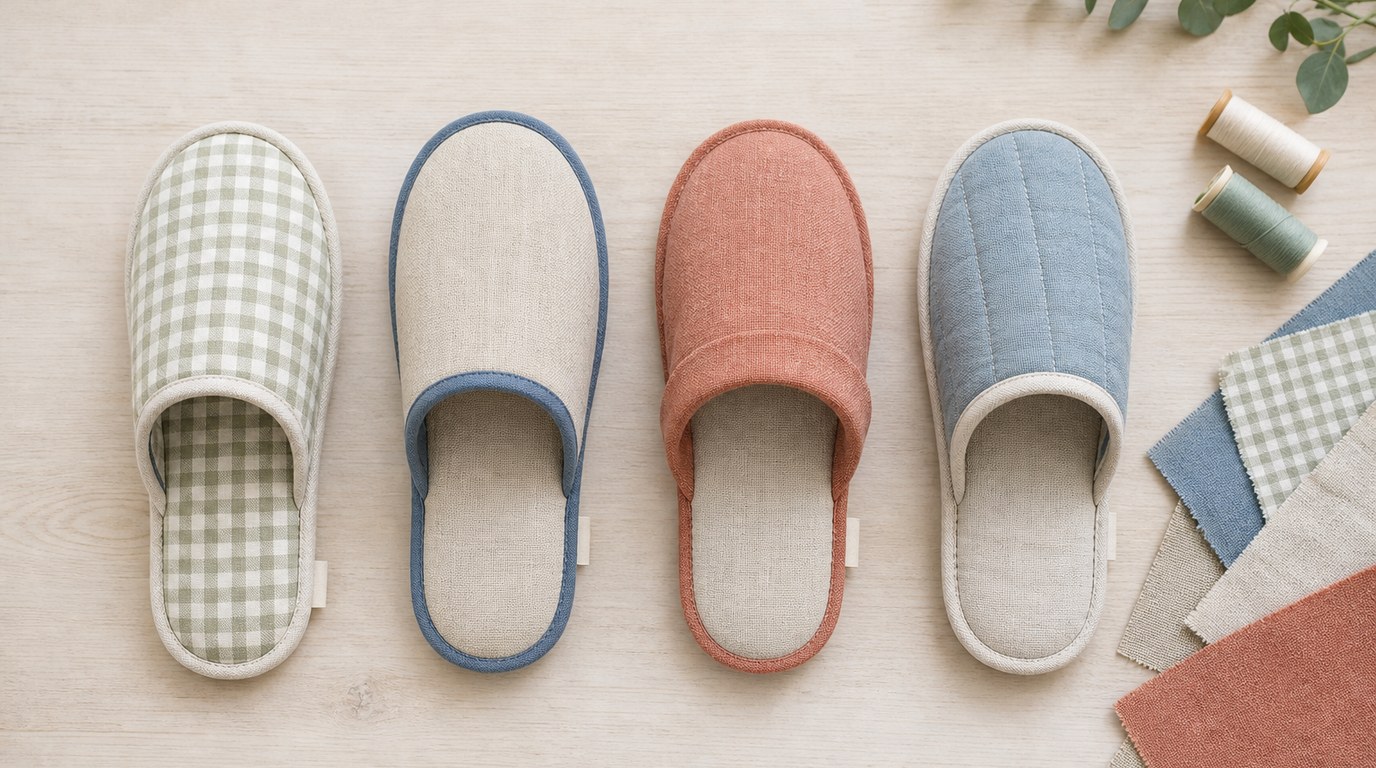
Once you understand the basic method, you can customize the slippers without changing the construction much.
Try these simple variations:
- Add a layer of fusible fleece to the upper for a puffier slipper.
- Use flannel lining for warmth without too much bulk.
- Add a small fabric tab at the heel for easier pulling on.
- Sew decorative buttons or embroidery on the upper before assembly.
- Make a travel pair from lightweight felt.
- Use holiday fabric for quick handmade gifts.
Keep decorations flat and soft so they do not rub your foot.
FAQ
What Should a Beginner Know First About Slippers in an Hour?
Start with the simplest slip-on style: one sole piece and one upper piece per slipper, plus lining. Choose forgiving fabric like fleece or felt, cut left and right pieces carefully, and sew slowly around curves. The project is fast because the shape is simple.
What Matters Most When Evaluating Slippers in an Hour?
Fit and sole safety matter most. The slipper should stay on without pinching, and the bottom should not be slippery on your floors. Fabric choice also affects speed: thick layers can be cozy, but they may be harder for a beginner machine to sew neatly.
What Mistakes Should Readers Avoid with Slippers in an Hour?
Avoid cutting two identical soles instead of a left and right. Do not use slick fabric for the bottom unless you add grip. Also avoid making the upper too tight; it is easier to take in a loose slipper than to fix one that squeezes your foot.
What Is the Next Logical Step After Learning About Slippers in an Hour?
After making one basic pair, adjust the pattern for a better personal fit. Then try small upgrades such as a cushioned sole, non-slip fabric, topstitching, or a heel tab. Once the fit is reliable, this becomes an easy repeat project for gifts.