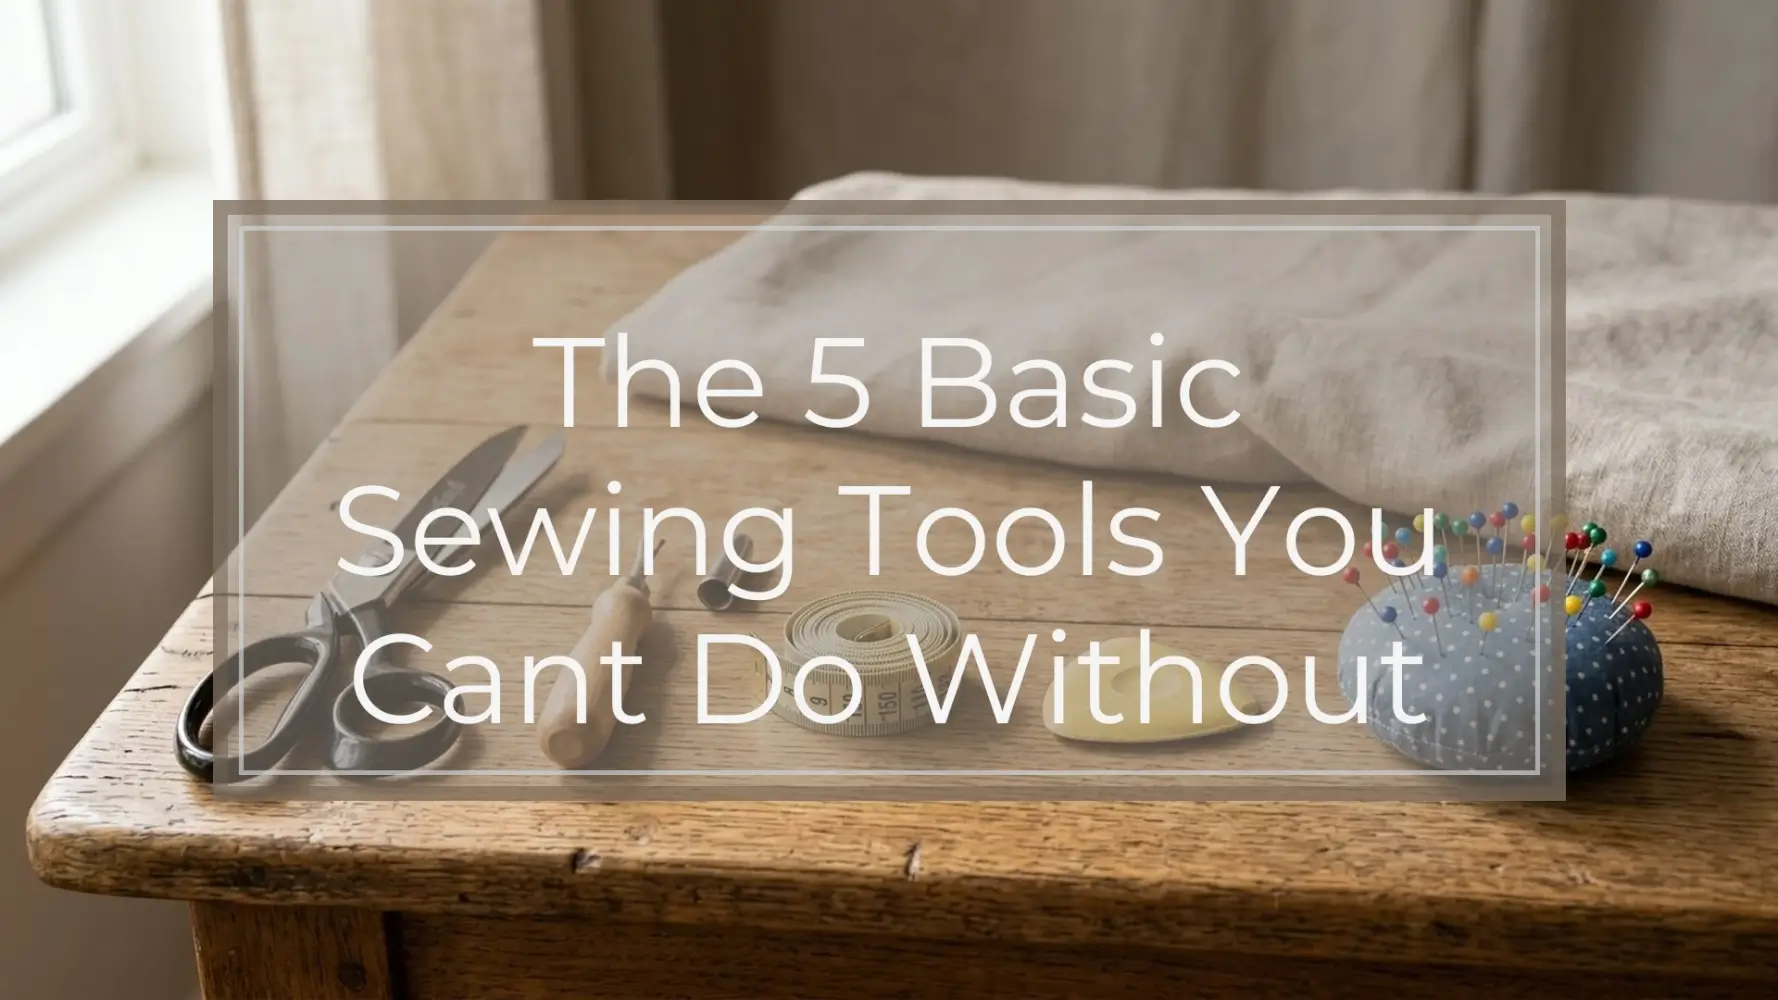
If you are setting up your first sewing kit, start simple. Quick verdict: The 5 basic sewing tools you can’t do without are sharp fabric scissors, a reliable measuring tool, pins or clips, a seam ripper, and a needle or sewing machine needle suited to your fabric. With these five essentials, you can measure accurately, cut cleanly, hold fabric in place, sew securely, and fix mistakes without frustration.
You may eventually add marking tools, thread snips, rotary cutters, specialty presser feet, and storage organizers. But for most beginner sewing projects, repairs, hems, alterations, and simple makes, these five tools form the practical foundation. They support the basic sewing workflow: measure, cut, hold, stitch, and correct.
The 5 Sewing Tools You Need First
Before you buy a large sewing kit packed with tools you may not use, focus on the items that make the biggest difference from the start. These are the sewing tools that help you avoid the most common beginner problems: uneven cutting, inaccurate measuring, shifting fabric, messy stitches, and difficult-to-fix mistakes.
| Tool | Best For | Why You Need It | Beginner Buying Tip |
|---|---|---|---|
| Sharp fabric scissors | Cutting fabric pieces and trimming seams | Clean cuts make sewing easier and help fabric edges stay neat | Choose dedicated fabric scissors with comfortable handles and sharp blades |
| Measuring tape or sewing ruler | Measuring bodies, hems, seams, and fabric | Accurate measurements improve fit and project results | Start with a flexible tape measure; add a clear ruler for patterns or quilting |
| Pins or fabric clips | Holding fabric layers in place | Keeps seams, hems, and pattern pieces aligned while you sew | Use pins for precision and clips for thick or delicate fabrics |
| Seam ripper | Removing stitches and fixing mistakes | Lets you correct errors without yanking or damaging fabric | Choose one with a sharp blade, cap, and comfortable grip |
| The right needles | Hand or machine stitching | Needles form the stitches and must match your fabric and thread | Keep assorted hand needles or machine needles in common sizes |
Thread, fabric, and a sewing machine are project-dependent. For example, a hand repair may not need a sewing machine, and a machine project may not need hand stitching beyond finishing details. But these five tools belong in nearly every basic sewing setup because they help you prepare, sew, and correct your work.
The goal is not to own everything at once. The goal is to own the right small group of tools that makes sewing feel manageable.
How These Tools Were Chosen
The best beginner sewing tools are not necessarily the fanciest. They are the tools you reach for again and again, whether you are sewing a pillow cover, hemming pants, repairing a seam, or starting your first garment.
These five tools were chosen because they are:
- Used in nearly every project
- Beginner-friendly
- Affordable to start with
- Easy to store
- Durable when chosen well
- Helpful for preventing common sewing mistakes
They also support the core steps of sewing. You measure before cutting, cut the fabric, hold layers together, stitch the seam, and fix anything that needs correcting. If one of those steps is difficult, the whole project becomes harder than it needs to be.
There are tradeoffs when buying beginner sewing tools. Budget versions can be perfectly fine for learning, especially for items like pins, clips, or a basic seam ripper. But it is worth being more selective with scissors and needles. Dull scissors can chew fabric, and the wrong needle can cause skipped stitches, snags, or frustration.
Specialty tools are useful later. A rotary cutter, tailor’s ham, pinking shears, walking foot, or quilting ruler may be excellent for certain projects, but they should not replace the basics. Build your kit around the tools you will use most, then add extras as your projects become more specific.
1. Sharp Fabric Scissors: Best for Clean, Accurate Cutting
Best for: cutting fabric pieces, trimming seams, and preparing project materials.
Sharp fabric scissors are one of the first sewing tools worth buying because cutting affects everything that happens afterward. If your fabric pieces are jagged, stretched, or uneven, your seams are harder to match and your project may not come together neatly.
Fabric scissors are designed to cut cloth cleanly. Unlike general household scissors, a good pair of fabric shears can glide through woven cotton, linen, many knits, and other common sewing fabrics without chewing the edge. Clean cutting also helps reduce unnecessary fraying and makes it easier to sew accurate seams.
When shopping for fabric scissors, look for:
- Sharp blades that cut all the way to the tip
- Comfortable handles that fit your hand
- Smooth cutting action without sticking
- Quality metal or stainless steel blades
- A size you can control easily
Large dressmaking shears are efficient for long, straight cuts. They can help you cut pattern pieces faster because the longer blade covers more fabric with each stroke. The tradeoff is that larger shears may feel heavy or awkward if you have smaller hands or limited cutting experience.
Smaller fabric scissors are easier to control around curves, notches, and small pieces. The tradeoff is that they can be slower for cutting long lengths of fabric. Many beginners do well with a medium-size pair that feels balanced and comfortable.
The most important rule: do not use your fabric scissors on paper, cardboard, wire, plastic packaging, or household materials. Paper dulls fabric scissors faster than many beginners expect. Once the blades dull, they may start pushing or snagging fabric instead of slicing cleanly.
A simple way to protect them is to label the handle “fabric only” and store them away from general household scissors. If other people share your space, make the label obvious.
Thread snips are a helpful add-on for trimming thread tails close to the fabric, but they do not replace full-size fabric scissors. Snips are for small trimming jobs. Fabric scissors are for cutting the project pieces accurately from the start.
2. Measuring Tape or Sewing Ruler: Best for Getting the Fit Right
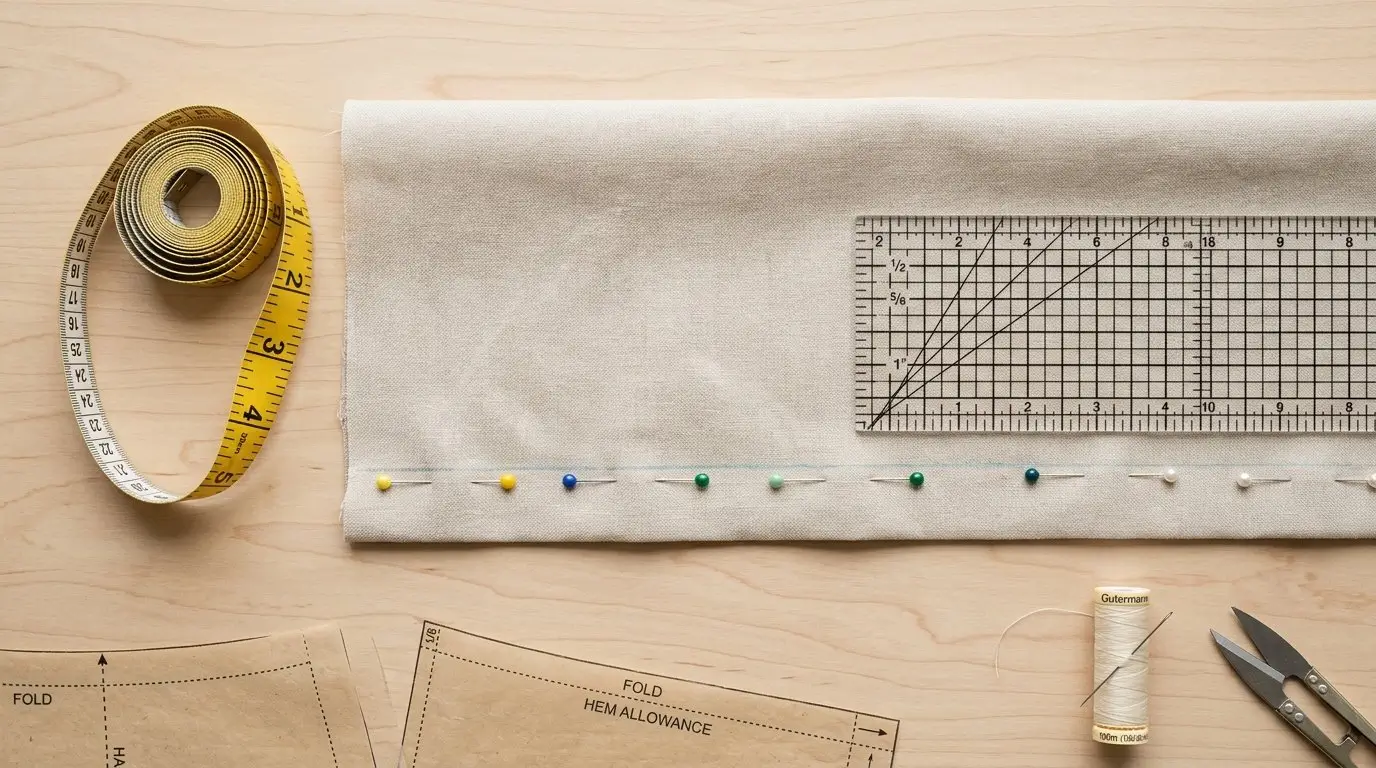
Best for: measuring bodies, fabric lengths, hems, seam allowances, and pattern adjustments.
Sewing is much easier when your measurements are accurate. A measuring tool helps you check fit, mark hems, follow pattern instructions, place pieces on fabric, and keep seam allowances consistent. Even a simple repair can go wrong if you guess the length or skip measuring.
For beginners, the most useful measuring tool is usually a flexible measuring tape. It bends around the body, curves, sleeves, waistlines, and rounded fabric edges. It is especially helpful for garment sewing, alterations, and quick household measuring tasks.
A clear sewing ruler is better for straight lines, seam allowances, quilting, pattern adjustments, and measuring small distances precisely. Clear rulers are easy to place over fabric or pattern paper because you can see what is underneath.
If you are just starting, begin with a flexible tape measure. Add a clear ruler if you plan to sew from patterns, make bags, cut straight strips, quilt, or use a rotary cutter.
Look for a measuring tool with:
- Clear, easy-to-read markings
- Non-stretch material
- Inches and centimeters, if you use both
- Numbers that will not rub off quickly
- A length that suits your projects
A common beginner mistake is using an old tape measure that has stretched out. Flexible tapes can wear over time, especially if they are pulled tightly or stored carelessly. If your measurements seem inconsistent, compare the tape to a ruler and replace it if needed.
Another mistake is measuring too loosely or too tightly, especially for clothing. For body measurements, the tape should sit smoothly without digging in or drooping. For hems, check the measurement in more than one spot so the finished edge does not tilt.
Also remember to check seam allowances before cutting. Many sewing patterns include a seam allowance, but some require you to add it. Measuring twice before cutting is slower than guessing, but it saves fabric, time, and frustration.
3. Pins or Fabric Clips: Best for Holding Fabric in Place
Best for pins: woven fabrics, pattern placement, precise seams, and matching points.
Best for clips: thick layers, vinyl, leather, delicate fabrics, and materials that should not be pierced.
Fabric shifts. Even when pieces look aligned on the table, they can slide as you carry them to the machine or begin stitching. Pins and clips solve that problem by holding layers together before and during sewing.
Pins are the classic choice for many sewing projects. They are especially useful when you need precision, such as matching seams, securing darts, placing pattern pieces, or holding curved edges together. Fine, sharp pins pass through many woven fabrics easily and can be placed exactly where you need control.
When choosing pins, look for:
- Sharp points that do not snag fabric
- Smooth shafts without rough spots
- Visible heads that are easy to find
- The right thickness for your fabric
- A pin cushion or magnetic holder for safe storage
The tradeoff is that pins can leave holes in some fabrics. They can also bend, dull, or snag delicate materials. For fabrics such as vinyl, leather, faux leather, coated fabrics, or some delicate textiles, clips are often a better choice because they hold without piercing.
Fabric clips are fast, easy to see, and helpful for thick seams or bulky layers. They are popular for bag making, binding, quilting clips, and hems where pins may distort the fabric. Look for clips with a firm grip and smooth edges so they do not mark or scratch your material.
The tradeoff is that clips are bulkier than pins. They may not fit close to a presser foot, and they are not always ideal for tiny curves or very precise placement. You usually remove them before the fabric reaches the needle.
A basic sewing kit can include either pins or clips, but many sewists eventually keep both. If you mostly sew woven cotton, simple garments, or patterns, start with pins. If you work with thick layers, delicate fabric, or no-pierce materials, start with clips.
For safety, keep pins contained and off the floor. Remove pins before stitching over them unless your machine manual specifically allows a certain method. Sewing over pins can break a needle, bend a pin, or damage your machine.
4. Seam Ripper: Best for Fixing Mistakes Without Ruining Fabric
Best for: unpicking stitches, correcting errors, opening seams, undoing basting, and making alterations.
A seam ripper may not look exciting, but it is one of the most important tools in a sewing kit. Mistakes happen in sewing. A seam may be crooked, fabric may be caught underneath, a zipper may need repositioning, or a hem may need to come out before it can be redone.
The seam ripper is designed to remove stitches more safely and cleanly than scissors or pulling by hand. It has a small sharp blade set between two points. Many seam rippers also have a tiny red safety ball on one tip, which can help protect the fabric when used correctly.
Look for a seam ripper with:
- A sharp blade
- A comfortable handle
- A protective cap
- A fine point for small stitches
- A size that feels controlled in your hand
Tiny seam rippers are easy to store and often come in basic sewing kits. They work, but they can be uncomfortable during longer unpicking jobs. A larger handle gives more control and is easier to grip, especially when removing long seams or dense stitching.
The biggest mistake with a seam ripper is rushing. If you pull hard or slice too quickly, you can tear the fabric. Instead, work a few stitches at a time. Support the fabric with your other hand, keep the blade angled carefully, and stop if the fabric begins to distort.
For delicate fabric, go even slower. Cut a stitch, gently loosen the thread, and remove it without tugging. If the thread is stubborn, cut another stitch rather than forcing it.
Owning a seam ripper is not a sign that you are bad at sewing. Experienced sewists use them too. In fact, being willing to unpick and redo a seam is often what makes the final project look cleaner. A seam ripper gives you the freedom to fix problems instead of living with them.
5. The Right Needles: Best for Strong, Smooth Stitches
Best for: hand stitching, machine stitching, repairs, hems, buttons, finishing details, and general sewing construction.
Needles are the tools that actually form stitches. Whether you sew by hand or with a machine, the needle has to pass through fabric cleanly while carrying the thread. If the needle is wrong for the job, sewing becomes harder than it should be.
Hand sewing needles and machine sewing needles are different and are not interchangeable. Hand needles are held in your fingers and have an eye for thread. Machine needles are made to fit a sewing machine and have a specific shank, groove, point, and eye designed for machine stitching.
For hand sewing, look for:
- Assorted sizes
- Sharp, smooth points
- Eyes large enough for your thread
- A comfortable length for your hand
- Specialty needles if needed, such as embroidery, quilting, or upholstery needles
A small assorted pack is usually enough for beginners. Use finer needles for lightweight fabric and larger needles for heavier fabric or thicker thread. If threading is difficult, choose needles with slightly larger eyes or use a needle threader.
For machine sewing, choose needles that match your machine system, fabric type, and thread. Most home sewing machines use a common home-machine needle system, but always check your machine manual or needle packaging.
Common machine needle types include:
- Universal needles for many woven fabrics and some stable knits
- Ballpoint or stretch needles for knits and stretchy fabrics
- Denim or jeans needles for heavier fabric
- Sharp or microtex needles for precise stitching on fine or tightly woven fabric
Universal needles are convenient and a good starting point for many woven beginner projects. The tradeoff is that they are not perfect for every fabric. Stretch fabrics may skip stitches if the needle is not suited to knits. Denim may need a stronger needle. Delicate fabric may snag if the point is too large or dull.
Needles also wear out. A dull, bent, or damaged needle can cause skipped stitches, thread breaks, puckering, or tiny fabric snags. Replace the needle if it hits a pin, makes a popping sound as it enters fabric, bends, breaks thread repeatedly, or simply stops sewing smoothly.
Do not force a needle through unsuitable fabric. If the machine struggles, stop and check the needle size, fabric layers, thread, and machine settings before continuing.
Helpful Extras to Add After the Basics
Once you have the five essentials, a few extra tools can make sewing faster, neater, or more comfortable. These are useful, but they are not the first must-haves for every beginner.
For marking:
- Tailor’s chalk
- Washable fabric marker
- Fabric pencil
Marking tools help you transfer darts, notches, button placements, and quilting lines. Always test on a scrap first to make sure the mark removes cleanly.
For pressing:
- Iron
- Ironing board or pressing mat
- Pressing cloth
An iron is extremely useful for crisp seams, smooth hems, and professional-looking results. Pressing is part of sewing, not just something you do at the end. Still, this list focuses on the core tools needed to measure, cut, hold, stitch, and correct.
For cutting upgrades:
- Thread snips
- Rotary cutter
- Cutting mat
- Pinking shears
Thread snips are convenient for trimming threads quickly. A rotary cutter and mat are helpful for quilting, straight strips, and some craft projects, but they require a safe cutting surface and careful handling.
For comfort and organization:
- Thimble
- Pin cushion
- Magnetic pin holder
- Bobbins
- Small storage box
A thimble can protect your finger during hand sewing. Storage keeps sharp tools covered, pins contained, and small items easy to find.
Add extras based on the projects you actually sew. You do not need every sewing accessory at once.
How to Build a Beginner Sewing Kit Without Wasting Money
The easiest way to waste money on sewing tools is to buy a huge kit before you know what you will use. Some kits include helpful basics, but others are filled with low-quality duplicates or specialty items that sit untouched.
Start with one dependable version of each core tool:
- Fabric scissors
- Measuring tape or sewing ruler
- Pins or fabric clips
- Seam ripper
- Hand sewing needles or machine needles
Prioritize quality where it matters most. Scissors and needles have a direct effect on how your fabric cuts and how your stitches form. If either one is poor quality, sewing can feel frustrating even when your technique is fine.
For pins, clips, and seam rippers, you can start simple. Upgrade later if you discover you want finer pins, more clips, or a larger seam ripper handle.
A practical beginner approach is to buy the basics for your current project, then add tools only when a real need appears. If you start with hemming pants, you may need a measuring tape, pins, needles, and a seam ripper. If you start with quilting, you may quickly want a clear ruler, rotary cutter, and mat.
Store tools so they stay in good condition:
- Keep scissors closed and protected
- Label fabric scissors clearly
- Store pins in a pin cushion, case, or magnetic holder
- Keep needles in their packaging or a needle book
- Roll measuring tape loosely instead of stretching it
- Put the seam ripper cap back on after use
Before starting a project, check that your scissors are sharp, your measuring tool is accurate, your pins or clips are ready, your seam ripper is nearby, and your needle suits the fabric. Those few checks can prevent many beginner frustrations.
To recap: fabric scissors help you cut cleanly, a measuring tool helps you work accurately, pins or clips keep fabric aligned, a seam ripper fixes mistakes, and the right needles create smooth, secure stitches. That is the foundation of a useful beginner sewing kit.
FAQ
What are the absolute basic sewing tools for beginners?
The absolute basics are sharp fabric scissors, a measuring tape or sewing ruler, pins or fabric clips, a seam ripper, and the right hand or machine needles. These tools help you measure, cut, hold, stitch, and correct mistakes.
Do I need both pins and clips for sewing?
Not at first. Pins are great for precise seams and woven fabrics. Clips are better for thick layers, delicate fabrics, vinyl, or leather. Many beginners start with one, then add the other as projects become more varied.
Can I use regular scissors instead of fabric scissors?
Regular scissors can work in a pinch, but they often crush, snag, or unevenly cut fabric. Dedicated fabric scissors give cleaner cuts and more control. Once you have fabric scissors, avoid using them on paper or household materials.
What sewing tools should I buy first if I am on a tight budget?
Buy fabric scissors, a flexible measuring tape, pins or clips, a seam ripper, and suitable needles first. Choose dependable basics rather than a large kit full of items you may not use. Upgrade as your projects require it.
Are hand sewing needles and machine sewing needles the same?
No. Hand sewing needles are held and used manually. Machine needles are designed to fit a sewing machine and form stitches mechanically. They are shaped differently and cannot be used interchangeably.
What tools are useful but not essential for a first sewing kit?
Useful extras include tailor’s chalk, washable fabric markers, thread snips, an iron, a rotary cutter and mat, a thimble, bobbins, and a storage box. Add these after the five basics based on the projects you plan to sew.