Professional-looking topstitching depends on three things working together: preparation, machine setup, and steady control while sewing. The stitch line is visible by design, so small choices matter more than they might on hidden seams. Pressing first, choosing the right needle and thread, lengthening the stitch slightly, and using a guide can make the difference between “homemade” and cleanly finished.
Think of topstitching as both construction and decoration. It can hold a seam allowance flat, strengthen a pocket, finish a collar edge, or add a crisp line to a bag. The goal is not speed. The goal is even distance from the edge, balanced tension, smooth fabric feeding, and neat starts and stops.
Quick Answer
The most important tip for topstitching like a pro is to guide the fabric consistently instead of watching the needle. Pick a reference point, such as the edge of the presser foot, a seam guide, or the markings on your throat plate, and keep the fabric aligned to that point from start to finish.
Before sewing, press the area flat and test your stitch on a scrap with the same fabric layers. Use a longer stitch than you use for regular seams; many projects look better around 3.0 mm to 3.5 mm, while heavier fabrics may need 3.5 mm to 4.0 mm. Choose a needle that suits the fabric, and use topstitching thread only if your machine handles it well.
For straighter results, slow down before corners, curves, bulky seams, and the ends of rows. Use an edge-stitch foot for narrow, even stitching near an edge. Use a walking foot for layers that shift, such as quilted fabric, knits, denim, or bags. For thick seams, use a hump jumper or folded scrap behind the presser foot to keep it level.
The pro habit is simple: press, test, guide, sew slowly, and fix problems before they travel across the whole project.
How to Think About This Topic
Topstitching looks difficult because it is visible, but the mental model is simple: you are controlling distance, feeding, and stitch quality. If those three stay consistent, the topstitching will look intentional even on beginner projects.
Distance means how far the stitch line sits from the fabric edge, seam, fold, or previous row of stitching. A pocket with one side stitched 1/8 inch from the edge and the other side drifting to 1/4 inch looks uneven even if the stitches themselves are perfect. This is why guides are so helpful. An edge-stitch foot, magnetic seam guide, painter’s tape, or a marked line can give your eye something steady to follow.
Feeding means how smoothly the fabric moves under the presser foot. Some fabrics feed easily, like quilting cotton. Others fight you. Denim creates bulky seam intersections. Knits stretch. Vinyl and coated fabrics may stick. Bag layers can shift. When feeding is uneven, the top layer may creep forward, the stitches may shorten, or the line may wobble. A walking foot, Teflon foot, tissue paper, or careful hand support can help depending on the fabric.
Stitch quality means the thread, needle, tension, and stitch length are working together. Topstitching often looks better with a slightly longer stitch because tiny stitches can appear tight or sunken, especially on thick fabric. A sharp or jeans needle can pierce woven fabric cleanly. A ballpoint or stretch needle is better for knits. If you use heavier topstitching thread, you may need a larger needle and regular thread in the bobbin.
This matters because most people searching for tips and tricks for topstitching like a pro are not trying to learn a fancy technique. They want their collars, cuffs, hems, bags, pockets, and quilted projects to look cleaner. The best results come from removing guesswork. Decide where the line should be, set up the machine for the fabric, and sew with a guide instead of relying on hand-eye correction at the needle.
Practical Guidance
Start by pressing the project well. Topstitching over a lumpy seam allowance almost always looks uneven. Press seams open or to one side as instructed by your pattern, then use steam or a clapper if the fabric allows it. On collars, cuffs, and bag edges, roll the seam slightly to the underside before pressing so the outer edge looks clean.
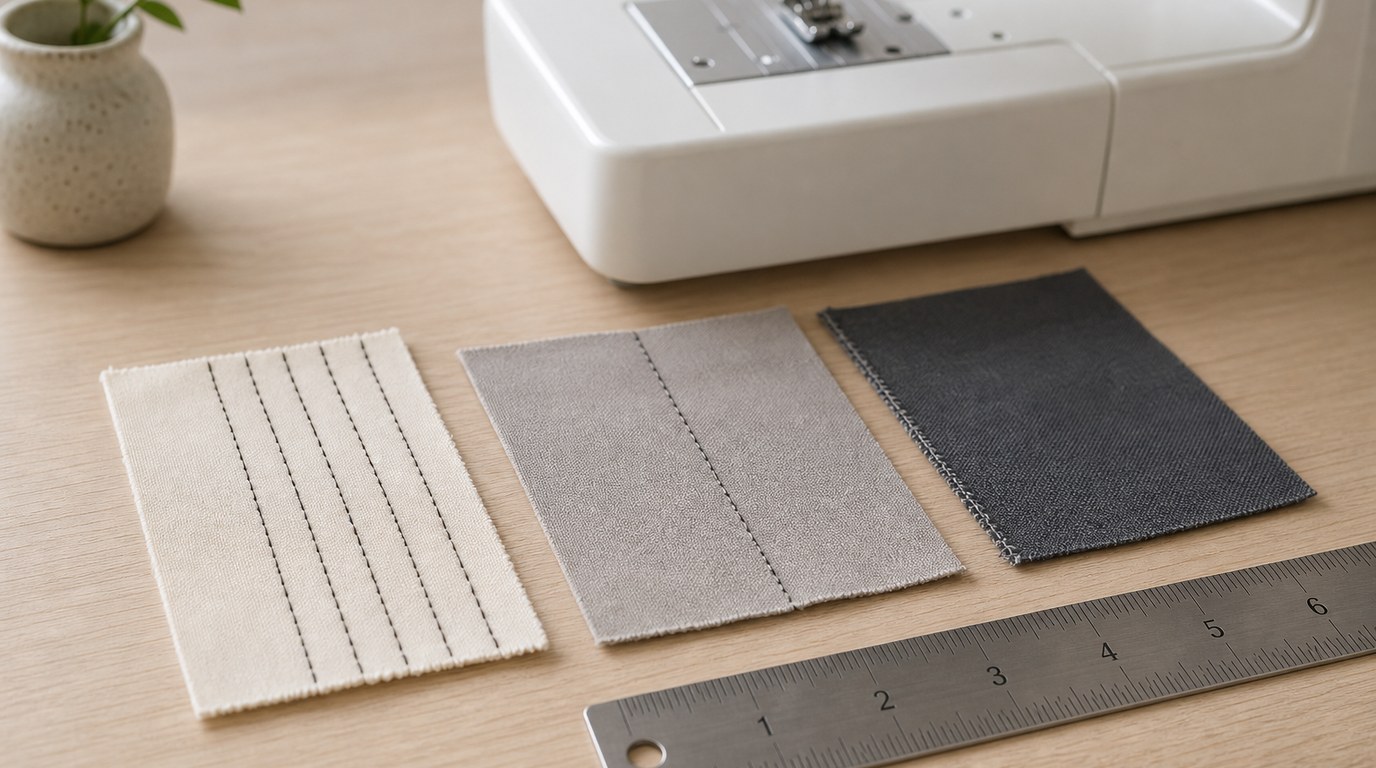
Test before stitching the real project. Use scraps that match the actual layers, not a single flat piece of fabric. If you are topstitching a denim hem, test over folded denim. If you are sewing a bag strap, test through the same interfacing and fabric layers. Adjust stitch length, tension, and thread before the visible line goes onto your project.
Use this quick setup guide as a starting point:
| Situation | Helpful setup |
|---|---|
| Lightweight cotton | Universal or sharp needle, 3.0 mm stitch, regular thread |
| Denim hems or jeans pockets | Jeans needle, 3.5–4.0 mm stitch, hump jumper for bulky seams |
| Knits or necklines | Stretch needle, walking foot if needed, do not pull fabric |
| Bags or quilted layers | Walking foot, longer stitch, test tension on full thickness |
| Narrow edge stitching | Edge-stitch foot or seam guide, steady slow speed |
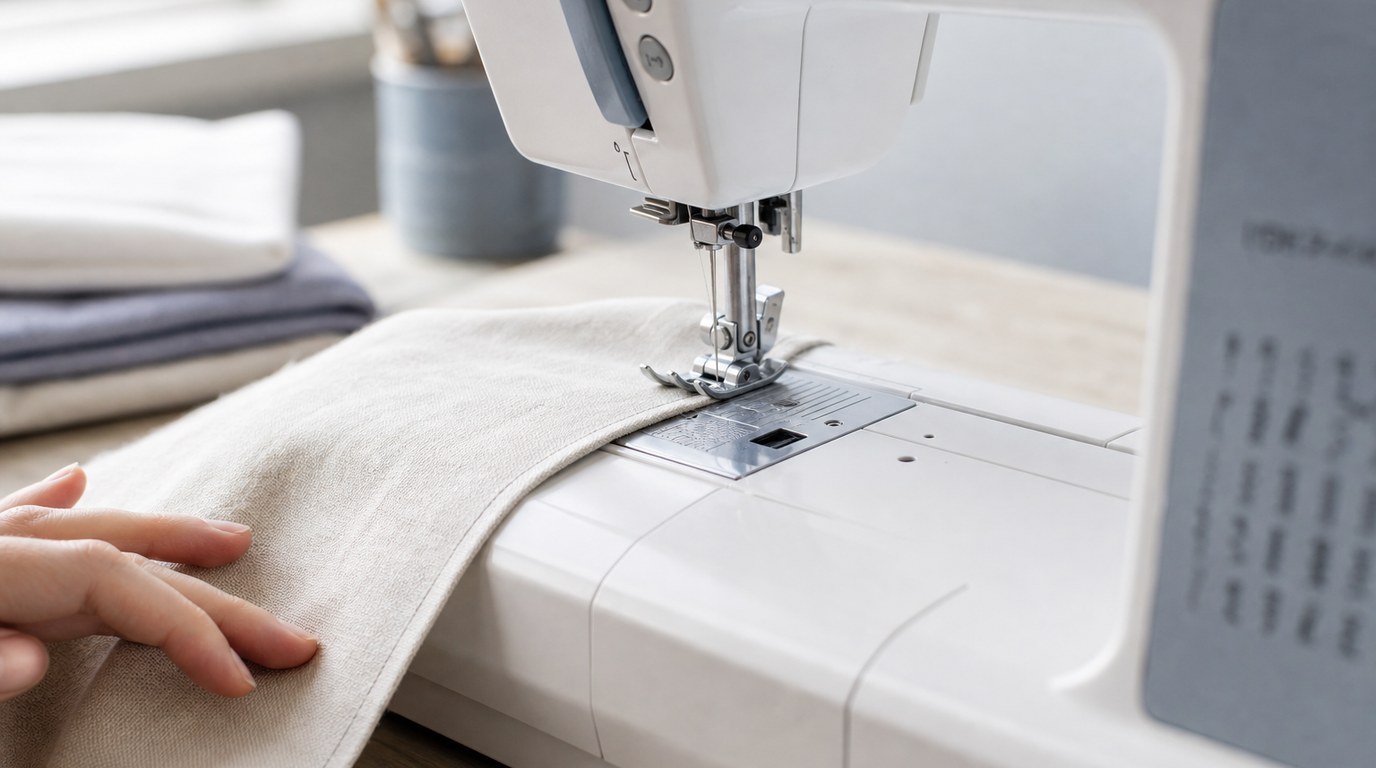
When sewing, look at the guide, not the needle. Your needle moves too quickly to be a useful steering point. Instead, keep the fabric edge aligned with the presser foot mark, seam guide, or tape line. For very visible areas, such as a shirt collar or front pocket, sew a little slower than usual.
For corners, stop with the needle down exactly where you want the turn. Lift the presser foot, pivot the fabric, lower the foot, and continue. If you are topstitching a square pocket, count or measure the distance from the edge so all corners match. For curves, such as necklines or rounded bag flaps, shorten your focus. Guide a small section at a time and avoid pulling the fabric around the curve.
Handle bulk before it causes skipped stitches. At thick intersections, the presser foot may tilt upward and lose control. Slide a hump jumper, folded fabric scrap, or leveling tool behind the needle to keep the foot flat as it climbs the seam. This is especially useful on jeans hems, cuffs, waistbands, and bag seams.
Finish neatly. Backstitching can look bulky with topstitching thread, so consider shortening the stitch for a few stitches at the start and end, or pull threads to the back and tie them off. On decorative double rows, mark or guide the second row carefully so the spacing stays even.
If the line wobbles, do not panic. For minor unevenness, pressing may improve the look. For a highly visible mistake, remove the stitches gently and resew after remarking the guide. Most topstitching problems are not talent problems; they are setup, speed, or guiding problems.
FAQ
What Should a Beginner Know First About Tips Tricks for Topstitching Like a Pro?
Start with the basics: press the fabric, test on scraps, lengthen the stitch slightly, and use a guide. Beginners often try to steer by watching the needle, but cleaner topstitching comes from keeping the fabric edge aligned with a consistent reference point.
What Matters Most When Evaluating Tips Tricks for Topstitching Like a Pro?
The most important factors are even spacing, smooth fabric feeding, and balanced stitches. A perfectly straight line is less important than a line that looks consistent and intentional. Good pressing, the right presser foot, and a suitable stitch length usually improve results quickly.
What Mistakes Should Readers Avoid with Tips Tricks for Topstitching Like a Pro?
Avoid rushing, skipping the test stitch, using the wrong needle, and pulling the fabric while sewing. Also avoid topstitching over unpressed seams. These habits cause wobbling, puckering, skipped stitches, and uneven stitch length, especially on denim, knits, bags, and bulky edges.
What Is the Next Logical Step After Learning About Tips Tricks for Topstitching Like a Pro?
Practice on small, visible projects such as pockets, napkins, tote straps, cuffs, or sample quilt sandwiches. Try one row near the edge, then a second parallel row. Keep notes on needle, thread, stitch length, and presser foot settings that worked well.