
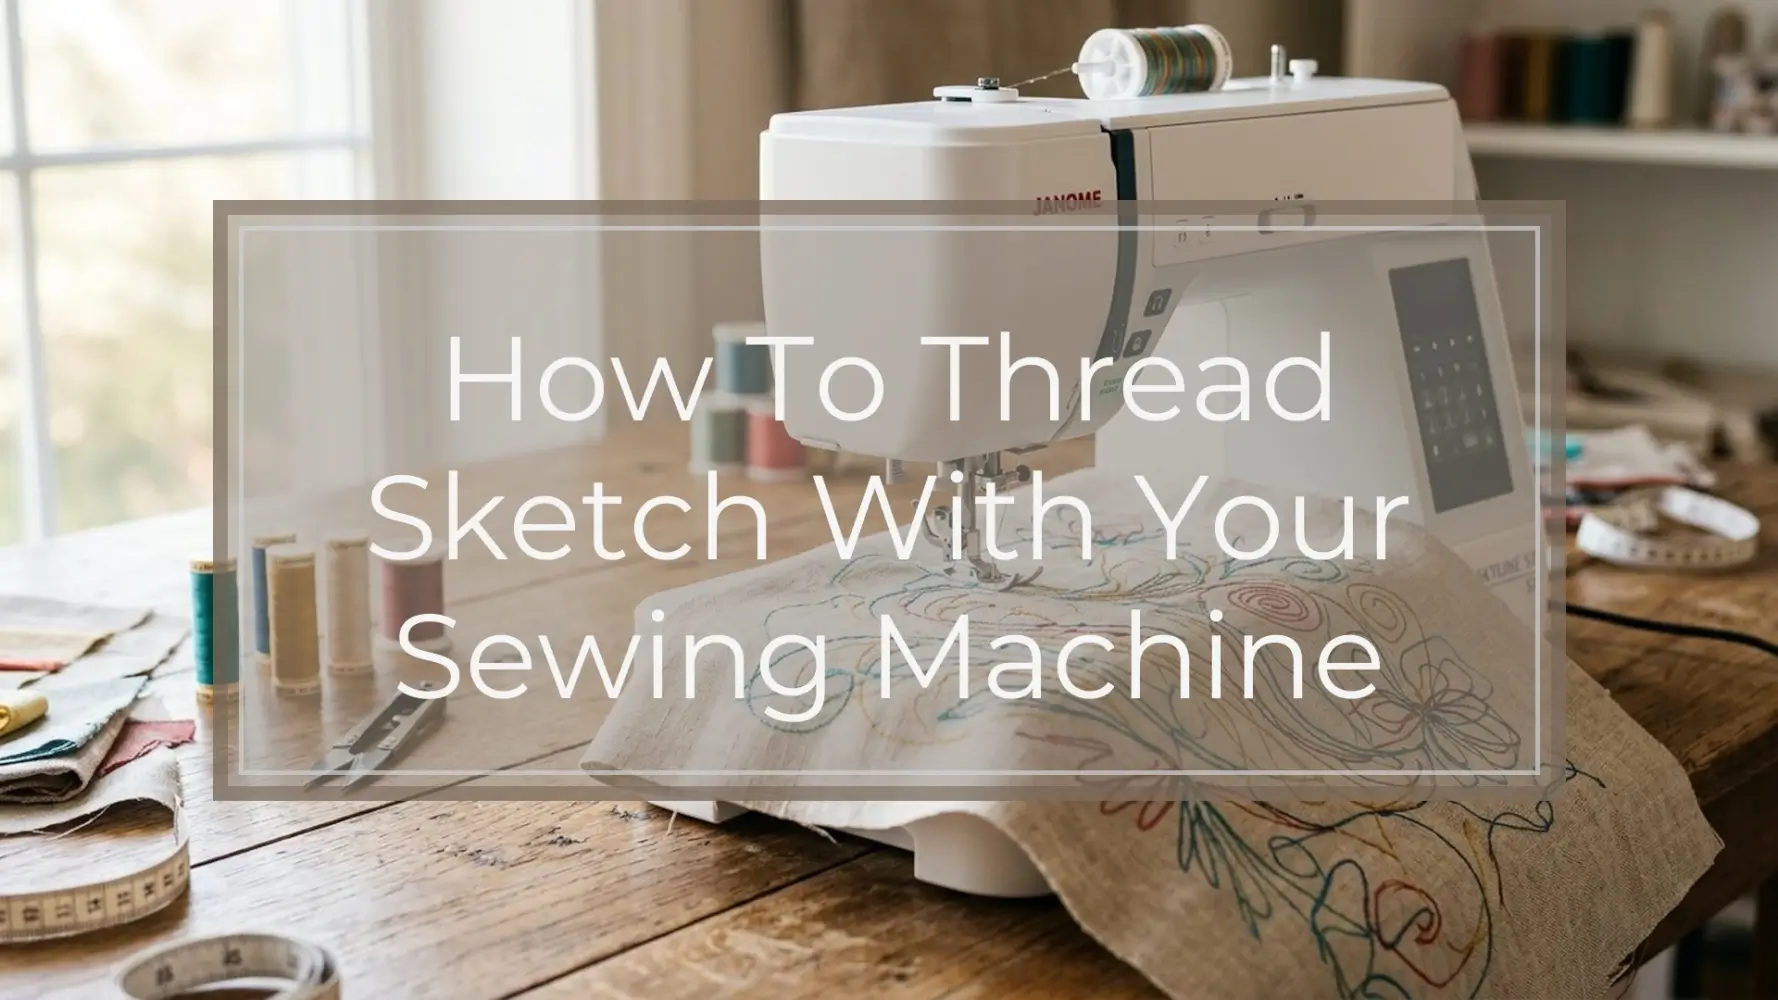
To thread sketch with your sewing machine, lower or cover the feed dogs, attach a darning or free-motion quilting foot, hoop or stabilize your fabric, and use the needle like a drawing tool. Move the fabric by hand while stitching slowly to create sketched lines, outlines, shading, and texture. Start with a simple design, use contrasting thread, and test your tension on a scrap before stitching the final piece.
Thread sketching is free-motion machine stitching that looks like drawing with thread. Instead of letting the feed dogs pull the fabric forward in a straight path, you guide the fabric yourself in any direction. The result can be loose and scribbly, clean and illustrative, or layered like pen-and-ink shading.
Quick Setup for Thread Sketching
The basic workflow is simple: prepare the fabric, mark or plan your design, set up the machine for free-motion stitching, test on a scrap, stitch the design slowly, then secure and finish the threads. You do not need perfect lines. Slightly irregular stitching often makes thread sketching look more expressive and hand-drawn.
Before you begin, check your machine manual for the correct way to attach a free-motion foot and lower the feed dogs. Some machines have a drop-feed lever; others use a cover plate. If your machine handles free-motion quilting, it can usually handle thread sketching.
| Item | Recommended choice | Why it matters |
|---|---|---|
| Presser foot | Free-motion, darning, or quilting foot | Allows fabric to move in any direction while still controlling the stitch area |
| Feed dogs | Lowered or covered | Stops the machine from pulling fabric forward automatically |
| Stitch | Straight stitch | Best for sketch-style outlines, shading, and layered lines |
| Speed | Medium machine speed with controlled hand movement | Helps you form more even stitches without rushing |
| Needle | Suitable for your fabric and thread | Reduces skipped stitches, breakage, and fabric damage |
| Thread | Cotton or polyester sewing thread | Works for most practice projects; contrast makes lines visible |
| Stabilizer | Tear-away, wash-away, interfacing, or hoop as needed | Helps prevent puckering and distortion |
| Test scrap | Same fabric, thread, and stabilizer combination | Lets you adjust tension and movement before stitching the final piece |
Materials and Machine Setup You Need
Gather everything before you sit at the machine so you can focus on the motion of stitching rather than stopping to hunt for supplies.
You will need:
- A sewing machine
- A free-motion, darning, or quilting foot that fits your machine
- Fabric for the final project
- Matching or contrasting sewing thread
- A suitable needle for your fabric and thread
- Stabilizer, interfacing, or backing if needed
- A washable fabric marker, chalk, tracing paper, or another marking tool
- Small scissors or thread snips
- A test scrap made from the same fabric layers
- Optional embroidery hoop for extra control
For a first project, stable woven cotton is one of the easiest fabrics to handle. It does not stretch much, presses well, and usually works nicely with tear-away stabilizer. Slippery fabrics, knits, very lightweight cloth, denim, canvas, or heavily textured fabrics can still be used, but they may need more testing, a different needle, stronger stabilization, or slower stitching.
Thread choice affects the look. Regular polyester or cotton sewing thread works well for learning. A high-contrast thread makes the sketch lines obvious, while a matching thread creates a softer, more subtle effect. There is no single best thread, needle, or stabilizer for every project, so test the exact combination you plan to use.
Stabilizer keeps the fabric from stretching, wrinkling, or tunneling under dense stitching. Tear-away stabilizer is useful behind many woven fabrics. Wash-away stabilizer can help when the backing might show. Lightweight fabric may need interfacing or an extra backing layer. If the fabric still shifts, try hooping it or basting the layers together.
Do not force bulky fabric under the needle, and do not stitch without the correct presser foot attached. The foot helps control the fabric and protects the needle area.
How to Prepare Your Design and Fabric
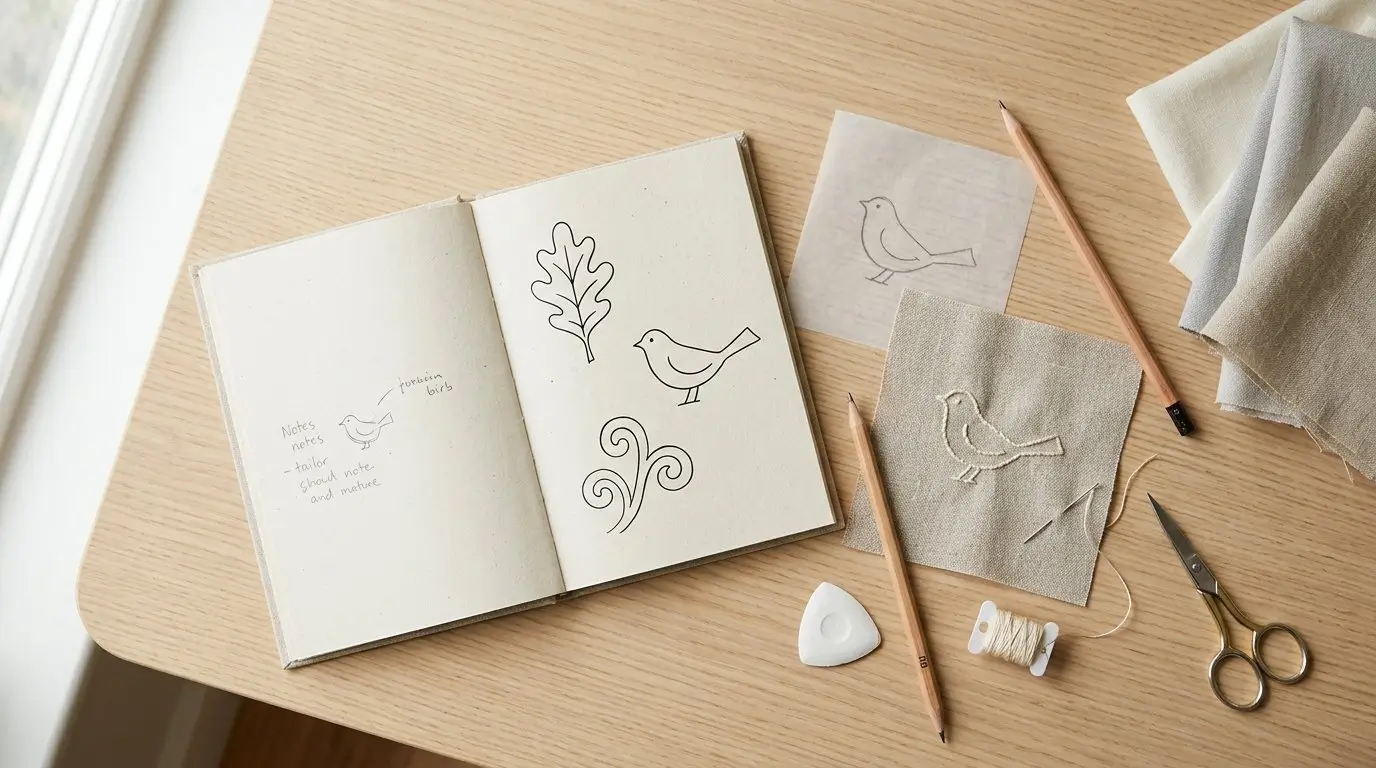
Start with a design that is small enough to finish without frustration. Simple line art is ideal: leaves, flowers, birds, faces, animals, lettering, geometric shapes, or abstract swirls. A small motif is easier to control than a full panel when you are learning.
You can transfer your design in several ways:
- Draw directly on the fabric with a washable fabric marker or chalk.
- Trace a printed design using a light box or bright window.
- Use dressmaker’s tracing paper if it suits your fabric.
- Sketch freehand for a looser, more spontaneous look.
- Stitch without markings if you want an improvised thread-drawn effect.
Always test your marking tool on a scrap first, especially if the marks must wash out later.
Press the fabric before marking or stitching. Wrinkles can distort your drawn lines, catch under the foot, or make the finished sketch look uneven in places you did not intend. After pressing, add stabilizer to the back of the fabric. Secure the layers with pins placed away from the stitching path, hand basting, temporary fabric adhesive, or an embroidery hoop.
If you use a hoop, the fabric should be smooth but not stretched out of shape. If it is pulled too tightly, the fabric may relax later and create ripples. If it is too loose, it may drag and pucker while you stitch.
For your first thread sketch, choose one clear focal point. A single leaf, flower stem, small bird, or simple word gives you enough practice with curves and outlines without overwhelming the project.
Step-by-Step: How to Thread Sketch With Your Sewing Machine
Follow these steps in order, and practice on a scrap before moving to your final fabric.
-
Install the free-motion or darning foot.
Attach the foot according to your sewing machine manual. Free-motion feet vary by machine model, so make sure yours is seated securely before stitching. -
Lower or cover the feed dogs.
The feed dogs are the small metal teeth under the presser foot that normally move fabric forward. For thread sketching, lower them if your machine has a drop-feed lever. If not, use the feed dog cover plate recommended for your machine. -
Thread the machine normally and insert a suitable needle.
Use the same threading path you use for regular sewing. Choose a needle that suits your fabric and thread. If you are unsure, begin with the needle you would normally use for that fabric, then adjust if you see skipped stitches, fraying, or holes. -
Prepare a stabilized test scrap.
Layer the same fabric and stabilizer you will use for the final project. Place it under the foot. If you want a tidy start, hold the top thread, turn the handwheel to bring the bobbin thread to the surface, and pull both tails to the side. -
Set a straight stitch and practice movement.
Select a straight stitch. With the presser foot lowered, stitch a few lines while moving the fabric forward, backward, sideways, and in curves. Keep your fingers well away from the needle. The machine makes the stitches; your hands create the drawing motion. -
Start the final piece with secure stitches.
Place your prepared fabric under the foot. Hold the thread tails for the first few stitches or take several tiny anchoring stitches in one spot. This helps prevent a messy thread nest at the beginning. -
Follow the marked lines slowly.
Move the fabric smoothly rather than pulling or jerking it. Watch the area just ahead of the needle so you can guide the line. If you drift slightly away from the mark, do not panic. You can often correct the shape with another pass. -
Build darker areas with repeated stitching.
To add shading, go over lines more than once, use crosshatching, add scribble stitching, or place lines closer together. Dense areas appear darker; open areas appear lighter. Work gradually so the fabric does not become overly stiff or puckered. -
Pause with the needle down.
When turning, repositioning your hands, or checking your design, stop with the needle down in the fabric. This holds your place and prevents the design from shifting. -
Finish, secure, and press.
Secure the final stitches with a few tiny stitches or by pulling threads to the back and tying them off. Trim tails neatly. Remove tear-away stabilizer carefully or rinse wash-away stabilizer according to its instructions. Press from the wrong side if the fabric and thread can tolerate heat.
Techniques for Better Sketched Lines and Shading
Thread sketching improves as you learn the relationship between machine speed and hand movement. If your hands move quickly while the needle stitches slowly, the stitches become longer. If your hands move slowly while the needle stitches quickly, the stitches become shorter and denser. Aim for a comfortable balance rather than trying to make every stitch identical.
Practice these movements on scraps:
- Smooth curves and circles
- Spirals and loops
- Straight lines in different directions
- Repeated outlines around the same shape
- Short back-and-forth shading strokes
For an illustrated look, stitch over the same line two or three times instead of trying to land exactly on the first pass. This creates a lively, drawn quality. For texture, try scribble fill inside a shape, crosshatching in shadow areas, stippling for dotted texture, or directional lines that follow the form of a leaf, petal, feather, or face.
Changing thread color can add highlights, shadows, or decorative accents. For example, you might outline a flower in dark thread, add petal veins in a medium shade, and use a lighter thread for small highlights. Test color changes first, because thread can look different once stitched into fabric.
Stop often and look at the whole design from a little distance. It is easy to focus only on the needle and overwork one small area. A quick pause helps you decide whether the sketch needs more detail or whether it already has enough character.
Common Mistakes, Troubleshooting, and Result Check
Even experienced stitchers need a few test runs when changing fabric, thread, or stabilizer. If something looks wrong, stop and troubleshoot before continuing across the whole design.
Fabric puckers or ripples.
Add a more suitable stabilizer, reduce dense stitching, loosen an overly tight hoop, or check the tension on a scrap. Lightweight fabric may need backing or interfacing. Puckering can also happen when too many stitches are packed into one small area.
Thread keeps breaking.
Rethread the machine with the presser foot raised, change the needle, and check that the thread is not old, fuzzy, or catching on the spool. Slow down and look for burrs, rough spots, or snags near the needle plate, bobbin area, or thread path.
Loops appear on the back.
Rethread the upper thread carefully with the presser foot raised so the thread seats in the tension discs. Check that the bobbin is inserted correctly. Test tension on a scrap before adjusting too much.
Lines look jerky.
Slow your hand movement and practice simpler curves. Jerky lines often come from gripping the fabric too tightly, pushing instead of guiding, or trying to stitch too fast before your hands settle into a rhythm.
Stitches are too long or too short.
Balance your machine speed with your fabric movement. Longer stitches mean your hands are moving faster in relation to the needle. Tiny, dense stitches mean your hands are moving slowly or the machine is stitching quickly.
Fabric will not move freely.
Check that the feed dogs are lowered or covered, the presser foot is the correct free-motion foot, and the fabric is not trapped by pins, hoop edges, or thick seams. Keep your hands relaxed; pressing down too hard can stop the fabric from gliding.
For a good result, the stitches should be secure, the fabric should lie reasonably flat, and the lines should match the style you wanted, whether loose and scribbly or more detailed. Thread tails should be secured, excess stabilizer removed, and the finished piece pressed if appropriate.
Most importantly, keep your fingers clear of the needle. Stop the machine before adjusting fabric close to the presser foot, trimming threads, or moving pins.
FAQ
Can I thread sketch on a regular sewing machine?
Yes. Many regular sewing machines can thread sketch if they can use a free-motion or darning foot and allow the feed dogs to be lowered or covered. Check your machine manual for the correct setup.
Do I have to lower the feed dogs for thread sketching?
Usually, yes. Lowering or covering the feed dogs lets you move the fabric freely in any direction. If they stay engaged, the machine will try to pull the fabric forward like normal sewing.
What foot should I use for thread sketching?
Use a free-motion quilting foot, darning foot, or embroidery foot made for your machine. The right foot gives the needle room to move while helping control the fabric.
Why is my fabric puckering when I thread sketch?
Puckering usually comes from too little stabilizer, too much dense stitching, tension issues, or fabric stretching as you sew. Test on a scrap, add support behind the fabric, and build shading gradually.