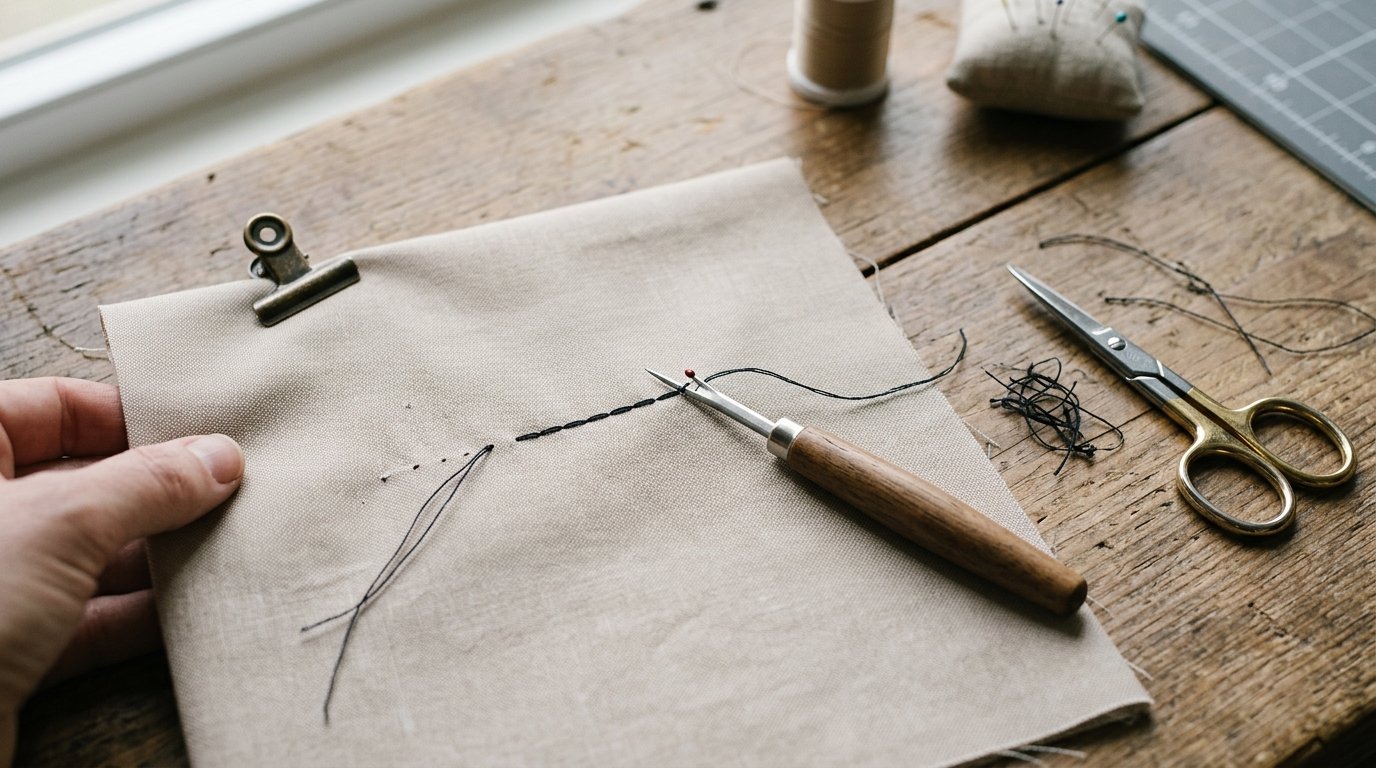
A seam ripper works best when you treat it like a precision cutting tool, not a tiny hook for yanking stitches loose. The basic idea is simple: support the fabric, slide the pointed tip under a stitch, let the small blade cut the thread, and remove only a few stitches at a time so you stay in control. For long seams, cut every few stitches on one side, then pull the loosened thread from the other side. For delicate fabric, slow down and pick out stitches one by one. If you remember one rule, make it this: cut thread, not fabric, and never force the tool when it catches.
Quick Answer
To use your seam ripper like a pro, work from the side where you can clearly see the stitches, keep the fabric flat and slightly taut, and cut threads in a controlled sequence instead of digging or pulling.
Start by identifying what you need to remove: one misplaced stitch, a short section of seam, or a full row of stitching. Insert the pointed tip under a stitch so the thread rests against the blade inside the curved neck. Lift gently until the thread snaps. Repeat for a few stitches, then pull away the loosened thread tails with your fingers or tweezers.
For long machine seams, a fast method is to cut every third or fourth stitch on one side, then turn the work over and pull the bobbin or top thread so several stitches release at once. For delicate fabrics, knits, lace, or tightly woven cloth, go slower and cut one stitch at a time.
The main takeaway: the best seam-ripping technique is the one that removes stitches with the least stress on the fabric.
How to Think About This Topic
If you want to use your seam ripper like a pro, think of it as a thread-removal tool, not a seam-opening tool. That mental shift matters because beginners often try to push the blade through the seam line as if they are cutting paper. That is when snagging, slicing, and stretching happen.
A seam is really a series of locked loops. Your job is not to cut all of them at once. Your job is to break enough of those loops that the rest release easily. Once you see stitches as individual points of tension, the process becomes much more controlled.
Three factors decide your approach:
- Fabric fragility: Crisp cotton can handle faster unpicking than silk, rayon, chiffon, or loosely woven linen.
- Stitch density: Long basting stitches come out quickly. Short machine stitches, topstitching, and reinforced seams need more patience.
- How much you need to remove: A single mistake near a corner calls for precision. A whole side seam allows a more efficient rhythm.
This is why experienced sewers rarely use exactly one method every time. They match the technique to the risk. On a sturdy practice tote, they may cut every few stitches and pull the thread free. On a lightweight blouse, they may support the fabric with one hand and pick out each stitch separately.
It also helps to think in terms of visibility. The “best” side to rip from is usually the side where the stitches sit up clearly and the fabric is least likely to be marred. Often that means working from the bobbin side for machine seams, but not always. If decorative topstitching is visible on one side, you may choose the less visible side first and clean up the rest slowly.
In short, using a seam ripper well means balancing speed, visibility, and fabric safety. The thread should give way before the cloth does. That is the core skill readers usually want when they search this topic.
Practical Guidance
Set up Before You Start
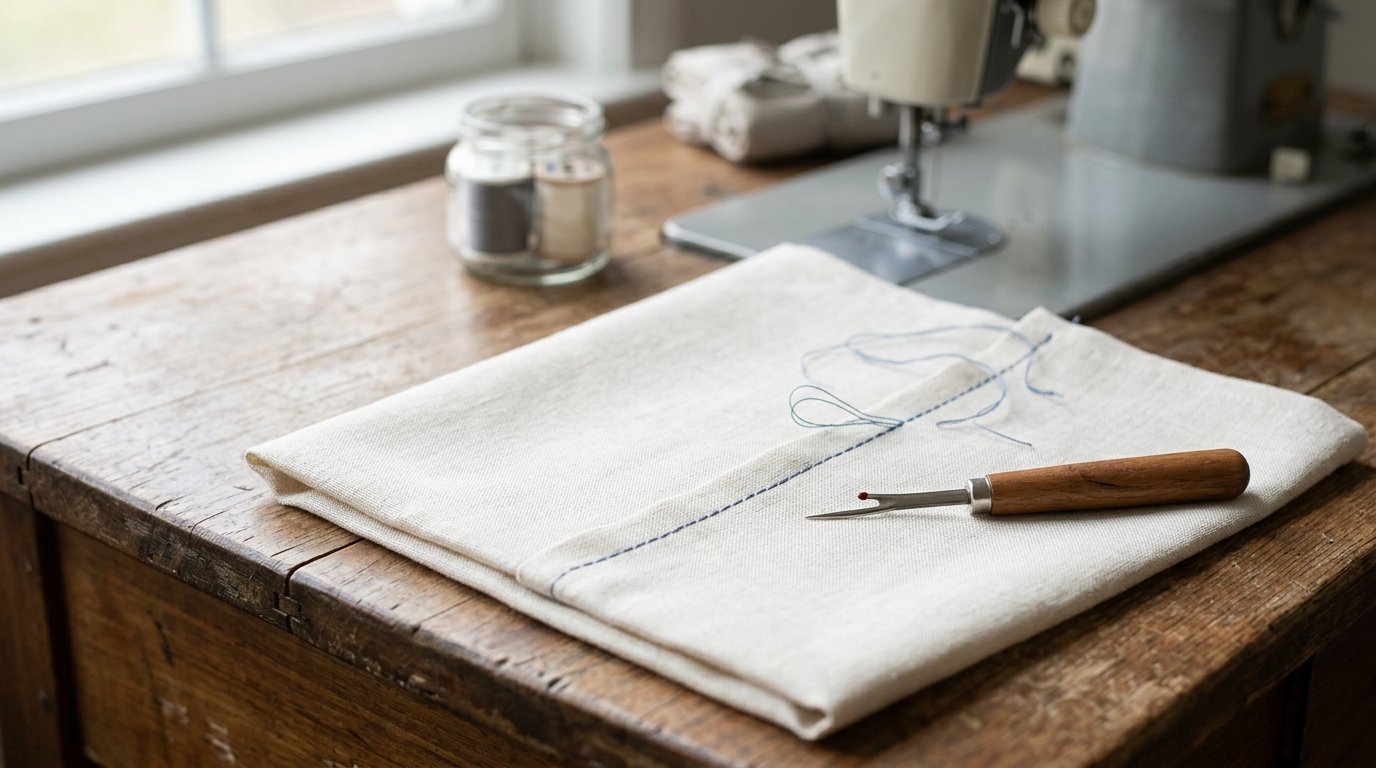
Good seam ripping starts with light and stability. Lay the project on a flat surface or hold a small area firmly in your hands. Smooth the fabric so the seam is easy to see. If needed, use reading glasses, task lighting, or a magnifier. Small mistakes often come from poor visibility, not poor technique.
Check your tool too. A seam ripper with a dull blade, bent tip, or loose cap is harder to control. The small ball on one prong helps protect the fabric, so use that guarded side against the cloth whenever possible.
Choose the Right Method
| Situation | Best approach | Why it works |
|---|---|---|
| One or two wrong stitches | Cut individual stitches one at a time | Maximum control, least fabric stress |
| Short seam in stable woven fabric | Cut every few stitches, then pull thread tails | Faster without much risk |
| Long machine seam | Snip spaced stitches on one side, pull from the other | Efficient release of multiple stitches |
| Delicate, sheer, or loosely woven fabric | Support fabric and pick slowly from the clearest side | Reduces snagging and holes |
| Dense topstitching or backstitching | Start at an end, remove locking stitches first | Prevents jerky pulling and distortion |
Follow the Core Method
- Find the start or easiest access point.
- Slide the pointed tip under one stitch, not under the fabric.
- Lift slightly so the thread meets the blade and snaps.
- Remove several stitches in sequence, then pause.
- Pull loosened thread ends gently with fingers or tweezers.
- Brush away lint and check for any missed locked stitches before pulling harder.
A practical example: if you sewed a sleeve inside out, do not rip the entire armhole by dragging the seam ripper along the curve. Instead, cut a few stitches near the underarm, open a small section, then continue in short controlled sections. Curves distort easily, so patience saves the fabric shape.
Handle Common Tasks Without Damage
For machine seams, many sewists like to cut the bobbin thread every few stitches, then pull the top thread so the rest releases. Test which thread moves more freely before tugging.
For serging or overlocking, do not attack the whole edge at once. Snip one looped thread, then tease apart the chain carefully. Serged seams can unravel fast, but only if you break the right thread in the right order.
For hems, collars, and cuffs, watch for pressing marks and needle holes. Pulling too hard can leave the area stretched even after the seam is removed.
A second practical example: if you are correcting a topstitched pocket, remove the backstitches at the beginning and end first. Once those anchors are gone, the longer middle section usually comes out much more cleanly.
Finish the Job Cleanly
After unpicking, remove fuzzy thread bits with tweezers, a lint roller, or a piece of low-tack tape. Then press the area lightly to relax the fabric and close minor needle marks. Before resewing, check that no hidden thread fragments remain, because stitching over them can create bumps and tension problems.
FAQ
Which Side of the Seam Should You Rip from?
Use the side where you can see and reach the stitches most clearly without scraping the fabric. For many machine seams, that is often the bobbin side. If one side is decorative or delicate, start from the less visible, less risky side.
Why Does My Seam Ripper Keep Snagging the Fabric?
Usually the tip is going under the fabric threads instead of just under the stitch. Poor lighting, rushing, or a dull tool also cause snagging. Keep the fabric flat, lift only one stitch at a time, and stop if you feel resistance.
Can a Seam Ripper Damage Fabric?
Yes. It can cut fibers, leave holes, stretch curves, or fuzz delicate cloth if used aggressively. Damage is most likely on sheer, knit, old, or loosely woven fabric. Slow down, support the area, and cut stitches individually when the fabric is fragile.
How Do You Remove Tiny Leftover Thread Pieces After Unpicking?
Use tweezers first for visible bits. Then try a lint roller, a soft brush, or a small piece of low-tack tape to lift thread fuzz. A light press afterward can help reveal any stray strands still caught in the seam line.
When Should You Replace a Seam Ripper?
Replace it when the blade feels dull, the tip is bent, the handle feels loose, or it starts dragging instead of cutting cleanly. A sharp, stable seam ripper is safer and easier to control than one you have to force through stitches.