Quick Answer
The best way to sew straighter lines is to give your fabric a physical or visual guide before you start stitching. The top 9 tools to sew straight lines are:
| Tool | Best For | Beginner-Friendly? |
|---|---|---|
| Seam guide on the throat plate | Standard seam allowances | Yes |
| Magnetic seam guide | Fast, adjustable straight seams | Yes, on metal machines |
| Washable fabric marker | Drawing stitch lines directly | Yes |
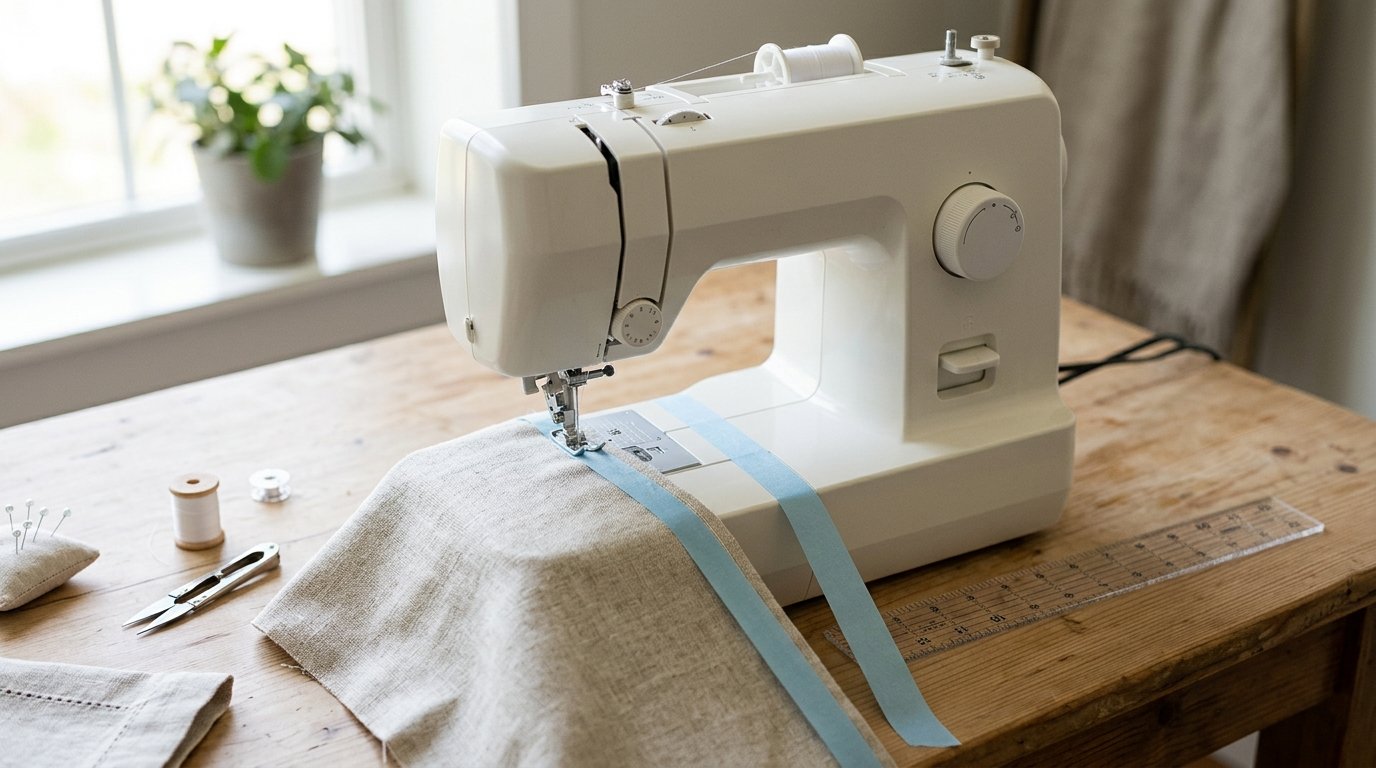
| Painter’s tape or washi tape | Temporary machine guides | Yes |
| Edge-stitch foot | Neat topstitching near an edge | Very |
| Quarter-inch foot | Quilting and small seam allowances | Very |
| Walking foot | Keeping layers from shifting | Moderate |
| Seam gauge | Measuring accurate guide placement | Yes |
| Quilting ruler with rotary cutter | Cutting straight edges before sewing | Moderate |
The main takeaway: straight stitching starts before the needle moves. If your fabric edge is crooked, your seam guide is unclear, or your layers are sliding, even careful sewing can wander.
For most beginners, start with three simple tools: painter’s tape, a seam gauge, and a washable fabric marker. These are inexpensive, easy to understand, and work on almost any sewing machine. As your projects grow, add specialty presser feet like an edge-stitch foot, quarter-inch foot, or walking foot for cleaner, more consistent results.
How to Think About This Topic
When choosing tools to sew straight lines, think in three layers: the line you follow, the edge you control, and the fabric movement under the needle.
The first layer is your visual guide. This might be the seam allowance lines already printed on your machine’s throat plate, a strip of tape, or a line drawn with a washable marker. Visual guides help your eyes know where the stitching should go. They are especially useful when you are new, sewing curves into straight sections, or working on fabric where the edge is hard to judge.
The second layer is physical guidance. A magnetic seam guide, edge-stitch foot, or quarter-inch foot gives the fabric something to run against. This is often easier than “eyeballing” a line because your hands can gently steer the fabric while the guide keeps the distance consistent. Physical guides are excellent for repeated seams, quilting, hems, and topstitching.
The third layer is fabric control. Some straight-line problems are not caused by poor aim. They happen because the fabric shifts, stretches, or creeps while sewing. A walking foot helps feed thick, slippery, or layered fabric evenly from the top and bottom. A quilting ruler and rotary cutter help too, because accurately cut fabric is much easier to sew straight than uneven fabric.
Here is the practical mental model: do not ask one tool to solve every straight-stitching problem. If your seam allowance is inconsistent, use a guide. If your fabric edge is uneven, cut it more accurately. If your layers shift, use a walking foot or more pins or clips. If you need a visible path, mark the line first.
For example, sewing a tote bag side seam may only need the machine’s throat plate guide. Topstitching a pocket looks better with an edge-stitch foot. Piecing quilt blocks is easier with a quarter-inch foot. Hemming slippery fabric may call for tape as a guide plus careful fabric handling.
The goal is not to become dependent on tools. It is to train your eye and hands with consistent reference points. Over time, these tools help you build the muscle memory needed to sew straighter lines naturally.
Practical Guidance
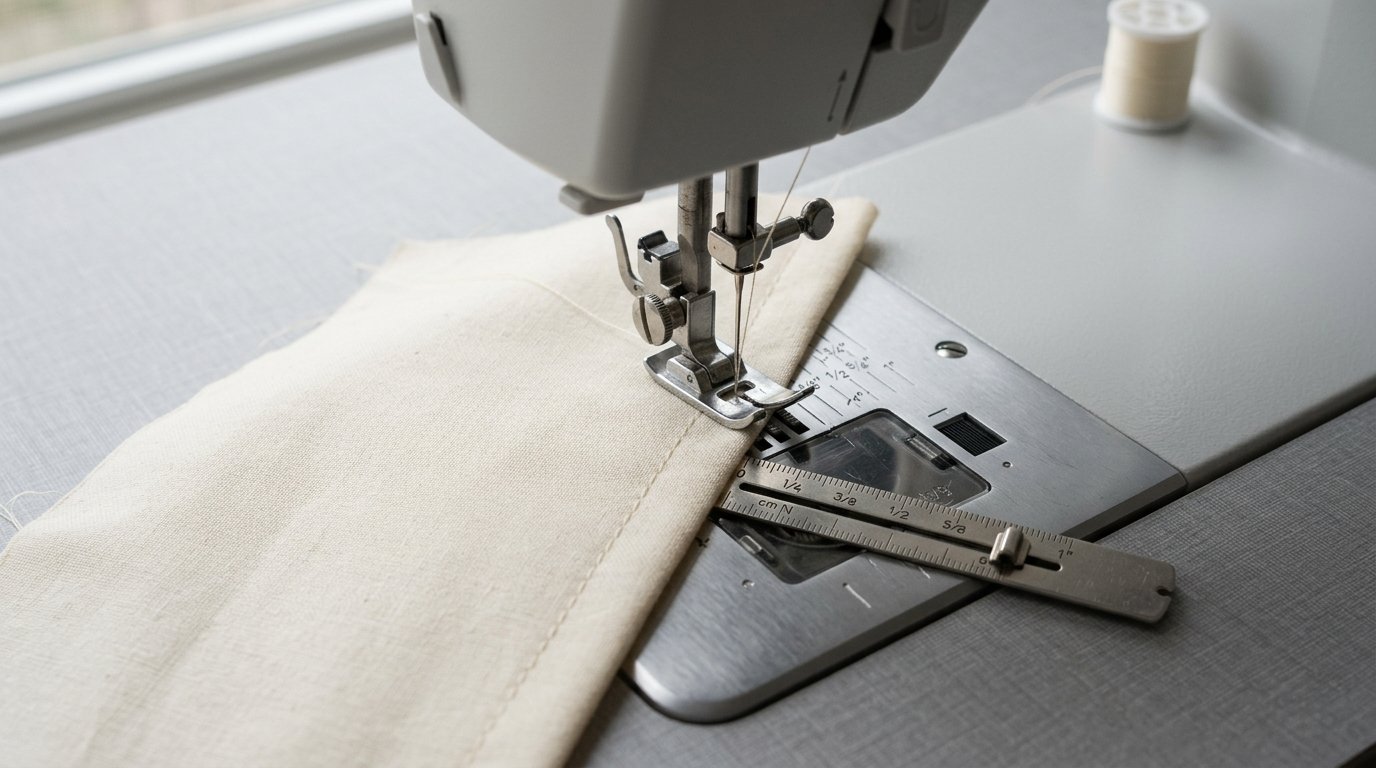
- Seam guide on the throat plate
Most sewing machines have engraved or printed lines to the right of the needle. These show common seam allowances, such as 1/4 inch, 3/8 inch, or 5/8 inch. Use them for basic seams on garments, bags, and home projects. Setup tip: measure from the needle to the guide line with a seam gauge if accuracy matters. Caution: these lines only help if you keep the fabric edge aligned with them.
- Magnetic seam guide
A magnetic seam guide sticks to the metal throat plate and creates a raised edge for your fabric to follow. It is useful for long straight seams and repeated seam allowances. Setup tip: place it at the exact distance from the needle, then test on scrap fabric. Caution: do not use one on computerized machines unless your manual says it is safe.
- Washable fabric marker
A washable marker lets you draw the stitching line directly on fabric. This is helpful for beginners, darts, pocket placement, quilting lines, and decorative topstitching. Setup tip: test the marker on a fabric scrap first to confirm it removes cleanly. Caution: avoid ironing over marks unless the instructions say it is safe.
- Painter’s tape or washi tape
Tape is one of the easiest temporary seam guides. Place it on the machine bed at the desired distance from the needle, then guide the fabric edge along it. It is great for beginners because it is cheap, visible, and removable. Setup tip: use a long strip so your eye has more line to follow. Caution: do not cover feed dogs or moving parts.
- Edge-stitch foot
An edge-stitch foot has a small center guide that rides along a seam, fold, or fabric edge. It helps create neat topstitching close to an edge. Use it for pockets, collars, hems, and bag details. Setup tip: adjust your needle position if your machine allows it. Caution: keep the fabric edge snug against the guide, but do not force it.
- Quarter-inch foot
A quarter-inch foot is designed to sew an accurate 1/4-inch seam, especially for quilting. Some versions have a small side guide. It is ideal for quilt piecing and small craft seams where tiny differences matter. Setup tip: sew a test seam and measure it before starting your project. Caution: bulky fabrics may not feed as smoothly under this small foot.
- Walking foot
A walking foot has feed teeth that help move the top fabric layer along with the bottom layer. Use it when sewing quilts, knits, fleece, vinyl, or layered projects. It does not create a straight line by itself, but it prevents shifting that can make straight seams look crooked. Setup tip: install it carefully according to your machine manual. Caution: sew more slowly, as walking feet are bulkier than regular presser feet.
- Seam gauge
A seam gauge is a small ruler with a sliding marker. It helps you measure seam allowances, hems, and guide placement. Use it before sewing to set tape, magnetic guides, or folded hems accurately. Setup tip: lock or hold the slider firmly at your chosen measurement. Caution: it measures the guide; it does not guide the fabric while stitching.
- Quilting ruler with rotary cutter
Straight sewing is much easier when the fabric is cut straight. A clear quilting ruler and rotary cutter help create clean, even edges before stitching. This is useful for quilting, bags, napkins, and rectangular projects. Setup tip: use a cutting mat and align fabric with ruler markings. Caution: always keep fingers away from the cutter’s path.
If you are buying in stages, start simple. For a basic machine setup, use painter’s tape and a seam gauge. For garment seams, rely on the throat plate guide and add a washable marker when needed. For quilting, prioritize a quarter-inch foot, quilting ruler, and rotary cutter. For bags, thick fabric, or layered projects, a walking foot can make a noticeable difference.
Also remember that tools work best with calm technique. Sit directly in front of the needle, watch the guide rather than the needle, and guide the fabric lightly instead of pulling it. Practice on scraps with contrasting thread so you can see what is happening. Small setup improvements often make a bigger difference than sewing faster or gripping the fabric harder.
FAQ
What Should a Beginner Know First About Top 9 Tools to Sew Straight Lines?
A beginner should know that straight seams come from clear guides and steady fabric control. Start with painter’s tape, the machine’s seam guide, and a seam gauge. These tools are inexpensive, easy to use, and help you understand seam allowance before buying specialty feet.
What Matters Most When Evaluating Top 9 Tools to Sew Straight Lines?
The most important factor is the problem you are trying to solve. If your seam allowance wanders, choose a guide. If your layers shift, use a walking foot. If your fabric edge is crooked, improve cutting accuracy with a ruler and rotary cutter.
What Mistakes Should Readers Avoid with Top 9 Tools to Sew Straight Lines?
Avoid pulling the fabric, watching only the needle, or assuming one tool fixes everything. Also avoid skipping test seams. Even simple guides need correct placement. Always test marker removal, seam width, and presser foot behavior on scrap fabric before sewing your final project.
What Is the Next Logical Step After Learning About Top 9 Tools to Sew Straight Lines?
Choose one tool that matches your current project and practice on scraps. Sew several lines at the same seam allowance, then check the results. Once you can follow one guide consistently, try adding a specialty foot or improving your cutting setup.