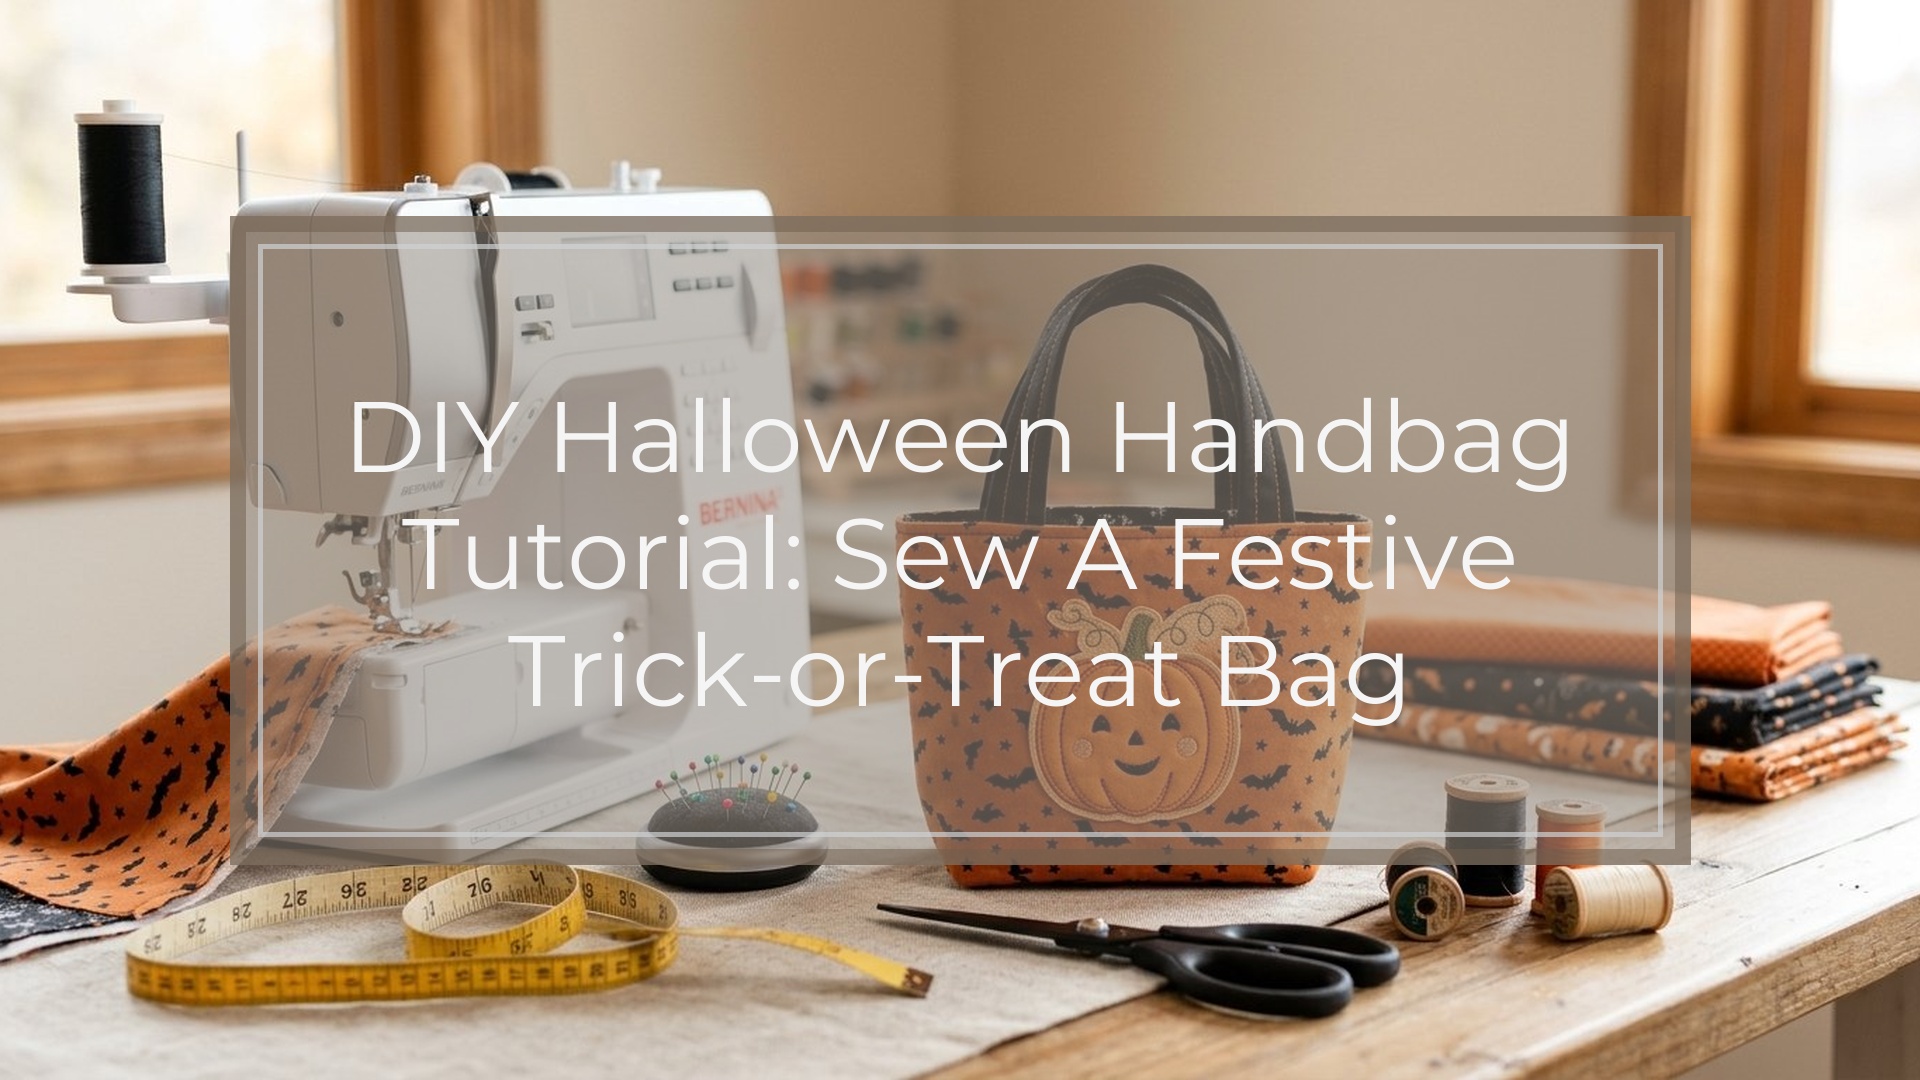
A DIY Halloween handbag is a small lined fabric bag with sturdy handles and seasonal details like bats, pumpkins, ghosts, spiderwebs, or orange-and-black fabric. This beginner-friendly project uses simple straight seams, basic pressing, and a clean bag-turning method to hide raw edges. The finished example is about 10 inches wide by 9 inches tall, roomy enough for party essentials, trick-or-treat candy, or costume accessories. Plan on about two to three hours, depending on how much decorating you add. The easiest method is to decorate the flat outer fabric first, sew the outer bag and lining separately, then join them at the top for a neat finish.
Plan Your Halloween Handbag Design
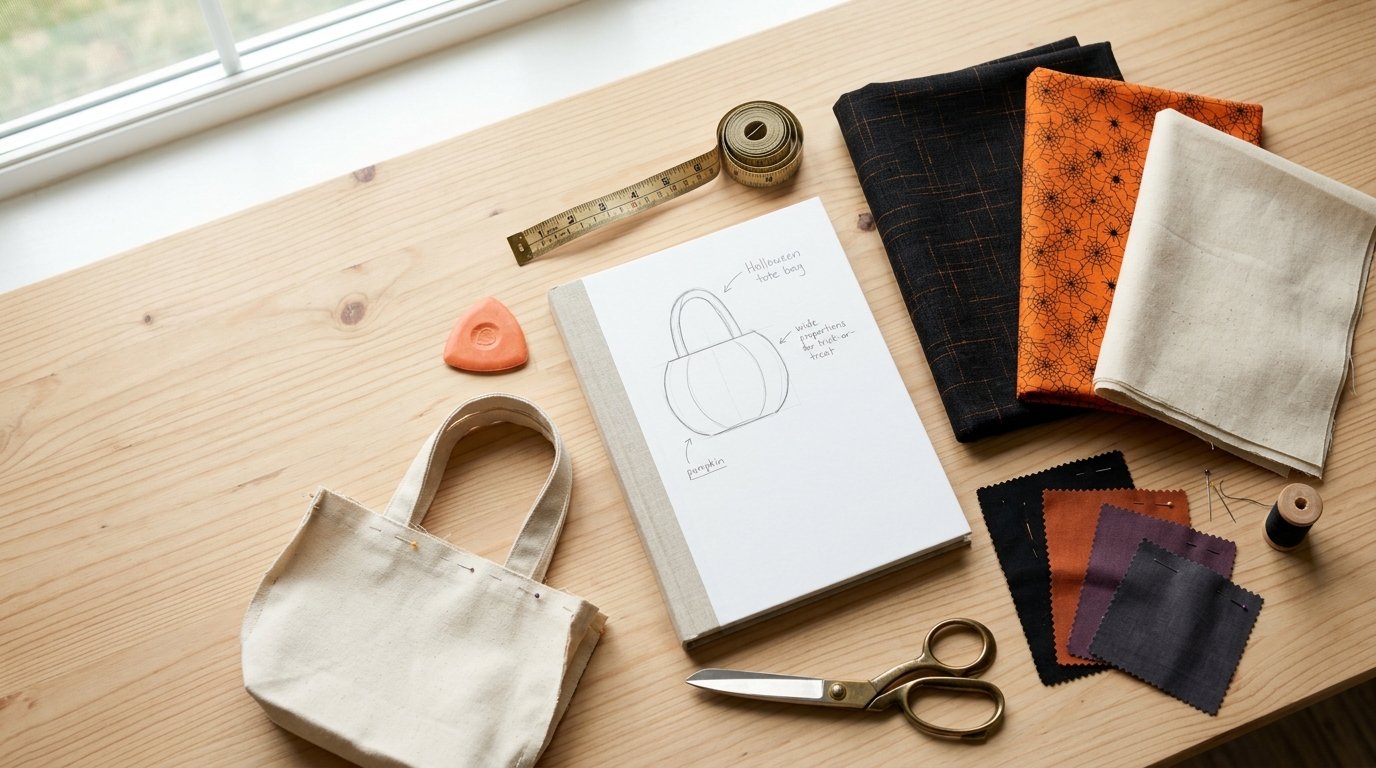
Before cutting fabric, decide how you want the bag to look and how it will be used. A party handbag can be small and decorative, while a trick-or-treat bag should be sturdier and slightly roomier. For a costume accessory, match the fabric to the costume colors.
Think of the handbag in three layers: the outer fabric, the lining, and the decorations. The outer fabric gives the bag its main Halloween look. The lining hides seams and adds body. Decorations should be placed where they will not interfere with seams, handles, or the top opening.
Simple design ideas work best for beginners: black fabric with orange handles, pumpkin-print cotton with a black lining, or a plain purple bag with a felt bat appliqué on the front.
Materials and Tools You’ll Need
Choose medium-weight woven cotton, canvas, cotton duck, or lightweight denim for the outer bag. Quilting cotton works well if you add fusible interfacing for structure. For the lining, use quilting cotton or another smooth woven fabric. Avoid stretchy knits because they shift and can make the bag uneven.
| Item | Amount or Size | Notes |
|---|---|---|
| — | —: | — |
| Outer fabric | 1/2 yard | Halloween print or solid fabric |
| Lining fabric | 1/2 yard | Cotton is easiest |
| Fusible interfacing | 1/2 yard | Medium-weight for body |
| Handle fabric | Two 4 in x 18 in strips | Can match or contrast |
| Felt or scraps | Small pieces | For bats, ghosts, pumpkins |
| Thread | 1 spool | Polyester all-purpose thread |
| Optional closure | Magnetic snap, button, or hook-and-loop tape | Add before final finishing |
You’ll also need scissors or a rotary cutter, ruler, pins or clips, iron, sewing machine, marking pen or chalk, and a safety pin or turning tool.
Cut the Fabric Pieces
For the example handbag, cut two outer rectangles measuring 11 inches wide by 10 inches tall. Cut two lining rectangles the same size. Cut two interfacing rectangles for the outer fabric, also 11 inches by 10 inches, and fuse them to the wrong side of the outer pieces following the manufacturer’s instructions.
For the handles, cut two fabric strips measuring 4 inches wide by 18 inches long. If your fabric is lightweight, cut matching interfacing strips about 2 inches wide by 18 inches long and fuse them down the center of each handle strip.
If you want a boxed bottom, mark a 1-inch square at each lower corner of both outer pieces and both lining pieces, but do not cut yet.
Add Halloween Decorations Before Assembly
Decorate the outer pieces while they are still flat. This is much easier than trying to sew appliqué or trim onto a finished bag. Keep all decorations at least 1 inch away from the side and bottom edges, and at least 2 inches below the top edge so they do not get caught in the final seam.
For a felt appliqué, draw or trace a simple shape such as a bat, ghost, cat, moon, or pumpkin. Cut it from felt, pin it to the front outer piece, and sew around the edge with a straight stitch or narrow zigzag. Felt does not fray, so it is forgiving.
For fabric appliqué, use fusible web to hold the shape in place before stitching. You can also add ribbon, ric-rac, lace, or reflective trim. If using buttons or beads, sew them on securely and avoid placing them where the bag will bend sharply.
Prepare and Attach the Handles
Fold each handle strip in half lengthwise with wrong sides together and press. Open it, then fold each long raw edge toward the center crease and press again. Fold the strip in half one more time, enclosing the raw edges. Sew close to both long edges for a strong, neat handle.
Place one handle on the right side of one outer bag piece. Position the raw handle ends along the top edge, about 3 inches in from each side. Make sure the handle loop points downward toward the bag body, not above the top edge. Pin or clip in place. Repeat with the second handle on the other outer piece.
Baste each handle end in place with a 1/4-inch seam allowance. This temporary stitching keeps the handles from shifting during final assembly.
Sew the Outer Bag and Lining
Place the two outer bag pieces right sides together, matching the top edges, side edges, and bottom corners. Pin or clip around the sides and bottom. Sew the side and bottom seams with a 1/2-inch seam allowance, leaving the top open. Backstitch at the beginning and end.
If you marked boxed corners, cut out the 1-inch squares from the lower corners now. Open one corner so the side seam and bottom seam meet, forming a straight line. Pin and sew across the corner with a 1/2-inch seam allowance. Repeat for the other outer corner. This creates a flat base.
Sew the lining the same way, but leave a 3- to 4-inch opening in the bottom seam. You will use this opening to turn the bag right side out later. Box the lining corners the same way if you boxed the outer bag.
Press the seams carefully. Pressing helps the handbag look cleaner and makes the next step easier.
Join the Lining to the Outer Bag
Turn the outer bag right side out. Keep the lining wrong side out. Slide the outer bag down inside the lining so the right sides are touching. The handles should be sandwiched between the outer bag and lining, tucked inside and pointing downward.
Match the side seams and top raw edges. Pin or clip all the way around the top opening. Sew around the entire top edge with a 1/2-inch seam allowance. Go slowly over the handle areas because they are thicker. Backstitch over each handle end for extra strength.
Reach through the opening in the bottom of the lining and gently pull the outer bag through. This turns the handbag right side out. Push the lining down inside the bag, smooth the top edge with your fingers, and press carefully.
Finish the Handbag
Close the opening in the lining by folding the raw edges inward and sewing close to the fold. You can stitch it by machine for speed or by hand for a nearly invisible finish.
Topstitch around the upper edge of the handbag about 1/8 to 1/4 inch from the top. This keeps the lining from rolling out and gives the bag a crisp edge. If you want a closure, add a button and loop, hook-and-loop tape, or a magnetic snap. For heavy use, reinforce the handle areas with a small rectangle of stitching or an X-shaped stitch.
Give the finished handbag a final press, avoiding direct heat on felt, vinyl, or plastic trims.
Customization Ideas for Your Diy Halloween Handbag

Once you understand the basic construction, it is easy to change the look. Use glow-in-the-dark thread for spiderweb stitching, orange fabric with a jack-o’-lantern face, or black canvas with purple lining. Add a small inside pocket by sewing a folded rectangle to one lining piece before assembling the lining.
For a more dramatic costume bag, make the handles from ribbon, lace, or faux leather. For children, shorten the handles slightly so the bag does not drag. To make the handbag larger, increase all main rectangles by the same amount, but keep the construction steps the same.
Troubleshooting Common Sewing Problems
If the top edge looks wavy, press it well and add topstitching to hold the layers flat. If the lining seems bulky, trim the seam allowance slightly before turning, but do not cut through the stitching.
If the handles twist, they were likely attached facing the wrong direction. Before sewing the top seam, always check that the handle loops point down between the bag layers. If decorations get caught in seams, unpick that area and move the decoration farther from the edge.
For skipped stitches on thick handle sections, use a fresh universal or denim needle and sew slowly. Clips can also hold thick layers better than pins.
FAQ
What Should a Beginner Know First About Diy Halloween Handbag?
A beginner should know that a DIY Halloween handbag is mostly a simple lined tote-style project. The key is to decorate the outer fabric while it is flat, attach the handles securely, and leave an opening in the lining so the bag can be turned right side out.
What Matters Most When Evaluating Diy Halloween Handbag?
The most important things are fabric strength, clean construction, and secure handles. A Halloween handbag may be decorative, but it still needs to hold items without sagging or pulling apart. Interfacing, careful seam allowances, and reinforced handle stitching make the biggest difference.
What Mistakes Should Readers Avoid with Diy Halloween Handbag?
Avoid stretchy fabric, decorations too close to seam lines, and forgetting the turning opening in the lining. Also check handle direction before sewing the lining to the outer bag. These small details prevent most beginner frustration and save time with the seam ripper.
What Is the Next Logical Step After Learning About Diy Halloween Handbag?
After making one basic Halloween handbag, try adding features such as an inner pocket, zipper closure, boxed bottom, or adjustable strap. You can also resize the pattern for a child’s trick-or-treat bag, a party clutch, or a reusable seasonal gift bag.