Making holiday fabric coasters is a beginner-friendly sewing project that turns small fabric pieces into reusable, giftable table accents. The basic idea is simple: cut two fabric squares, add an absorbent middle layer, sew the layers together, turn the coaster right side out, and topstitch around the edge.
This project works well for Christmas, Hanukkah, winter, Thanksgiving, New Year’s, or any seasonal theme because the shape stays the same while the fabric does the decorating. You can make one coaster in under 20 minutes once your pieces are cut, or sew a full matching set assembly-line style.
Quick Answer
To make your own holiday coasters, cut two 5-inch fabric squares for each coaster, plus one 5-inch square of cotton batting or absorbent interfacing. Place the fabric squares right sides together, put the batting on top, sew around the edge with a 1/4-inch seam allowance, leave a small turning gap, trim the corners, turn the coaster right side out, press it flat, and topstitch around the edge to close the gap.
For one coaster, you need:
| Set size | Fabric squares | Batting squares |
|---|---|---|
| —: | —: | —: |
| 1 coaster | 2 | 1 |
| 4 coasters | 8 | 4 |
| 6 coasters | 12 | 6 |
| 8 coasters | 16 | 8 |
Choose quilting cotton for easy sewing and crisp results. Holiday prints, plaid, metallic accents, snowflakes, stars, ornaments, winter florals, or simple red, green, blue, white, gold, and silver fabrics all work.
A finished coaster cut from 5-inch squares will be about 4 1/2 inches wide, depending on your seam allowance. That size fits mugs, glasses, and small dessert cups. If you want larger coasters for oversized mugs, start with 5 1/2-inch or 6-inch squares instead.
How to Think About This Topic
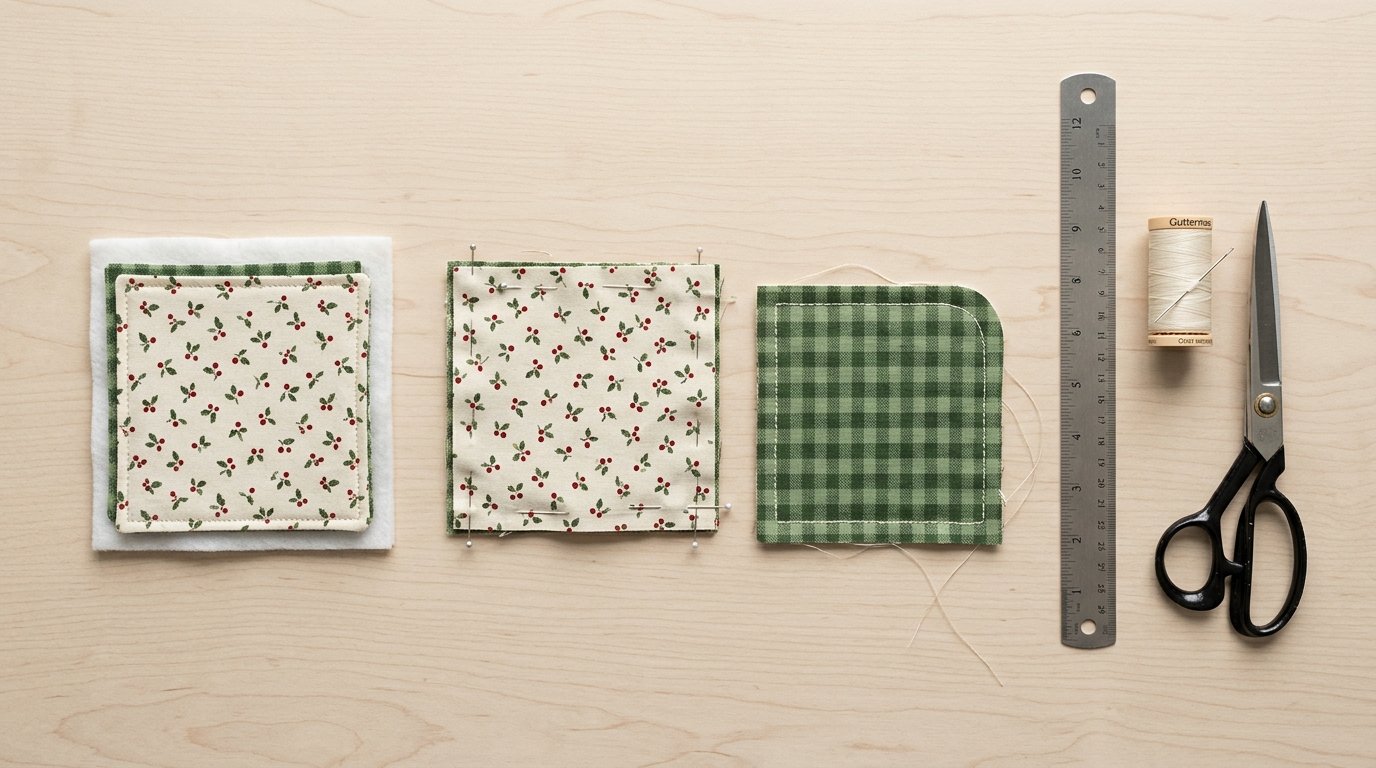
The easiest way to think about fabric holiday coasters is as a small quilted sandwich: a top fabric, a bottom fabric, and a middle layer that gives the coaster body and absorbency. The sewing is simple because you are mostly working with straight seams and small pieces.
“Right sides together” means the pretty sides of the two fabric squares face each other while you sew. After sewing, you turn the coaster through the gap so the pretty sides face out. The “seam allowance” is the distance between the raw fabric edge and your line of stitching. A 1/4-inch seam allowance is common for small fabric projects because it keeps the coaster neat without wasting fabric.
The middle layer matters. Cotton batting gives a soft, slightly quilted feel and absorbs light moisture. Fusible fleece adds more structure and can be ironed to one fabric square before sewing. Avoid thick polyester batting if you want flat coasters, because bulky layers can make cups wobble.
Fabric choice also affects the finished result. Quilting cotton is the best beginner option because it presses well, cuts cleanly, and comes in many holiday prints. Flannel feels cozy but can stretch slightly, so pin carefully. Linen blends look elegant but may fray more, so use a secure seam and careful topstitching.
The project becomes faster when you work in batches. Instead of completing one coaster start to finish, cut all your squares first, stack the layers for every coaster, sew them all, turn them all, press them all, then topstitch them all. This is especially helpful if you want to make your own holiday coasters as party favors, teacher gifts, hostess gifts, or stocking stuffers.
Design can stay simple. A matching set using one print looks polished. A mixed set using coordinating fabrics feels handmade and playful. For example, you might pair a bold holiday print on one side with a simple stripe, solid, or gingham on the other. Reversible coasters are useful because they let the recipient choose a brighter or quieter side.
Practical Guidance
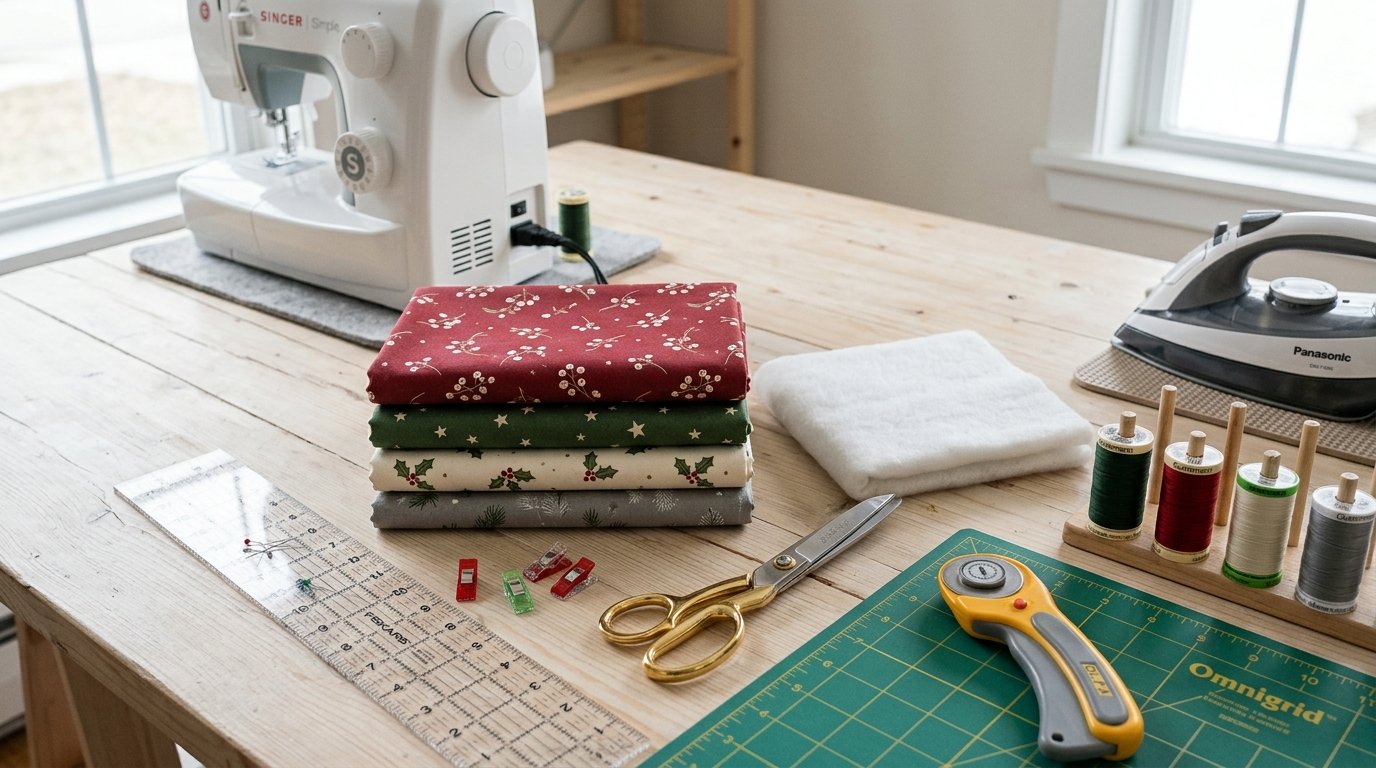
Gather your supplies before cutting: holiday cotton fabric, cotton batting or fusible fleece, thread, scissors or a rotary cutter, ruler, pins or clips, an iron, and a sewing machine. A hand-sewing needle is optional if you prefer to close the gap invisibly, though topstitching is faster.
Start by pressing your fabric. Wrinkles can distort small squares, and accurate cutting makes the sewing easier. Cut two fabric squares and one batting square for each coaster. A 5-inch square is a good standard size. If you are using directional prints, such as trees, candles, or words, make sure the design faces the way you want before cutting.
Layer one coaster at a time. Place the two fabric squares right sides together. Put the batting square on the wrong side of one fabric square, so the fabric pair and batting are stacked evenly. Pin or clip the edges to stop shifting.
Sew around the coaster using a 1/4-inch seam allowance. Begin along one side, not at a corner, and leave a 2-inch turning gap. Backstitch at the beginning and end so the stitches do not pull loose when you turn the coaster. Sew slowly around the corners, stopping with the needle down, lifting the presser foot, rotating the fabric, and continuing along the next side.
Trim the corners carefully without cutting through the stitching. This removes extra bulk and helps the corners look sharper after turning. Turn the coaster right side out through the gap. Use a blunt tool, such as a chopstick or point turner, to gently push out the corners. Do not use sharp scissors for this, because they can poke through the fabric.
Press the coaster flat, folding the raw edges of the turning gap inward so they line up with the sewn edge. This pressing step makes the final stitching much neater. Topstitch around the entire coaster about 1/8 inch from the edge. This closes the gap and gives the coaster a finished border. For extra stability, you can add a second line of stitching 1/4 inch inside the first or sew a simple X from corner to corner.
Customize the set with small details. Use contrasting thread for a decorative outline, metallic thread if your machine handles it well, or a simple ribbon tie around a stack of four. Avoid beads, buttons, or thick embellishments on the coaster surface because cups need to sit flat.
For gifting, make sets of four or six and choose fabrics that match the recipient’s holiday style. Traditional red and green feels festive, blue and silver suits winter decor, cream and gold looks elegant, and novelty prints are fun for family gatherings. Include a small care note: machine wash cold, reshape, and air dry or tumble dry low. Press if needed.
Common mistakes are usually easy to prevent. Do not skip pressing, because small projects show uneven edges. Do not make the turning gap too tiny, or the corners may stretch while turning. Do not use fabric that is too thin without a sturdy middle layer. Most importantly, keep the coaster flat and washable, since it is meant for everyday holiday use.
FAQ
What Should a Beginner Know First About Make Your Own Holiday Coasters?
Start with quilting cotton, 5-inch squares, and cotton batting. The project is mostly straight stitching, so it is suitable for beginners. Focus on accurate cutting, leaving a turning gap, pressing well, and topstitching neatly around the edge.
What Matters Most When Evaluating Make Your Own Holiday Coasters?
The most important factors are fabric quality, absorbency, flatness, and neat finishing. A good coaster should sit flat under a mug, absorb light moisture, wash easily, and have secure stitching around the edges so it lasts through repeated use.
What Mistakes Should Readers Avoid with Make Your Own Holiday Coasters?
Avoid bulky batting, uneven cutting, skipped pressing, and decorative pieces that make the surface lumpy. Also avoid forgetting to backstitch near the turning gap. That area gets tugged during turning, so it needs secure stitching.
What Is the Next Logical Step After Learning About Make Your Own Holiday Coasters?
Make a small test coaster first, then sew a set of four using the same method. Once you are comfortable, try reversible fabrics, decorative topstitching, larger sizes, or matching fabric napkins for a coordinated holiday table set.