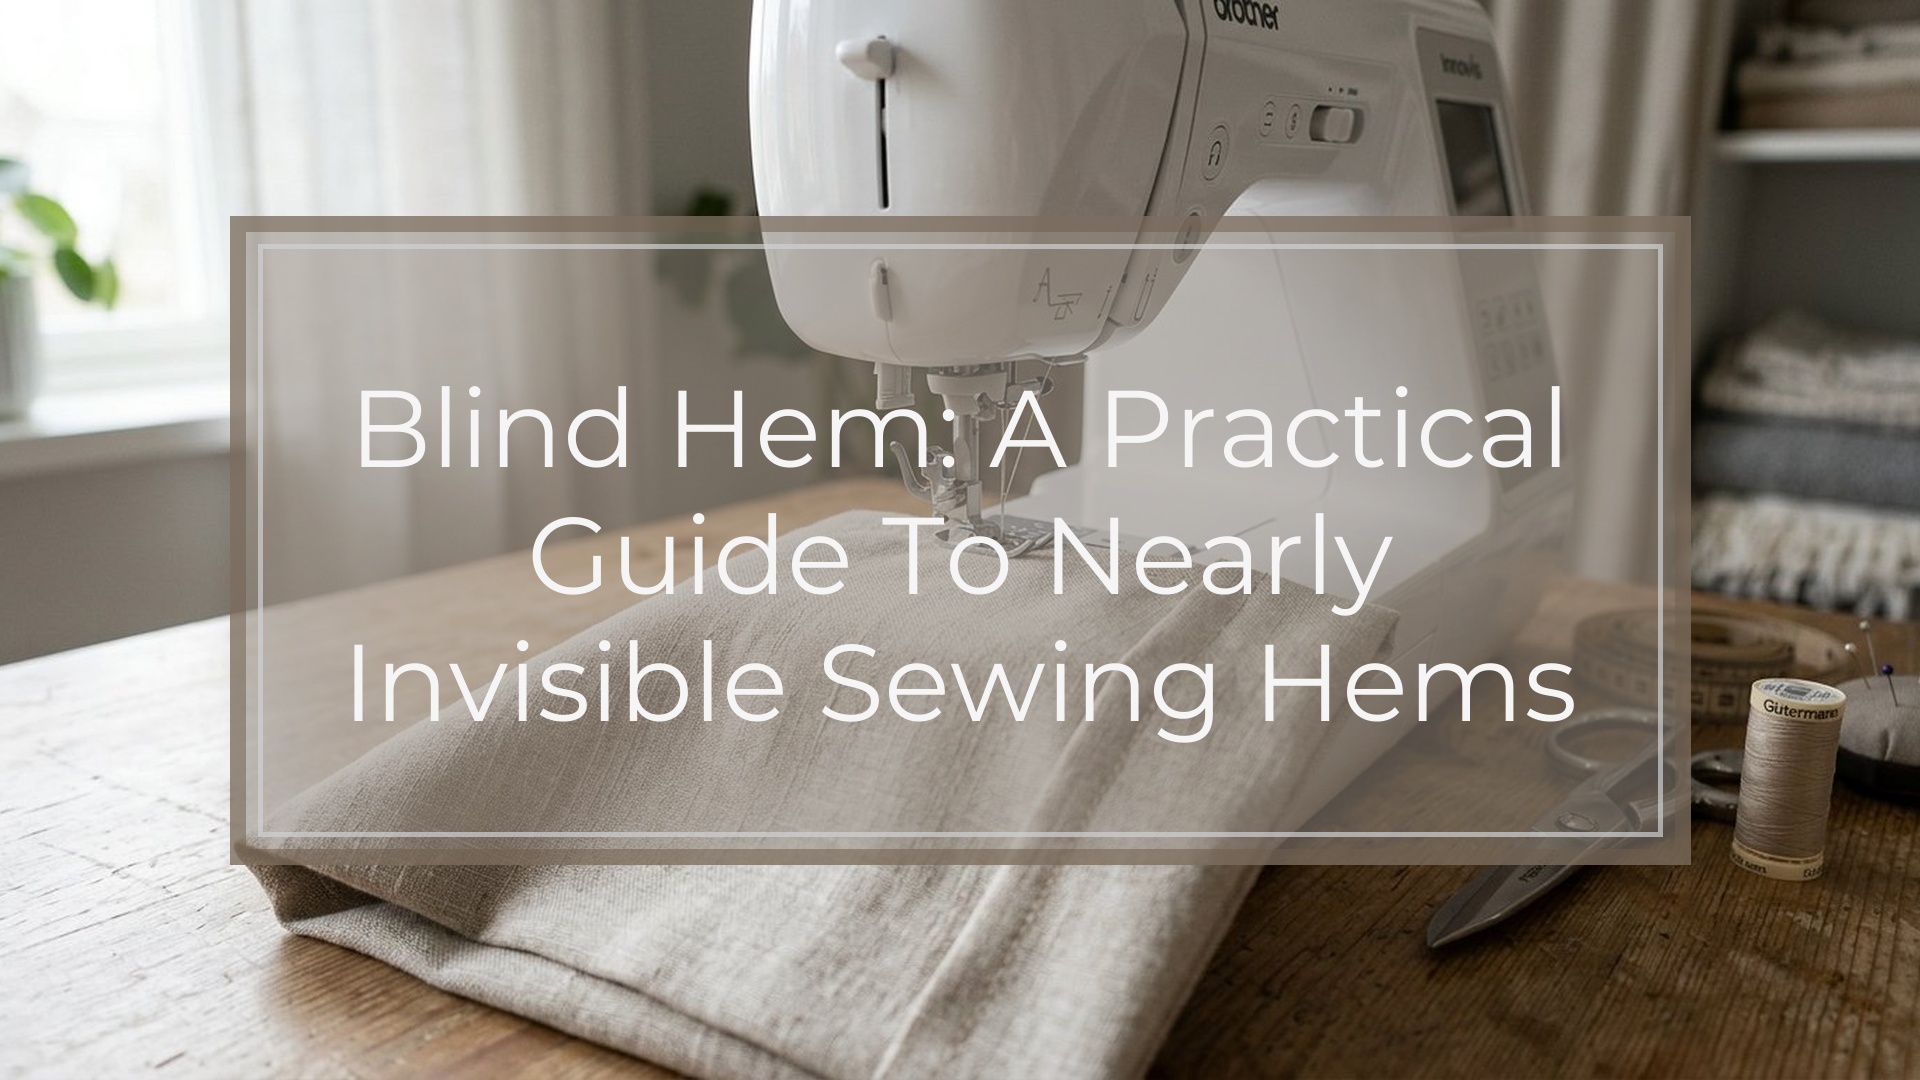
A blind hem is a hem sewn so the stitches are almost invisible from the right side of the garment. It is most often used on trousers, skirts, dresses, curtains, and tailored-looking garments where you want a clean finish without a row of obvious topstitching.
The basic idea is simple: most of the stitch sits in the folded hem allowance, and only a tiny “bite” of thread catches the main fabric. When done well, the outside shows only small dots or nearly nothing at all.
You can sew a blind hem by hand or with a sewing machine. Hand sewing gives the most control and the least visible result. Machine sewing is faster and works well when you use the correct foot, stitch, and folding method.
Quick Answer
To sew a blind hem, first finish the raw edge of the fabric, press the hem to the correct depth, and fold the garment so only a narrow edge of the hem is exposed. Then sew along the fold, catching the main fabric with tiny stitches while most of the thread travels through the hem allowance. Press the hem after sewing to help the stitches settle.
For a hand blind hem, use a fine needle and matching thread. Bring the needle through the folded hem edge, pick up one or two threads from the garment fabric, then pass the needle back through the hem fold. Repeat with loose, even spacing so the hem hangs naturally.
For a machine blind hem, use a blind hem foot and blind hem stitch. Fold the hem back on itself so the machine stitches mostly on the hem allowance, with the zigzag or “bite” just catching the garment fold. Test on a scrap or hidden section before sewing the actual hem.
The most important parts are accurate pressing, a small stitch bite, matching thread, and correct tension. If the bite is too deep, the stitches will show. If the thread is too tight, the hem may pucker. If the fabric is too delicate or bulky, hand sewing may be the better choice.
Use a blind hem when you want a polished, professional-looking finish without visible topstitching.
How to Think About This Topic
Think of a blind hem as a controlled compromise: the hem must be secure enough to hold, but hidden enough that the outside of the garment stays smooth. You are not trying to make the thread disappear by magic. You are placing each stitch where it will be least noticeable.
A normal straight-stitched hem sews through all layers from the right side or wrong side, leaving a visible line of stitching. That can be attractive on jeans, casual skirts, napkins, and children’s clothes. A blind hem is different. It is meant for projects where the fabric, shape, or style looks better without a visible stitch line.
The mental model is “travel inside the fold, barely catch the garment.” Most of the thread should live in the hem allowance. Only a tiny part of each stitch should touch the outer garment fabric. From the right side, that tiny contact point is all that might show.
This is why pressing matters so much. A blind hem depends on folds acting as sewing guides. If the hem is uneven, twisted, or poorly pressed, the stitches will also be uneven. Before you sew, measure the hem depth, press it carefully, and make sure the garment hangs correctly.
Fabric choice also changes the approach. Medium-weight wool, suiting, stable cotton, and many curtain fabrics are forgiving because the weave can hide small stitches. Shiny satin, very fine fabric, or high-contrast thread will reveal mistakes more easily. Thick fabric can make the folded edge bulky, so the stitch may need to be placed slightly farther from the edge or sewn by hand.
The two main methods serve different needs:
| Method | Best for | Main advantage | Watch out for |
|---|---|---|---|
| Hand blind hem | Dress pants, skirts, delicate fabrics, tailoring | Most invisible and adjustable | Takes longer |
| Machine blind hem | Curtains, casual garments, longer hems | Faster and consistent | Fold setup must be correct |
For beginners, the easiest way to understand the technique is to practice on a fabric scrap with contrasting thread first. This lets you see the path of the stitch. Once the movement makes sense, switch to matching thread for the real garment.
A good blind hem does not need to be perfect under close inspection from the wrong side. It needs to look clean from the outside, hang properly, and hold up during wear or washing.
Practical Guidance

Start by preparing the hem. Try on the garment with the shoes or waistband position you plan to use, then mark the finished length. Add enough hem allowance, often 1 to 2 inches for garments and more for curtains if you want weight at the bottom. Trim excess fabric if needed.
Finish the raw edge before sewing the blind hem. You can use a serger, zigzag stitch, pinking shears, or a narrow turned-under edge. The goal is to prevent fraying without adding unnecessary bulk. Press the hem allowance up evenly all the way around.
For a hand blind hem, work from the wrong side. Thread a fine hand-sewing needle with matching thread and knot the end lightly. Hide the knot inside the hem fold. Take a small stitch through the folded hem edge, then pick up only one or two threads from the main garment fabric. Move forward about 1/4 to 1/2 inch and repeat.
Keep the thread relaxed. If you pull too tightly, the outside may pucker or form dimples. If the stitches are too far apart, the hem may sag. For lightweight garments, smaller spacing is usually better. For curtains or heavier fabric, slightly wider spacing may be acceptable.
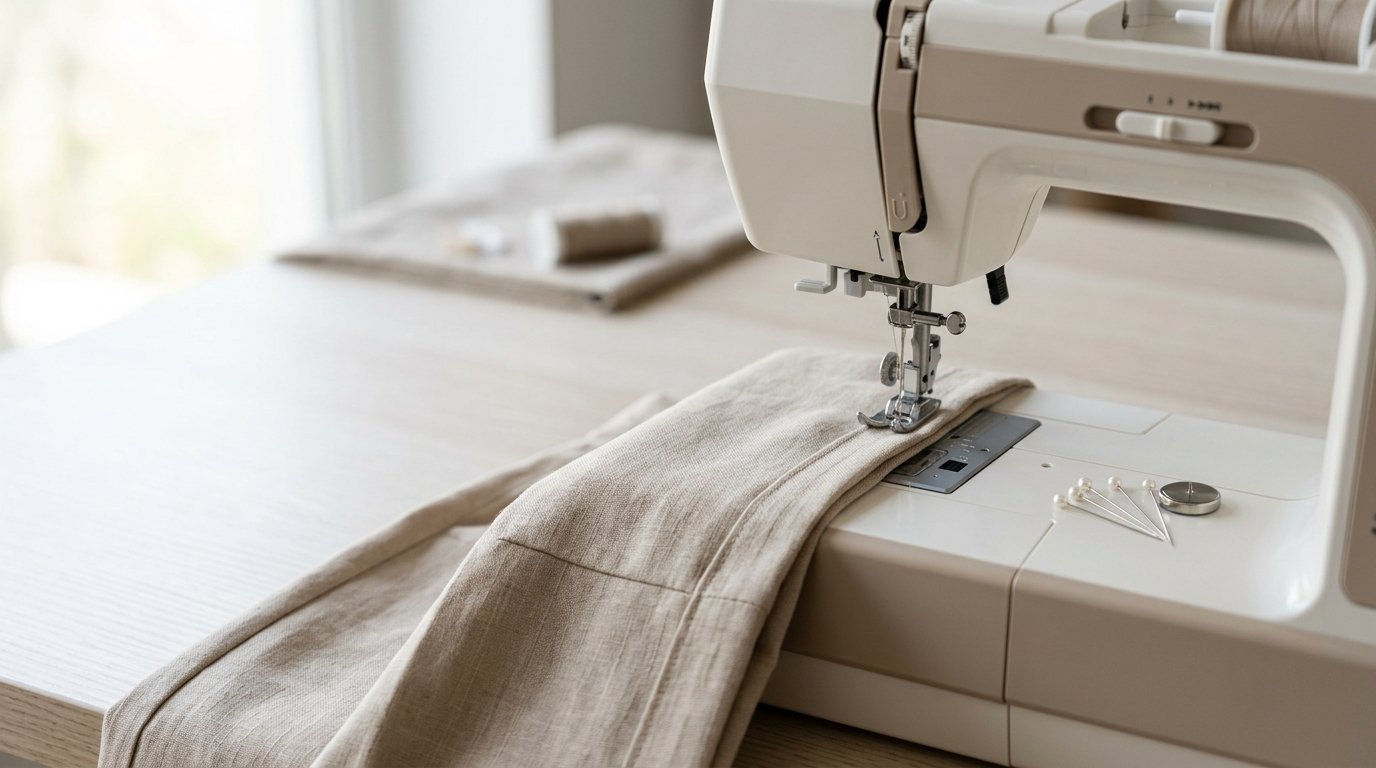
For a machine blind hem, attach the blind hem foot and select the blind hem stitch. This stitch usually makes several straight stitches followed by one zigzag bite. Finish and press the hem first. Then fold the hem back so the wrong side is up and a small fold of the garment fabric sits beside the hem allowance. The machine should stitch mostly on the hem allowance, while the zigzag bite just catches the fold.
Test before sewing the full hem. Adjust the guide on the blind hem foot so the needle barely catches the folded garment fabric. Use matching thread because even a good blind hem can show tiny dots. If the dots are obvious, reduce the stitch width or move the guide so the bite is smaller.
Choose the method based on the project. Hand sew dress trousers when you want the cleanest finish. Use the machine for long curtain hems where speed matters. Hand sew delicate fabric that marks easily. Machine sew stable cotton or medium-weight fabric after testing.
Common problems are usually easy to diagnose. Visible stitches mean the needle is catching too much fabric, the thread contrast is too high, or the stitch is too tight. Puckering means the tension is too tight or the fabric is being stretched while sewing. A loose, drooping hem means the stitches are too far apart or not catching securely.
After sewing, press the hem from the wrong side. Use a press cloth on delicate, dark, wool, or shiny fabrics. Do not crush the hem with heavy pressure; press enough to smooth it and set the fold. Check the right side in good light. If a small area shows too much, remove only that section and resew it with a smaller bite.
FAQ
What Should a Beginner Know First About Blind Hem?
A blind hem is designed to hide the stitching, not to create a decorative line. The key is catching only a tiny amount of the outer fabric while most of the stitch stays inside the folded hem allowance.
What Matters Most When Evaluating Blind Hem?
The most important signs are minimal visible stitches, a smooth outside surface, and a hem that hangs naturally. Good pressing, matching thread, small stitch bites, and relaxed tension matter more than speed.
What Mistakes Should Readers Avoid with Blind Hem?
Avoid taking too large a bite of the garment fabric, pulling the thread too tight, skipping the pressing step, or using thread that contrasts strongly. These mistakes make the hem more visible and can cause puckering.
What Is the Next Logical Step After Learning About Blind Hem?
Practice both hand and machine blind hems on scraps similar to your project fabric. Once you can control stitch size and tension, try the technique on trousers, a skirt, or a simple curtain panel.