A DIY Halloween goodie bag is a quick sewing project that turns a few fabric pieces into a reusable treat bag for trick-or-treating, classroom parties, or small gifts. This beginner-friendly version is an unlined fabric bag with a clean top edge, optional boxed corners for extra space, and either handles or a drawstring. You can sew it from cotton, canvas, or felt-like fabric, then decorate it with simple Halloween shapes. The basic method is: cut rectangles, sew the sides and bottom, finish the top, add carrying pieces, and decorate. Once you understand the structure, you can easily change the size or style.
What You’ll Make
You’ll make a small reusable Halloween treat bag with finished seams and a sturdy top edge. The main tutorial size is practical for candy, party favors, or a child’s small trick-or-treat bag. It is best for confident beginners who can sew a straight seam, backstitch, and press fabric. If you are brand new to sewing, choose cotton fabric, skip complicated decorations, and make the handle version first.
Supplies and Tools
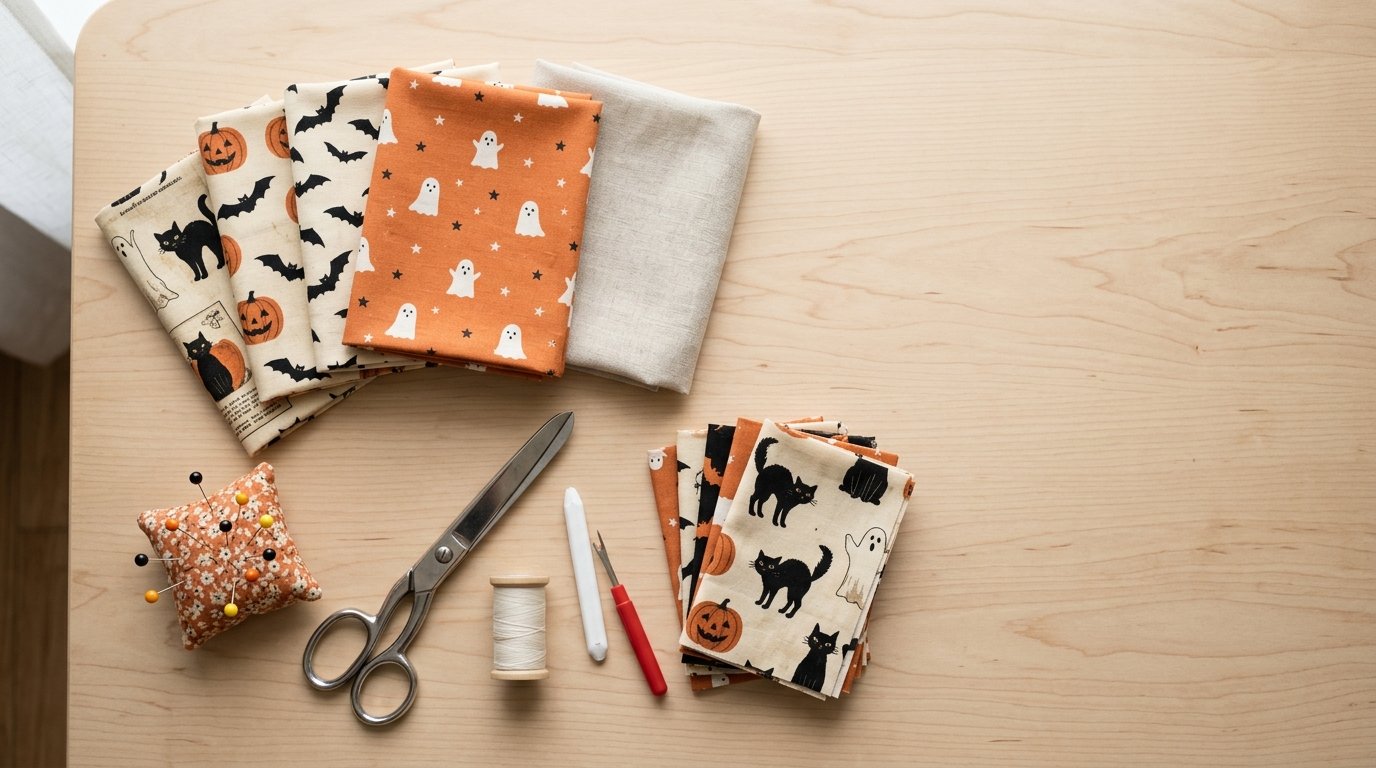
Gather your supplies before cutting so the project moves smoothly.
You will need:
- Halloween cotton, canvas, or medium-weight fabric
- Coordinating thread
- Fabric scissors or rotary cutter and mat
- Ruler or measuring tape
- Pins or sewing clips
- Sewing machine
- Iron and ironing board
- Safety pin or bodkin, if making a drawstring
- Ribbon, cord, or extra fabric for handles or drawstring
- Optional decorations: felt scraps, appliqué fabric, buttons, fabric paint, or embroidery floss
Use woven fabric rather than stretchy knit fabric. Cotton is easiest to press and sew, while canvas gives the bag more structure.
Choose Your Bag Size
Before cutting, decide how the bag will be used. A smaller bag is good for party favors; a larger one is better for trick-or-treating. The tutorial below uses the medium size.
| Bag Style | Cut 2 Main Rectangles | Best For |
|---|---|---|
| — | —: | — |
| Mini favor bag | 7 x 9 inches | Party favors, small gifts |
| Medium goodie bag | 10 x 12 inches | Candy, classroom treats |
| Larger treat bag | 12 x 15 inches | Trick-or-treating |
For boxed corners, the finished bag will be slightly shorter but roomier at the base.
Cut the Fabric Pieces
For the medium DIY Halloween goodie bag, cut two fabric rectangles, each 10 x 12 inches. Place the fabric right side up and make sure any directional print, such as pumpkins or ghosts, faces the correct way.
For handles, cut two strips 3 x 12 inches, or use ribbon or cotton webbing cut to 12 inches each. For a drawstring version, cut one piece of cord or ribbon about 28 to 32 inches long. Press the fabric flat before sewing for more accurate seams.
Step 1: Sew the Bag Body
Place the two main fabric rectangles right sides together, matching the edges. Pin or clip the sides and bottom, leaving the top edge open.
Sew down one side, across the bottom, and up the other side using a 1/2-inch seam allowance. Backstitch at the beginning and end to secure the stitches. Do not sew across the top.
Trim the bottom corners slightly, taking care not to cut through the stitches. This reduces bulk when the bag is turned right side out. If your fabric frays easily, finish the raw seam edges with a zigzag stitch or pinking shears.
Step 2: Box the Corners for Extra Room
Boxed corners are optional, but they help the bag stand better and hold more treats. With the bag still wrong side out, pinch one bottom corner so the side seam and bottom seam line up. The corner will form a triangle.
Measure 1 inch down from the point and draw a straight line across the triangle. Sew along that line, backstitching at both ends. Repeat on the other corner.
Trim the triangle tips to about 1/4 inch beyond the stitching, or leave them inside if you prefer not to cut. Turn the bag right side out to check the shape.
Step 3: Finish the Top Edge
Turn the bag wrong side out again. Fold the top raw edge down 1/4 inch toward the inside and press. Fold it down again 3/4 inch and press well. This double-fold hem hides the raw edge and creates a neat finish.
Pin or clip the folded edge in place. Sew close to the lower folded edge all the way around the bag. Keep the stitching even and remove pins before they reach the needle.
If you are adding handles, you can tuck the handle ends under this hem before sewing, as described in the next step.
Step 4: Add Handles or a Drawstring
For handles, fold each fabric handle strip in half lengthwise with right sides together. Sew along the long edge, turn right side out, and press. You can also use ribbon or cotton webbing to save time.
Place one handle on the front of the bag, with each end about 2 inches from the side seams. Tuck the raw handle ends under the top hem before stitching, or sew them to the inside after the hem is finished. Repeat on the back. Stitch a small rectangle or X over each handle end for strength.
For a drawstring, make a casing, which is a folded fabric tunnel for the cord. Fold the top down about 1 inch, sew around it, and leave a small opening. Thread the cord through with a safety pin and knot the ends.
Step 5: Decorate the Halloween Goodie Bag
Keep decorations lightweight so the bag is still easy to wash and fold. Felt appliqué is a simple option: cut out a pumpkin, bat, ghost, black cat, or candy corn shape and stitch it to the front.
You can also sew on fabric scraps, embroider a name, add glow-in-the-dark thread accents, or use fabric paint for a quick face or message. If the bag is for a young child, avoid loose buttons or tiny decorations that could come off. Place decorations away from the bottom seams so they do not interfere with boxing the corners.
Beginner Tips for a Neater Bag
Press after each major step. Pressing makes the fabric behave and gives the finished bag cleaner edges. Use clips if pins distort thicker fabric.
Keep seam allowances consistent. If you sew one side much wider than the other, the bag may look twisted. Start with a fresh needle, especially when sewing canvas or multiple layers. Slow down near corners and handle ends. If the top hem looks bulky, trim seam allowances inside the fold before stitching.
Easy Variations

Once you have sewn the basic bag, try small changes. Make a set of mini bags from different Halloween prints for party favors. Add a contrast band at the top by sewing a second fabric strip to the main rectangles before assembling the bag.
For a sturdier trick-or-treat bag, use canvas and cotton webbing handles. For a softer gift bag, use quilting cotton and a ribbon drawstring. You can also personalize each bag with the child’s name, a monogram, or a different appliqué shape.
Care and Storage
If you plan to reuse the bag, choose washable materials and prewash cotton fabric before sewing. Spot clean decorations that may not handle the washing machine. For regular cotton bags, wash on gentle and air dry to help preserve the shape.
After Halloween, shake out crumbs, clean any sticky candy marks, and store the bag flat. Keep it with costumes or seasonal decorations so it is easy to find next year.
FAQ
What Should a Beginner Know First About Diy Halloween Goodie Bag?
A beginner should know that a DIY Halloween goodie bag is basically a simple fabric pouch. Start with woven cotton, use straight seams, and keep the design simple. Handles are usually easier than a drawstring for a first version.
What Matters Most When Evaluating Diy Halloween Goodie Bag?
The most important points are size, fabric strength, and how the bag will be carried. A good Halloween goodie bag should hold treats without stretching, have secure handles or closure, and be comfortable for the child or adult using it.
What Mistakes Should Readers Avoid with Diy Halloween Goodie Bag?
Avoid using stretchy fabric, skipping pressing, or attaching weak handles. Also avoid decorating before you understand where the seams and folds will go. Heavy decorations near the top edge or bottom corners can make the bag harder to sew neatly.
What Is the Next Logical Step After Learning About Diy Halloween Goodie Bag?
After making one basic bag, try adjusting the size or adding a lining. You can also sew several bags assembly-line style: cut all pieces first, sew all bodies, finish all tops, then decorate each one differently.