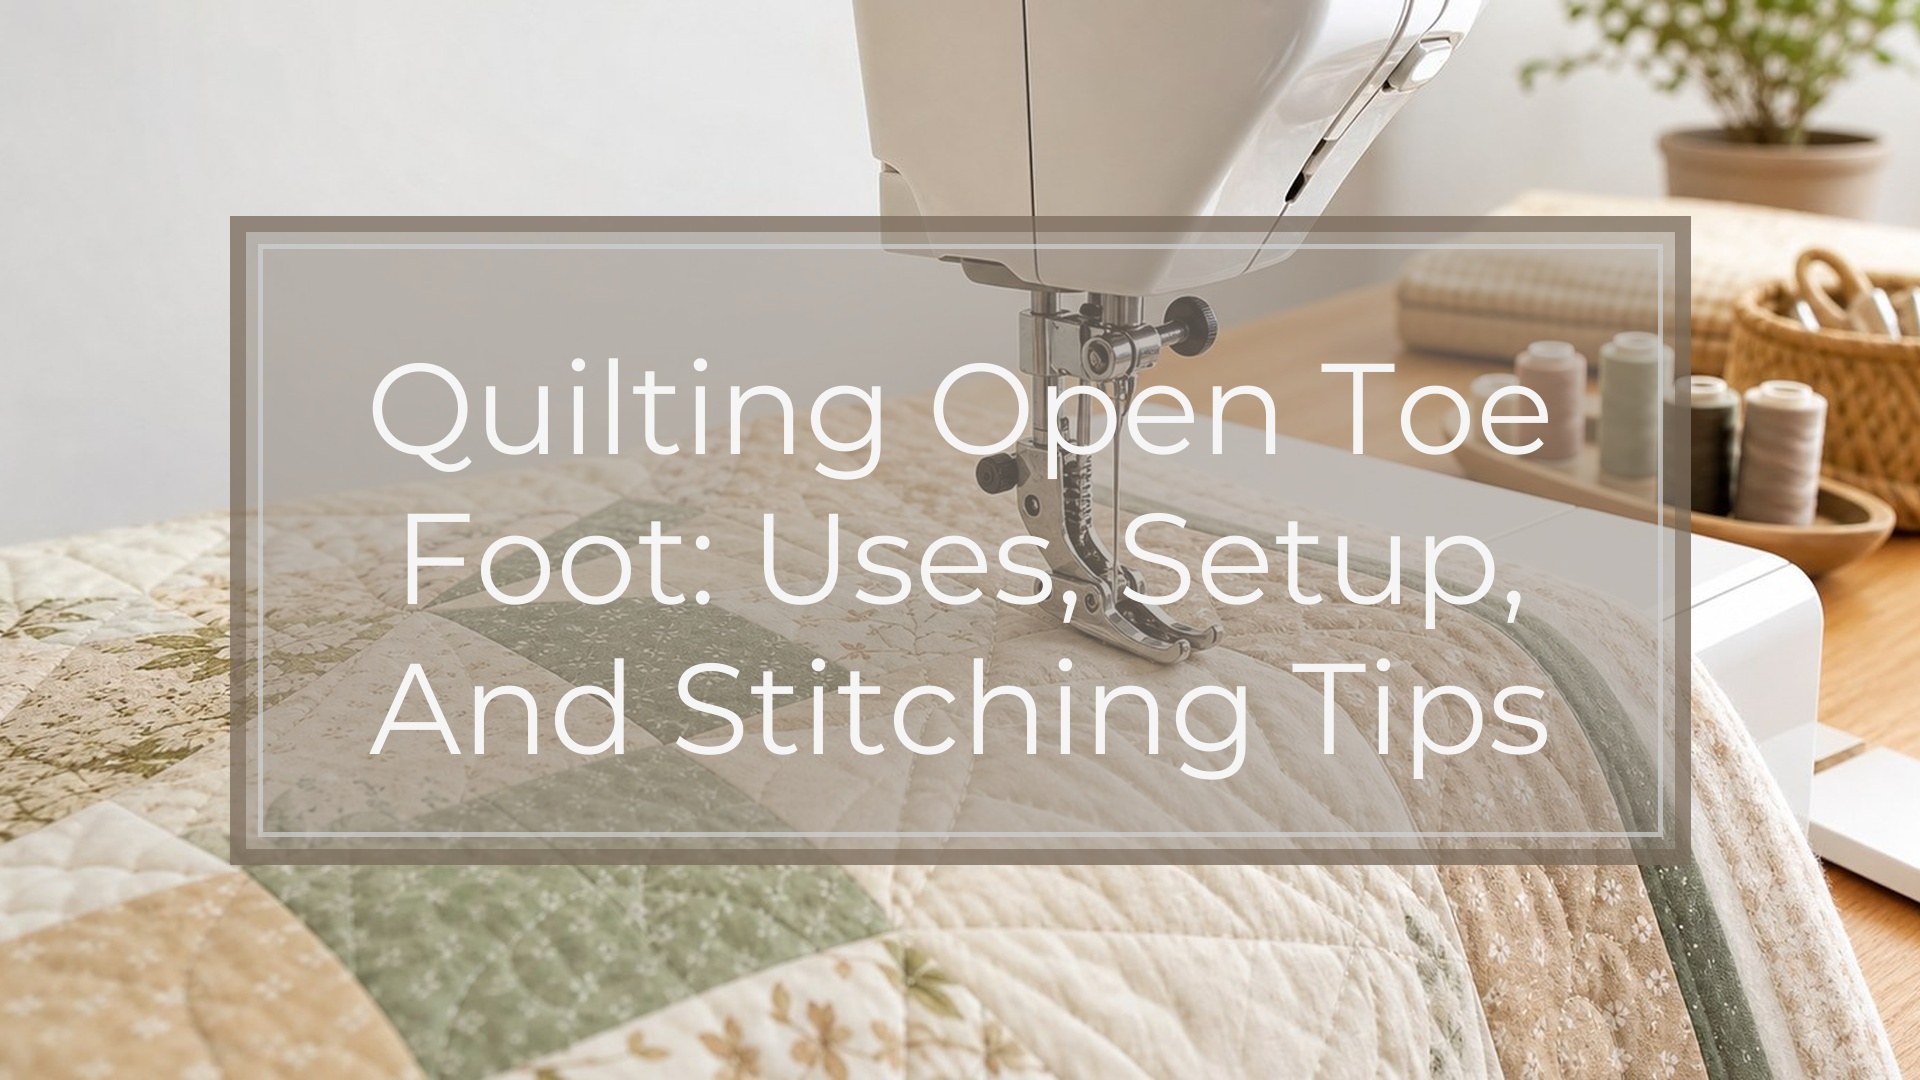
A quilting open toe foot is a sewing machine presser foot with the front section open so you can clearly see the needle, thread, and marked quilting lines. It is especially useful for free-motion quilting, outline quilting, echo quilting, and stitching around appliqué because it gives better visibility than a closed toe foot. To use it well, you need the correct foot for your machine, the feed dogs lowered or covered, steady hand movement, and practice balancing stitch length with sewing speed. It is a simple tool, but it rewards slow setup and patient control.
What Is a Quilting Open Toe Foot?
A quilting open toe foot is a specialty presser foot designed to help you guide fabric while quilting. Unlike a standard presser foot, it usually has a spring or hopping action that moves with the needle and helps the quilt sandwich pass under the foot.
The “open toe” part means the front of the foot is not closed in a full circle. This creates a clear viewing window in front of the needle. You can see exactly where the needle will land, which is helpful when following drawn curves, echoing a shape, or stitching close to appliqué edges.
Think of it as a visibility foot: it does not quilt for you, but it makes it easier to steer accurately.
When to Use an Open Toe Quilting Foot
Use an open toe quilting foot when seeing the stitching path matters more than having the fabric enclosed by the foot. It is a good choice for free-motion quilting designs such as loops, vines, pebbles, feathers, stippling, and simple meanders.
It also helps when quilting around appliqué because you can see the fabric edge and keep your stitches close without accidentally crossing onto the appliqué piece. If you mark quilting lines with chalk, washable pen, or hera marker, the open front makes those lines easier to follow.
It is less ideal for straight-line quilting over long distances. For that, a walking foot usually gives smoother, more even feeding.
Open Toe Quilting Foot Vs. Other Quilting Feet
Different quilting feet solve different problems. An open toe quilting foot is best when you need visibility and freedom of movement. A closed toe free-motion foot offers more surrounding support, while a walking foot is better for feeding layers evenly in straight or gently curved lines.
Here is a quick comparison:
| Foot type | Visibility | Best uses | Main limitation |
|---|---|---|---|
| — | —: | — | — |
| Open toe quilting foot | Excellent | Free-motion quilting, appliqué outlines, marked designs | Fabric edges or threads can sometimes catch in the open front |
| Closed toe quilting foot | Good | Free-motion quilting, allover textures, general quilting | Less visibility directly in front of the needle |
| Walking foot | Moderate | Straight-line quilting, grids, borders, binding | Not meant for free-motion movement |
| Ruler foot | Moderate | Quilting with acrylic rulers | Requires compatible rulers and careful setup |
Choose the foot based on the stitching motion you need, not just the project type.
How to Set up Your Machine
Start by confirming that the foot fits your machine. Check whether your machine uses low shank, high shank, slant shank, or a brand-specific attachment system. If your machine has a snap-on adapter, you may need to remove it before attaching a screw-on quilting foot.
Next, install a fresh needle. A quilting needle, topstitch needle, or universal needle may work, depending on your fabric and thread. For most cotton quilting, a size 80/12 or 90/14 is a practical starting point.
Thread the machine normally, then attach the open toe quilting foot securely. Lower or cover the feed dogs if your machine allows it. Feed dogs are the small metal teeth under the needle plate that normally pull fabric forward. For free-motion quilting, your hands control the fabric movement instead.
Set your stitch length to zero if your machine recommends it for free-motion work. Bring the bobbin thread to the top before stitching to avoid thread nests underneath.
How to Quilt with an Open Toe Foot
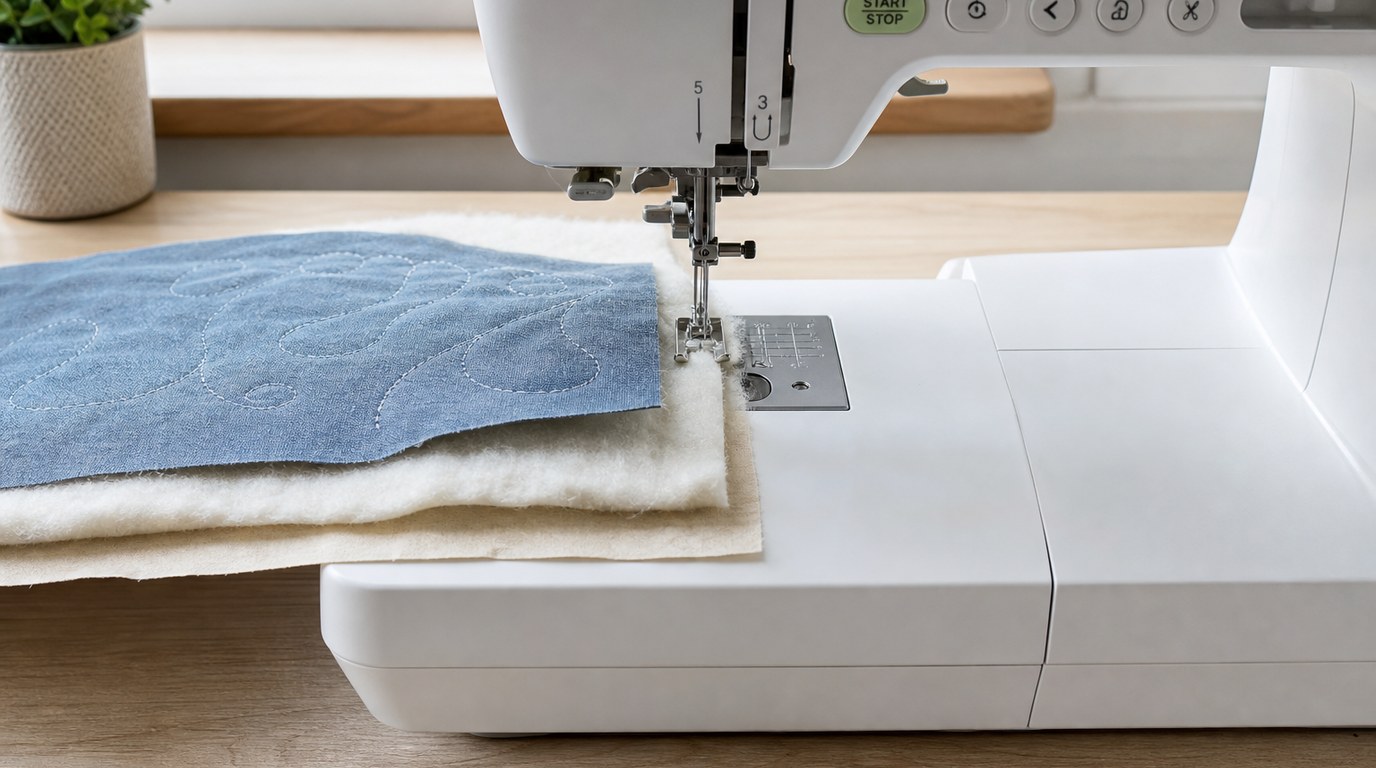
Make a small practice quilt sandwich first: backing fabric, batting, and top fabric. Practicing on the same fabrics and batting as your project gives the most useful feedback.
Place the sandwich under the foot and lower the presser foot. Even though the foot may appear to hover or hop, the presser foot lever still needs to be down so the tension discs engage correctly.
Hold both thread tails and take one stitch. Pull the bobbin thread to the top if you have not already done so. Take a few tiny stitches in place, or make a few close stitches, to secure the beginning.
Now begin moving the quilt with both hands. Your stitch length is controlled by the relationship between machine speed and hand speed. If you press the pedal quickly but move the quilt slowly, stitches become tiny. If you move the quilt quickly while sewing slowly, stitches become long.
Aim for smooth, steady movement rather than perfect stitches. Look slightly ahead of the needle, not only at the needle itself. For a marked line, guide the fabric so the needle follows the line. For free-motion filling, keep your shapes relaxed and consistent.
When you finish, take a few small securing stitches, raise the needle, lift the foot, and trim the threads.
Tips for Better Control and Stitch Quality
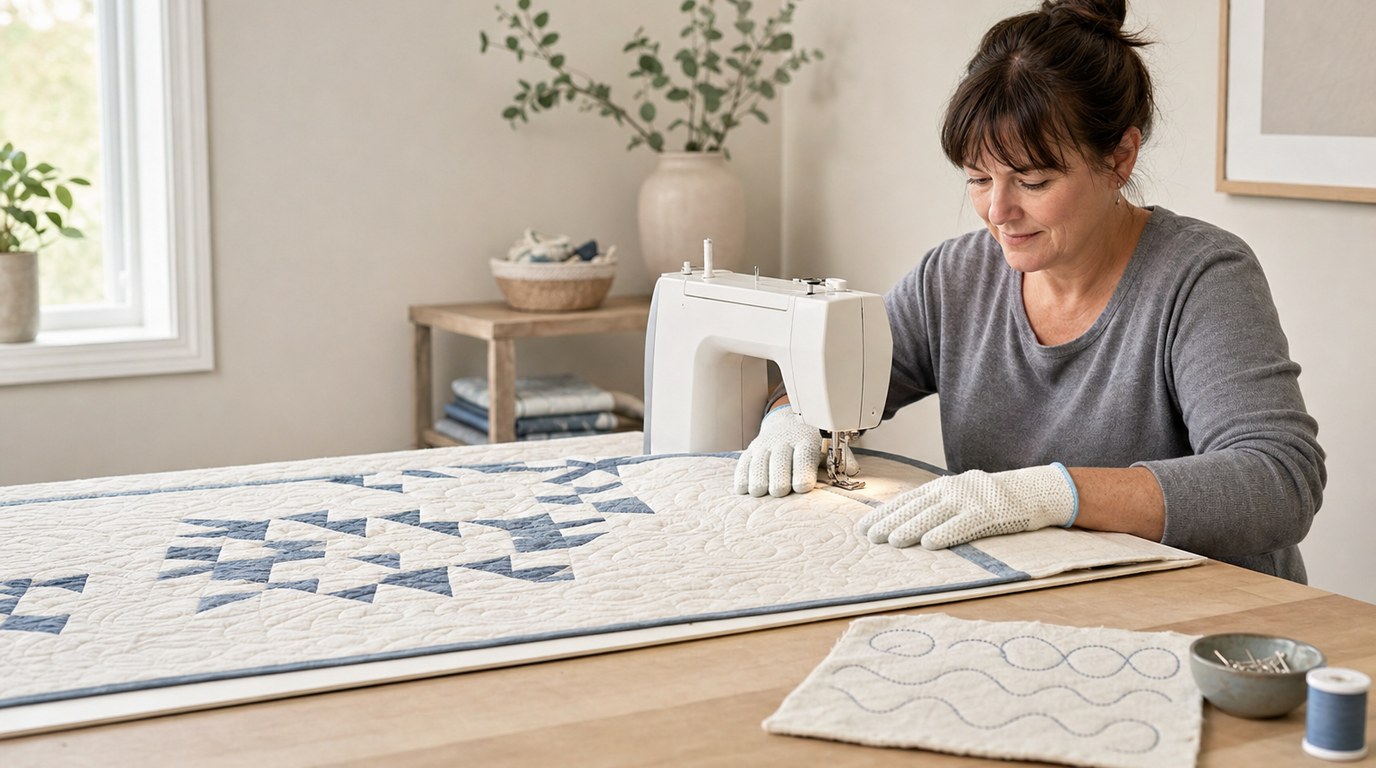
Use quilting gloves or fingertips with good grip if the quilt feels hard to move. Support the quilt’s weight on the table so it does not drag against the needle. Drag can cause jerky movement and uneven stitches.
Start with simple shapes: loops, waves, puzzle pieces, or gentle meanders. Practice changing direction without pulling hard. Your hands should guide the quilt, not force it.
Check your tension on a sample before quilting the real project. If bobbin thread shows on top, the upper tension may be too tight. If top thread shows underneath, it may be too loose.
Keep your shoulders relaxed and pause often. Free-motion quilting improves faster when you practice in short, focused sessions.
Common Problems and Quick Fixes
If the thread nests underneath, make sure the presser foot is lowered before stitching. Also bring the bobbin thread to the top and hold both thread tails for the first few stitches.
If stitches are uneven, slow down and practice matching hand movement to pedal speed. Uneven stitches are normal at first and usually improve with rhythm.
If thread breaks, try a new needle, rethread the machine, and check for burrs on the needle plate. Also make sure the thread is not catching on the spool.
If the quilt jerks or drags, clear more table space and support the quilt’s weight. A slippery quilting mat or extension table can help, but better quilt support often solves the problem.
If the foot catches on appliqué edges, move more slowly and approach raised areas carefully.
Safety and Machine Compatibility Notes
Never use an open toe quilting foot unless it is compatible with your machine and needle position. Turn the handwheel slowly before sewing to confirm the needle does not hit the foot.
Use the correct presser foot height if your machine allows adjustment. Too much pressure can restrict movement; too little can cause skipped stitches. When in doubt, check your machine manual or buy a foot listed for your exact model series.
FAQ
What Should a Beginner Know First About Quilting Open Toe Foot?
A beginner should know that a quilting open toe foot is mainly about visibility and free movement. It lets you see the needle area clearly while you guide the quilt by hand. Start on practice sandwiches before using it on a real quilt.
What Matters Most When Evaluating Quilting Open Toe Foot?
Compatibility matters first. The foot must fit your machine’s shank type and clear the needle safely. After that, look for good visibility, smooth hopping action, sturdy construction, and enough space under the foot for your quilt sandwich.
What Mistakes Should Readers Avoid with Quilting Open Toe Foot?
Avoid sewing with the presser foot lever raised, forgetting to lower or cover the feed dogs, pulling the quilt too hard, or starting without bringing up the bobbin thread. Also avoid assuming any open toe foot fits every machine.
What Is the Next Logical Step After Learning About Quilting Open Toe Foot?
The next step is to practice basic free-motion quilting on small quilt sandwiches. Try loops, curves, and simple meanders while adjusting speed and hand movement. Once your stitches become more consistent, use the foot on a small project.