You can sew a baby bib in under 30 min by keeping the design simple: cut one front layer and one backing layer, place them right sides together, sew around the edge, turn the bib right side out, press, topstitch, and add a closure. The fastest version uses cotton on the front and flannel or terry cloth on the back. Choose an easy shape with rounded edges, sew slowly around the neck curve, and keep the finishing neat but simple.
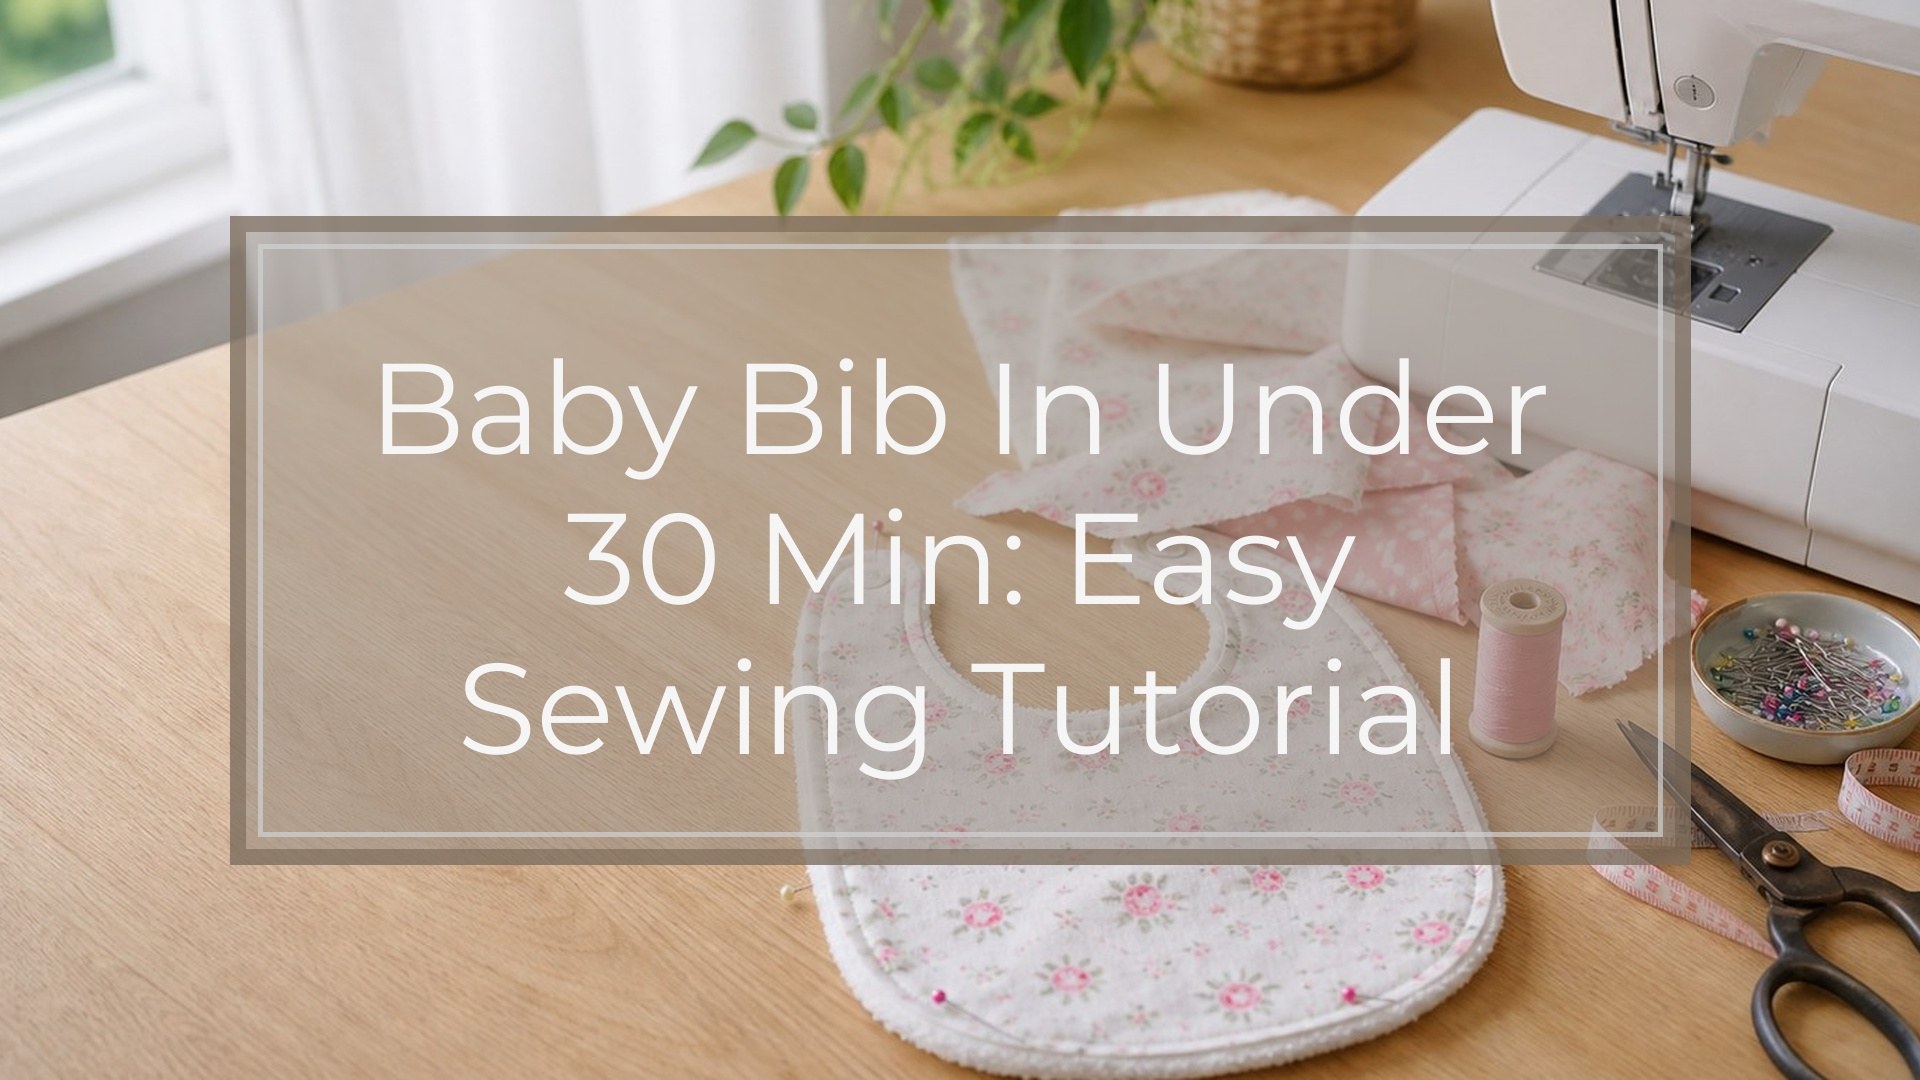
What You’ll Make and How Long It Takes
This tutorial makes one basic baby bib with a rounded bottom, curved neckline, and two neck tabs that fasten behind the baby’s neck. It is a practical everyday bib, not a complicated pocket or bandana style.
A confident beginner can finish it in about 20 to 30 minutes. If this is your first bib, allow a little extra time for cutting and turning the curves. The sewing itself is simple: one main seam, one turning gap, one line of topstitching, and one closure.
Supplies and Tools
Gather everything before you start so the project stays quick.
You will need:
- Bib pattern or an existing bib to trace
- Front fabric, about ¼ yard
- Backing fabric, about ¼ yard
- Coordinating thread
- Sewing machine
- Fabric scissors or rotary cutter
- Pins or sewing clips
- Iron and ironing board
- Point turner, chopstick, or blunt pencil
- Closure: plastic snap, sew-on snap, or hook-and-loop tape
- Hand needle, if using a sew-on closure
- Marking pen or tailor’s chalk
For a baby item, avoid buttons, beads, or decorative pieces that could loosen. Keep the closure flat, secure, and comfortable against the neck.
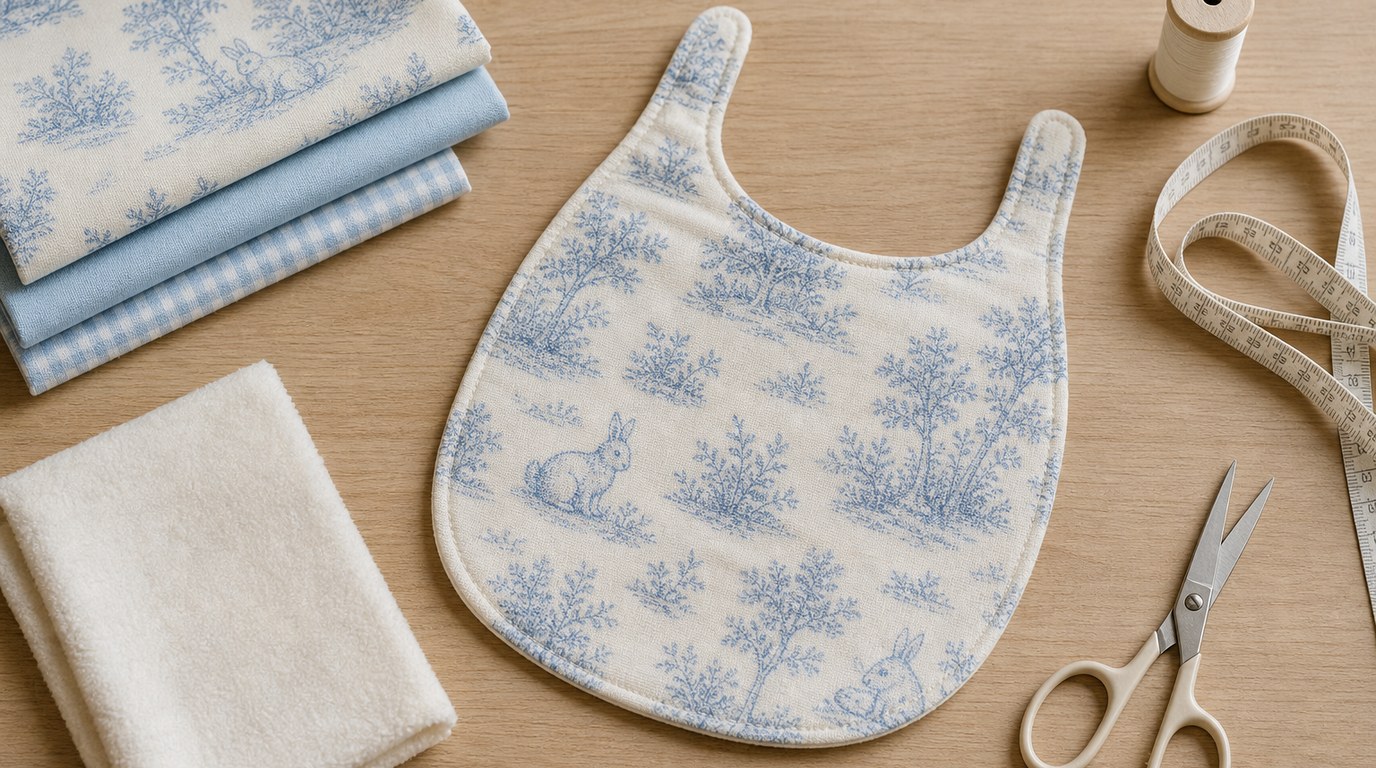
Choose the Best Fabric Combination
For speed, choose fabrics that are easy to press and do not stretch much. Quilting cotton is a good front layer because it is stable, comes in many prints, and feeds smoothly through the machine. For the back, flannel is soft and beginner-friendly. Terry cloth is more absorbent but can shed and shift, so clip it well.
| Front fabric | Back fabric | Best for |
|---|---|---|
| Quilting cotton | Flannel | Fastest beginner bib |
| Quilting cotton | Terry cloth | More absorbency |
| Flannel | Flannel | Soft, lightweight bib |
| Cotton | Minky | Soft feel, but slower to sew |
Prewash and dry the fabric if possible. Baby bibs are washed often, and prewashing helps prevent shrinking after the bib is finished.
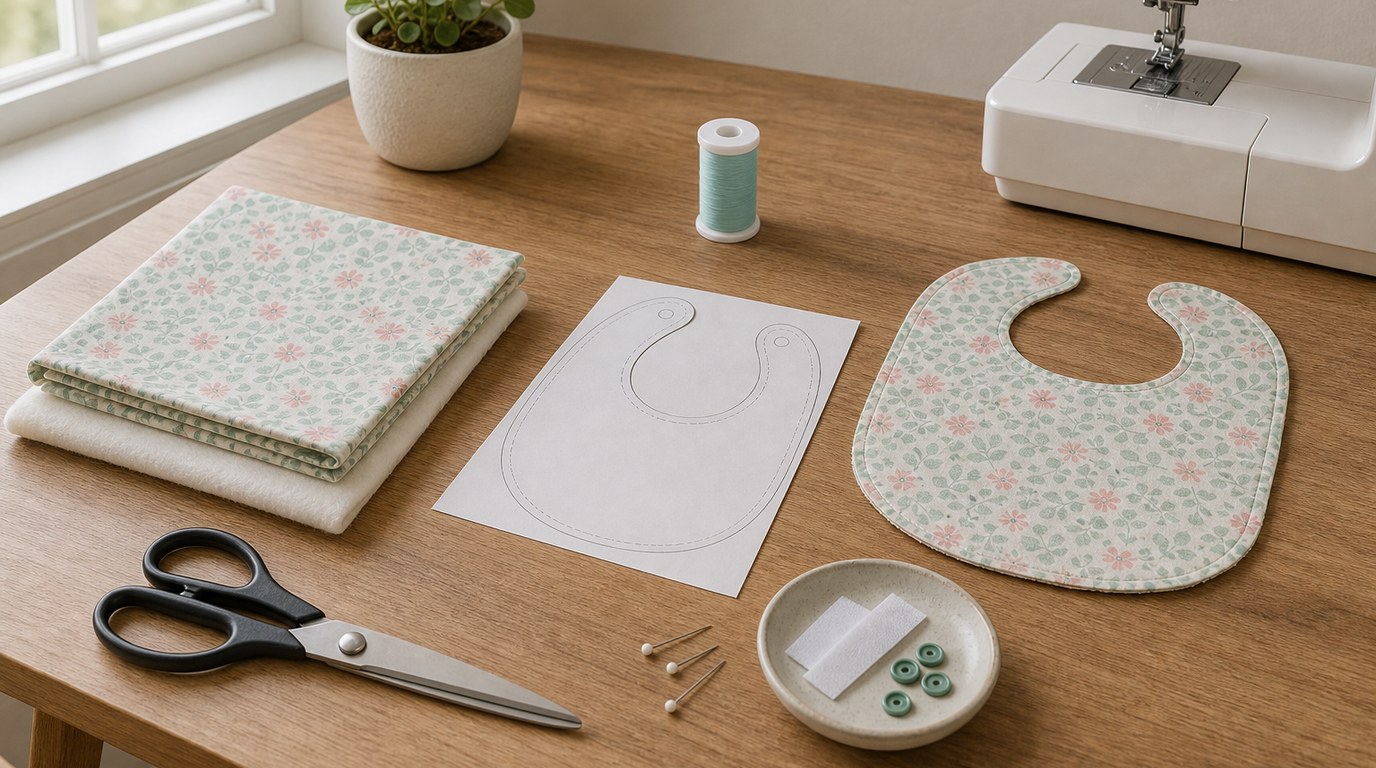
Cut the Bib Pieces
Use a simple bib pattern or trace around a bib you already like. If tracing an existing bib, add about ⅜ inch seam allowance around the outside unless the pattern already includes it.
- Press both fabrics flat.
- Place the pattern on the wrong side of the front fabric.
- Trace around the pattern, including the neck tabs.
- Cut one front piece.
- Repeat with the backing fabric, or place the front piece right sides together with the backing and cut around it.
Mark a 2½ to 3 inch turning opening along the lower side or bottom edge. Avoid placing the opening on the tight neck curve, because that area is harder to close neatly.
Sew the Bib Layers Together
Set your machine for a regular straight stitch, about 2.5 mm long. Use a ⅜ inch seam allowance unless your pattern says otherwise.
- Place the front and backing pieces right sides together.
- Match the neckline, neck tabs, and bottom curve.
- Pin or clip around the edges, adding extra clips around curves if using terry or flannel.
- Start sewing at one side of the marked turning opening.
- Sew slowly around the bib, keeping the seam allowance even.
- Pivot gently around curves instead of forcing the fabric.
- Stop at the other side of the turning opening and backstitch.
Backstitch at the beginning and end so the stitches do not pull loose when you turn the bib. If your fabric layers shift, lift the presser foot with the needle down, smooth the layers, and continue.
Trim, Turn, and Press
Trimming makes the bib lie flat after turning. Do not skip this step, especially around the neck curve and tabs.
Clip small notches into the curved seam allowance, being careful not to cut the stitching. Trim the seam allowance slightly at bulky areas, such as the ends of the neck tabs. If the bottom curve feels thick, trim it evenly to reduce bulk.
Turn the bib right side out through the opening. Use a point turner, chopstick, or blunt pencil to push out the neck tabs and rounded edges. Do this gently so you do not poke through the seam.
Press the bib flat. At the turning opening, fold the raw edges inward so they line up with the sewn edge.
Topstitch for a Clean Finish
Topstitching closes the turning opening and gives the bib a crisp, finished edge. It also helps the layers stay together through washing.
Set your stitch length slightly longer, around 3 mm, if you like a smoother-looking topstitch. Starting near the bottom edge, sew ⅛ inch from the outer edge all the way around the bib. Go slowly around the neck curve and tabs.
When you reach the turning opening, make sure the folded edges stay tucked inside. The topstitching should catch them securely. Backstitch neatly or overlap your starting stitches by a few stitches to lock the seam.
Add the Closure
The quickest closure is usually a plastic snap if you already have snap pliers. Hook-and-loop tape is also beginner-friendly, though it can catch lint in the wash. A sew-on snap works well but takes a few extra minutes by hand.
Place the closure on the neck tabs so the bib sits comfortably, not tight. One side of the closure goes on the front-facing side of one tab, and the matching side goes on the back-facing side of the other tab.
Before attaching it, overlap the tabs and check the fit against another bib if possible. Stitch hook-and-loop tape around all edges. For snaps, follow the tool directions and tug gently afterward to confirm they are secure.
How to Keep It Under 30 Minutes
The fastest way to sew a baby bib in under 30 min is to remove decisions before the timer starts. Pick the fabric, closure, and thread first. Use a printed pattern or a traced bib shape you already trust.
Choose cotton and flannel if you want the easiest sewing experience. Save slippery, stretchy, or plush fabrics for later. Cut both layers at once if your scissors can handle it cleanly. Use clips instead of many pins around curves.
Do not add quilting, trim, appliqué, or decorative stitching on your first fast bib. A neat edge and secure closure matter more than decoration.
Troubleshooting Common Bib Sewing Problems
If the bib looks lumpy after turning, trim the seam allowance more closely and clip the curves. Press with steam if the fabric allows it.
If the neckline puckers, the curve may need more clips. Clip into the seam allowance almost to the stitching, then press again.
If the layers shift while sewing, use more clips and slow down. Terry cloth and minky need extra control.
If the turning opening looks messy, press the folded edges carefully before topstitching. You can also hand-baste the opening closed before sewing around the edge.
If the closure feels scratchy, reposition it farther from the neckline edge or choose a smoother snap.
FAQ
What Should a Beginner Know First About Baby Bib in Under 30 Min?
Start with a simple two-layer bib. The basic process is cut, sew right sides together, turn, press, topstitch, and add a closure. Avoid extra features until you can make the plain version neatly and safely.
What Matters Most When Evaluating Baby Bib in Under 30 Min?
The most important factors are safe construction, absorbent fabric, smooth edges, and a secure closure. Speed is helpful, but the bib still needs strong stitching, no loose parts, and a comfortable fit around the baby’s neck.
What Mistakes Should Readers Avoid with Baby Bib in Under 30 Min?
Avoid stretchy or slippery fabric for your first quick bib, forgetting to leave a turning opening, skipping curve clipping, or using unsafe decorations. Also avoid placing the closure too close to the neck, where it may rub.
What Is the Next Logical Step After Learning About Baby Bib in Under 30 Min?
Make two or three more using the same pattern. Repetition will improve your curves, topstitching, and closure placement. Once the basic bib feels easy, try different absorbent backings or make a small batch for gifts.