Quick Answer
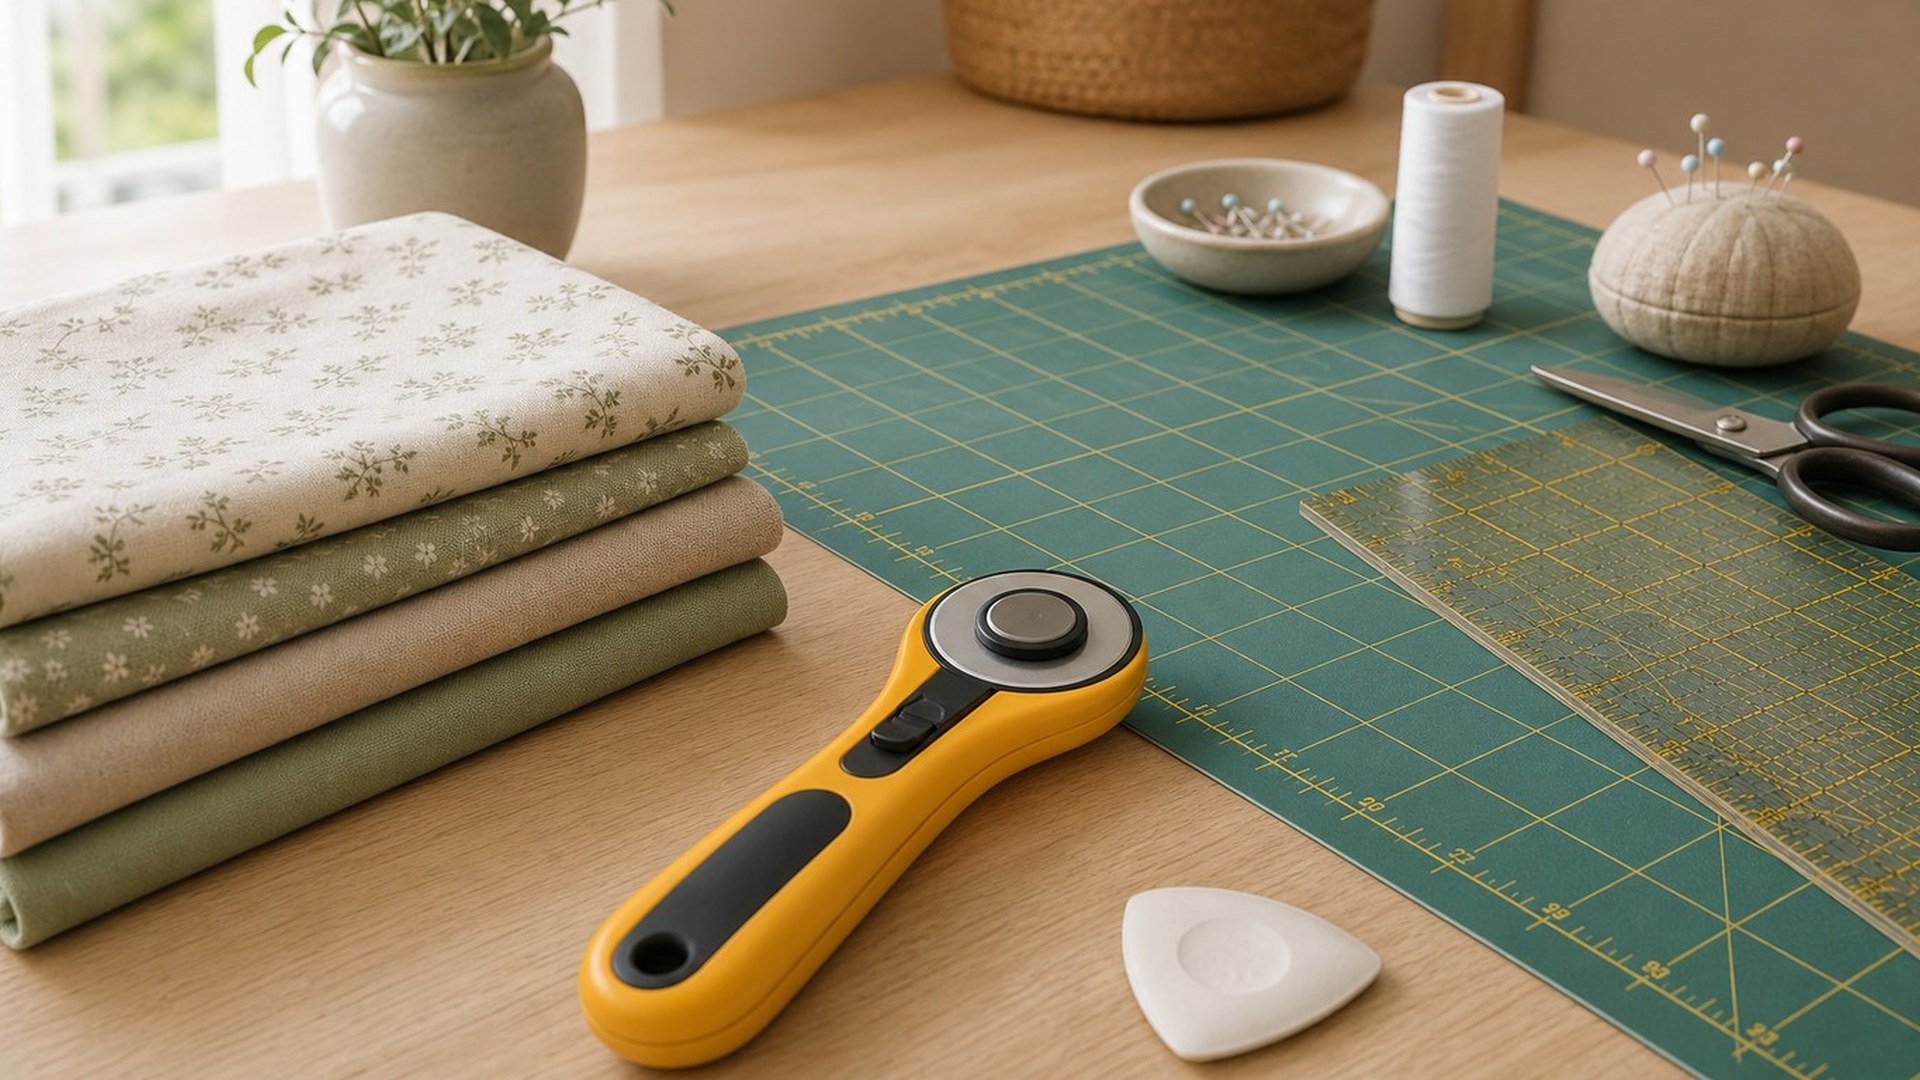
A rotary cutter is a sewing and quilting tool with a round, rolling blade that cuts fabric cleanly when used with a cutting mat and ruler. The main takeaway: rotary cutter basics come down to three things—use the right blade size, keep the blade sharp, and cut with steady pressure while protecting your fingers.
For most beginners, a 45 mm rotary cutter is the best first choice. It is large enough to cut quilting cotton, garment fabric, and multiple light layers, but still easy to control. Smaller 28 mm blades are useful for curves and small pieces, while larger 60 mm blades are better for long straight cuts or thicker layers.
To use a rotary cutter well, place fabric on a self-healing cutting mat, align a quilting ruler or cutting ruler on the measurement line, hold the ruler firmly with your non-cutting hand, and roll the blade away from your body along the ruler edge. Close or lock the blade every time you set the cutter down.
Rotary cutters are especially helpful for quilting strips, patchwork pieces, bias binding, garment rectangles, and any sewing project where accurate straight cuts matter. They are faster than scissors for many tasks, but they are also sharper and less forgiving. Good habits—sharp blade, stable ruler, flat fabric, and careful hand placement—make the tool safer and more accurate.
How to Think About This Topic
The easiest way to understand rotary cutter basics is to think of the tool as part of a cutting system, not as a standalone gadget. A rotary cutter works best when three pieces work together: the cutter, the mat, and the ruler. The cutter provides the blade, the mat protects your table and blade, and the ruler gives you a straight, measurable edge.
This matters because many beginner problems are not caused by the cutter alone. Ragged cuts may come from a dull blade. Wavy strips may come from a ruler that shifted. Inaccurate pieces may come from fabric that was not squared before cutting. Once you see the whole system, troubleshooting becomes much easier.
A rotary cutter is different from scissors because it rolls through fabric instead of lifting the fabric between blades. That rolling motion helps keep fabric flat, which is why quilters rely on rotary cutters for accurate strips and blocks. For garment sewing, the same tool can speed up cutting pattern pieces with straight or gentle edges, though tight curves and notches may still be easier with scissors or snips.
Blade size is one of the first choices beginners face. Here is a simple way to compare common sizes:
| Blade size | Best for | Beginner note |
|---|---|---|
| 28 mm | Curves, small pieces, appliqué, tight areas | More control, but slower on long cuts |
| 45 mm | General sewing, quilting cotton, strips, most projects | Best all-purpose starter size |
| 60 mm | Long cuts, thicker fabrics, multiple layers | Efficient, but can feel bulky for beginners |
Sharpness is just as important as size. A sharp rotary blade should glide through fabric with one smooth pass. If you need to press hard, go over the same line repeatedly, or tear threads instead of cutting them, the blade is probably dull or nicked. A dull blade is not just annoying; it can be less safe because it encourages extra force.
Safety is part of the mental model too. A rotary cutter blade is extremely sharp, and because it rolls quickly, accidents can happen fast. Always cut away from your body, keep fingers away from the ruler edge, and close the blade guard immediately after each cut. Treat the cutter like a kitchen knife: useful, precise, and deserving of attention.
For beginners, the goal is not speed at first. The goal is control. Clean cutting comes from setting up carefully, checking alignment, and making one steady pass. Speed naturally improves after your hands learn the motion.
Practical Guidance
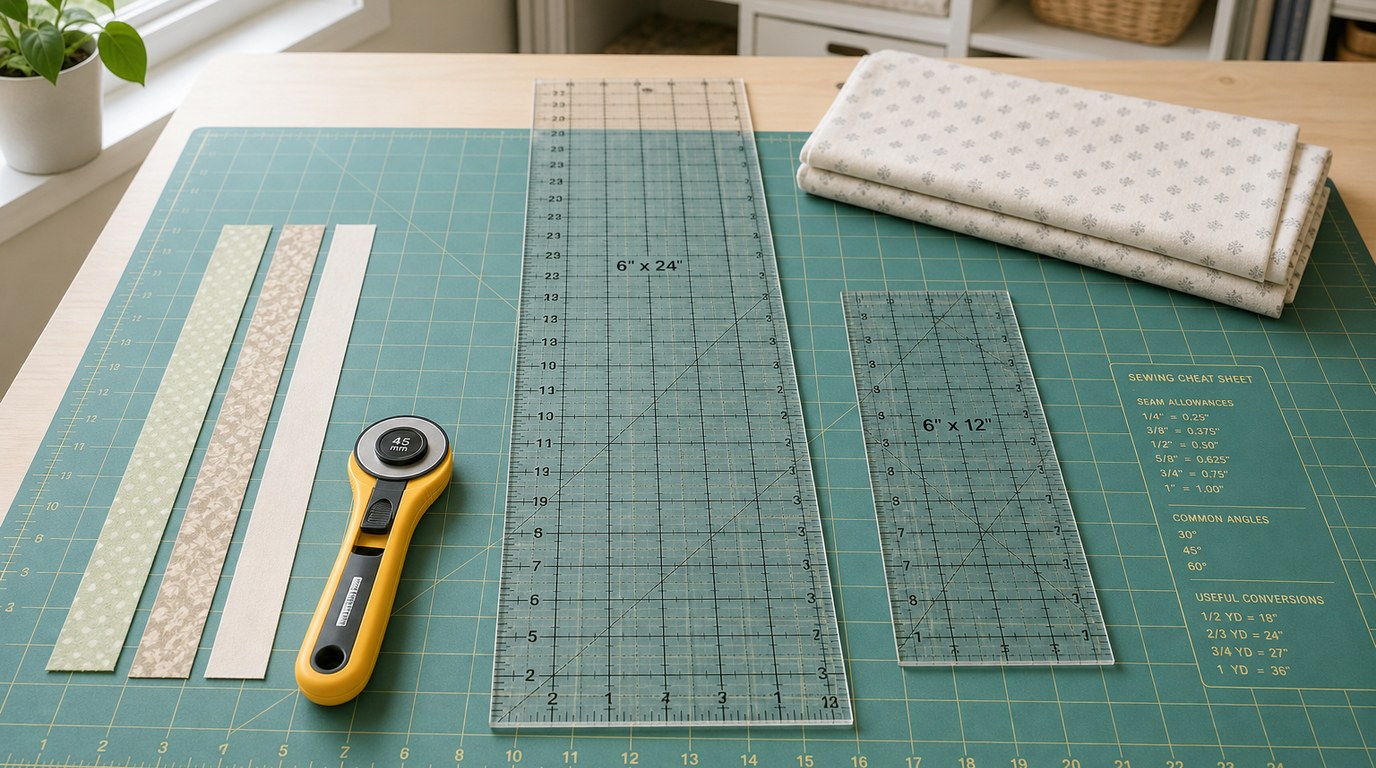
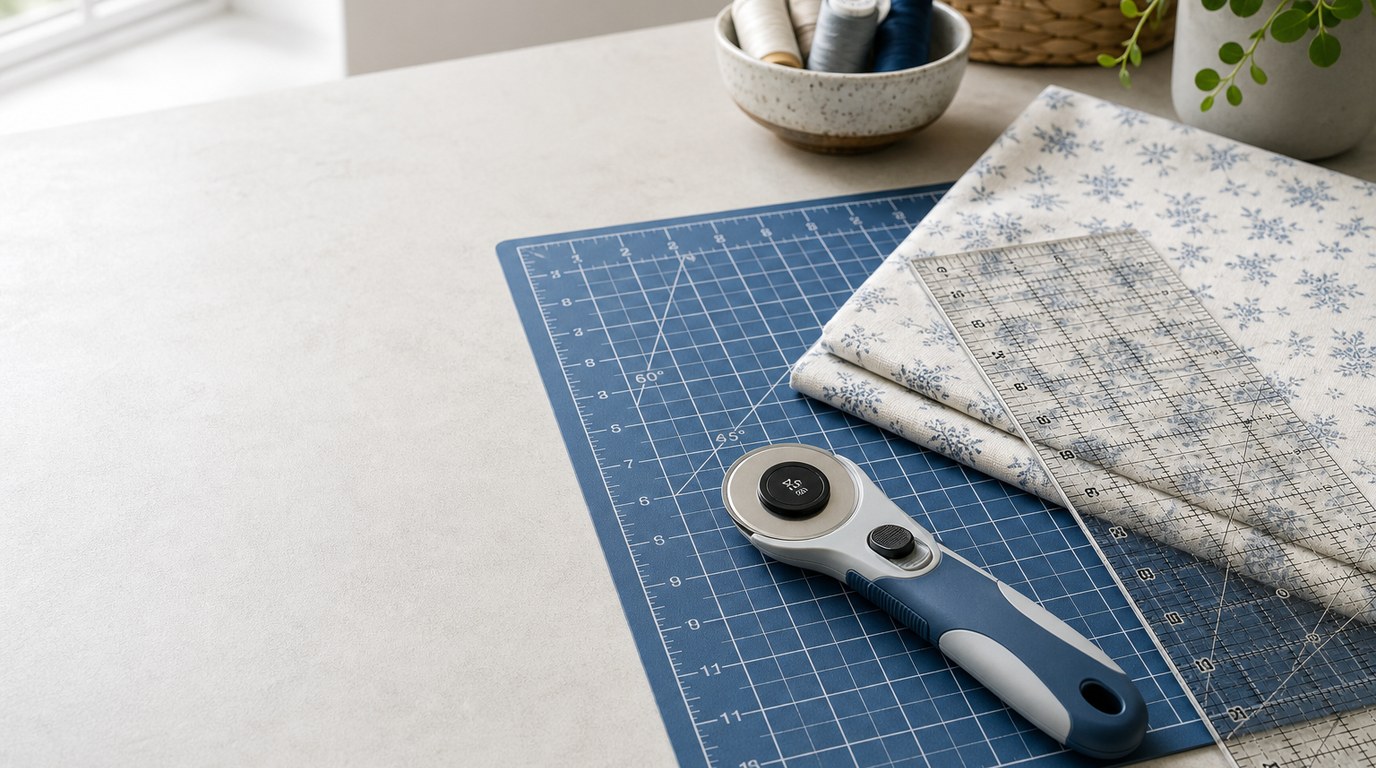
Start with a simple setup: a 45 mm rotary cutter, a self-healing cutting mat, and a clear acrylic ruler. If you quilt, a 6-by-24-inch ruler is useful for cutting strips from yardage. If you sew garments or smaller projects, a medium ruler may feel easier to handle. The ruler should have clear measurement markings and a non-slip surface or enough grip that it does not slide easily.
Before cutting, prepare the fabric. Press wrinkles out so the fabric lies flat. For quilting cotton, fold the fabric neatly with the selvages aligned, then square one edge before cutting strips. Squaring means trimming a clean straight edge so future measurements start from a reliable line. If your first edge is crooked, every strip after it may be crooked too.
To make a basic straight cut:
- Place the fabric on the cutting mat.
- Align the ruler with the measurement marks on the mat or ruler.
- Put your non-cutting hand flat on the ruler, keeping fingers back from the cutting edge.
- Hold the rotary cutter like a handle, not like a pencil.
- Start slightly before the fabric edge and roll the blade away from you.
- Use steady pressure through the whole cut.
- Close or lock the blade before moving fabric or ruler.
If the fabric does not cut completely, do not saw back and forth randomly. Keep the ruler in place and make one more careful pass along the same edge. If this happens often, replace the blade or reduce the number of fabric layers.
Pressure takes practice. Too little pressure leaves uncut threads. Too much pressure can strain your hand, damage the mat faster, or make the cutter harder to control. The right pressure feels firm but smooth. The blade should do most of the work.
For accuracy, pay attention to where you measure. Many beginners accidentally measure from the wrong ruler line or let the ruler drift as they cut. Look straight down at the ruler to avoid parallax, which is when the line looks different from an angle. For repeated cuts, reset and check the fabric edge every few strips instead of assuming everything is still square.
When cutting multiple layers, start modestly. Two layers of quilting cotton are manageable for most beginners. More layers can save time, but they also increase the chance of shifting. If the bottom layer comes out a different size from the top layer, cut fewer layers or use more ruler pressure.
For curves, a smaller rotary cutter can help, but do not force it. Gentle curves are usually fine with a 28 mm blade. Tight curves, interior corners, and small notches may be easier with fabric scissors. Rotary cutters are excellent tools, but they do not replace every cutting method.
Blade care is simple but important. Replace the blade when it skips threads, feels rough, or requires extra pressure. Check that the blade is installed correctly and not wobbling. Dispose of old blades safely in a blade case, sharps container, or wrapped cardboard marked clearly. Never toss a loose blade into the trash.
Common beginner problems usually have simple fixes:
- Skipped threads: blade is dull, nicked, or not tightened correctly.
- Wavy strips: ruler shifted, fabric was not squared, or pressure changed during the cut.
- Frayed edges: blade is dull or fabric is unstable.
- Hand fatigue: you may be pressing too hard or using a handle that does not suit your grip.
- Uneven layers: too many layers were cut at once, or fabric shifted under the ruler.
Most rotary cutter basics improve through repetition. Practice on scrap fabric before cutting important project pieces. Cut a few strips, check their width, and notice what happens when you adjust pressure or hand placement. That short practice session can prevent wasted fabric later.
FAQ
What Should a Beginner Know First About Rotary Cutter Basics?
A beginner should know that a rotary cutter is safest and most accurate when used with a cutting mat and ruler. Start with a 45 mm cutter, cut away from your body, keep fingers away from the ruler edge, and close the blade after every cut.
What Matters Most When Evaluating Rotary Cutter Basics?
The most important factors are blade size, blade sharpness, comfort, and safety features. For most beginners, a comfortable 45 mm cutter with a reliable blade guard is enough. Accuracy depends just as much on your mat, ruler, and cutting technique.
What Mistakes Should Readers Avoid with Rotary Cutter Basics?
Avoid cutting without a mat, using a dull blade, leaving the blade open, and placing fingers too close to the ruler edge. Also avoid rushing. Many inaccurate cuts happen because the ruler shifts or the fabric was not pressed and squared first.
What Is the Next Logical Step After Learning About Rotary Cutter Basics?
The next step is to practice straight cuts on scrap fabric. Try cutting strips, squares, and rectangles while checking accuracy with your ruler. Once you feel comfortable, use the cutter on a simple project such as quilt blocks, fabric napkins, or binding strips.