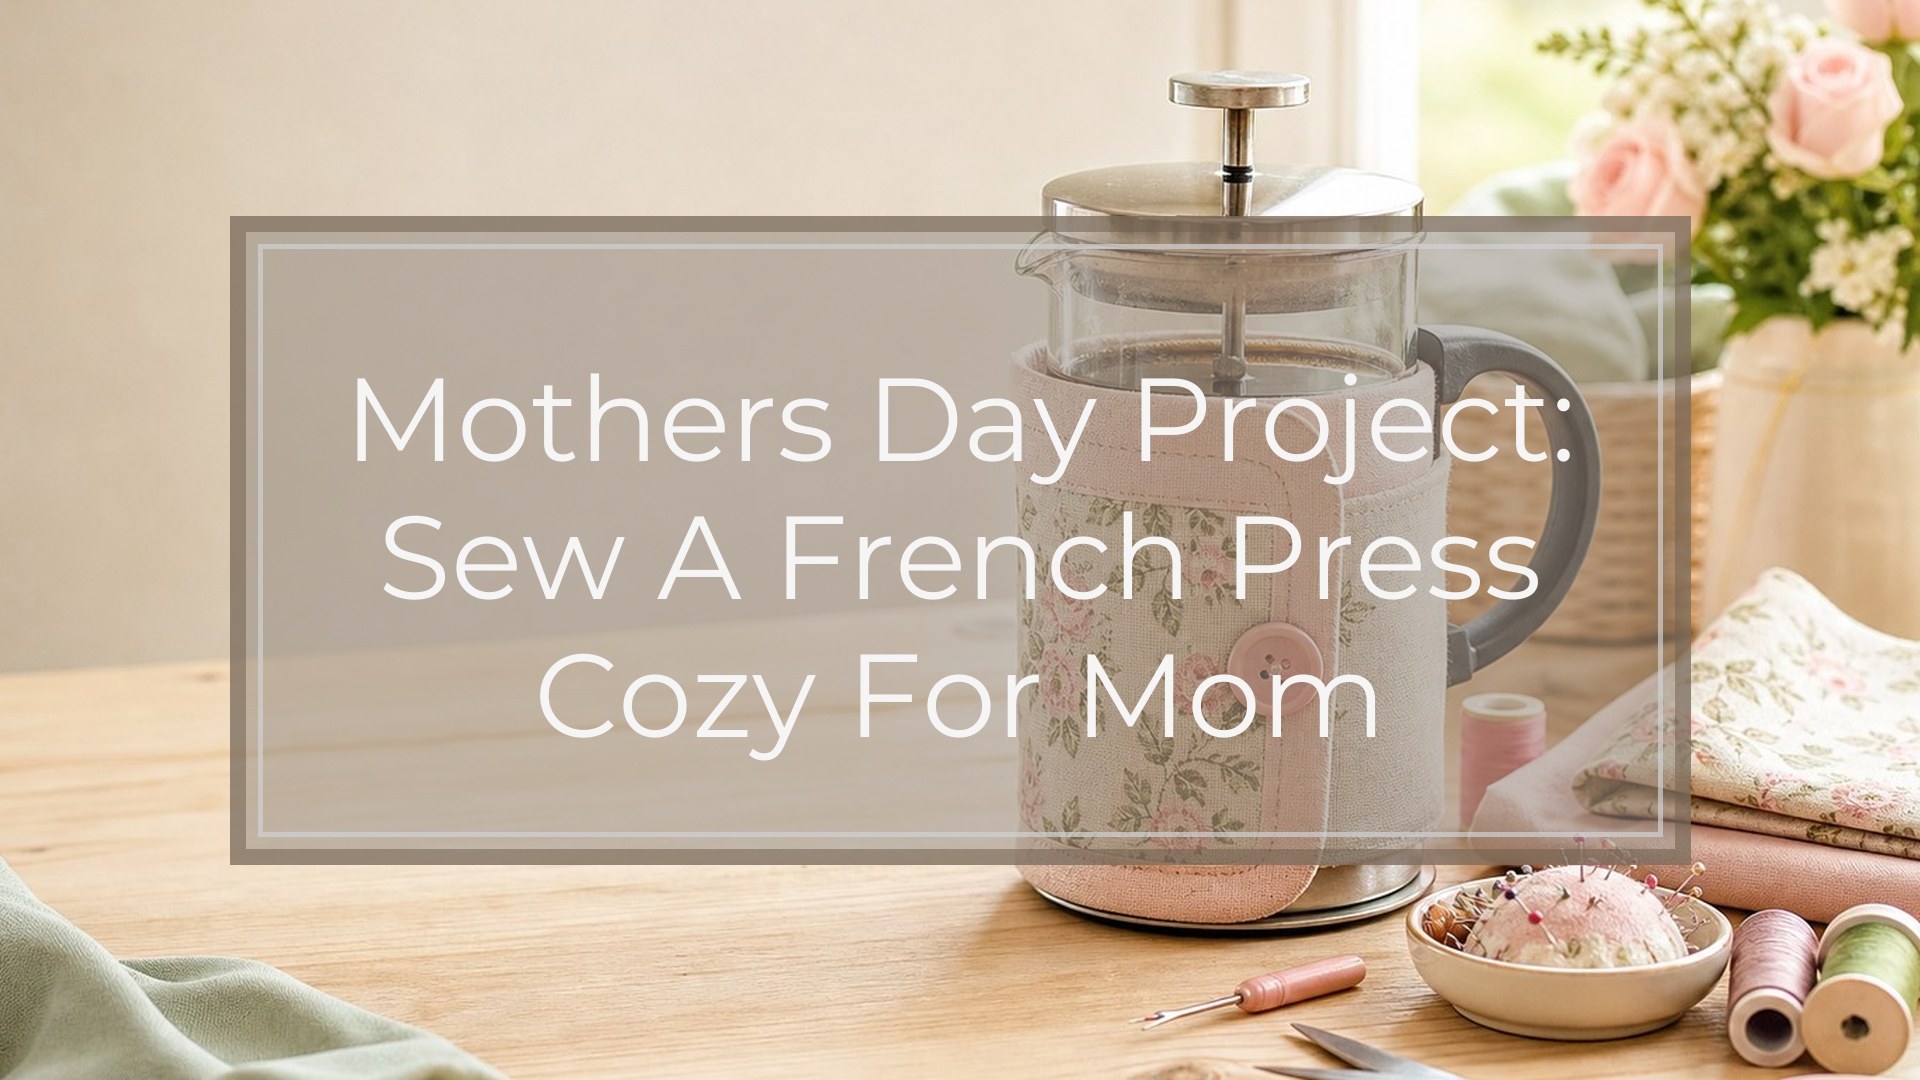
A Mother’s Day French press cozy is a simple padded wrap that slips around a coffee press to help keep coffee warm while adding a handmade touch to the breakfast table. This beginner-friendly sewing project uses two fabric layers, batting or insulated fleece, and an easy closure such as hook-and-loop tape, buttons, or ties. The cozy is measured to fit the French press you have, so it works for small, standard, or large presses. It is also a good project for using meaningful fabric scraps, adding a small embroidered message, or pairing with coffee beans for a practical handmade gift.
Why a French Press Cozy Makes a Thoughtful Mother’s Day Project

A French press cozy is useful, personal, and quick enough to finish in an afternoon. Unlike a purely decorative gift, it becomes part of a daily routine: morning coffee, weekend brunch, or a quiet afternoon cup.
It is also easy to customize without making the sewing harder. Choose a favorite color, a floral print, linen, quilting cotton, or fabric that matches the kitchen. Add a small label, stitched initials, or a simple heart. The project feels considered because it is made to fit a specific French press rather than being a one-size-fits-all gift.
Finished Cozy: What You’ll Make
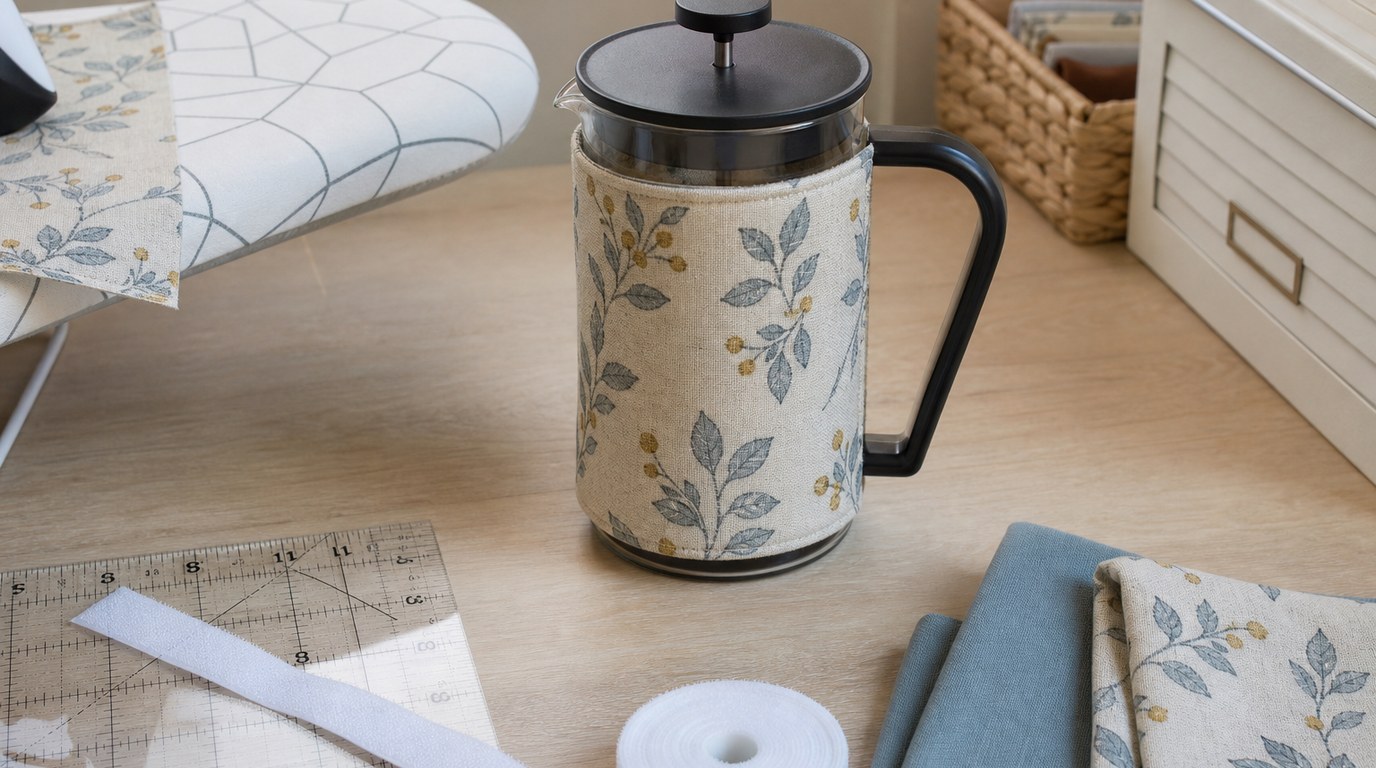
The finished cozy is a padded rectangle that wraps around the glass body of a French press. It leaves the handle, spout, plunger, and lid free, so the press can still be used normally.
Think of it like a soft belt for the coffee pot. The main fabric shows on the outside, the lining sits against the glass, and batting between the layers adds insulation. One short end overlaps the other and fastens with your chosen closure. The exact size depends on your French press measurements, but the construction method stays the same.
Supplies and Tools
You will need basic sewing supplies and materials that can handle light kitchen use.
| Item | Good choice | Notes |
|---|---|---|
| Outer fabric | Quilting cotton, linen, canvas | Choose a washable fabric with enough body |
| Lining fabric | Quilting cotton or cotton muslin | A light color makes quilting marks easier to see |
| Batting or insulation | Cotton batting, fusible fleece, insulated batting | Insulated batting helps retain warmth, but standard batting works |
| Closure | Hook-and-loop tape, buttons, ties, snaps | Hook-and-loop is easiest for beginners |
| Thread | All-purpose polyester or cotton | Match or contrast for decorative quilting |
Tools: sewing machine, scissors or rotary cutter, ruler, measuring tape, pins or clips, fabric marker, iron, and ironing board. A walking foot is helpful for quilting padded layers, but not required. If you do not have batting, use a scrap of fleece or an old cotton towel layer for a soft, washable substitute.
Measure Your French Press
Before cutting, measure the French press itself. Do not rely on the size printed on the box, because shapes and handle placement vary.
First, measure the height of the glass body between the bottom frame and the lower edge of the lid. The cozy should cover the glass but not interfere with the plunger or base. Subtract about 1/2 inch if you want a little clearance at the top and bottom.
Next, measure around the widest part of the glass body, stopping before the handle area. Wrap the measuring tape around the press as the cozy will sit. Add overlap for the closure: 1 1/2 to 2 inches is usually enough for hook-and-loop tape, while buttons may need a little more.
Finally, add seam allowance. For this tutorial, use a 1/2-inch seam allowance. Add 1 inch to the height and 1 inch to the total wrap length.
Cut the Fabric and Batting
Use your measurements to cut simple rectangles.
Cut one outer fabric rectangle:
- Width: French press wrap measurement plus closure overlap plus 1 inch seam allowance
- Height: desired cozy height plus 1 inch seam allowance
Cut one lining rectangle the same size.
Cut one batting rectangle the same size, or slightly larger if you prefer to quilt first and trim later. For example, if your measured cozy needs to finish at 12 inches wide by 5 inches tall, cut fabric and batting rectangles 13 inches wide by 6 inches tall.
If your fabric has a directional print, check that the design will be upright when wrapped around the press.
Add Optional Decoration Before Assembly
Add decoration before the cozy is sewn together. It is much easier to embroider, applique, or stitch a label while the outer fabric is still flat.
Keep embellishment away from the seam allowance and closure area. Leave at least 3/4 inch around all edges and avoid placing thick applique where the cozy will overlap. Good options include a small embroidered initial, a stitched “Mom,” a fabric heart, or a narrow strip of contrast fabric across the center.
If you are adding hand embroidery, back the fabric with lightweight interfacing if it feels thin. Press the decorated fabric from the wrong side to protect the stitching before moving on.
Layer and Quilt the Cozy
Quilting the layers keeps the batting from shifting and gives the cozy a finished look. Lay the lining fabric wrong side up, place the batting on top, then place the outer fabric right side up. Smooth the layers and pin or clip well.
Quilt simple straight lines through all three layers. You can sew vertical lines every 1 to 2 inches, diagonal lines, or a simple grid. Start near the center and work outward to reduce puckers.
Use a slightly longer stitch length, such as 3.0 mm, so the stitches do not compress the batting too much. If the layers creep, slow down and use extra pins. After quilting, trim the edges so all layers are even and the rectangle is square.
Sew the Cozy Body
There are two beginner-friendly ways to finish the body. The neatest method is to bind the edges; the simplest turned method works well if your batting is not too bulky. This tutorial uses the turned method.
After quilting and trimming, place a second lining-size fabric piece right sides together with the quilted outer panel if you want a hidden seam finish. However, if you already quilted all three layers together, you can finish the raw edges with bias binding instead. For the cleanest beginner result, use binding: it avoids bulky turning and keeps the rectangle flat.
Cut or buy double-fold bias tape. Starting along one long edge, open the tape, align the raw edge with the cozy edge, and stitch in the fold. Miter or neatly fold the corners as you go. Fold the binding over to the lining side and stitch close to the folded edge.
If using homemade binding, cut strips 2 1/4 inches wide. Press them like double-fold bias tape. When finished, the cozy should be a flat padded rectangle with all raw edges enclosed.
Attach the Closure
Choose a closure based on how adjustable and easy you want the cozy to be.
Hook-and-loop tape is the most beginner-friendly. Wrap the cozy around the French press and mark where the ends overlap. Sew one strip to the outside of one short end and the matching strip to the lining side of the opposite short end. Stitch around each strip in a rectangle for strength.
Buttons look charming but need accurate placement. Sew buttons to the outer overlapping end and add buttonholes or elastic loops to the other end. Test before cutting buttonholes.
Fabric ties are soft and adjustable. Tuck two ties into one short edge and two matching ties into the opposite edge, or stitch them securely on top of the finished binding. Keep ties short enough that they do not dangle near heat or burners.
Snaps also work, but practice on scraps first so they do not crush the layers.
Fit Check and Final Pressing
Wrap the cozy around the empty French press. It should sit snugly against the glass without pulling the closure open. Make sure the handle is clear and the top edge does not block the lid or plunger.
If the fit is loose, move the closure inward. If it is tight, use a longer hook-and-loop strip or add a small fabric tab. Press the cozy lightly from both sides. Use steam if your batting allows it, and avoid melting synthetic hook-and-loop tape.
Gift Finishing Ideas for Mother’s Day
To make the cozy feel gift-ready, pair it with a bag of favorite coffee, a handwritten brew note, or a small spoon. Roll the cozy and tie it with cotton ribbon, or wrap it around the French press before gifting.
A small care tag is useful: “Machine wash cool, air dry, press lightly.” If you used special fabric or hand embroidery, recommend gentle washing. For a final personal touch, tuck a note inside explaining that the cozy was measured and sewn especially for her French press.
FAQ
What Should a Beginner Know First About Mothers Day Project French Press Cozy?
Start with accurate measurements. The sewing is mostly straight lines, but the cozy needs to clear the handle, lid, and plunger. Measure the French press body, add overlap for the closure, and use a consistent seam allowance so the finished wrap fits properly.
What Matters Most When Evaluating Mothers Day Project French Press Cozy?
Fit, washability, and closure choice matter most. The cozy should wrap snugly without being difficult to remove. Choose washable cotton fabric and batting, and pick a closure the recipient will enjoy using. Hook-and-loop tape is practical; buttons or ties look more decorative.
What Mistakes Should Readers Avoid with Mothers Day Project French Press Cozy?
Avoid making the cozy too tall, placing decoration in the seam or overlap area, and skipping the fit check before attaching the closure. Also avoid very bulky batting if you plan to turn the cozy right side out, because thick layers can distort the corners.
What Is the Next Logical Step After Learning About Mothers Day Project French Press Cozy?
Gather the French press, take measurements, and make a paper test wrap before cutting fabric. Once the paper wrap fits around the press with enough overlap, use it as a cutting guide. Then choose fabrics and any decoration that matches the gift recipient’s style.