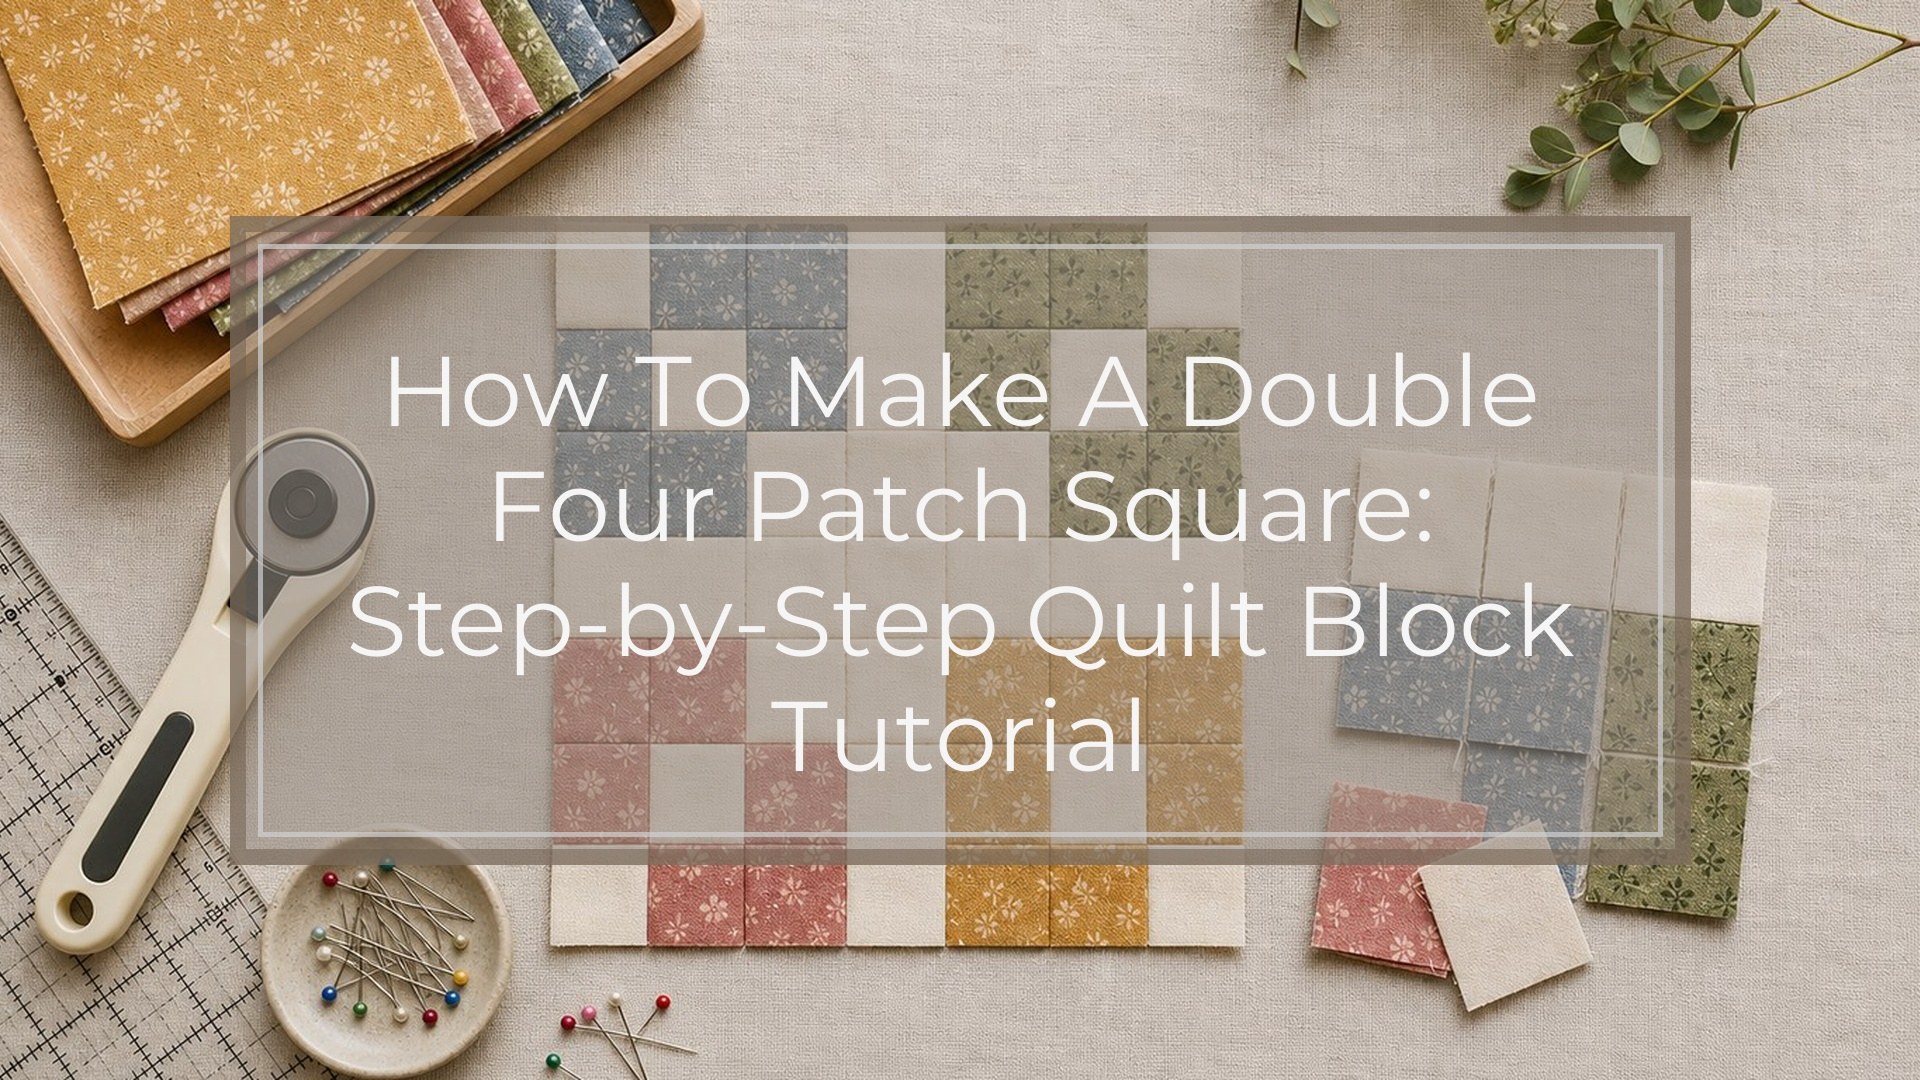
Quick Answer
A double four patch quilt block is made by combining two plain squares with two small four patch units. The “double” part means the block has a four patch layout overall, and two of those sections are four patches themselves. To make one clean double four patch square, cut accurately, sew with a consistent 1/4-inch seam allowance, press seams in opposite directions where possible, and match the center seams before sewing the final rows together.
For a beginner-friendly sample, make an 8-inch finished block, which will measure 8 1/2 inches unfinished before it is sewn into a quilt. You will need two large squares and eight small squares.
| Fabric piece | Cut size | Quantity | Use |
|---|---|---|---|
| — | —: | —: | — |
| Background or light fabric | 4 1/2" x 4 1/2" | 2 | Large plain squares |
| Dark or contrast fabric | 2 1/2" x 2 1/2" | 4 | Small four patch squares |
| Medium or light contrast fabric | 2 1/2" x 2 1/2" | 4 | Small four patch squares |
First, sew the small squares into two four patch units. Each four patch should measure 4 1/2 inches unfinished. Then arrange the block in a larger four patch layout: one small four patch unit, one large plain square, one large plain square, and one small four patch unit. Sew the sections into two rows, then sew the rows together. Press well, and trim only if needed.
How to Think About This Topic
The easiest way to understand how to make a double four patch square is to picture it as a simple four patch block with extra detail in two corners. Instead of using four plain squares, you replace two of the squares with smaller four patch units. That gives the block more movement while keeping the construction beginner-friendly.
Think of the block in two layers:
- The small units: two regular four patch units made from 2 1/2-inch squares.
- The larger block layout: a four patch arrangement made from two small four patch units and two plain 4 1/2-inch squares.
This mental model helps you avoid the most common confusion: the small squares are not sewn directly into the full block one at a time. They are first built into units. Once those units are the same size as the large plain squares, the block goes together like a standard four patch.
Fabric choice also becomes easier when you understand the structure. A double four patch usually looks best when there is clear contrast between the small squares. For example, you might use a cream background, a navy print, and a soft blue print. The two small four patch units should be easy to see, but they do not need to be high contrast unless you want a bold look.
For one 8-inch finished block, the math is simple. Each quarter of the block finishes at 4 inches. The large squares are cut at 4 1/2 inches to include seam allowance. Each small four patch finishes at 4 inches too, so each little square inside it finishes at 2 inches and is cut at 2 1/2 inches.
Accuracy matters because several seams meet inside this block. If your 2 1/2-inch squares are slightly uneven or your seam allowance is too wide, the small four patch units may finish smaller than the large squares. That creates stretching, puckers, or points that do not line up. A double four patch is forgiving in design, but it rewards careful cutting and steady sewing.
The goal is not perfection on your first try. The goal is to make each unit the correct unfinished size before moving to the next step. If your small four patch units measure 4 1/2 inches unfinished, the rest of the block will be much easier to assemble.
Practical Guidance
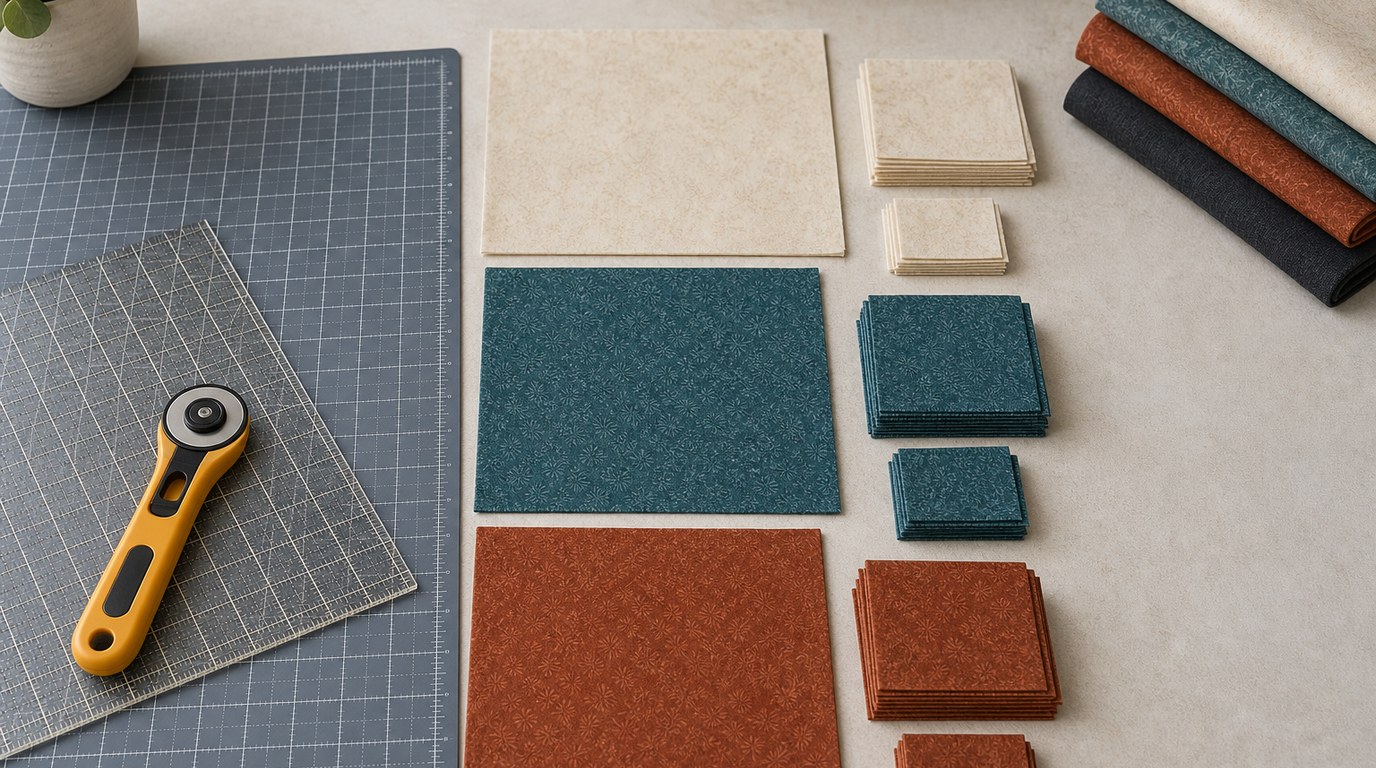
Start by cutting your fabric. For one 8-inch finished double four patch block, cut two 4 1/2-inch squares from your background or main fabric. Then cut four 2 1/2-inch squares from one contrast fabric and four 2 1/2-inch squares from a second contrast fabric. Starch or press fabric before cutting if it is soft or shifty.
Lay out four small squares for the first four patch unit. Place them in a checkerboard arrangement: dark, light, light, dark. Repeat for the second four patch unit. Keeping the two units identical creates a balanced block, but you can rotate one unit later if you want more movement.
Sew the small squares into pairs using a 1/4-inch seam allowance. For each unit, sew one dark square to one light square, twice. Press the seams toward the darker fabric if that reduces show-through. Then place the two pairs right sides together, matching the center seam. Because the seams are pressed in opposite directions, they should nest together. Sew across the pair to complete the four patch.
Repeat for the second small four patch unit. Press both units, then measure them. Each should be 4 1/2 inches by 4 1/2 inches unfinished. If one is only slightly large, trim it carefully. If it is too small, check whether your seam allowance is wider than 1/4 inch before sewing the rest of the block.
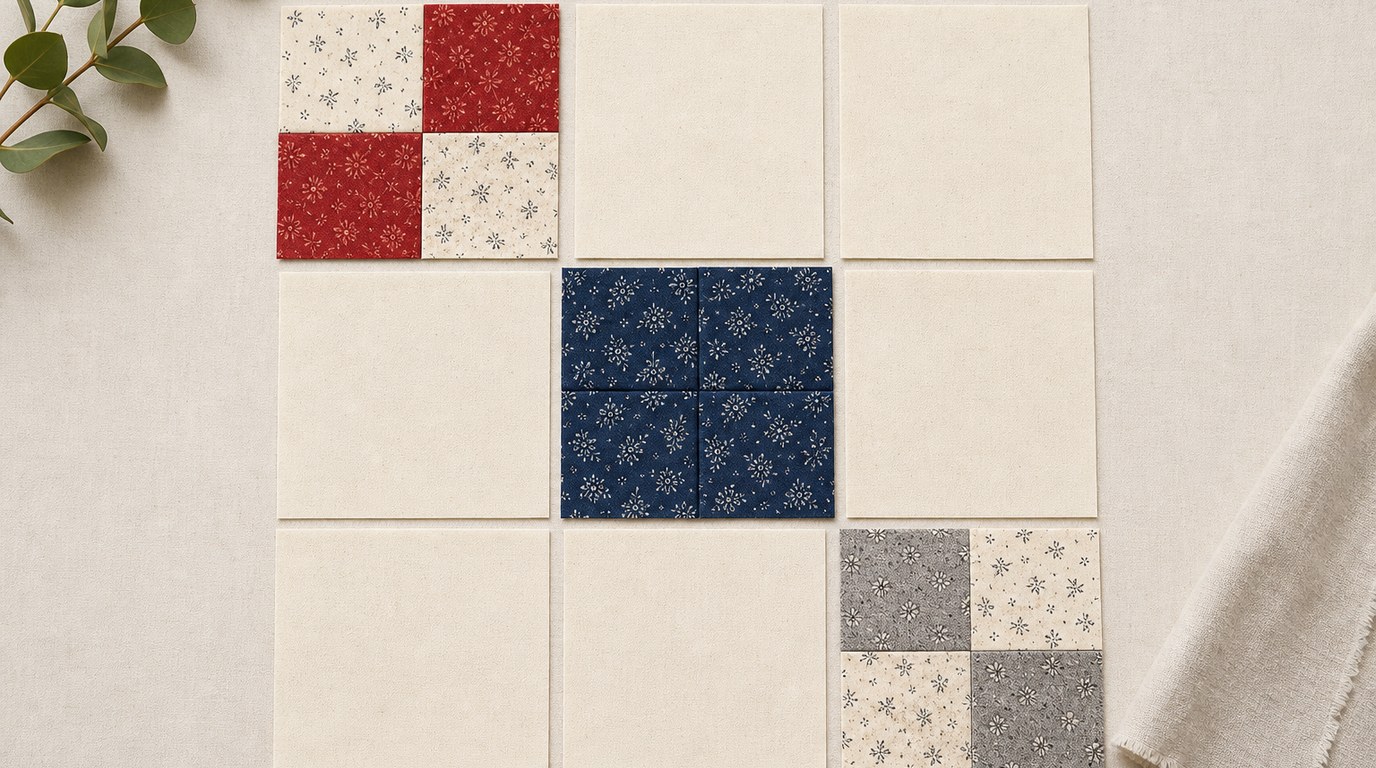
Now lay out the full double four patch square. Place one small four patch unit in the upper left. Place one large plain square in the upper right. Place the second large plain square in the lower left. Place the second small four patch unit in the lower right. This diagonal placement is the traditional look and makes the block read clearly.
Sew the top row together, joining the small four patch to one large square. Sew the bottom row together, joining the large square to the second small four patch. Press the row seams toward the large plain squares if that helps reduce bulk. Next, place the two rows right sides together. Match the center seam carefully, pin if needed, and sew the rows together.
Press the finished block from the front and back. It should measure 8 1/2 inches unfinished. That means it will finish at 8 inches once sewn into a quilt. If your block is slightly uneven, trim only enough to square it up, keeping the center layout balanced.
Use these checks as you sew:
- If the center seam is bulky: press seams in opposite directions so they nest.
- If the block is too small: your seam allowance is probably too wide.
- If points look cut off: check that you are not trimming the four patch units too aggressively.
- If the block twists: avoid stretching the rows while pressing.
To resize the block, keep the same structure and adjust the pieces. For a 6-inch finished block, each large square would finish at 3 inches, so cut it 3 1/2 inches. Each small square inside the four patch would finish at 1 1/2 inches, so cut it 2 inches. The formula is simple: decide the finished block size, divide by two for each large section, then add 1/2 inch for seam allowance. For the small squares, divide that finished section size by two, then add 1/2 inch.
For a first attempt, choose fabrics that are easy to tell apart, avoid directional prints, and make one test block before cutting many pieces. Once you are comfortable, the double four patch is easy to repeat for scrappy quilts, baby quilts, borders, and sampler projects.
FAQ
What Should a Beginner Know First About How to Make a Double Four Patch Square?
A beginner should know that the block is built in units. First make two small four patch units, then combine them with two plain squares. Do not try to assemble all the little squares into the full block at once.
What Matters Most When Evaluating How to Make a Double Four Patch Square?
The most important things are accurate cutting, a consistent 1/4-inch seam allowance, and checking unit size before final assembly. For an 8-inch finished block, each small four patch unit should measure 4 1/2 inches unfinished.
What Mistakes Should Readers Avoid with How to Make a Double Four Patch Square?
Avoid using inconsistent seam allowances, stretching the rows while pressing, and skipping the layout check before sewing. Also avoid trimming the small four patch units too small, because they need to match the large plain squares.
What Is the Next Logical Step After Learning About How to Make a Double Four Patch Square?
After making one block, sew several more with the same measurements and arrange them on a design wall or table. Rotate some blocks to see how the small four patch units create secondary patterns across a quilt top.