Finishing a quilt with binding means covering the raw outer edge of the quilt sandwich with a folded fabric strip. The basic process is: trim the quilt square, prepare enough binding, sew the binding to the front, fold neat mitered corners, join the binding ends, then wrap the binding to the back and stitch it down. For beginners, double-fold binding cut on the straight grain is usually the easiest choice. Work slowly, press often, and keep your seam allowance consistent. The goal is not only to hide the raw edge, but also to create a smooth, durable frame that helps the quilt lie flat and look complete.
What Quilt Binding Does
A quilt sandwich is the layered unit made from the quilt top, batting, and backing. After quilting, those three layers have raw edges that can fray, shift, or look uneven. Binding wraps around that edge and encloses all three layers.
Think of binding as a narrow fabric frame. One folded edge is sewn to the front of the quilt, then the binding is turned over the raw edge and secured on the back. When done well, the binding protects the quilt from wear and gives it a clean finished outline.
Most beginner quilts use double-fold binding. This means the fabric strip is folded in half lengthwise before sewing, so the outer edge has two layers of fabric for strength.
Prepare the Quilt Edge Before Binding
Before attaching binding, trim and square the quilt. Lay the quilt on a large cutting mat or flat surface. Smooth it without stretching it. Use a ruler and rotary cutter to trim the backing and batting even with the quilt top.
Check that the corners are square. If the edges are wavy, gently smooth the quilt and trim only what is needed. Do not pull the quilt tight while cutting, because stretched edges can relax later and make the binding ripple.
If your quilting stitches stop far from the edge, you can sew a line of stay-stitching about 1/8 inch from the quilt edge. This helps hold the layers together while you add the binding. It is especially useful on quilts with many seams along the outer border.
Remove loose threads and press the quilt edge lightly if needed.
Make or Choose the Right Binding
For most beginner projects, use double-fold binding that finishes at about 1/4 inch wide on the front and back. A common cutting width is 2 1/2 inches. Some quilters prefer 2 1/4 inches for a narrower finish, but 2 1/2 inches gives beginners a little more room to handle the fold.
Binding can be cut on the straight grain or the bias. Straight-grain binding is cut across or along the fabric grain and works well for quilts with straight sides and square corners. Bias binding is cut diagonally across the fabric. It stretches more, making it useful for curved edges, but it is not necessary for a basic rectangular quilt.
To estimate length, add all four sides of the quilt, then add 10 to 12 extra inches for corners and joining the ends.
| Binding choice | Best for | Beginner note |
|---|---|---|
| 2 1/2-inch double-fold | Most quilts | Easiest to handle |
| 2 1/4-inch double-fold | Slimmer binding | Needs more accuracy |
| Straight-grain binding | Square quilts | Best beginner option |
| Bias binding | Curves or scallops | Stretchy, less simple |
Join binding strips with diagonal seams if possible. Trim each seam to 1/4 inch and press it open to reduce bulk. Fold the full binding strip in half lengthwise, wrong sides together, and press.
Attach the Binding to the Front of the Quilt
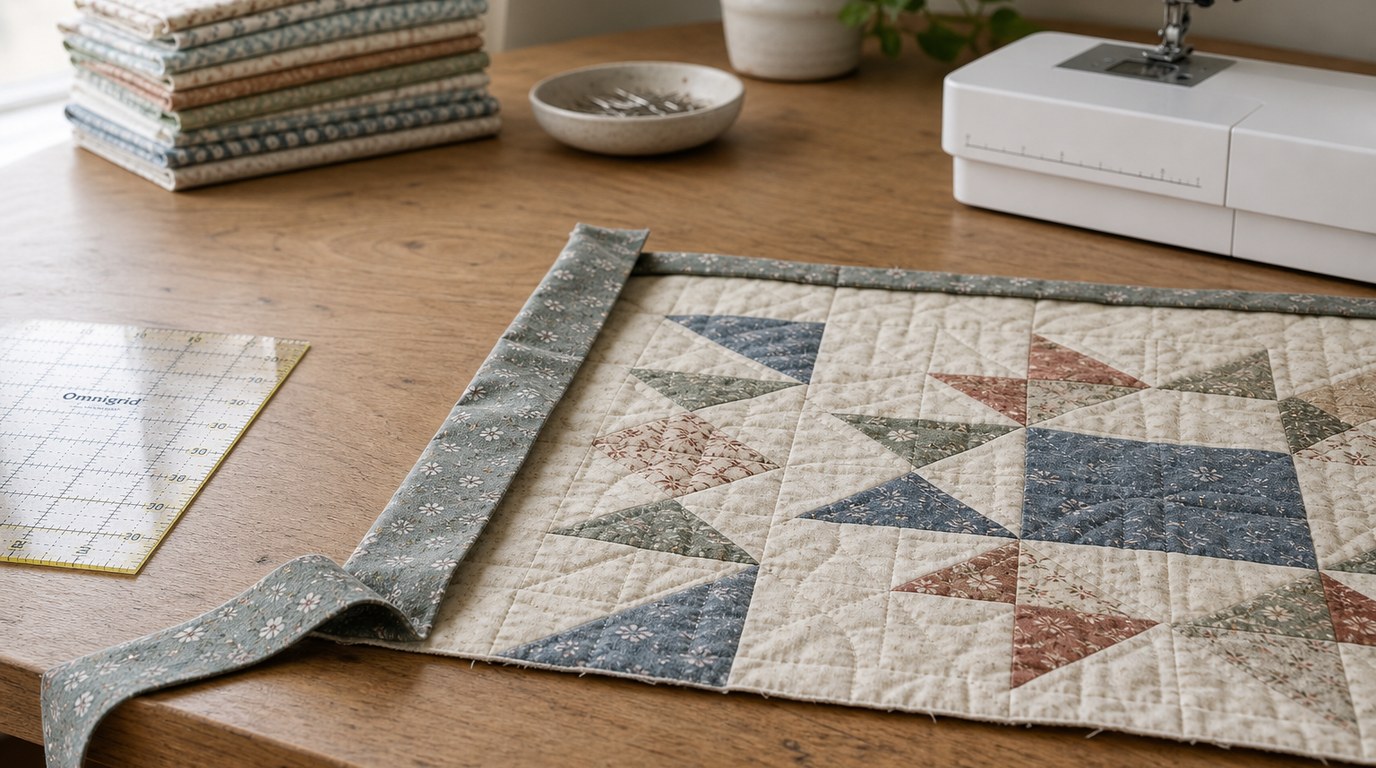
Start along one side of the quilt, not at a corner. Leave an unsewn binding tail of about 8 to 10 inches. Place the raw edges of the folded binding even with the raw edge of the quilt front. The folded edge of the binding should point toward the center of the quilt.
Use a 1/4-inch seam allowance unless your pattern says otherwise. This means your needle stitches 1/4 inch from the raw edge. Sew slowly and keep the quilt supported so its weight does not pull against the needle.
Backstitch or lock your stitches at the beginning if you like, but avoid making a bulky knot. Continue sewing until you are 1/4 inch away from the first corner. Stop with the needle down if possible. Lift the presser foot and check your placement. Stop exactly 1/4 inch from the edge, because this creates space for the mitered corner fold.
Many walking feet have a 1/4-inch guide, but you can also place painter’s tape on the machine bed as a seam guide. Consistent seam allowance matters more than speed. If your seam wanders a little, correct it gradually rather than making sharp turns.
Miter the Corners Neatly
A mitered corner is a folded corner that creates a neat diagonal line instead of a bulky square fold. It looks polished, but it is mostly about folding in the right order.
When you reach 1/4 inch from the quilt corner, stop sewing and remove the quilt from the machine. Fold the binding strip straight up, away from the quilt, so it forms a 45-degree diagonal fold at the corner. The raw edge of the binding should continue in line with the next side of the quilt.
Next, fold the binding straight down along the next quilt edge. The top fold should be even with the quilt edge you just sewed. The raw edges of the binding should line up with the raw edge of the next side.
Hold or clip the fold in place. Begin sewing at the very top edge of the quilt, using the same 1/4-inch seam allowance. Continue down the next side.
Repeat this same fold-up, fold-down process at each corner. Do not rush. If a corner looks twisted, unfold it and try again before sewing.
Join the Binding Ends
After sewing around all four sides and corners, stop when you are about 10 to 12 inches from where you began. You should have two loose binding tails with an open gap between them.
Lay the quilt flat. Smooth both binding tails along the quilt edge so they meet naturally without pulling. Overlap the tails. Trim the overlap so it equals the original cut width of your binding. For example, if your binding was cut 2 1/2 inches wide, the overlap should be 2 1/2 inches.
Open the two binding ends. Place them right sides together at a right angle, like you did when joining the binding strips. Draw a diagonal line from corner to corner and sew on that line. Before trimming, test the join by laying the binding back against the quilt edge. It should lie flat, not twisted.
If it is correct, trim the seam allowance to 1/4 inch and press the seam open. Refold the binding lengthwise. Then sew the remaining gap to the quilt with the same 1/4-inch seam allowance.
This step feels awkward the first time. The most important checks are: no twist, no extra slack, and no pulling.
Fold the Binding Over and Secure the Back
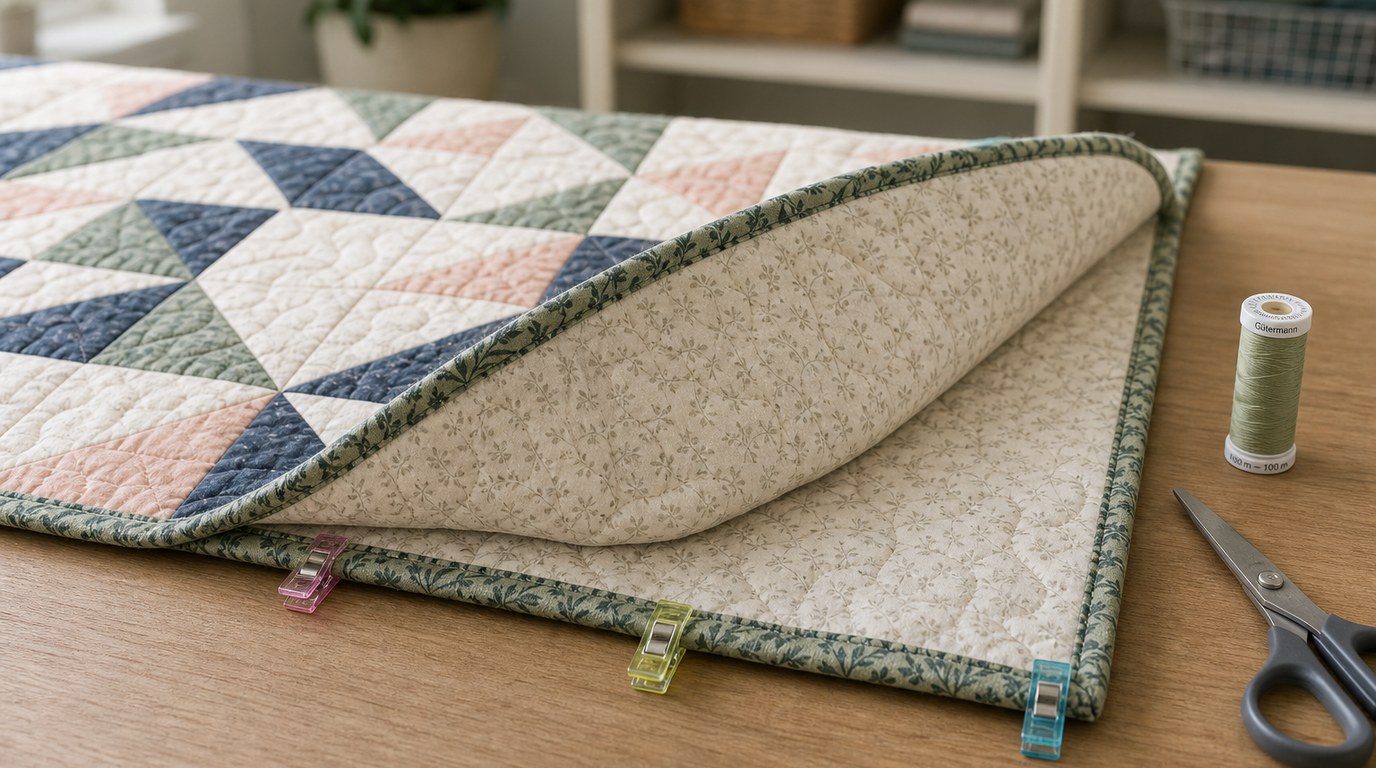
Now wrap the folded edge of the binding over the raw quilt edge to the back. The binding should cover the stitching line from the first seam. Use clips instead of pins if they are easier; clips also avoid bending through thick layers.
You have two common finishing options: hand stitching or machine stitching.
For hand stitching, thread a needle with a matching thread. Use a blind stitch or ladder-like small stitch to catch the folded edge of the binding and a tiny bit of the backing. Try not to stitch through to the front. This gives a soft, nearly invisible finish and is a favorite for special quilts.
For machine stitching, fold and clip the binding to the back, then stitch from the front in the ditch, which means sewing in the seam line where the binding meets the quilt top. The stitches should catch the folded binding on the back. This is faster but requires careful clipping and checking.
You can also stitch from the back close to the folded edge. This is easier to see, but the stitching line will show on the front. Choose this option when durability matters more than invisibility, such as for baby quilts or picnic quilts.
At the corners, fold one side down first, then fold the next side over it to form a neat miter on the back. The diagonal fold should point in the opposite direction from the front miter.
Press and Check the Finished Binding
After the binding is stitched down, press it gently. Use steam only if your fabric and batting can handle it. Do not flatten the edge harshly; just encourage the binding to sit evenly.
Check all four sides. Look for skipped stitches, loose spots on the back, twisted corners, or areas where the binding did not cover the first seam line. Small gaps can often be fixed with a few hand stitches. If a longer section missed the back, remove that portion of stitching, reclip the binding, and sew it again.
A finished binding should feel secure, smooth, and even around the quilt.
Common Beginner Binding Problems and Fixes
If the binding looks wavy, the quilt edge may have stretched or the binding may have been pulled while sewing. Next time, support the quilt’s weight and guide the fabric without tugging. Light pressing may help mild waves.
If the corners are bulky, trim extra batting from the corner before folding the binding over. Also make sure you stop sewing 1/4 inch from the edge before making the miter.
If the binding is too narrow to cover the stitching line on the back, your seam allowance may be too wide, or the binding strip may be too narrow. Try a scant 1/4-inch seam next time, or cut binding at 2 1/2 inches.
If the joined ends make a lump, the overlap may be wrong or the seam may not be pressed open. Unpick that small section and rejoin it carefully.
If machine stitching misses the back, use more clips and check from the back before sewing.
FAQ
What Should a Beginner Know First About Beginning Quilting Finishing with Binding?
A beginner should know that binding is the final fabric edge that wraps around the quilt sandwich. Start with 2 1/2-inch double-fold straight-grain binding, sew it to the front with a 1/4-inch seam, then fold it to the back and stitch it down.
What Matters Most When Evaluating Beginning Quilting Finishing with Binding?
The most important things are an even quilt edge, consistent seam allowance, neat mitered corners, and secure stitching on the back. Binding does not have to be perfect, but it should fully cover the raw edge and lie flat without pulling or rippling.
What Mistakes Should Readers Avoid with Beginning Quilting Finishing with Binding?
Avoid stretching the quilt edge, cutting too little binding, sewing past the corner, and joining the binding ends with a twist. Also avoid rushing the final stitching. Most binding problems come from uneven trimming, inconsistent seam allowance, or not checking the back before sewing.
What Is the Next Logical Step After Learning About Beginning Quilting Finishing with Binding?
After finishing a basic quilt binding, practice on small projects like placemats, table runners, or baby quilts. Then try narrower binding, decorative machine stitching, or bias binding for curved edges. Each project builds confidence with corners, joins, and smooth final edges.