
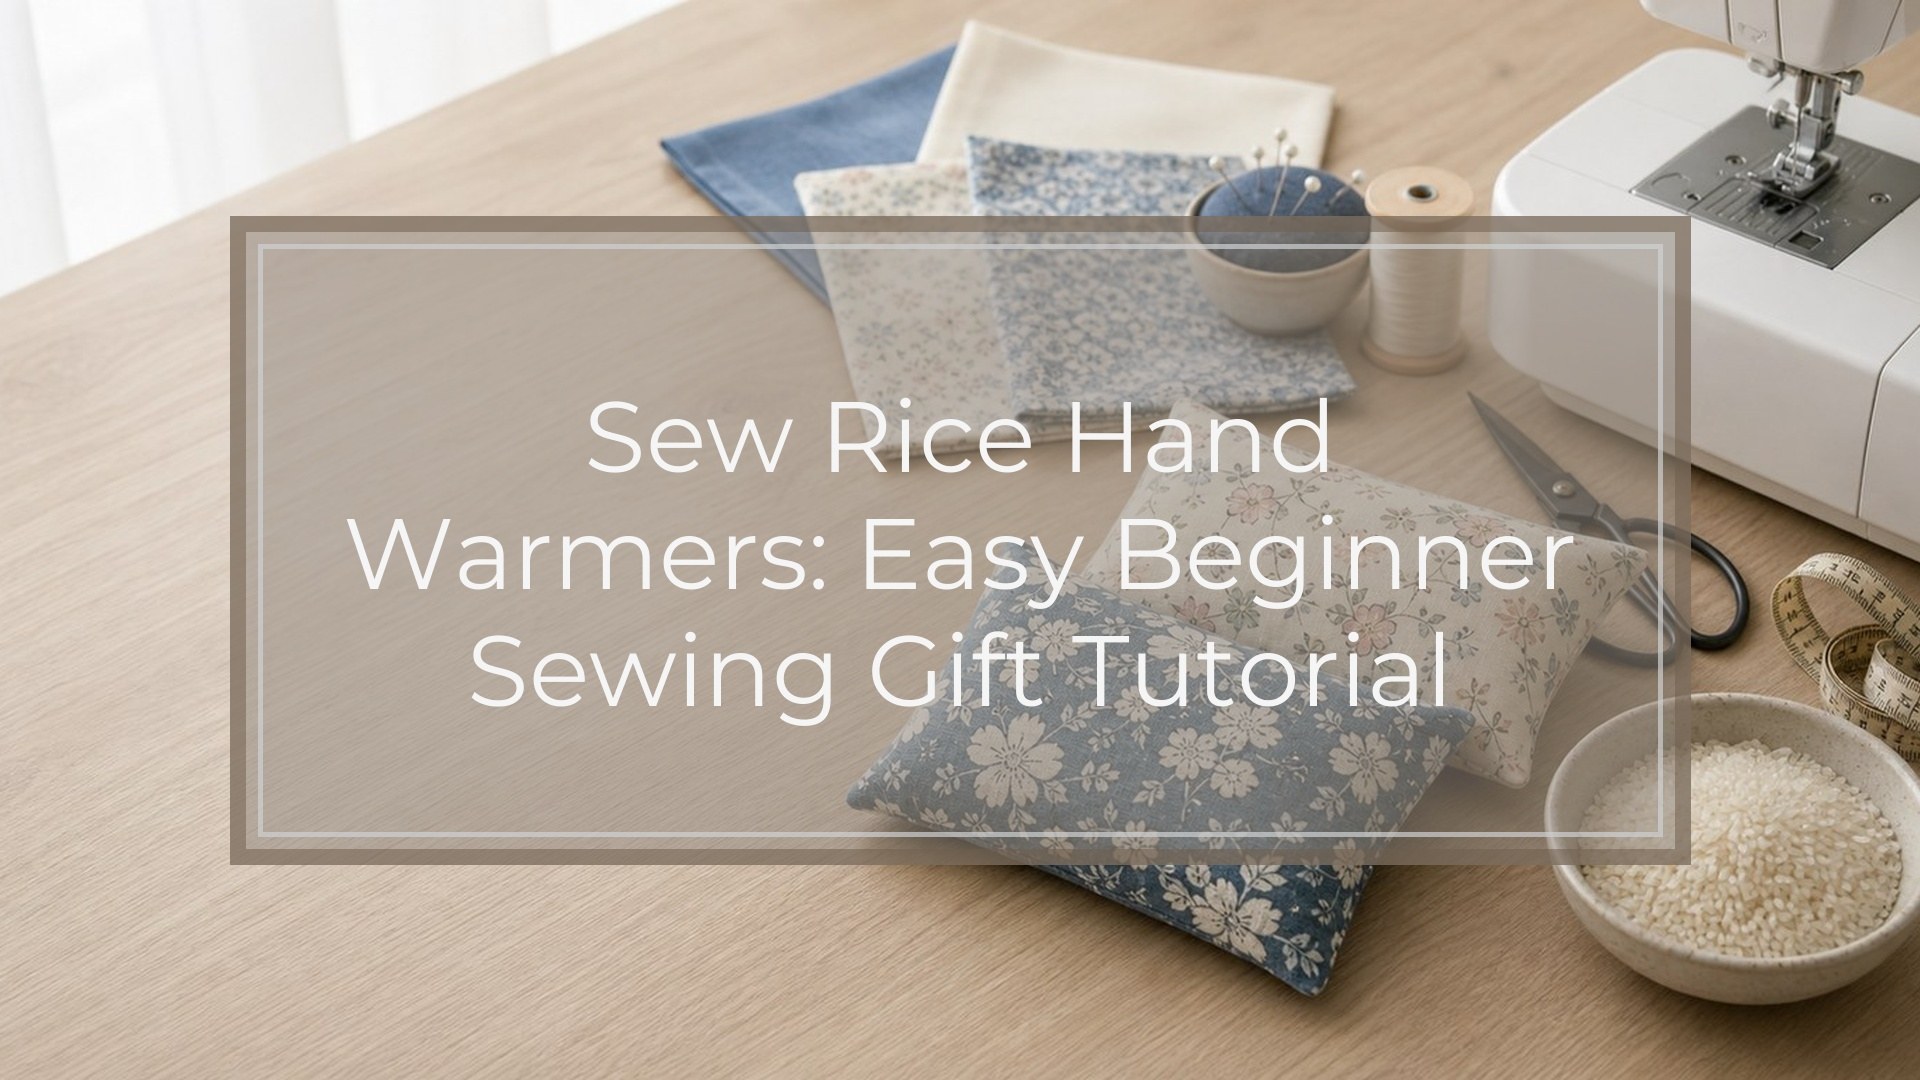
Sew rice hand warmers are small fabric pouches filled with uncooked rice, then warmed briefly in the microwave and tucked into pockets or mittens. They are quick, beginner-friendly sewing projects and make practical handmade gifts. The basic process is simple: cut two fabric squares, sew them right sides together with a small opening, turn the pouch right side out, fill it partly with rice, and stitch the opening closed. The most important choices are using microwave-safe natural materials, leaving enough room for the rice to move, and heating the finished warmers carefully in short intervals.
What You’ll Make
You’ll make a small reusable hand warmer, usually about 3 to 5 inches square, filled with plain uncooked rice. A pair is ideal for coat pockets, lunch-break walks, outdoor markets, or chilly commutes. This project is suitable for beginners who can sew a straight seam by machine or by hand. Expect one pair to take about 30 to 45 minutes, especially after your first set.
Supplies and Tools
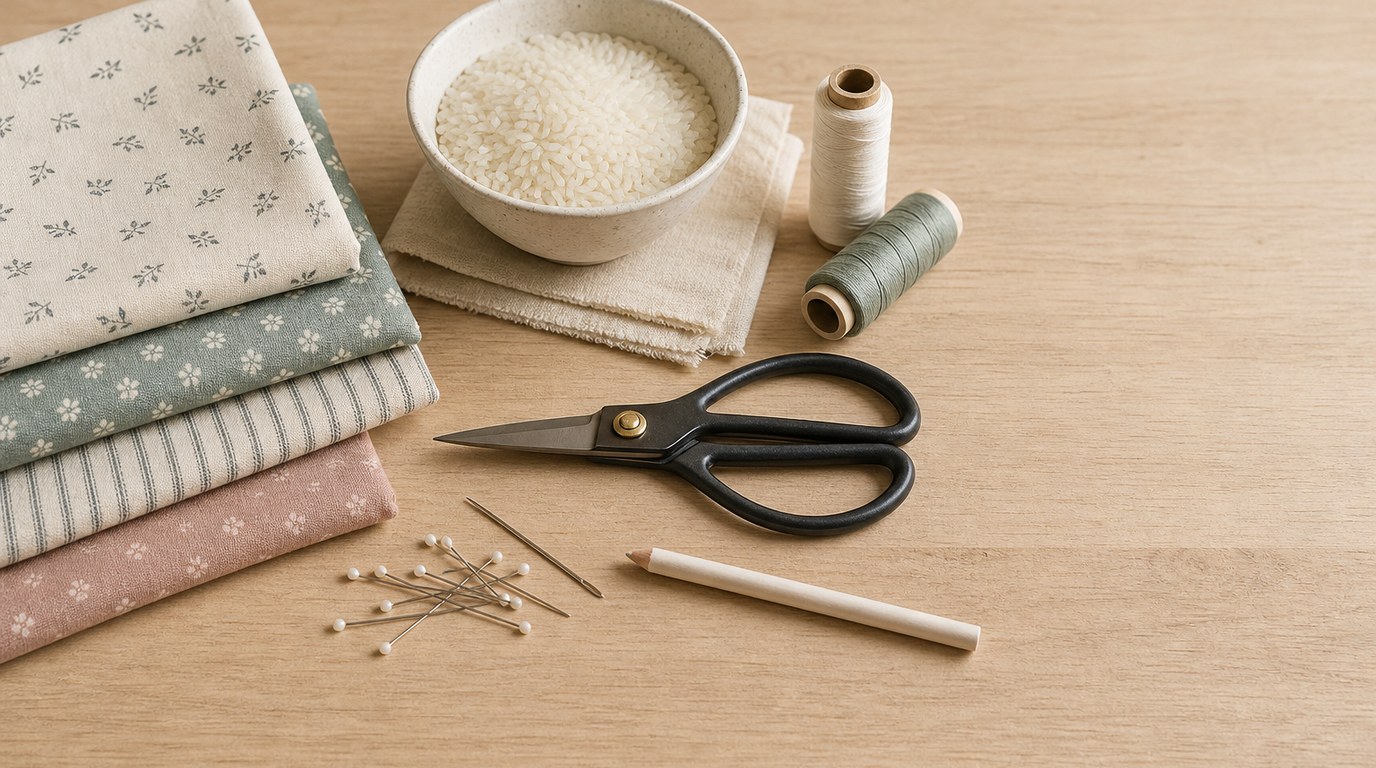
Use materials that are safe for microwave warming. Cotton fabric is the best choice because it handles heat well and is easy to sew. Avoid synthetic fabrics, metallic prints, glitter, fusible vinyl, and polyester thread, since they may melt, scorch, or spark.
You’ll need:
- 100% cotton fabric
- 100% cotton thread
- Plain uncooked white rice or jasmine rice
- Fabric scissors or rotary cutter
- Ruler or measuring tape
- Pins or sewing clips
- Sewing machine or hand-sewing needle
- Funnel, paper cone, or spoon
- Iron and ironing board
- Pencil or fabric marker
Prewash and dry the fabric first if you can. This removes shrinkage and makes the warmers more gift-ready.
Rice Hand Warmer Size and Fill Guide
Choose a size based on how the warmers will be used. Smaller squares fit children’s pockets or mittens, while larger ones hold heat a bit longer. Do not pack them full. The pouch should feel soft and flexible, not tight.
| Finished size | Cut fabric squares | Rice amount per warmer | Best use |
|---|---|---|---|
| — | —: | —: | — |
| 3 x 3 inches | 3 ½ x 3 ½ inches | 2 to 3 tablespoons | Small pockets, kids’ mittens |
| 4 x 4 inches | 4 ½ x 4 ½ inches | ¼ cup | Everyday hand warmers |
| 5 x 5 inches | 5 ½ x 5 ½ inches | ⅓ to ½ cup | Longer warmth, larger pockets |
These measurements use a ¼-inch seam allowance.
Step 1: Cut the Fabric
For each hand warmer, cut two matching cotton fabric squares. For a pair, cut four squares total. A 4 ½-inch square is a good beginner size because it is easy to sew and comfortable to hold.
Press the fabric before cutting so your squares are accurate. Use a ruler to measure carefully, and keep the edges straight. If your fabric has a directional print, such as trees or animals, make sure each square is cut with the design facing the direction you want.
Step 2: Place and Pin the Squares
Place two fabric squares right sides together, meaning the printed or “good” sides face each other. Line up all four edges and pin or clip around the square.
Choose one side for the turning and filling opening. Mark a 1 ½-inch to 2-inch gap along that edge with pins, a fabric marker, or two small pencil marks. This gap needs to be wide enough to turn the pouch right side out and add rice without spilling everywhere.
Step 3: Sew Around the Edges
Sew around the square using a ¼-inch seam allowance. Start at one mark for the opening, backstitch to secure the seam, then sew around the edges. Stop at the second mark and backstitch again.
When you reach a corner, leave the needle down in the fabric, lift the presser foot, turn the square, lower the presser foot, and continue sewing. This gives you neat corners and steady seams.
If sewing by hand, use a small running stitch or backstitch. Keep stitches close together so rice cannot work its way out later. Do not sew the opening closed yet.
Step 4: Trim, Turn, and Press
Trim the corner points diagonally, cutting close to—but not through—the stitching. This removes bulk and helps the corners look sharper after turning. If any seam allowance looks uneven, trim it slightly, but do not weaken the sewn edge.
Turn the pouch right side out through the opening. Use a blunt tool, such as a chopstick or knitting needle, to gently push out the corners. Press the pouch flat with an iron, turning the raw edges of the opening inward so they line up with the sewn seam.
Step 5: Fill with Rice
Set the pouch upright in a small cup or bowl to keep it steady. Use a funnel, paper cone, or spoon to add rice through the opening. Fill the warmer about halfway to two-thirds full, depending on the size.
The rice needs space to shift, so the warmer can mold comfortably around your hand. If you overfill it, the final seam will be harder to close and more likely to strain. For a 4-inch finished warmer, start with ¼ cup of rice. Shake the pouch gently to settle the rice, then decide if it needs a little more.
Do not add oil, water, or wet ingredients.
Step 6: Stitch the Opening Closed
Fold the opening edges neatly inward along the pressed crease. Pin or clip the opening closed, keeping the rice pushed away from the seam line.
For a fast machine finish, topstitch close to the edge across the opening, backstitching at both ends. For extra durability, you can continue topstitching around the entire square about ⅛ inch from the edge. This also gives the warmer a tidy finished look.
For an invisible hand finish, use a ladder stitch. Take small stitches from one folded edge to the other, pulling the thread snug as you go. Knot securely at the end.
How to Heat and Use Rice Hand Warmers Safely
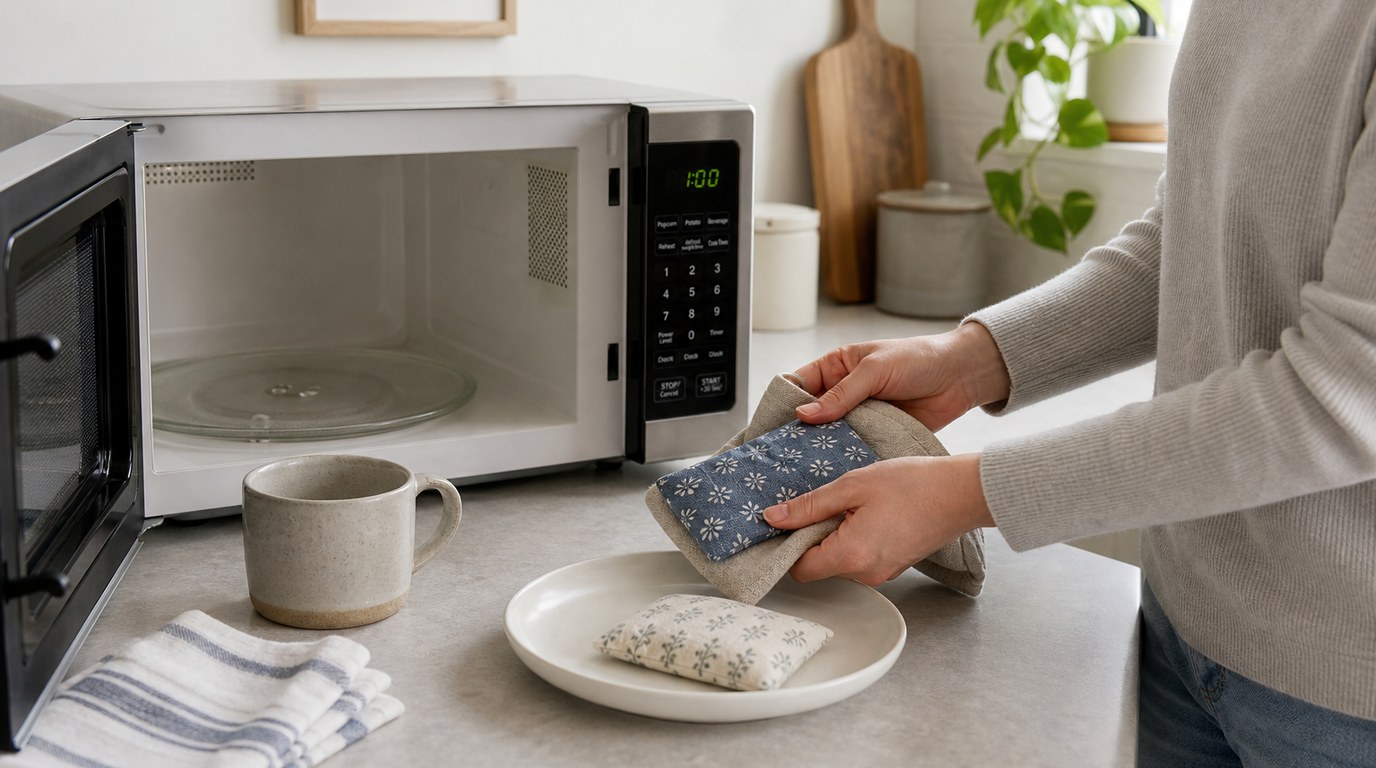
Place one or two rice hand warmers in the microwave and heat in short intervals. Start with 15 to 20 seconds for small warmers or 20 to 30 seconds for 4-inch warmers. Check the temperature before using. If they are not warm enough, heat for another 5 to 10 seconds.
Microwaves vary, so do not assume a longer time is safe. Never leave rice warmers unattended while heating. Do not overheat them, and stop using them if you notice scorching, a burnt smell, torn seams, or dampness.
Let warmers cool completely before reheating. Keep them dry, and store them in a clean place. They are for gentle warmth, not medical heat therapy or overnight use in bed.
Gift Ideas and Simple Variations
Rice hand warmers make easy gifts because they are useful, inexpensive, and quick to batch sew. Make them in pairs and tie them with cotton twine, or tuck them into a mug, winter hat, or handmade stocking.
Try seasonal cotton prints, flannel shirting, or scraps from another sewing project. You can also sew a simple fabric sleeve or gift bag to keep a pair together. For a calming scent, mix a small amount of dried lavender with the rice, but keep it light. Too much dried herb can smell strong when heated.
Troubleshooting Common Problems
If rice leaks out, your stitches may be too long or the opening may not be fully secured. Sew a second line of stitching over the weak area.
If the warmer feels stiff, remove some rice before closing the next one. A flexible pouch heats and handles better.
If corners look bulky, trim the seam allowance more carefully next time. If the fabric scorches, stop using that warmer and check that all materials are cotton and microwave-safe.
FAQ
What Should a Beginner Know First About Sew Rice Hand Warmers?
Start with 100% cotton fabric, cotton thread, and plain dry rice. The project is simply a small sewn pouch, but microwave-safe materials matter. Sew securely, fill loosely, and heat gradually until you learn how your microwave warms them.
What Matters Most When Evaluating Sew Rice Hand Warmers?
The best rice hand warmers feel soft, have secure seams, and warm evenly without overheating. Check that the fabric is natural cotton, the stitching is tight, and the pouch is not overfilled. A good warmer should bend easily in your hand.
What Mistakes Should Readers Avoid with Sew Rice Hand Warmers?
Avoid synthetic fabric, metallic prints, polyester thread, and long microwave times. Do not stuff the pouch full or add wet ingredients. Also avoid loose stitching around the opening, because rice can escape and make the warmer less safe to use.
What Is the Next Logical Step After Learning About Sew Rice Hand Warmers?
Make a simple pair first, then batch sew several sets for gifts. Once you are comfortable, experiment with sizes, cotton flannel, neat topstitching, or matching storage bags. Keep the same safety rules whenever you change the fabric or filling amount.