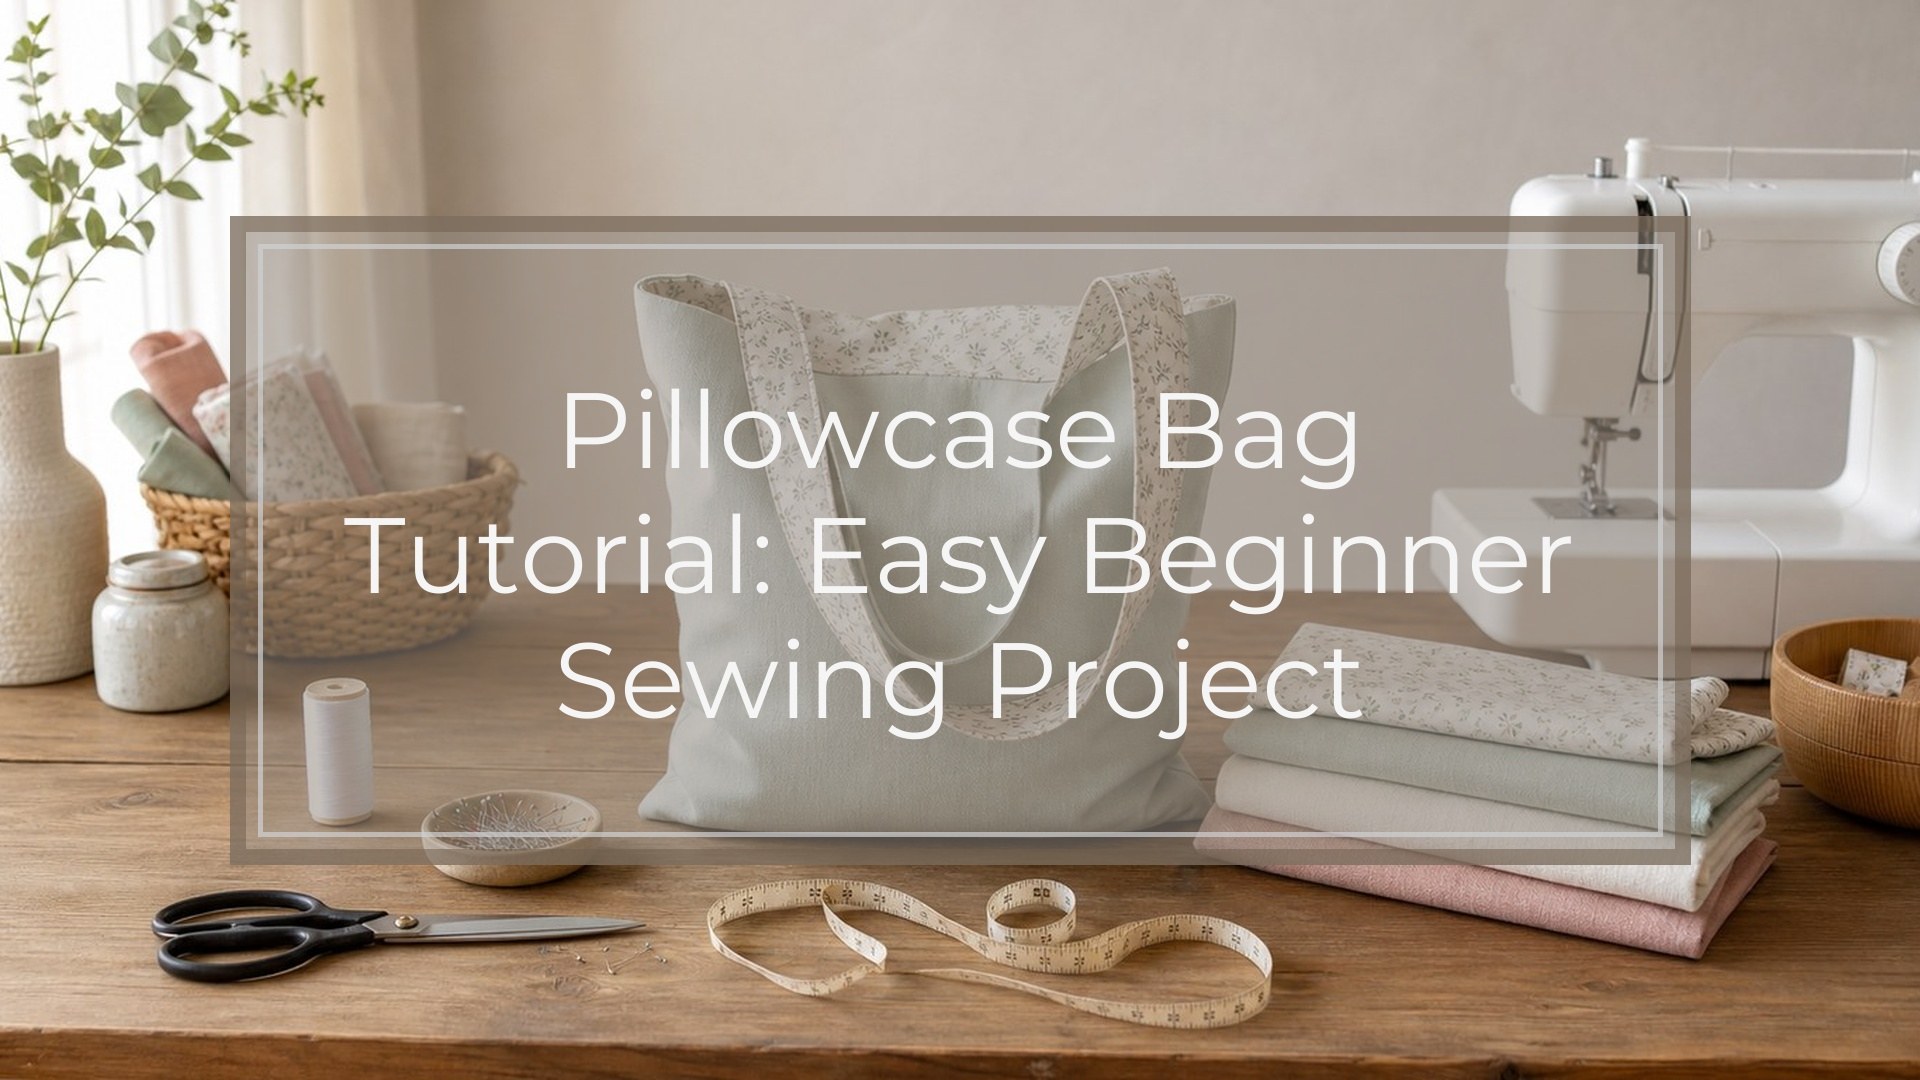
A pillowcase bag is one of the easiest beginner sewing projects because the pillowcase already gives you finished fabric, straight edges, and a useful amount of material. The basic idea is simple: cut the pillowcase to the size you want, sew the bottom and sides as needed, add handles, and reinforce the stress points. You can make a light tote, drawstring-style bag, or simple shoulder bag from one standard pillowcase with only basic sewing tools.
Quick Answer
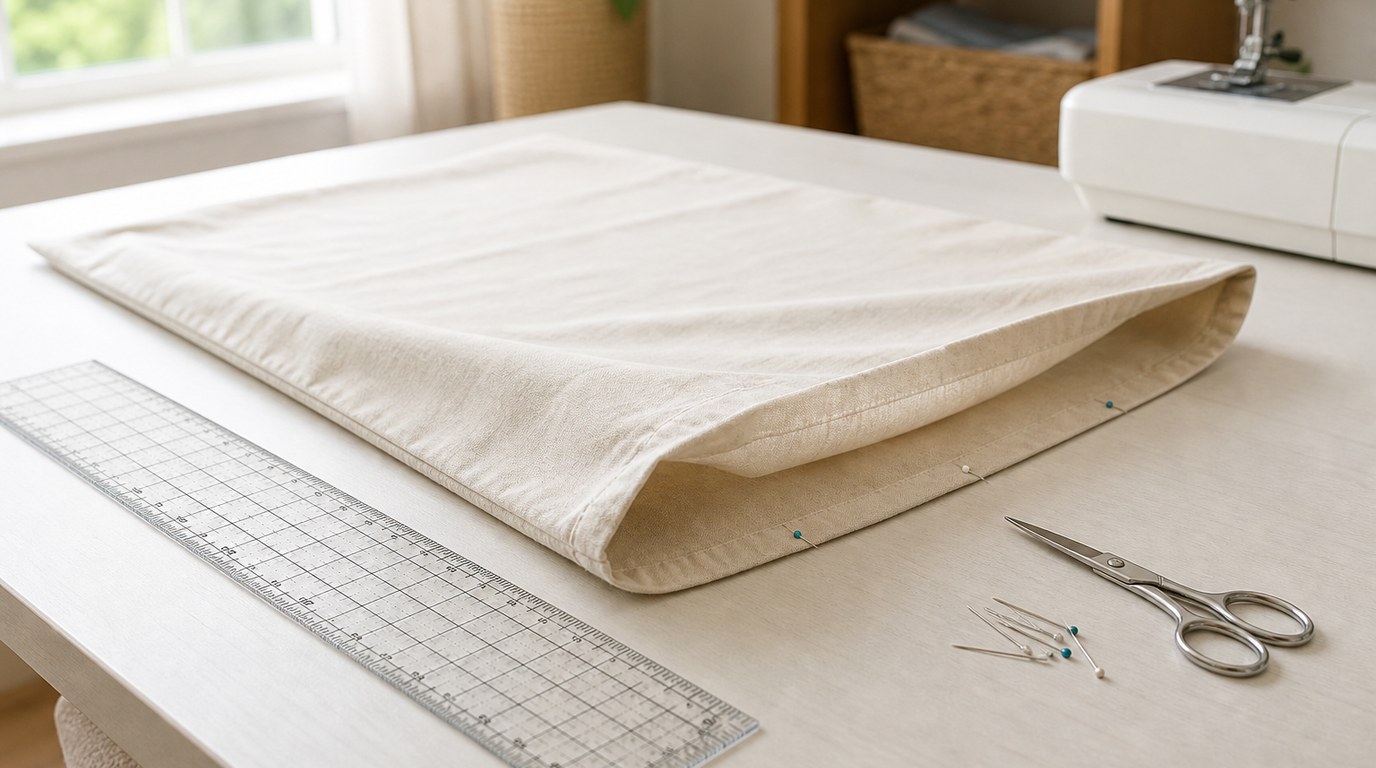
To make a pillowcase bag, start with a clean cotton or cotton-blend pillowcase. Turn it inside out, decide the finished height of your bag, and cut off any extra length if needed. Sew across the bottom edge with a straight stitch, then sew a second row close to the first for strength. If you want a flatter base, sew boxed corners by pinching each bottom corner into a triangle and stitching across it.
For handles, the easiest beginner option is to cut two fabric strips from the leftover pillowcase fabric, fold and stitch them into straps, then sew them securely to the top inside edge of the bag. You can also use cotton webbing, ribbon, or premade handles if you want a stronger or faster finish.
A simple pillowcase bag works best for light to medium items: books, fabric scraps, pajamas, groceries that are not too heavy, or a child’s library bag. The key details are choosing a sturdy pillowcase, reinforcing the handles, and finishing raw edges so the bag does not fray.
At a glance, the project order is:
- Wash and press the pillowcase.
- Choose the bag size and handle style.
- Cut the pillowcase if needed.
- Sew the bottom seam.
- Shape the corners if desired.
- Hem or finish the top edge.
- Attach and reinforce the handles.
- Turn right side out and test the seams.
How to Think About This Topic
A pillowcase bag is not complicated, but it helps to think of the pillowcase as pre-made fabric rather than as bedding. You already have a large rectangle with finished side seams and a folded open edge. Your job is to turn that rectangle into a container with a strong bottom, a usable opening, and handles that can take the weight of whatever you plan to carry.
The first decision is the bag style. A full pillowcase can become a roomy tote, but it may be too deep for everyday use. A shorter cut makes a neater market-style bag. A child’s pillowcase can make a smaller project bag. If you are a beginner, choose a plain tote shape first. It teaches the basic construction without adding zippers, pockets, or complicated lining.
Here is a simple decision guide before you cut:
| Bag style | Best use | What to change |
|---|---|---|
| Full-length pillowcase tote | Laundry, soft items, storage | Keep most of the length and add strong handles |
| Short tote | Books, errands, craft supplies | Cut the pillowcase shorter before sewing |
| Flat bag | Papers, pajamas, light items | Sew the bottom straight and skip boxed corners |
| Boxed-bottom bag | Groceries, yarn, bulkier items | Sew triangular corners to create a base |
| Drawstring-style bag | Shoes, toys, travel packing | Use the pillowcase hem as a casing for cord |
A “boxed corner” means shaping the bottom so the bag has depth. After sewing the bottom seam, you flatten each corner so the side seam and bottom seam meet, forming a triangle. Stitching across that triangle creates a squared-off base. This is optional, but it makes the bag stand and hold bulkier items better.
A “casing” is a folded channel that holds cord or elastic. Many pillowcases already have a wide hem at the opening, which can be adapted into a drawstring casing. For this tutorial, though, a handled tote is the clearest beginner version.
Fabric choice matters. A crisp cotton pillowcase is easiest to sew. Very thin, worn, silky, or stretchy fabric can shift under the needle and may not hold weight well. If your pillowcase feels flimsy, use it for a lightweight bag or add a lining from another cotton fabric.
The main beginner goal is not perfection. It is a bag that is cleanly cut, securely sewn, and reinforced where it will be pulled: the bottom seam and the handle attachments.
Practical Guidance
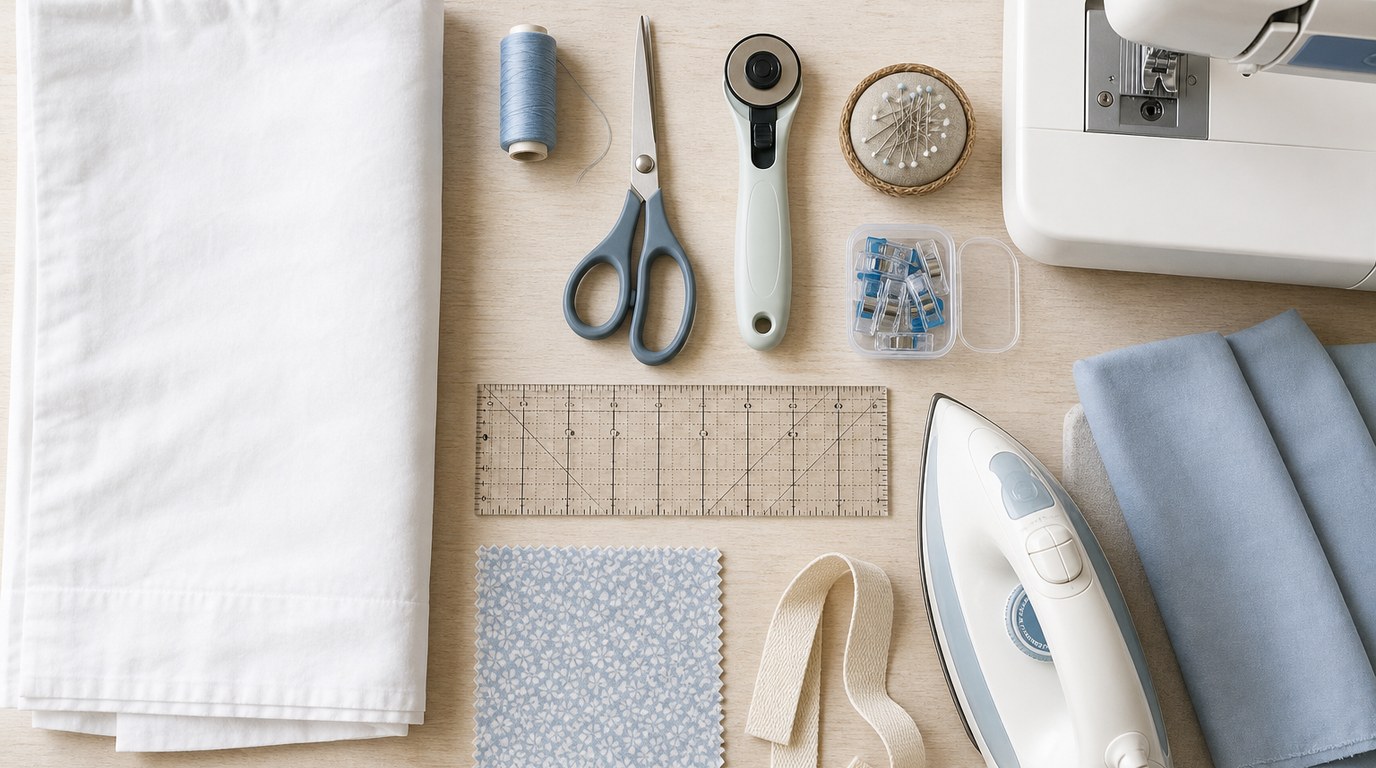
Gather one pillowcase, matching thread, scissors or rotary cutter, pins or clips, a ruler, iron, and a sewing machine with a universal needle. Optional supplies include cotton webbing for handles, extra fabric for lining, and a safety pin if you make a drawstring version.
Start by washing and pressing the pillowcase. Pressing is not just for appearance; it helps the fabric lie flat so your cuts and seams stay straighter. Turn the pillowcase inside out. If you want a shorter tote, measure from the open top down to your preferred bag height, then add about 1 inch for finishing. For many everyday totes, a finished height of 14 to 16 inches is practical.
Cut across the pillowcase only if you need to shorten it. Keep the open hem if possible because it gives you a ready-made top edge. If the pillowcase has a decorative cuff, decide whether you want that detail at the top of the bag.
Next, sew the bottom. With right sides together, align the lower raw edges and pin them. Sew across the bottom using a 1/2-inch seam allowance. A seam allowance is the distance between the fabric edge and your stitching line. Sew a second line of stitching about 1/8 inch from the first to strengthen the seam. Trim loose threads.
If you want a boxed bottom, keep the bag inside out. At one bottom corner, pinch the fabric so the bottom seam and side fold or side seam line up. This forms a triangle. Measure 1 1/2 to 2 inches from the point of the triangle and draw a line across. Stitch on that line. Repeat on the other corner. A 1 1/2-inch measurement gives a modest base; 2 inches gives more depth. Trim the triangle tips if bulky, leaving about 1/2 inch beyond the stitching.
Now finish the top edge. If you kept the pillowcase’s original open hem, it may already look neat. If you cut the pillowcase and now have a raw top edge, fold it down 1/2 inch and press, then fold again 1/2 inch and press. Stitch close to the lower fold all the way around.
For handles, cut two strips about 4 inches wide and 18 to 24 inches long, depending on whether you want hand handles or shoulder handles. Fold each strip in half lengthwise and press. Open it, fold both long edges toward the center crease, press again, then fold in half. Stitch along both long edges to make a sturdy strap. If you do not have enough pillowcase fabric, use cotton webbing instead.
Place the handles on the inside of the bag, about 3 to 4 inches in from each side seam. Make sure both handles are the same length and not twisted. Pin them in place. Sew each handle end with a rectangle and an X through the middle. This “box X” stitching spreads the strain and helps prevent the handle from tearing out.
Turn the bag right side out and check it. Tug gently on the handles, push out the bottom corners, and look for skipped stitches or weak seams. If the bag will carry heavier items, sew another row along the bottom and add extra stitching over each handle end. Avoid overloading a thin pillowcase bag; even good stitching cannot make weak fabric behave like canvas.
FAQ
What Should a Beginner Know First About Pillowcase Bag?
A pillowcase bag is a simple fabric bag made by reshaping a pillowcase into a tote or storage bag. Beginners should start with a sturdy cotton pillowcase, keep the shape simple, and focus on strong seams and reinforced handles rather than fancy details.
What Matters Most When Evaluating Pillowcase Bag?
The most important factors are fabric strength, handle placement, and seam reinforcement. A soft, worn pillowcase may be fine for light storage but not heavy books. Choose a firmer fabric and stitch the bottom and handle areas more than once.
What Mistakes Should Readers Avoid with Pillowcase Bag?
Avoid using fragile fabric for a heavy-use bag, attaching handles with only one line of stitching, or skipping pressing before cutting. Also avoid making the bag too deep for its purpose. A shorter, well-proportioned bag is often easier to use.
What Is the Next Logical Step After Learning About Pillowcase Bag?
After making one basic pillowcase bag, try a small upgrade: add a lining, make a drawstring version, or sew an inside pocket. These changes build useful sewing skills while keeping the project familiar and beginner-friendly.