
A baby hooded towel is one of the simplest useful sewing projects you can make: one large towel for the body, one smaller piece for the hood, and a few straight seams. The hood sits on one corner of the towel, so after a bath you can tuck baby’s head in first and wrap the sides around them.
The easy way is to start with ready-made terry towels instead of sewing towel fabric from scratch. This saves hemming time, reduces fraying, and gives you soft finished edges right away. If you can sew a straight line and use pins or clips, you can make this project.
Quick Answer
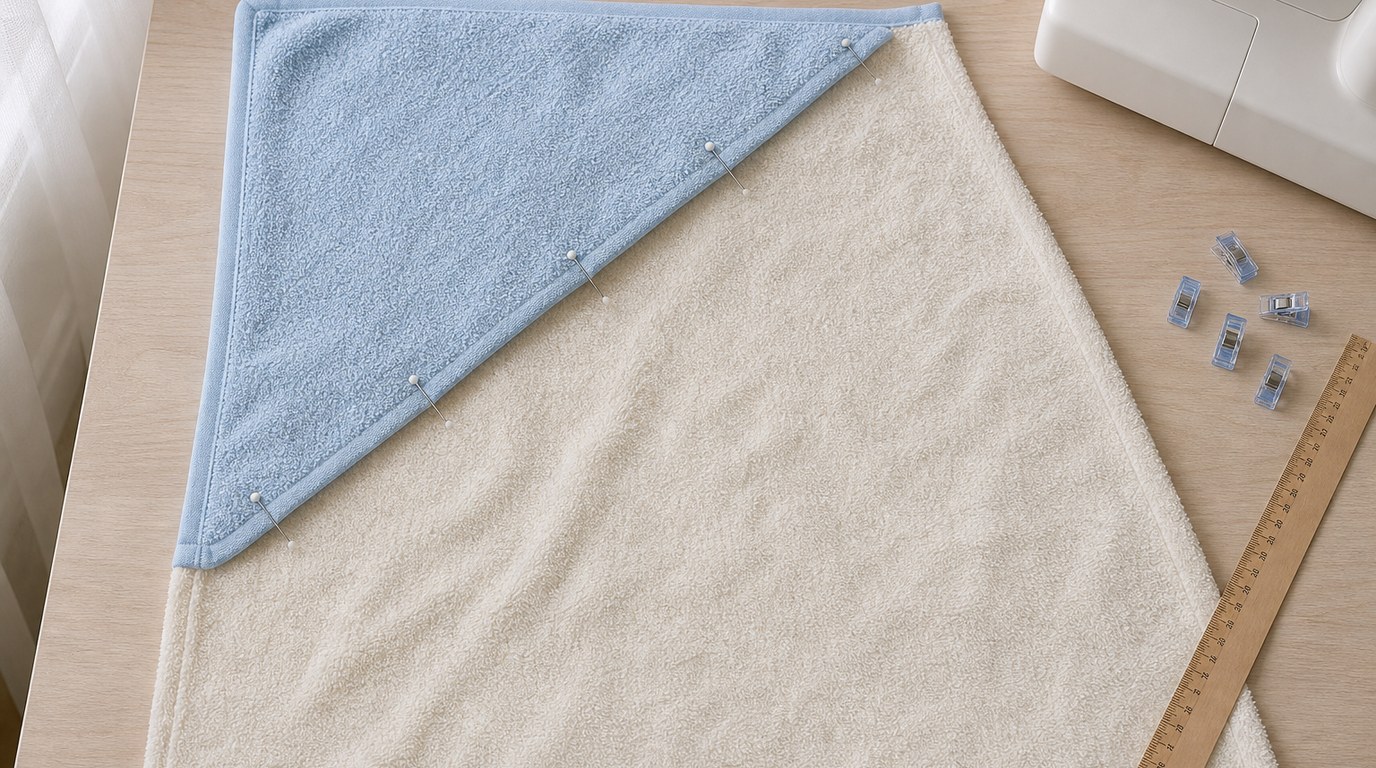
To sew a hooded towel for baby the easy way, use one bath towel or large baby towel for the body and one hand towel or cut towel piece for the hood. Fold the hood piece into a triangle, sew or finish the raw edge, then attach the triangle to one corner of the large towel. Stitch securely around the hood edge, backstitch at the beginning and end, trim loose threads, and wash before use.
A simple beginner size is a 30-by-30-inch towel body with a hood made from a 10-by-10-inch square folded diagonally. For a longer-lasting towel, use a larger bath towel, such as 30 by 52 inches, and a hood square around 12 by 12 inches. The project works best with soft cotton terry, bamboo terry, or a plush towel that is absorbent but not too bulky for your sewing machine.
Here is the basic order:
- Wash and dry the towels first.
- Cut the hood piece to size.
- Fold the hood into a triangle.
- Finish the long raw edge if needed.
- Place the hood on one corner of the towel.
- Sew the hood to the towel with a straight stitch or zigzag stitch.
- Reinforce the corner and check for scratchy seams.
Use a universal or ballpoint needle in size 90/14 if the towel is thick, and sew slowly so the layers feed evenly.
How to Think About This Topic
The easiest way to understand a hooded baby towel is to think of it as a regular towel with a pocket sewn onto one corner. That pocket is the hood. You are not shaping sleeves, sewing curves, or fitting a garment. You are simply creating a soft triangle that catches the baby’s head while the rest of the towel wraps around the body.
This mental model helps you avoid overcomplicating the project. The towel body needs to be large enough to wrap around the baby. The hood needs to be deep enough to stay on the head, but not so large that it covers the face. The seams need to be secure, soft, and washable. Everything else is optional.
For a newborn, a square towel around 30 by 30 inches is easy to handle. For a baby who is growing quickly, a standard bath towel gives more coverage and will last longer. If you are making this as a gift, bigger is usually safer because babies outgrow tiny towels fast.
The hood size is also flexible. A 10-inch square folded diagonally makes a small hood. A 12-inch square makes a roomier hood. If the towel is very thick, avoid making the hood too bulky because several layers will meet at the corner.
A quick sizing guide:
| Towel user | Towel body size | Hood square size |
|---|---|---|
| — | —: | —: |
| Newborn | 30 x 30 inches | 10 x 10 inches |
| Young baby | 32 x 32 inches | 11 x 11 inches |
| Growing baby | 30 x 52 inches bath towel | 12 x 12 inches |
The main sewing decision is how to finish the hood edge. If you use a hand towel with finished edges, you can cut it so one finished edge becomes the face edge of the hood. If you cut terry cloth and leave a raw edge, it may shed loops. In that case, finish the edge with a zigzag stitch, serger, bias tape, or a folded hem.
For beginners, the least fussy option is this: use a hand towel, cut a square from one end, and keep one finished towel edge as the front edge of the hood. Then you only need to sew the hood to the main towel. That is the core of “sew a hooded towel for baby the easy way.”
Practical Guidance
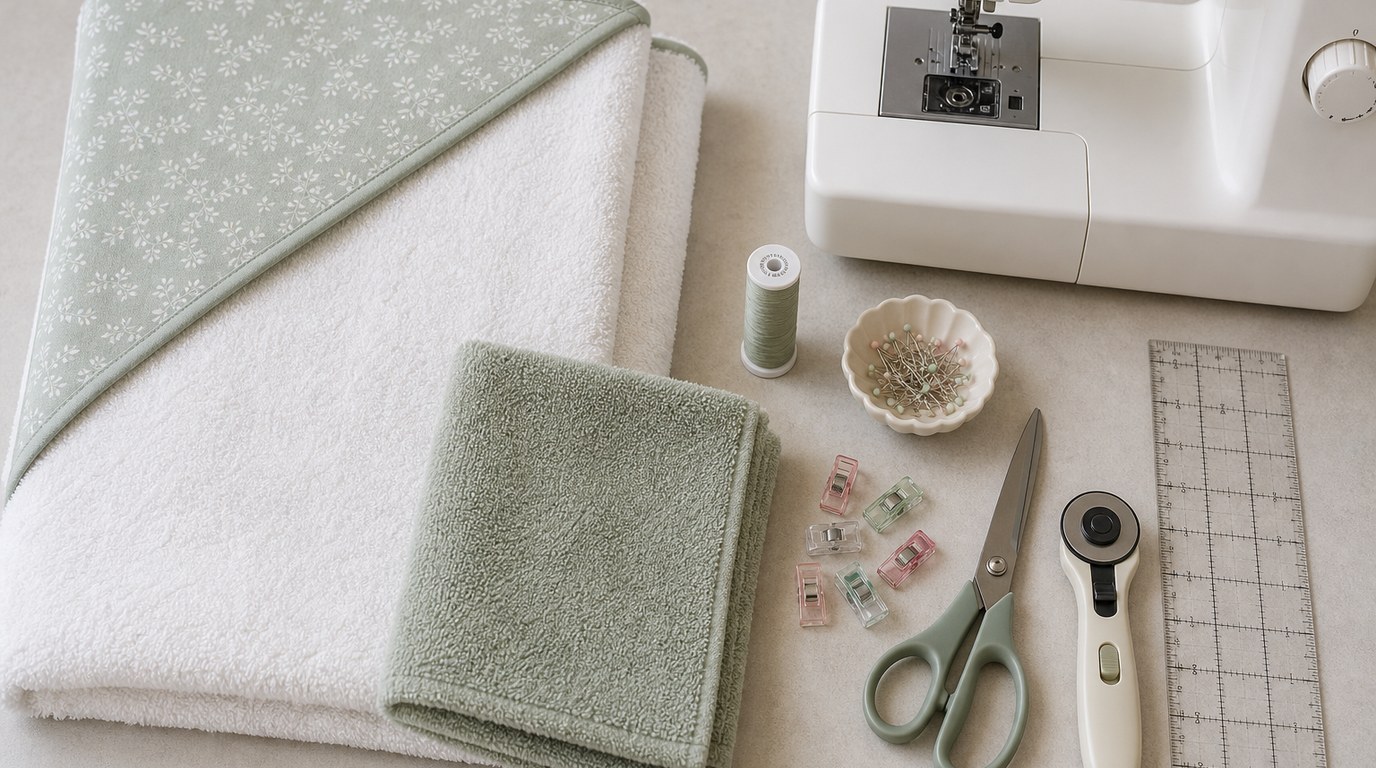
Gather your supplies before cutting. You will need one soft towel for the body, one hand towel or towel scrap for the hood, matching thread, scissors or a rotary cutter, pins or sewing clips, a ruler, and a sewing machine. Clips are often easier than pins with thick terry because they hold the layers without bending.
Prewash the towels in the same way you plan to wash the finished towel. This removes lint, softens the fabric, and handles any shrinking before you sew. Dry completely, then shake out loose lint.
Cut the hood piece. For a basic baby hood, cut a 10-, 11-, or 12-inch square. If possible, position the square so one side already has a finished towel edge. Fold the square diagonally with wrong sides together, making a triangle. The finished edge should become the long front edge that frames the baby’s face.
If your triangle has a raw front edge, finish it before attaching the hood. You can sew a zigzag stitch along the edge, fold the edge under once and stitch it down, or cover it with bias tape. Bias tape looks neat but adds a step. A zigzag stitch is fastest.
Next, place the folded hood triangle on one corner of the towel body. Line up the two short raw edges of the triangle with the two edges of the towel corner. The point of the triangle should aim toward the center of the towel. Clip the layers well.
Sew the hood to the towel along the two outside edges where the hood meets the towel corner. Use a 1/4- to 1/2-inch seam allowance, depending on towel thickness. Backstitch at the start and end. If the layers are bulky, sew slowly and do not pull the fabric from behind the presser foot.
For extra strength, sew a second row of stitching just inside the first row. This is helpful because baby towels are washed often. You can also use a medium zigzag stitch, which grips terry cloth well and gives a little flexibility.
Check the finished towel with your hands. Trim loose threads. Make sure the hood seam is secure and that no scratchy seam or stiff thread sits where it might rub baby’s face. If you used bias tape or decorative trim, confirm it is sewn down firmly.
A few simple variations are safe and useful. Add a strip of cotton binding to the hood edge for contrast. Use a bath towel and matching washcloth for a coordinated gift. Add an initial or small applique to the hood, but keep decorations flat and securely stitched. Avoid buttons, beads, loose ribbons, or anything that could come off.
If your machine struggles with thickness, switch to a fresh 90/14 needle, lengthen the stitch slightly, and sew over bulky seams by turning the handwheel manually. If the terry shifts, add more clips and sew from the hood side so you can see the triangle placement.
Wash the finished hooded towel before gifting or using it. Terry cloth often releases lint after cutting, and washing helps the seams settle.
FAQ
What Should a Beginner Know First About Sew a Hooded Towel for Baby the Easy Way?
Start with ready-made towels instead of yardage. A large towel becomes the body, and a smaller square becomes the hood. The project is mostly straight stitching, so careful measuring, clipping, and slow sewing matter more than advanced technique.
What Matters Most When Evaluating Sew a Hooded Towel for Baby the Easy Way?
Softness, absorbency, size, and seam comfort matter most. Choose a towel that feels gentle but is not so thick that your machine cannot sew through the layers. The hood should fit securely without being heavy or oversized.
What Mistakes Should Readers Avoid with Sew a Hooded Towel for Baby the Easy Way?
Do not skip prewashing, because towels can shrink and shed lint. Avoid bulky decorations, loose trims, or scratchy seams near the baby’s face. Also avoid making the hood too small; a slightly roomy hood is usually more practical.
What Is the Next Logical Step After Learning About Sew a Hooded Towel for Baby the Easy Way?
Make one simple version first using a bath towel and hand towel. Once you understand the construction, try neat upgrades such as bias binding, a contrasting hood, or a matching washcloth, while keeping all details soft and securely sewn.