A two-layer flannel baby blanket is one of the best beginner sewing projects because it is soft, useful, and forgiving. You do not need batting, binding, or advanced quilting skills. The basic idea is simple: cut two matching pieces of flannel, place them right sides together, sew around the edges, turn the blanket right side out, press it flat, and topstitch around the edge for a neat finish. The most important parts are prewashing the flannel, cutting both layers evenly, leaving a turning gap, and sewing slowly enough to keep the edges aligned.
Quick Answer
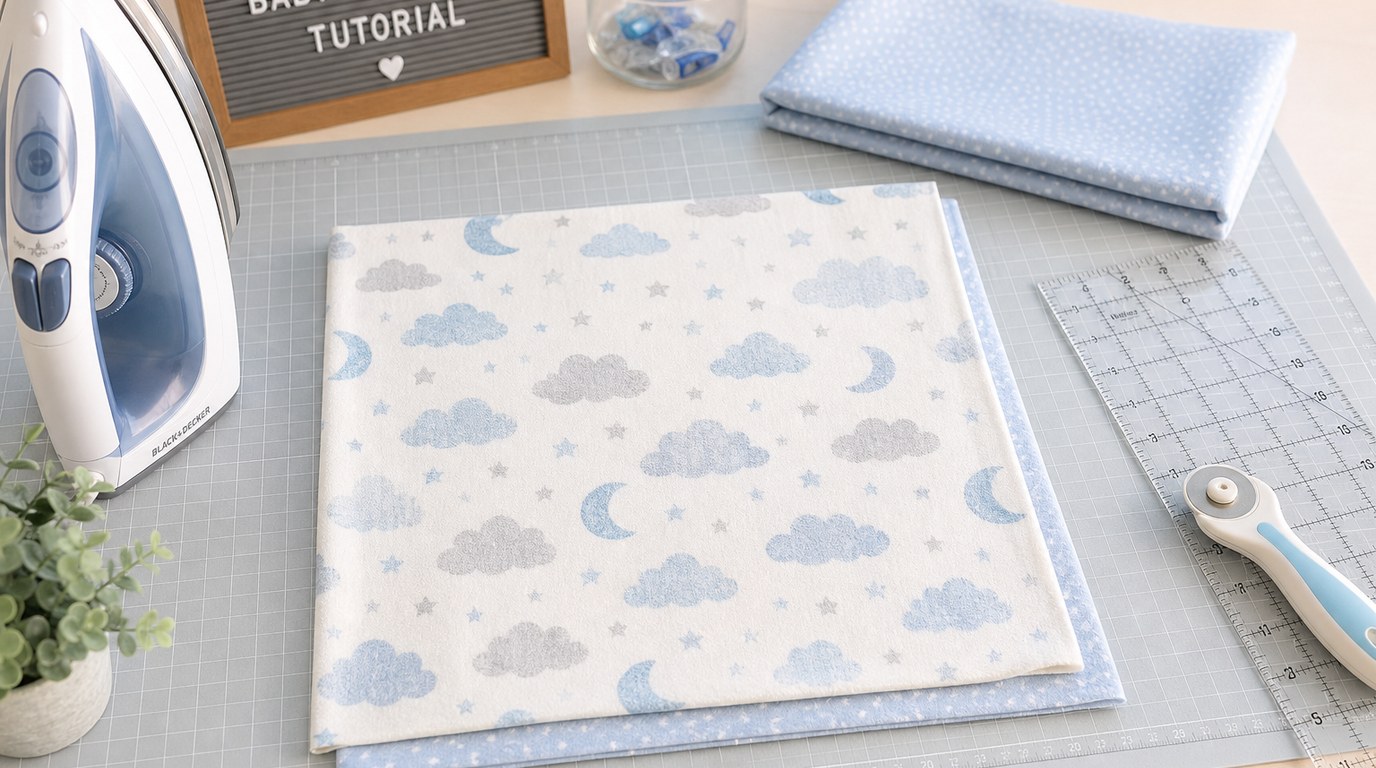
To make an easy flannel baby blanket, use two pieces of cotton flannel in the same size, usually 36 by 36 inches for a simple square receiving blanket. Prewash and dry the fabric first because flannel can shrink. Press it smooth, then place the two fabric pieces with the right sides facing each other. Pin or clip around the edges.
Sew around the blanket with a 1/2-inch seam allowance, leaving a 4- to 5-inch opening on one side. Trim the corners carefully without cutting through the stitches. Turn the blanket right side out through the opening, gently push out the corners, and press the edges flat. Fold the raw edges of the opening inward so they line up with the sewn seam. Topstitch around the entire blanket about 1/8 to 1/4 inch from the edge, closing the opening as you sew.
This “beyond easy flannel baby blanket how to” method works because it avoids the trickiest parts of blanket sewing: no binding, no batting, no quilting, and no curved edges. It is simply two soft layers stitched together. For a beginner, the best size is one that fits comfortably on your table and through your sewing machine without bunching.
How to Think About This Topic
Think of this blanket as a pillowcase-style project, not a quilt. You are making a fabric “sandwich” with two pieces of flannel, sewing most of the way around it, turning it right side out, and finishing the edge. Once that mental model clicks, the project becomes much less intimidating.
The first decision is size. A small stroller or car-seat blanket might be about 30 by 30 inches. A common receiving blanket is about 36 by 36 inches. A larger tummy-time or toddler blanket might be closer to 40 by 40 inches or 36 by 42 inches. For a first blanket, square is easiest because all sides behave the same.
| Finished use | Cut size for each flannel layer | Notes |
|---|---|---|
| — | —: | — |
| Small stroller blanket | 30" x 30" | Easy to handle and quick to sew |
| Receiving blanket | 36" x 36" | Good beginner all-purpose size |
| Larger baby blanket | 40" x 40" | Softer drape, but more fabric to control |
| Rectangular blanket | 36" x 42" | Useful if using full fabric width |
The second decision is fabric. Choose 100% cotton flannel or a soft cotton-rich flannel. Avoid anything too stretchy, slippery, or loosely woven for your first try. If using two prints, make sure both are similar in weight so the blanket hangs evenly. One print and one solid is a classic combination.
Prewashing matters more with flannel than with many other cottons because it can shrink and become fluffier after laundering. Wash and dry the fabric the same way the finished blanket will be washed. This also removes excess lint and helps you avoid a blanket that twists or puckers after the first use.
The third decision is seam allowance, which means the distance between the raw fabric edge and your stitching line. A 1/2-inch seam allowance is beginner-friendly because it gives you enough room to control the fabric. Topstitching, which is visible stitching near the finished edge, keeps the layers from rolling and closes the turning opening cleanly.
For safety, keep the blanket simple. Do not add loose buttons, beads, long ribbons, or bulky decorations to a baby blanket. Soft, washable, and secure is the goal.
Practical Guidance
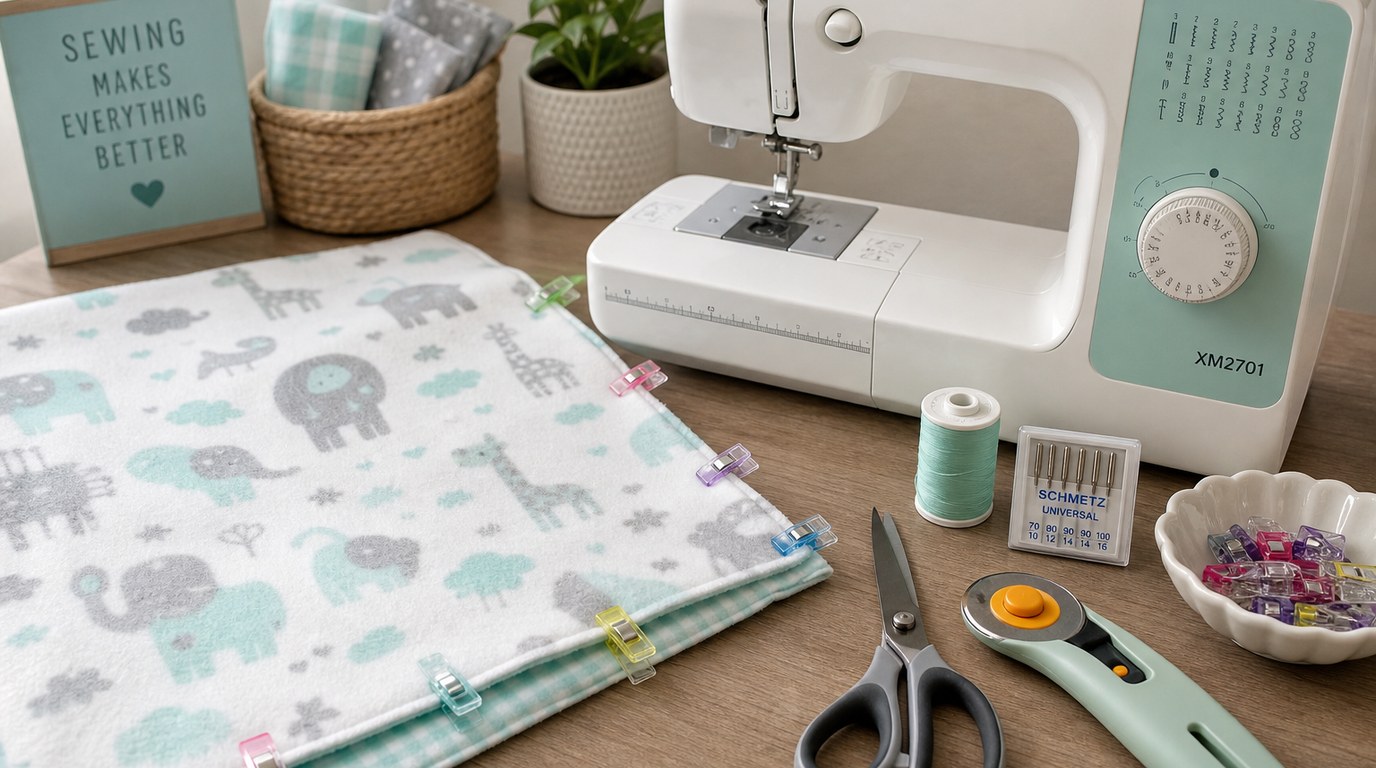
Gather two pieces of flannel, matching thread, fabric scissors or a rotary cutter, pins or sewing clips, an iron, and a sewing machine with a universal needle. A size 80/12 needle works well for most cotton flannel. If your flannel is thick, a 90/14 needle may sew more smoothly.
- Prepare the fabric. Wash, dry, and press both flannel pieces. Pressing is not just cosmetic; it helps you cut accurately and prevents wrinkles from being trapped in the seam.
- Cut the layers. Cut two identical rectangles or squares. If the fabric edges are uneven after washing, straighten them first. For a 36-inch blanket, cut two 37-inch squares if you want a finished size close to 36 inches after using 1/2-inch seams.
- Layer the blanket. Place one flannel piece right side up. Place the second piece on top, right side down. The right sides are the printed or nicer-looking sides. Align the edges and smooth from the center outward.
- Pin or clip. Secure the layers every few inches. Put two pins close together where you want to leave the turning gap so you remember not to sew it shut.
- Sew around the edges. Sew with a 1/2-inch seam allowance. Start on one side, backstitch to secure the thread, and sew around the blanket. Backstitch again before the opening. Pivot at the corners by stopping with the needle down, lifting the presser foot, turning the fabric, and lowering the foot again.
- Trim and turn. Clip the corners diagonally, staying a little away from the stitches. This reduces bulk. Turn the blanket right side out through the opening. Use your fingers or a blunt turning tool to shape the corners gently.
- Press and close. Press the blanket flat, rolling the seam slightly so the edge sits neatly. At the opening, fold the raw edges inward to match the sewn seam and press them in place.
- Topstitch. Sew around the entire blanket 1/8 to 1/4 inch from the edge. This closes the opening and gives the blanket a finished look. For extra stability, you can add a second row of topstitching about 1/2 inch from the edge, but it is optional.
If the layers shift while sewing, use more pins, sew slower, and support the blanket so its weight does not pull away from the machine. If the corners look bulky, trim a little more fabric from the seam allowance before turning, but never cut through the stitches. If the topstitching looks wavy, press again and try a longer stitch length, such as 3.0 mm.
A simple variation is to round the corners using a bowl as a template, but straight corners are easier for a first blanket. You can also make one side solid and one side printed, or use two coordinating prints. Keep the construction the same until you feel confident.
FAQ
What Should a Beginner Know First About Beyond Easy Flannel Baby Blanket How to?
Start with a two-layer flannel blanket without batting or binding. It is the simplest version and still makes a soft, practical baby gift. Prewash the fabric, cut both layers the same size, sew right sides together, turn, press, and topstitch.
What Matters Most When Evaluating Beyond Easy Flannel Baby Blanket How to?
The most important factors are fabric quality, accurate cutting, and a clean edge finish. Choose soft washable flannel, keep the layers aligned, leave a turning opening, and topstitch all the way around. These choices make the blanket durable and beginner-friendly.
What Mistakes Should Readers Avoid with Beyond Easy Flannel Baby Blanket How to?
Do not skip prewashing, because flannel often shrinks. Do not forget the turning gap, and do not cut through the corner stitches when trimming. Avoid loose decorations on baby blankets. Also, do not rush the topstitching; it is what makes the edge look finished.
What Is the Next Logical Step After Learning About Beyond Easy Flannel Baby Blanket How to?
After sewing one basic blanket, try improving the finish rather than changing the whole project. Practice straighter topstitching, rounded corners, or a slightly larger size. Once you are comfortable, you can explore self-binding blankets, light quilting, or matching burp cloths.