
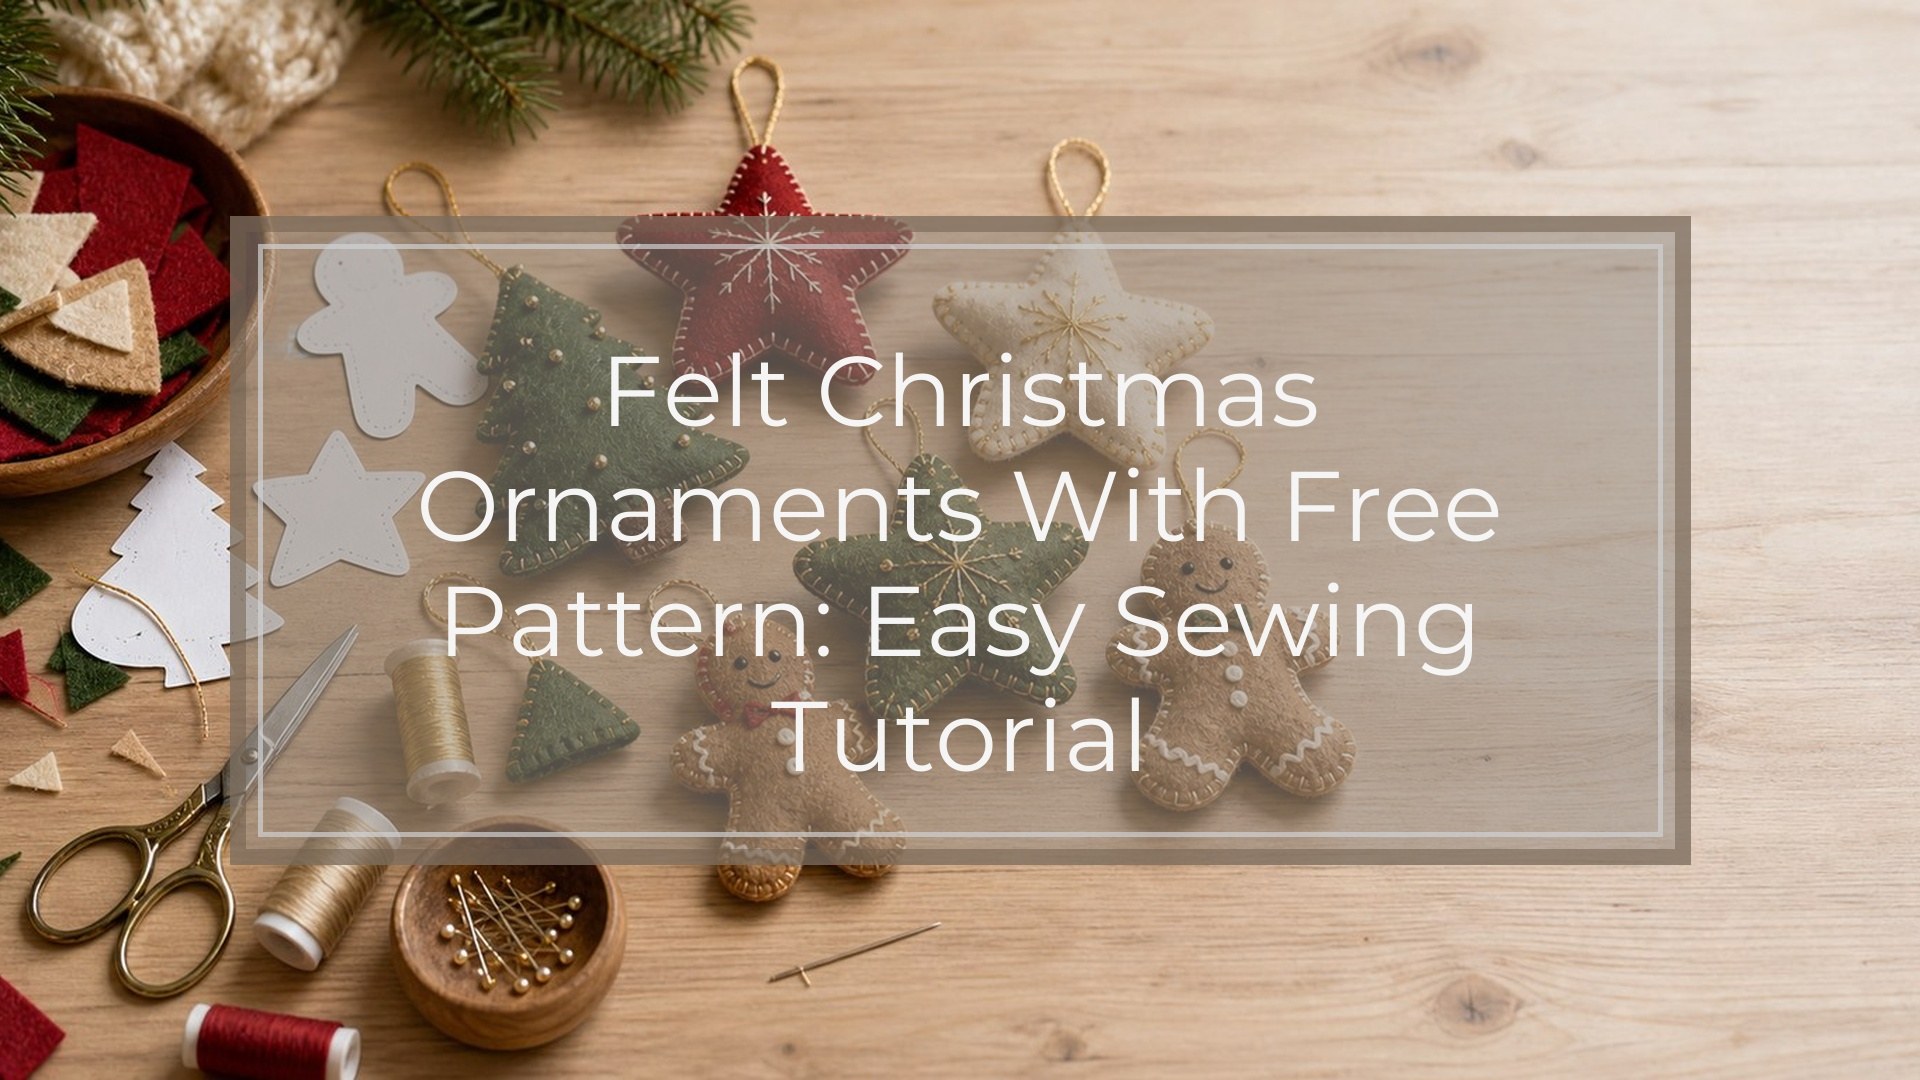
These felt Christmas ornaments are small, beginner-friendly sewing projects you can make by hand or with a sewing machine. The free pattern includes five simple holiday shapes: a tree, star, mitten, stocking, and bauble. Each ornament is made from two felt pieces, lightly stuffed, stitched around the edge, and finished with a hanging loop.
Felt is ideal for this project because it does not fray, holds its shape well, and is easy to decorate with embroidery, buttons, beads, ribbon, or small felt scraps. Use the same basic method for every shape, then customize the details to make a matching set or a batch of one-of-a-kind handmade gifts.
Free Felt Christmas Ornament Pattern
Use this free felt ornament pattern as a simple printable or traceable template. The five shapes are designed to be easy to cut and sew, with soft curves and beginner-friendly edges.
To make your pattern, draw or print these approximate shapes on paper or cardstock:
- Tree: 4 inches tall
- Star: 3 1/2 inches wide
- Mitten: 3 1/2 inches tall
- Stocking: 4 inches tall
- Bauble: 3 1/2 inches tall
Cut out the paper templates, then trace around them onto felt using a fabric marker, chalk pencil, or fine-tip pen. If you want larger ornaments, enlarge the shapes before cutting. For smaller gift tags or garlands, reduce them slightly, but keep the shapes large enough to sew comfortably.
Supplies You’ll Need
Gather everything before you start so the sewing process feels smooth and relaxed.
You will need:
- Wool-blend or acrylic craft felt
- Paper pattern templates
- Sharp fabric scissors
- Embroidery floss, pearl cotton, or sewing thread
- Hand sewing needle or sewing machine
- Polyester fiberfill or wool stuffing
- Ribbon, twine, or cord for hanging loops
- Pins, clips, or a small dab of fabric glue
- Fabric marker, chalk pencil, or removable pen
- Optional decorations: buttons, sequins, beads, ribbon, lace, ricrac, embroidery floss, or small felt scraps
Wool-blend felt is easier to stitch neatly and usually looks more polished, but acrylic felt works well for casual ornaments and kids’ craft sessions. Choose medium-weight felt that is not too floppy. Very thin felt can stretch or wrinkle, while thick felt may be harder to sew around small curves.
Felt Ornament Pattern Pieces and Cutting Guide
Cut two main felt pieces for every stuffed ornament. Cut decorations from contrasting felt scraps before sewing the ornament closed.
| Ornament shape | Main felt pieces | Optional decoration pieces |
|---|---|---|
| — | —: | — |
| Tree | 2 trees | Trunk, star, garland strips, felt circles |
| Star | 2 stars | Center star, beads, embroidered lines |
| Mitten | 2 mittens | Cuff strip, snowflake, heart |
| Stocking | 2 stockings | Cuff, toe patch, heel patch |
| Bauble | 2 baubles | Cap, stripes, dots, monogram |
For clean cutting, use sharp scissors and turn the felt rather than twisting your wrist around the shape. Cut just inside the traced line if the mark will not disappear. Keep pairs stacked together after cutting so each ornament stays organized.
Before You Start: Choose Your Stitching Method
You can make these ornaments by hand or machine. The best method depends on the look you want and how many ornaments you plan to sew.
Hand sewing gives the ornaments a classic handmade finish. A blanket stitch around the edge is decorative and strong, while a simple running stitch is faster and easier for beginners. Hand sewing also gives you more control around points, curves, and small shapes.
Machine sewing is quicker if you are making a large batch. Use a short straight stitch and sew slowly around curves. Machine stitching creates a cleaner, flatter outline, but it can be trickier on tiny details.
Think of the ornament as a small felt pocket: decorate the front first, layer the back behind it, stitch almost all the way around, add stuffing, then close the final gap.
How to Make the Felt Christmas Ornaments
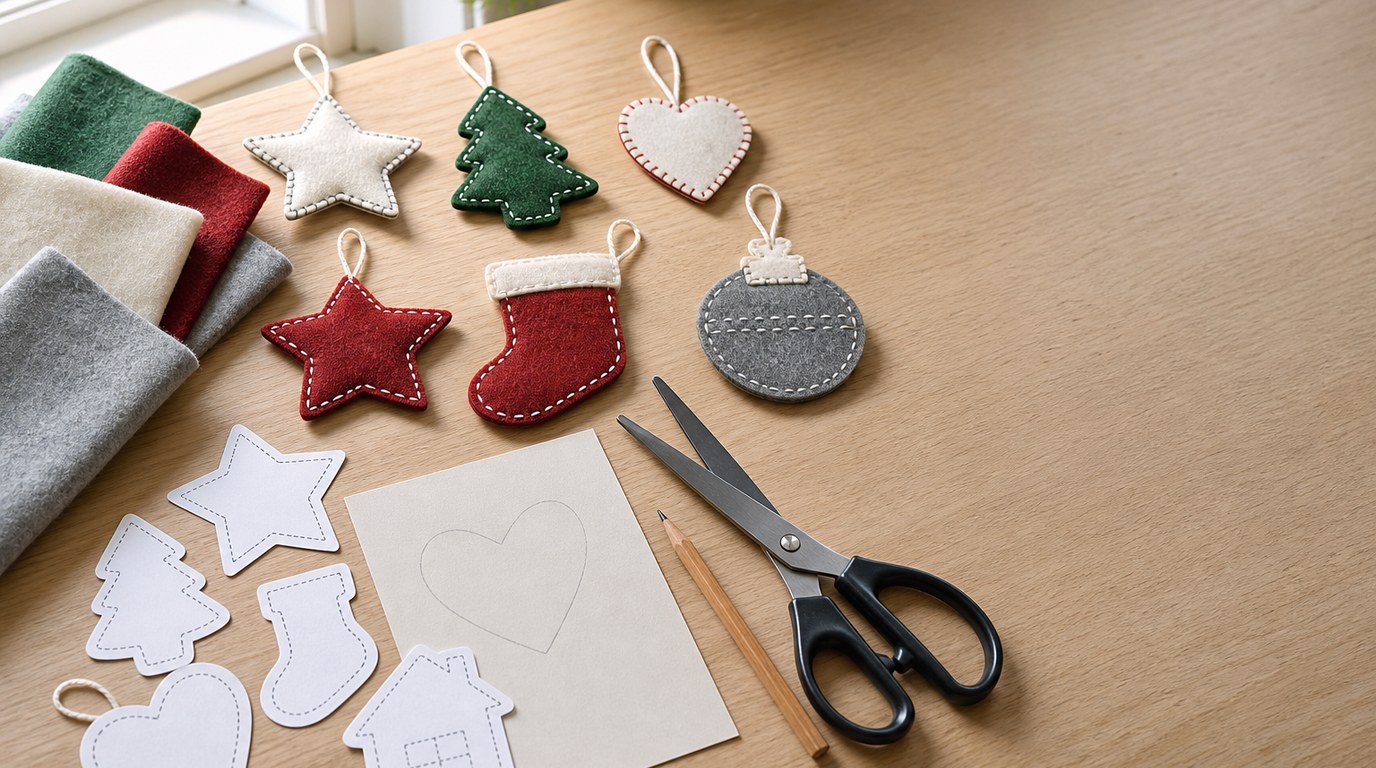
Follow these steps for any of the five ornament shapes.
- Prepare the template.
Cut out your chosen paper pattern shape. If you are making several ornaments, trace the template onto cardstock so it holds up to repeated use.
- Trace and cut the felt.
Trace the shape twice onto felt for each ornament. Cut both pieces carefully. If your felt has a slightly nicer side, place the best sides facing outward when you assemble the ornament.
- Plan the front design.
Choose one felt piece to be the front. Lay out any decorations before attaching them. For example, add a cuff to the stocking, small circles to the tree, or stripes across the bauble.
- Attach the decorations.
Sew decorations in place with small stitches, embroidery floss, or matching thread. You can also use a tiny amount of fabric glue to hold pieces before stitching. Avoid thick glue lines, which can make the felt stiff and harder to sew.
- Add embroidery details.
Stitch names, initials, snowflakes, garlands, or simple lines before the ornament is stuffed. Backstitch works well for lettering and outlines. French knots make nice berries or snow dots.
- Make the hanging loop.
Cut a 6- to 8-inch piece of ribbon, twine, or cord. Fold it in half to form a loop. Place the raw ends between the front and back felt pieces at the top of the ornament, with the loop pointing upward.
- Layer the ornament.
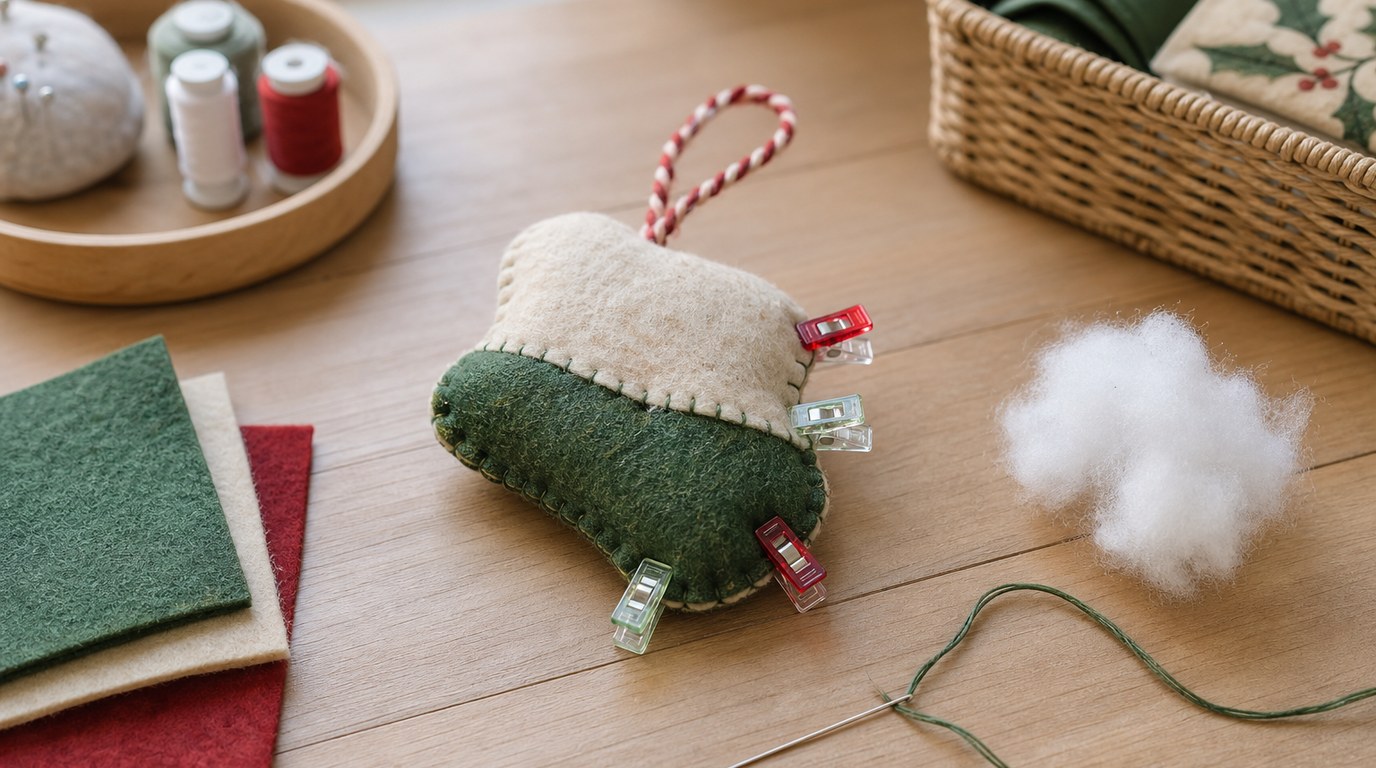
Place the decorated front piece on top of the plain back piece. Line up the edges evenly. Use clips or pins if needed, but do not over-pin because felt can distort.
- Start stitching around the edge.
Begin near the side or lower edge, not at the very top where the hanging loop sits. Sew around the ornament using blanket stitch, running stitch, whipstitch, or a machine straight stitch. Keep your stitches even and about 1/8 inch from the edge.
- Secure the hanging loop.
When you reach the top, stitch through the loop ends several times. This area gets handled the most, so reinforce it well.
- Leave an opening.
Stop sewing when you have a 1- to 1 1/2-inch opening left. The opening should be large enough to add stuffing without stretching the felt.
- Stuff lightly.
Add small pinches of stuffing at a time. Push it gently into points and curves with the blunt end of a pencil, chopstick, or stuffing tool. Do not overstuff; felt ornaments look best softly padded rather than bulging.
- Close the opening.
Continue stitching around the final section. Tie off securely on the back or hide the knot between the felt layers. Trim any loose threads.
- Shape and finish.
Gently press the edges between your fingers to even out the stuffing. Trim any uneven felt edges if needed, being careful not to cut the stitches.
Repeat the same process for each shape. Once you make one ornament, the rest come together quickly.
Design Ideas for Each Ornament Shape
Use the five basic shapes as a starting point. Small changes in color and decoration can make a full coordinated set.
Tree: Cut the tree from green felt and add a brown trunk, yellow star, and tiny felt circles as ornaments. For a rustic look, stitch a simple garland line with cream embroidery floss.
Star: Use white, gold, red, or navy felt. Add straight embroidered lines from the center to each point, or sew a smaller contrasting star on top. Beads or sequins work well here, but stitch them securely.
Mitten: Add a white or patterned cuff strip across the top. Decorate the mitten with a heart, snowflake, or initial. Make pairs in opposite directions if you want a sweet matching set.
Stocking: Add a cuff, heel, and toe patch from contrasting felt. Personalize the cuff with a name or first initial. Keep lettering simple so it fits clearly.
Bauble: Try horizontal stripes, dots, scallops, or a monogram. A small gray, gold, or silver felt rectangle at the top can look like an ornament cap.
For a cohesive collection, choose three main felt colors and repeat them across every ornament.
Tips for Neater Felt Ornaments
Use small, even stitches. Large stitches can look loose and may let stuffing show through the edge.
Cut felt with dedicated fabric scissors. Dull scissors leave fuzzy, uneven edges that are hard to fix later.
Stuff lightly and gradually. Too much stuffing can warp the shape, especially at star points, mitten thumbs, and stocking toes.
Match your thread when you want a subtle finish, or use contrasting embroidery floss when you want the stitching to be part of the design.
If you are hand sewing, keep the same distance from the edge all the way around. If you are machine sewing, slow down at curves and stop with the needle down before turning.
How to Use or Gift Your Handmade Ornaments
Hang the finished ornaments on a Christmas tree, tie them to wrapped gifts, or string them onto a garland. They also make thoughtful teacher gifts, stocking stuffers, party favors, and keepsakes for children.
For gifting, add a small tag with the year or recipient’s name. If the ornament is for a baby or pet household, avoid small beads or buttons and use stitched felt decorations instead.
Troubleshooting Common Problems
If the edges do not line up, trim the ornament lightly after stitching or use clips before sewing the next one.
If stuffing shows through, use less stuffing or place your stitches slightly closer together.
If the felt puckers, your stitches may be too tight. Sew with gentle tension and let the felt stay flat.
If the hanging loop pulls out, reinsert it and sew through the loop ends several times. For future ornaments, make the loop ends longer so they sit deeper between the felt layers.
If embroidery looks crooked, draw a faint guide line first and stitch slowly.
FAQ
What Should a Beginner Know First About Felt Christmas Ornaments with Free Pattern?
Start with a simple shape, such as the bauble or tree, and use felt that is easy to cut. Decorate the front before sewing the ornament together. Leave a small opening, stuff lightly, then close it with neat, even stitches.
What Matters Most When Evaluating Felt Christmas Ornaments with Free Pattern?
The most important things are clear pattern shapes, clean cutting, secure stitching, and balanced stuffing. A good beginner pattern should have simple outlines without tiny fragile parts. The finished ornament should hold its shape, hang securely, and look tidy from the front and back.
What Mistakes Should Readers Avoid with Felt Christmas Ornaments with Free Pattern?
Avoid overstuffing, using dull scissors, cutting pieces unevenly, or adding decorations after the ornament is already closed. Do not rely on glue alone for beads, buttons, or hanging loops. Stitch these parts securely so the ornament lasts through many holiday seasons.
What Is the Next Logical Step After Learning About Felt Christmas Ornaments with Free Pattern?
After making the five basic ornaments, try personalizing them with names, dates, embroidered details, or themed color sets. You can also resize the pattern for gift tags, make a garland, or create new shapes using the same cutting, decorating, stuffing, and stitching method.