
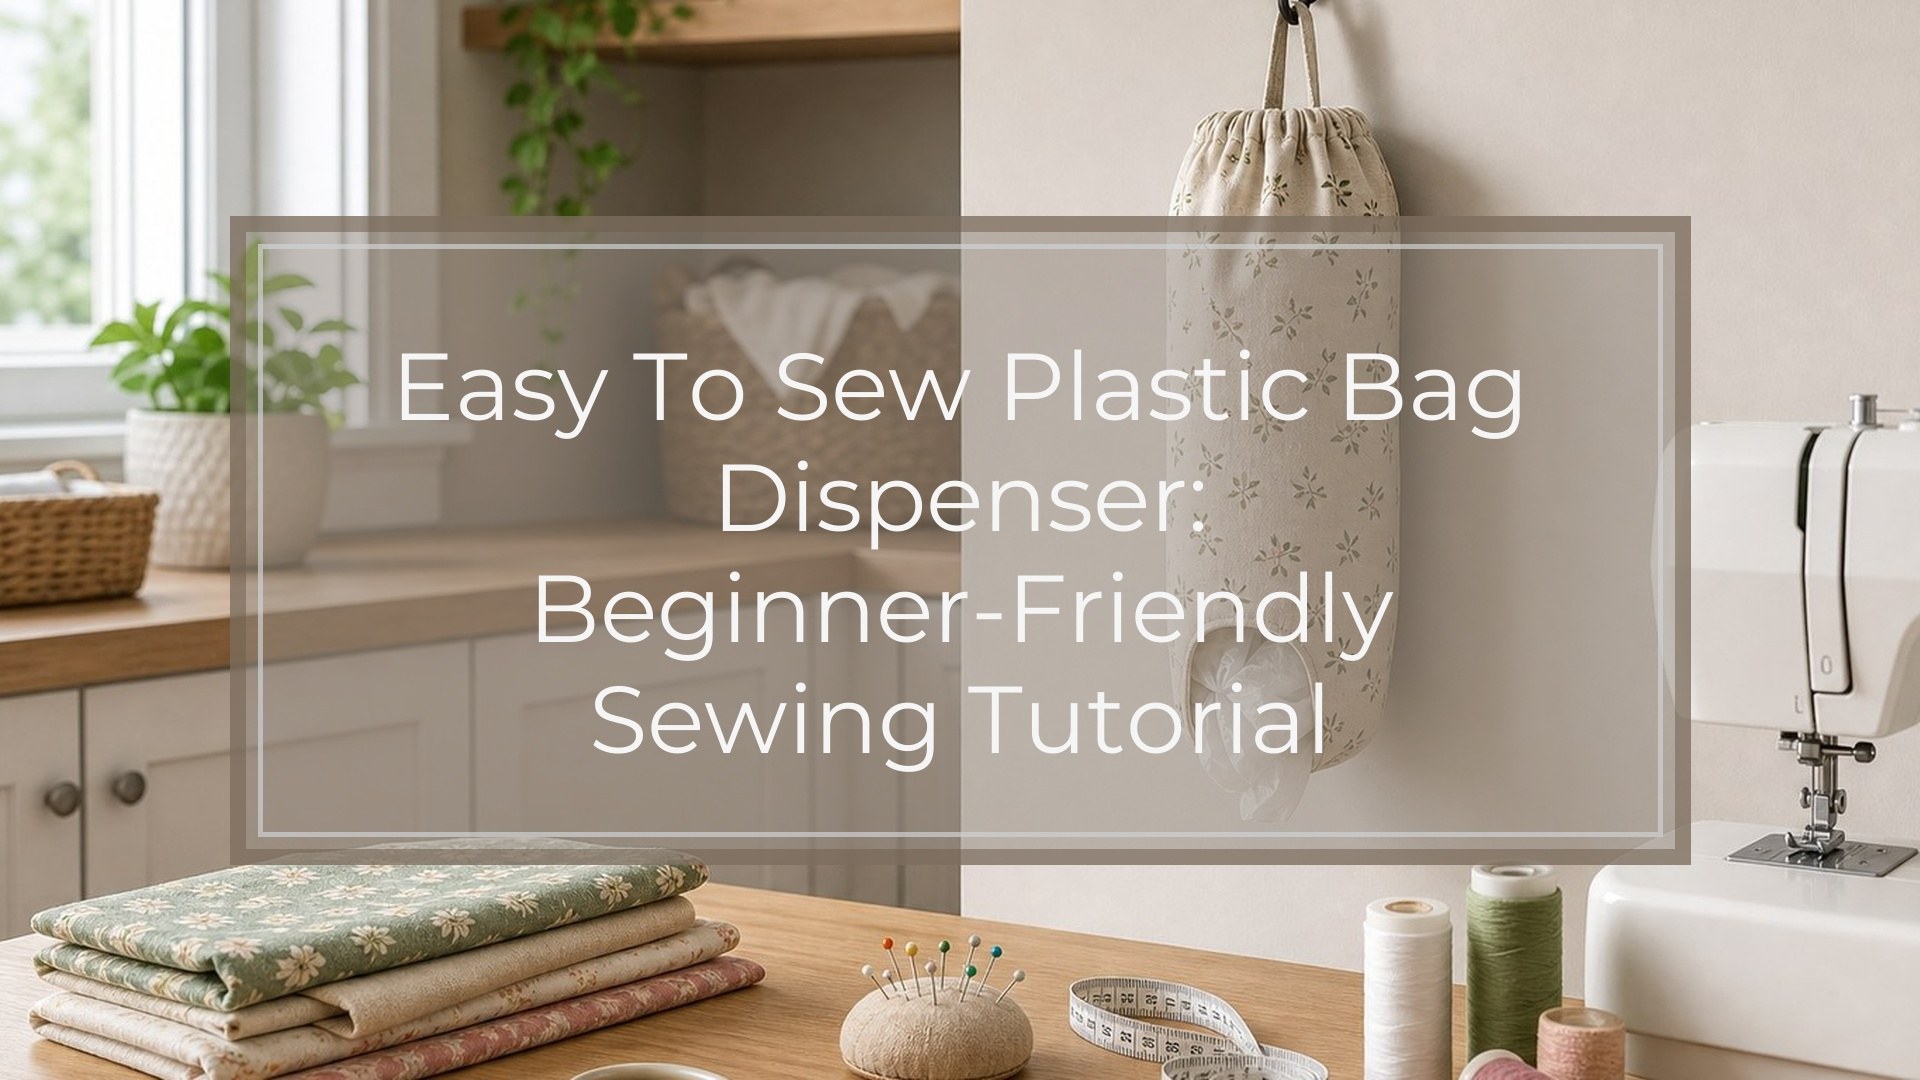
An easy to sew plastic bag dispenser is a simple fabric tube with elastic at both ends. You stuff clean grocery bags into the top, then pull one out from the bottom when you need it. This beginner-friendly project uses straight seams, basic pressing, and short pieces of elastic, so it is a good practice project if you are still building confidence at the sewing machine. Choose a cotton fabric you like, cut one rectangle, sew casings, add a loop, and finish with elastic.
Why This Plastic Bag Dispenser Is Easy to Sew
This project is easy because the construction is almost entirely straight sewing. You are not fitting a garment, matching curves, or working with complicated pattern pieces. The dispenser starts as one rectangle of fabric. The top and bottom edges become elastic casings, and the side seam turns the rectangle into a tube.
The elastic gathers both openings: the top stays wide enough for stuffing bags inside, while the bottom holds bags in place but lets you pull one out. If you can sew a straight seam and use a safety pin to thread elastic, you can make this project.
Supplies and Tools
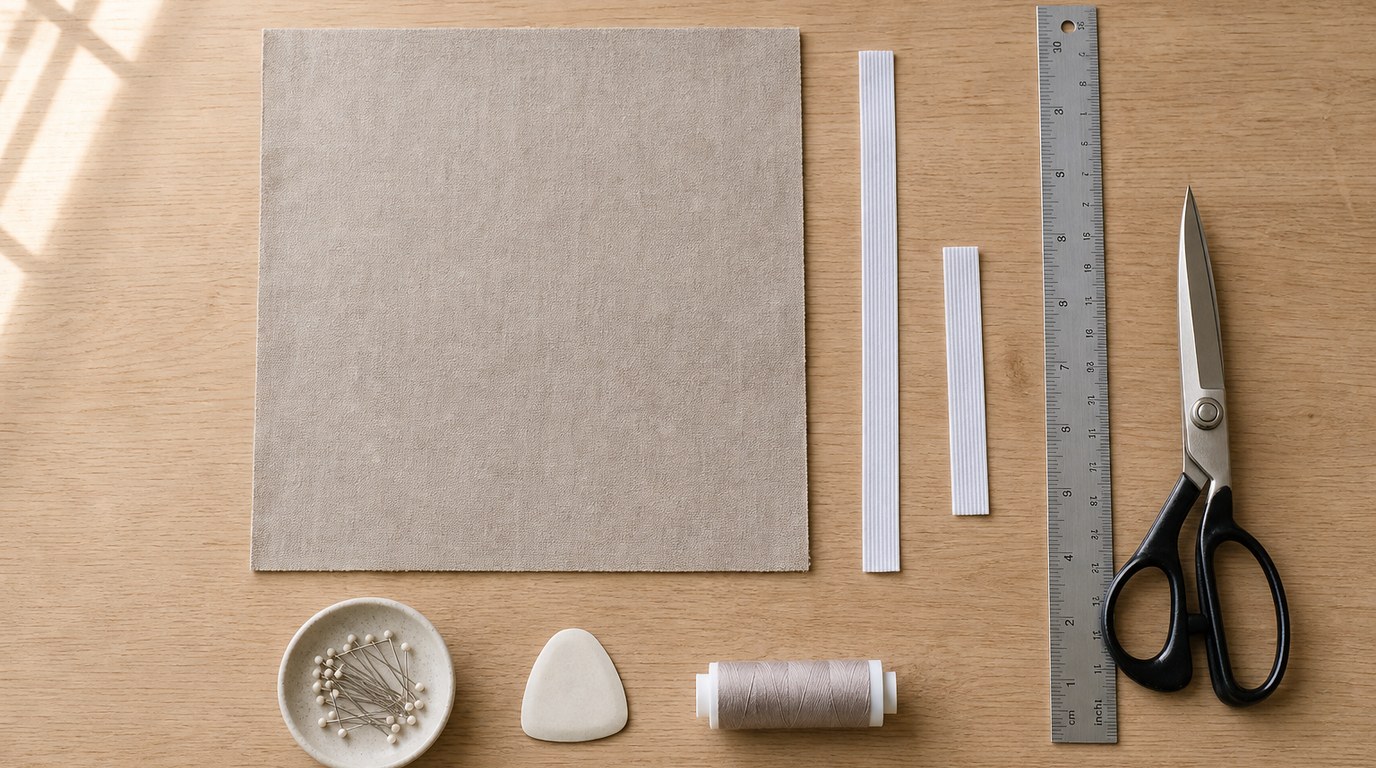
You will need:
- Cotton fabric, quilting cotton, canvas, or lightweight home décor fabric
- Coordinating thread
- 1/4-inch or 3/8-inch elastic
- Ribbon, twill tape, or fabric strip for the hanging loop
- Scissors or rotary cutter and mat
- Ruler or measuring tape
- Pins or sewing clips
- Safety pin or bodkin for threading elastic
- Iron and ironing board
- Sewing machine
- Optional: pinking shears, zigzag stitch, or serger for finishing raw edges
For a standard dispenser, start with one fabric rectangle about 18 inches wide by 22 inches tall. Cut two elastic pieces: one 10 inches long for the top and one 7 inches long for the bottom.
Choose Your Dispenser Size
The best size depends on where you will hang the dispenser and how many bags you want it to hold. A taller dispenser stores more bags, while a wider one is easier to fill. For most kitchens, laundry rooms, or pantries, the standard size works well.
Use this table as a guide. Measurements do not need to be perfect, but keep the top elastic slightly longer than the bottom so the top opening is easier to load.
| Finished Style | Fabric Rectangle | Top Elastic | Bottom Elastic | Best For |
|---|---|---|---|---|
| — | —: | —: | —: | — |
| Small | 16 in x 18 in | 9 in | 6 in | A few bags, small spaces |
| Standard | 18 in x 22 in | 10 in | 7 in | Everyday grocery bags |
| Large | 20 in x 26 in | 11 in | 8 in | Bigger families or bulk storage |
Step 1: Cut and Prepare the Fabric
Wash, dry, and press your fabric if you plan to launder the dispenser later. This helps prevent shrinking after it is sewn.
Cut one rectangle in your chosen size. For the standard version, cut an 18-inch by 22-inch rectangle. The taller measurement runs from top to bottom, and the wider measurement wraps around to form the tube.
Press the fabric flat. If the edges fray easily, finish the two long side edges with a zigzag stitch, serger, or pinking shears. You can also leave them plain if you are using stable cotton and want the simplest version.
Step 2: Sew the Top and Bottom Casings
Place the fabric wrong side up on your ironing board. At the top short edge, fold the raw edge down 1/4 inch toward the wrong side and press. Fold it down again 3/4 inch and press. This creates a neat channel for the elastic.
Repeat the same process on the bottom short edge: fold 1/4 inch, press, then fold 3/4 inch and press again.
Sew close to the inner folded edge of each casing, about 1/8 inch from the fold. Backstitch at the beginning and end of each seam. You should now have a fabric rectangle with one casing along the top and one along the bottom.
Important: do not sew the side seam yet. The casings should be sewn while the fabric is still flat, because it is much easier to handle this way.
Step 3: Add the Hanging Loop
Cut a piece of ribbon, twill tape, or sturdy fabric strip about 6 to 8 inches long. Fold it in half to make a loop.
With the fabric right side up, place the loop near the top edge along one long side. The loop should point inward toward the center of the fabric, with the raw ends lined up with the side edge. Position it about 1 inch below the top casing.
Pin or clip the loop in place. It will be caught in the side seam in the next step, creating a hanger for a hook, knob, or pantry door.
Step 4: Sew the Side Seam
Fold the fabric in half lengthwise with right sides together, matching the two long raw edges. The top casing should meet the top casing, and the bottom casing should meet the bottom casing. Pin or clip along the side.
Sew the long side seam using a 1/2-inch seam allowance. Backstitch at the top and bottom, and sew over the hanging loop area a second time for extra strength.
Be careful not to sew across the openings of the top and bottom casings. The ends of the casings need to stay open at the side seam area so you can insert the elastic. Press the seam allowance to one side if possible, then turn the tube right side out.
Step 5: Insert the Elastic
Attach a safety pin or bodkin to one end of the top elastic. Thread it through the top casing, working it around the tube until it comes back out near the starting point. Hold onto the other end so it does not slip inside.
Overlap the elastic ends by about 1/2 inch and sew them together securely with a zigzag stitch or several straight stitches. Let the elastic slide fully into the casing and spread the gathers evenly.
Repeat this process with the bottom elastic. The bottom opening should gather more tightly than the top, but it should still stretch enough for a bag to pull through. If it feels too tight, replace it with a slightly longer piece of elastic before closing everything up.
You can hand stitch the small casing openings closed, but it is not required if the elastic is secure.
Step 6: Fill and Use the Dispenser
To use the dispenser, push clean, dry plastic grocery bags into the top opening. Stuff them in one at a time so they do not tangle too much.
When you need a bag, pull one from the bottom opening. The elastic should hold the remaining bags inside while letting a single bag come out. Hang the dispenser on a hook, inside a cabinet, in the pantry, or near a trash can where you use bags most often.
Beginner Tips for a Neater Finish
Press every fold before sewing. Pressing makes the casings easier to stitch and helps the finished dispenser look tidy.
Use pins or clips generously, especially when sewing the side seam. Cotton can shift as you sew, and a few clips keep the top and bottom edges aligned.
If your stitches look wavy, slow down and guide the fabric gently instead of pulling it. A medium stitch length, around 2.5 to 3 mm, works well.
Choose a non-directional fabric if this is your first try. Stripes, words, or one-way prints need more attention so they do not end up sideways or upside down.
Simple Variations
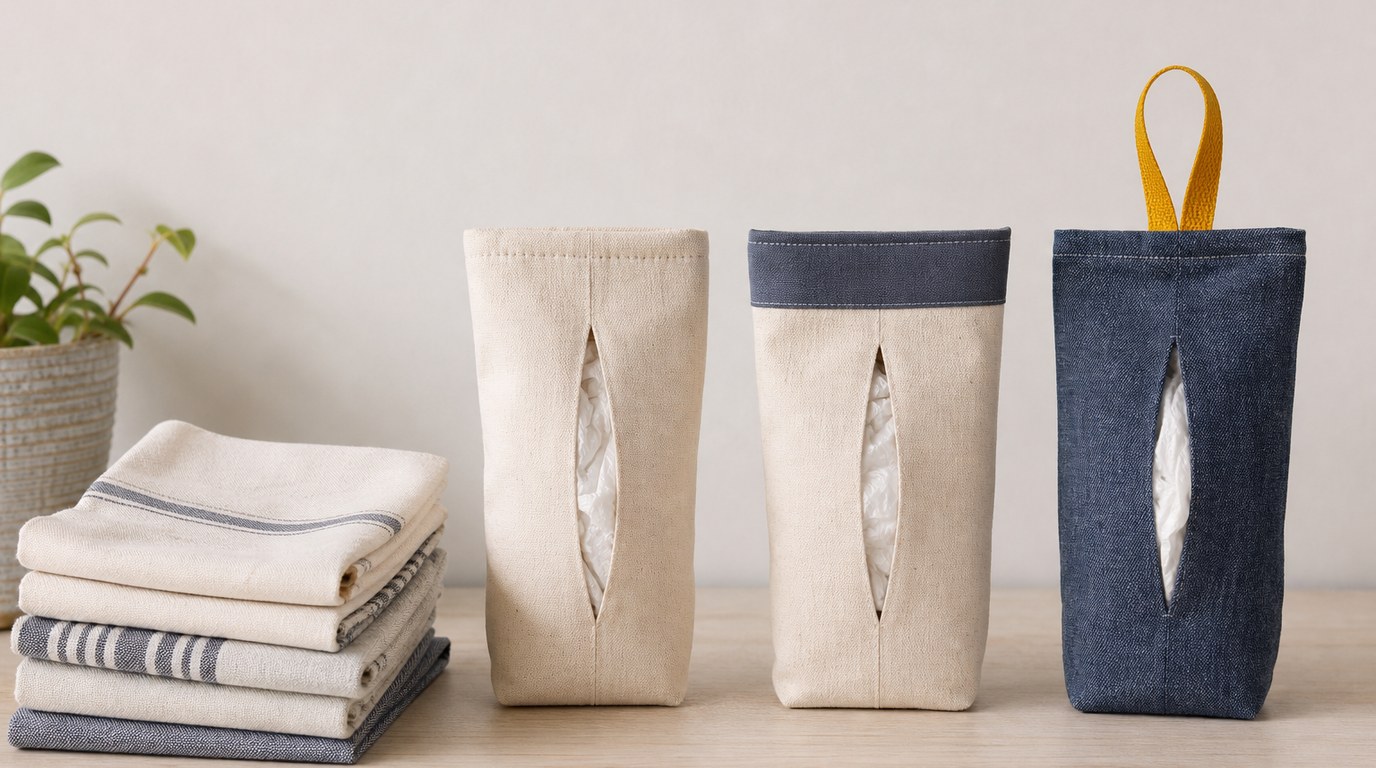
Once you have made the basic version, try small changes. Add a contrasting fabric band at the top before sewing the casings, or use a bright ribbon for the hanging loop.
For a sturdier dispenser, choose canvas or denim and use a slightly longer stitch. For a gift, make a matching set with reusable napkins, bowl covers, or a simple tote bag. You can also add a small fabric label to the front so the dispenser looks more finished without changing the construction.
FAQ
What Should a Beginner Know First About Easy to Sew Plastic Bag Dispenser?
A beginner should know that this is a simple tube-shaped sewing project. The main skills are cutting a rectangle, pressing folds, sewing straight seams, and threading elastic. Use cotton fabric for the easiest handling, and do not rush the pressing steps.
What Matters Most When Evaluating Easy to Sew Plastic Bag Dispenser?
The most important things are useful size, secure elastic, and strong hanging loop placement. The top should open enough for filling, the bottom should hold bags without trapping them, and the loop should be stitched firmly into the side seam.
What Mistakes Should Readers Avoid with Easy to Sew Plastic Bag Dispenser?
Avoid sewing the side seam before making the casings, because flat fabric is easier to fold and stitch. Do not make the bottom elastic too tight, or bags will be hard to pull out. Also avoid stretchy or slippery fabric for your first version.
What Is the Next Logical Step After Learning About Easy to Sew Plastic Bag Dispenser?
After making one dispenser, try adjusting the size for different spaces or sewing a few as practical gifts. This project also prepares you for other beginner sewing projects with casings, such as drawstring bags, simple covers, and gathered fabric organizers.