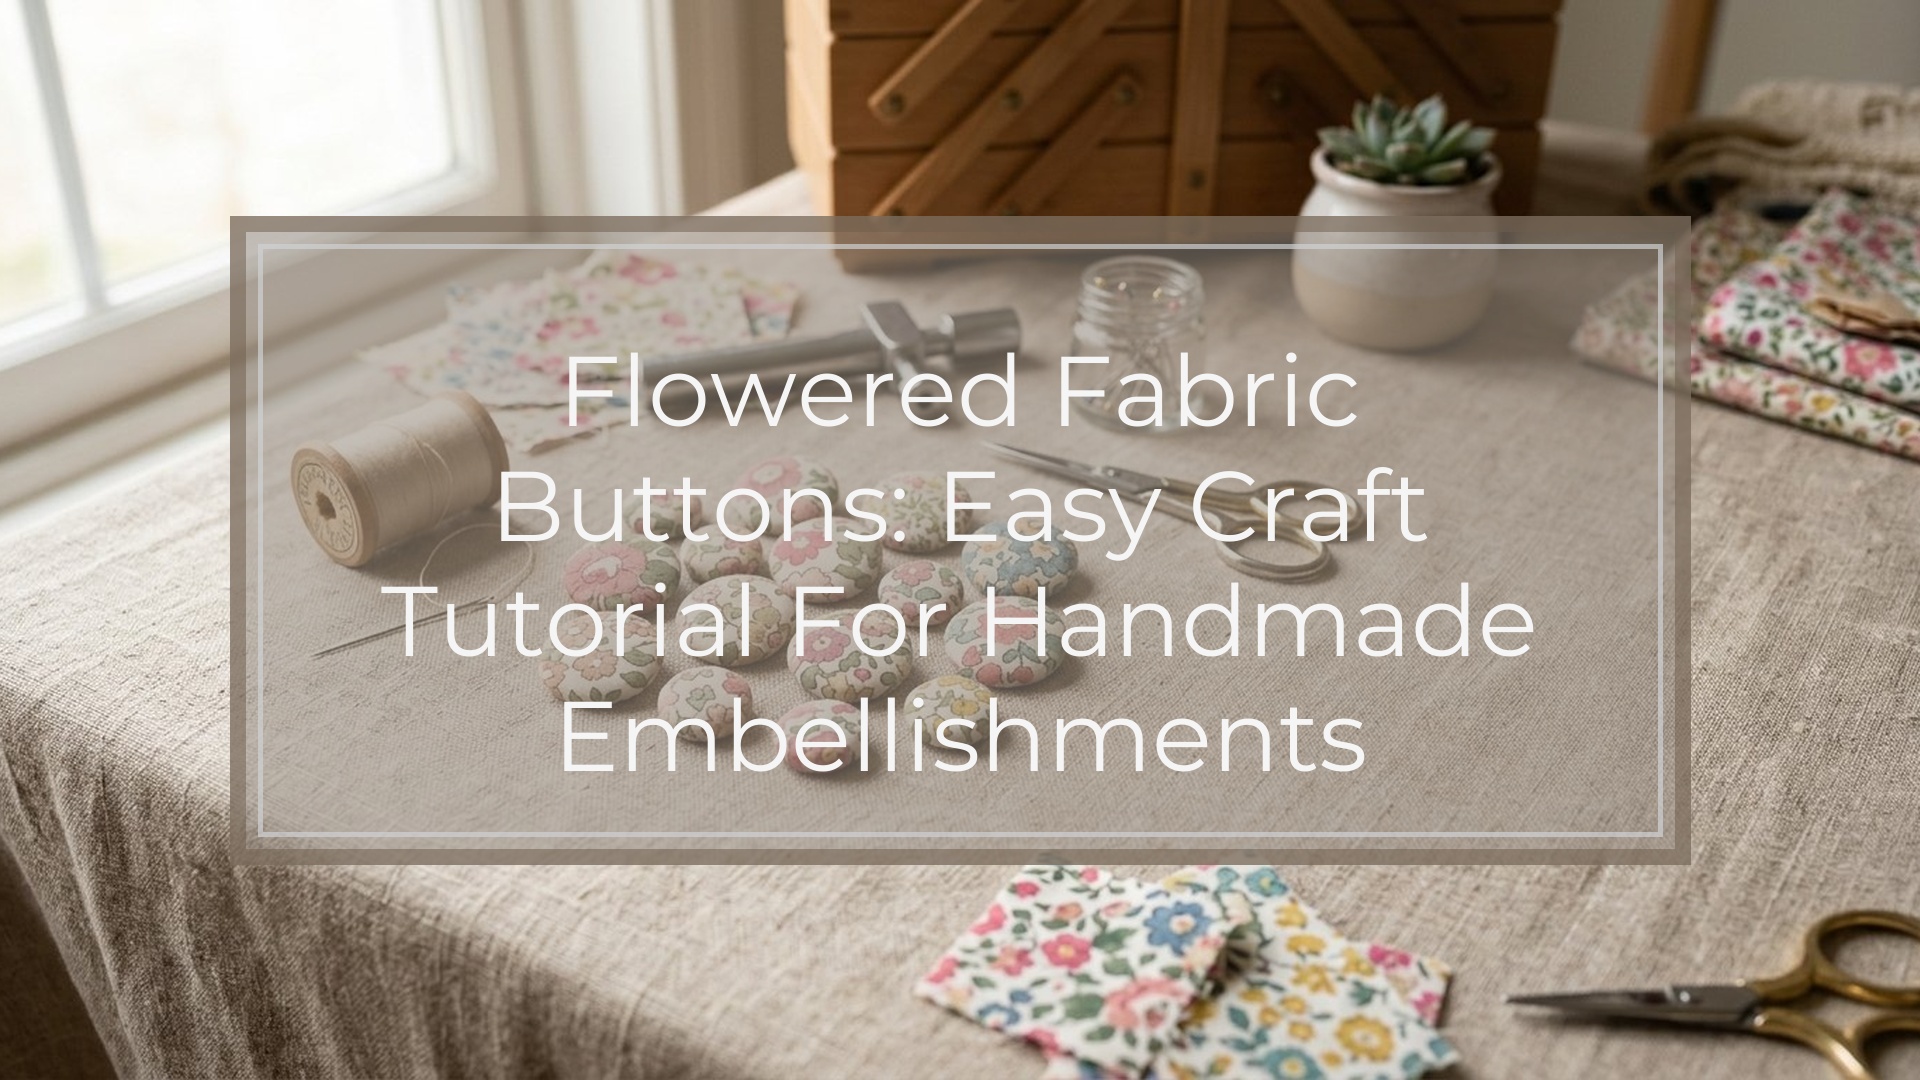
Flowered fabric buttons are simple covered buttons made with floral print fabric, a button shell, and a button back. The key is choosing a small, clear flower motif, cutting the fabric with enough allowance, and centering the design before snapping the back in place. You can use them on blouses, cardigans, bags, hair accessories, cushions, or slow-stitch projects. This tutorial focuses on the easiest method: using a covered button kit, which gives beginners a neat, rounded result without special sewing skills.
Quick Answer
To make flowered fabric buttons, choose a lightweight or medium-weight floral cotton, place the button template over the flower you want to feature, cut the circle, and press the fabric over the metal or plastic button shell using the tool from a covered button kit. Tuck the fabric smoothly to the back, add the button back, and press until it snaps securely.
The main takeaway: the button looks best when the flower is scaled to the button size. Tiny scattered florals work well on small buttons, while one bold bloom suits larger buttons. If the print is too large, the finished button may show only a random petal or patch of color instead of a recognizable flower.
Basic supplies:
- Covered button kit in your chosen size
- Floral fabric
- Fabric scissors
- Pencil or fabric marker
- Template from the kit
- Optional: lightweight interfacing for thin fabric
- Optional: fray check for loosely woven fabric
Before making a full set, make one test button. This helps you check whether the fabric is too bulky, whether the flower stays centered, and whether the button back snaps in cleanly. Once the first button works, repeat the same placement method for matching buttons.
How to Think About This Topic
The easiest way to understand flowered fabric buttons is to think of each button as a tiny fabric frame. You are not just covering a button; you are choosing what part of the fabric becomes the visible “picture.” That is why placement matters more than most beginners expect.
Covered buttons curve over the front shell. Fabric that looks centered while flat can shift slightly as it wraps around the button. The edges pull toward the back, and the center becomes the most visible area. For flowered fabric buttons, you usually want the flower, bud, or prettiest section of the print to sit in that center zone.
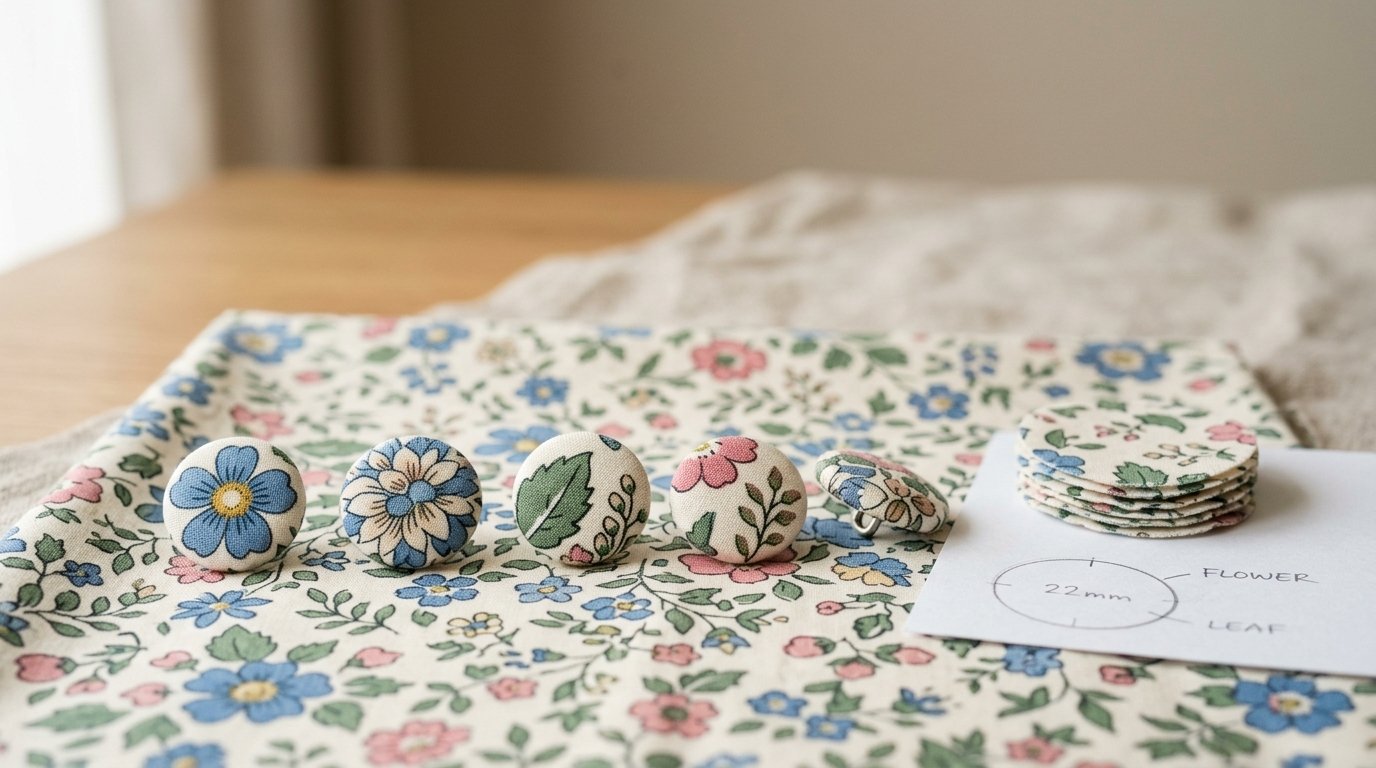
Scale is the next important idea. A small button cannot show a large floral repeat clearly. If your button is 1/2 inch wide, choose ditsy florals, tiny sprigs, or small blossoms. If your button is 7/8 inch, 1 inch, or larger, you can feature a single rose, daisy, tulip, or cluster. When in doubt, lay the button shell over the fabric and move it around until the design looks balanced.
Fabric thickness also affects the result. Quilting cotton is a reliable beginner choice because it is stable, smooth, and easy to press into the button form. Lawn, poplin, chambray, and lightweight linen blends can also work. Very thick upholstery fabric, heavy denim, or bulky embroidered fabric may prevent the back from snapping into place. Very thin fabric may show the shine or color of the button shell unless you add lightweight interfacing.
Think about the final use, too. Buttons for clothing need to be secure, smooth, and washable. Buttons for cards, brooches, ornaments, or decorative pillows can be more playful. You might use vintage florals for a cardigan, bright modern blooms for a tote bag, or soft pastel prints for baby accessories.
The goal is a clean little button where the fabric pattern looks intentional, not accidental.
Practical Guidance
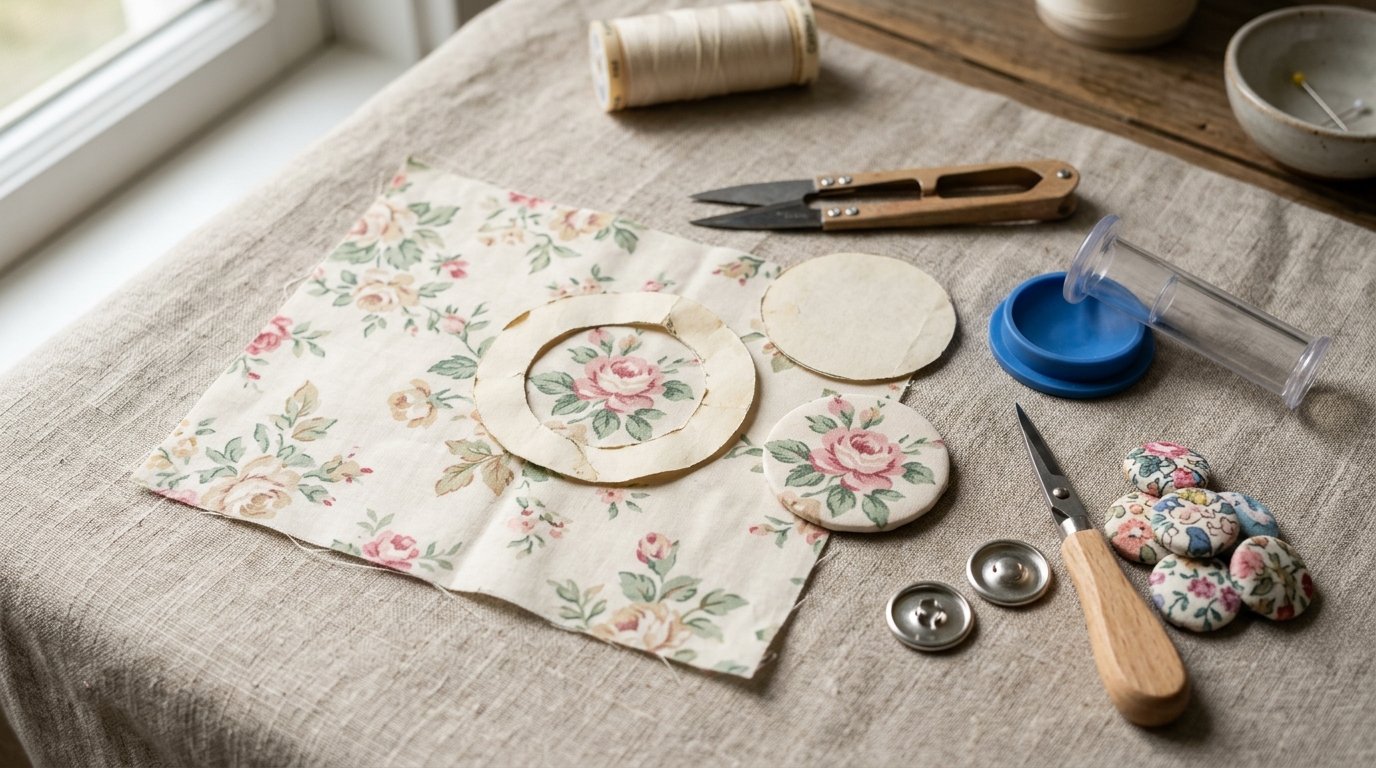
Start by reading the instructions that come with your covered button kit, because kits vary slightly. Most include a template, a rounded mold, a pusher, button shells, and backs. Use the kit template to trace circles on the wrong side of your floral fabric.
For centered flowered fabric buttons, turn the template into a viewing window. If the template is paper, cut out the center so you can see the flower inside the circle. Move it over the fabric until the flower is positioned where you want it. Mark the circle lightly, then cut neatly.
Use this quick fabric guide before cutting:
| Fabric choice | Best for | Watch out for |
|---|---|---|
| Quilting cotton | Beginner buttons, crisp florals | Large prints may not fit small buttons |
| Cotton lawn | Delicate, smooth buttons | May need interfacing |
| Linen blend | Natural, textured look | Loose weave can fray |
| Poplin | Garments and matching sets | Press wrinkles before cutting |
| Heavy fabric | Large decorative buttons | May be too bulky for the back |
To assemble, place the fabric right side down over the mold. Put the button shell on top with the rounded side facing down into the fabric. Press it into the mold so the fabric wraps around the shell. Smooth the fabric evenly around the back; small pleats are normal, but avoid one large lump. Place the button back over the tucked fabric, shank side up if it has one, and press with the pusher until it snaps.
If the flower shifts, mark the center of the bloom with a tiny dot on the wrong side before assembling. Keep that dot aligned with the center of the mold. For a matching set, cut all circles from the same part of the repeat, or intentionally vary them so each button features a different flower.
For garment buttons, test one through the buttonhole before making the whole set. Covered buttons can be slightly thicker than plain buttons. If the buttonhole is snug, choose a smaller size or use the buttons decoratively instead.
If your fabric frays, apply a tiny amount of fray check around the cut edge and let it dry before assembly. If your fabric is sheer, fuse lightweight interfacing to the wrong side before tracing. If the button back will not close, remove the fabric and try a thinner fabric or trim excess bulk from the seam allowance area.
Use finished flowered fabric buttons to refresh a plain cardigan, decorate a drawstring pouch, finish a handmade dress, embellish a headband, or add a floral accent to embroidery hoops and textile art.
FAQ
What Fabric Is Best for Flowered Fabric Buttons?
Quilting cotton is the best beginner fabric for flowered fabric buttons. It is easy to cut, smooth enough to wrap, and available in many floral prints. Choose small-scale flowers for small buttons and larger blooms for bigger covered button kits.
Can I Wash Fabric-covered Buttons?
Yes, many fabric-covered buttons can be washed if the fabric and button kit are washable. Use gentle washing, cool water, and air drying when possible. For garments that will be laundered often, make a test button first and wash it before sewing on the full set.
How Do I Keep the Flower Centered on the Button?
Use the kit template as a viewing window and position the flower in the middle before tracing. Remember that the fabric edges wrap to the back, so the most important part of the flower should sit in the center of the circle, not near the edge.
Why Won’t the Button Back Snap Into Place?
The fabric is probably too thick, too bulky at the back, or not tucked evenly. Try smoothing the folds into smaller pleats, trimming loose threads, or using a lighter fabric. Heavy linen, denim, upholstery fabric, and thick embroidered areas can be difficult in covered button kits.