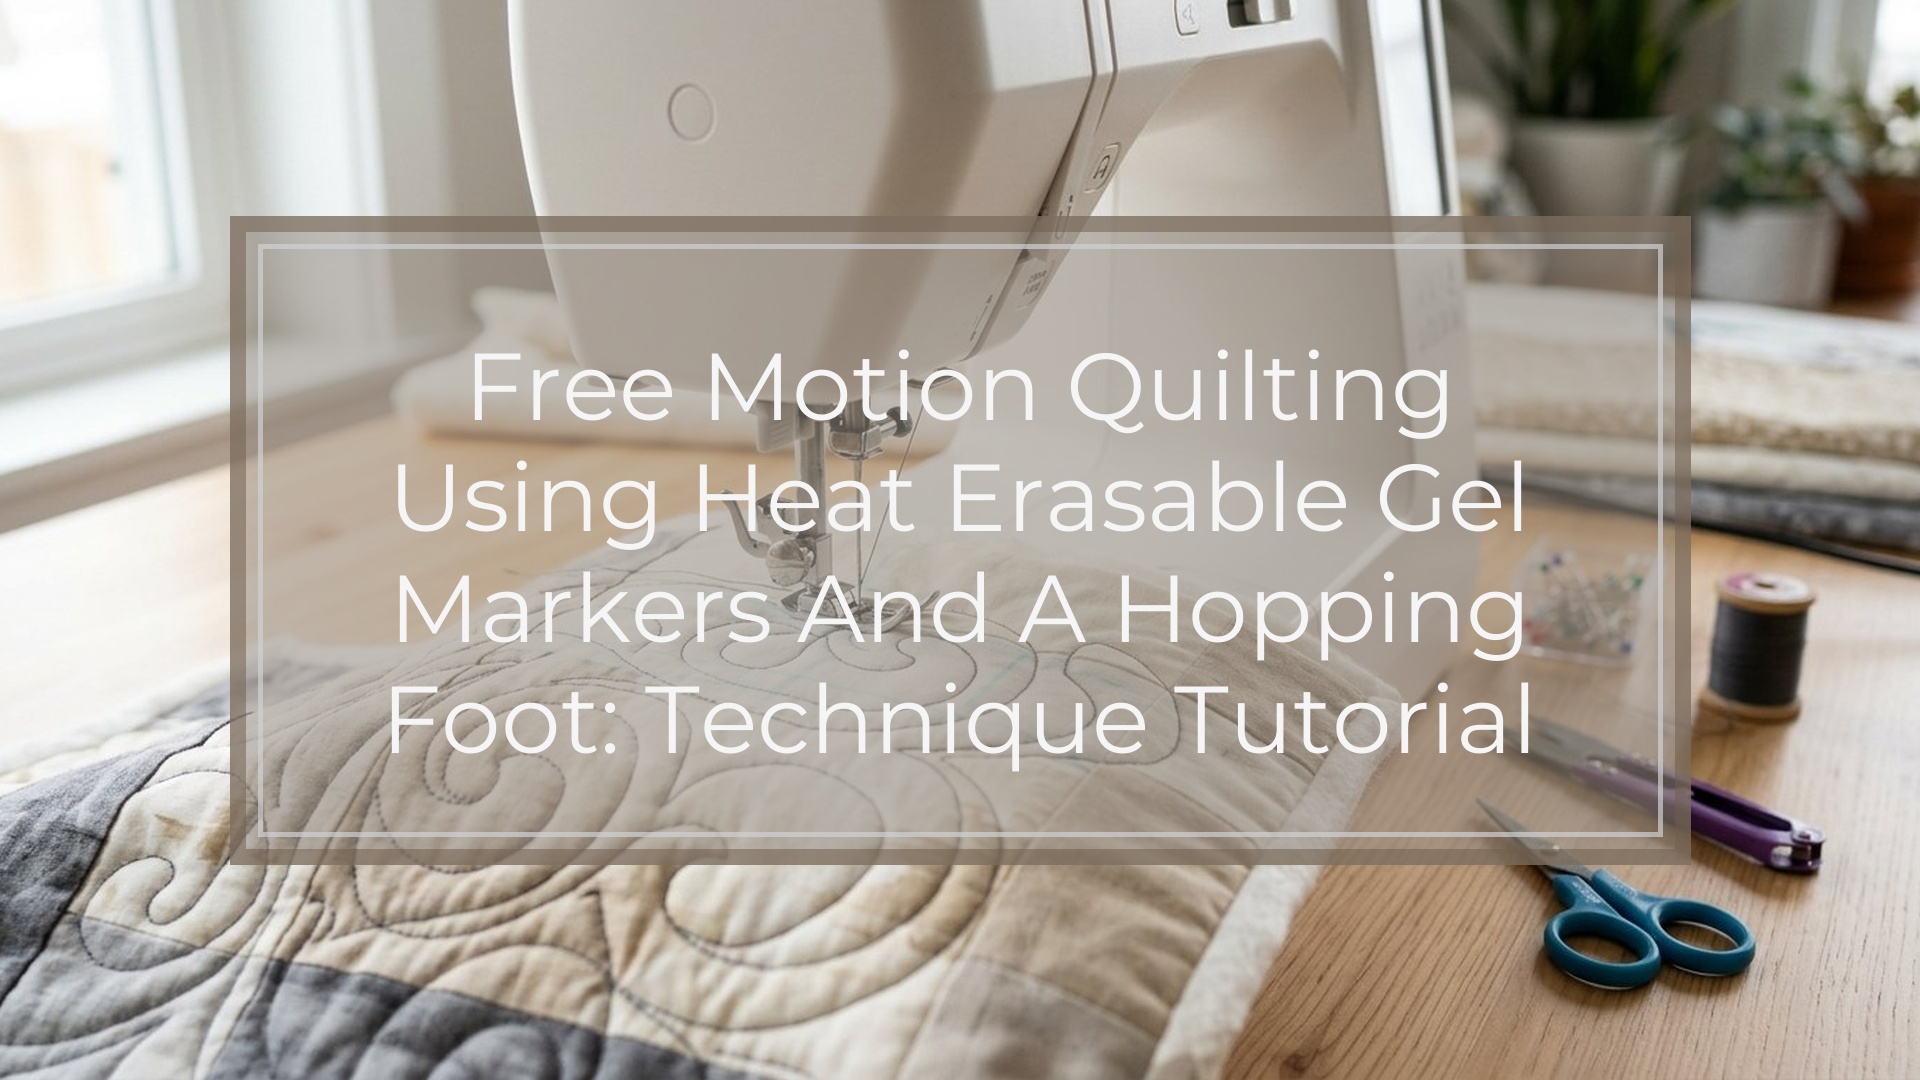
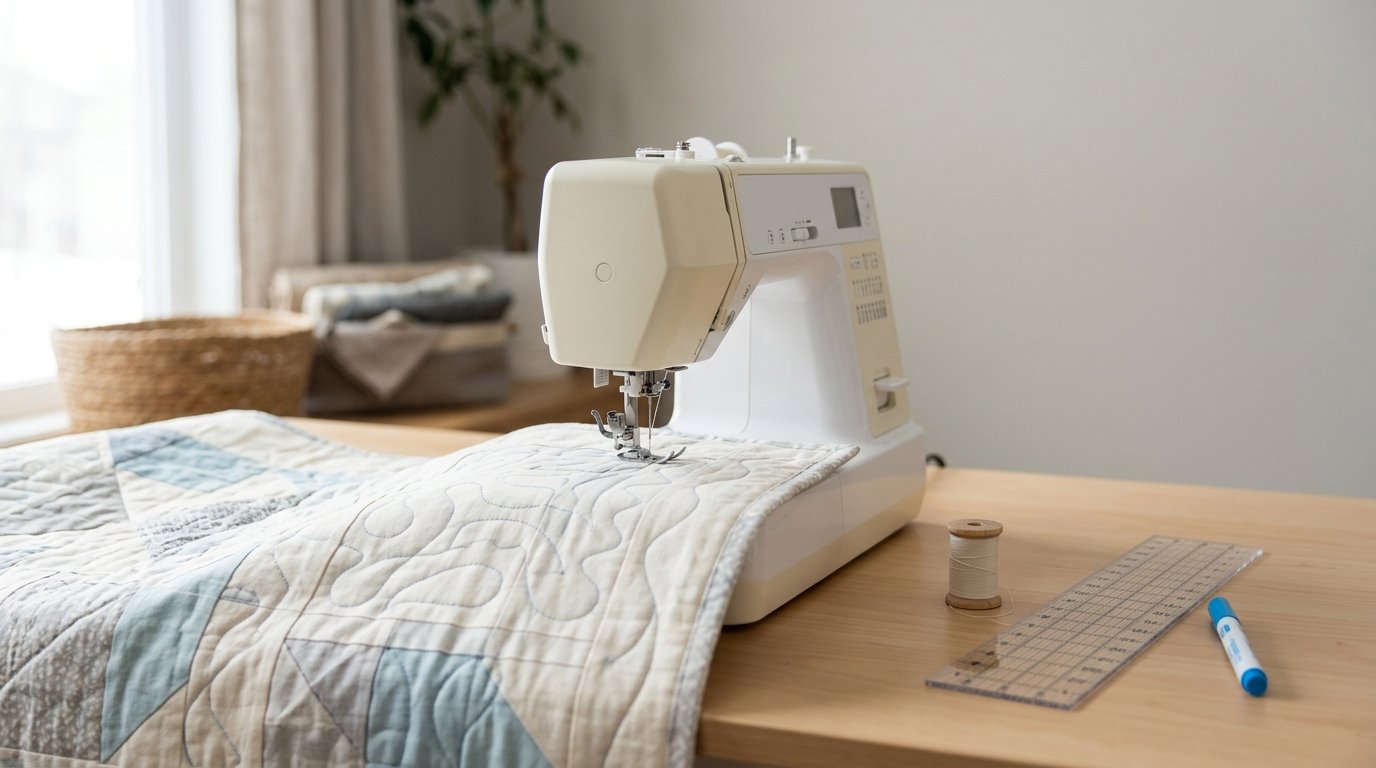
Free motion quilting using heat erasable gel markers and a hopping foot is a practical way to get cleaner, more confident stitching, especially when you are still building control. The marker gives you a temporary path to follow, and the hopping foot helps the quilt sandwich stay more stable under the needle while still allowing you to move the quilt freely in any direction. A simple workflow works best: baste well, test the marker on scrap, install the hopping foot, lower or cover the feed dogs, mark an easy design, then quilt at a steady machine speed while guiding the quilt smoothly by hand. Start with open motifs like loops, wavy lines, or simple echoes, and remove the marker only after you know the stitching is correct.
Quick Answer
Yes, you can absolutely do free motion quilting using heat erasable gel markers and a hopping foot, and for many beginners it is one of the easiest ways to start.
The main takeaway is this: the marker helps you plan, and the hopping foot helps you control the stitching. The marker reduces guesswork about where to go next. The hopping foot rises and settles as the needle moves, holding the layers more evenly while still letting you guide the quilt manually.
A beginner-friendly process looks like this:
- Make a practice quilt sandwich from similar fabric and batting.
- Test the heat erasable gel marker for visibility and clean removal.
- Install the hopping foot and switch the machine to free motion quilting setup.
- Lower or cover the feed dogs.
- Mark a simple design such as loops, wavy lines, or broad echo lines.
- Bring up the bobbin thread and start quilting with steady hand movement.
- Check the stitching before removing the marked lines with heat.
The key is not to chase the line too rigidly. In free motion quilting, smooth movement matters more than tracing every millimeter perfectly. If the quilting flows well and spacing looks consistent, small deviations from the marked path usually disappear in the finished quilt.
How to Think About This Topic
A useful mental model is to split the technique into two jobs: path planning and stitch control.
Heat erasable gel markers handle path planning. They help you decide where the quilting will start, how far apart lines should be, and how the design will travel across a block, border, or whole quilt. Instead of inventing the route while stitching, you solve some of that first with a removable guide.
The hopping foot supports stitch control. It does not feed the quilt for you. The machine only makes the up-and-down stitch; you move the quilt in the direction you want. The hopping foot gives the needle area controlled contact with the quilt sandwich so that movement feels less slippery and unstable.
This matters because most beginner problems come from one of four things:
- choosing a design that is too hard
- marking too much or too little
- incorrect machine setup
- moving the quilt unevenly
That is why this combination is so useful. The marker lowers the mental load. The hopping foot improves physical control. Together, they let you focus on rhythm.
It also helps to think of the marked line as a road map, not a narrow track. If you become obsessed with stitching exactly on the line, your hands often tense up and your movement gets jerky. What usually looks best on a finished quilt is smooth travel, even spacing, and reasonably consistent stitch length.
So tie every decision back to your real goal: clean beginner-friendly results. That usually means:
- curves are easier than sharp points
- open motifs are easier than dense fills
- continuous designs are easier than frequent starts and stops
For example, loose loops are easier than pebbles. Broad wavy lines are easier than geometric grids. Wide echo quilting around appliqué is easier than tight echoes.
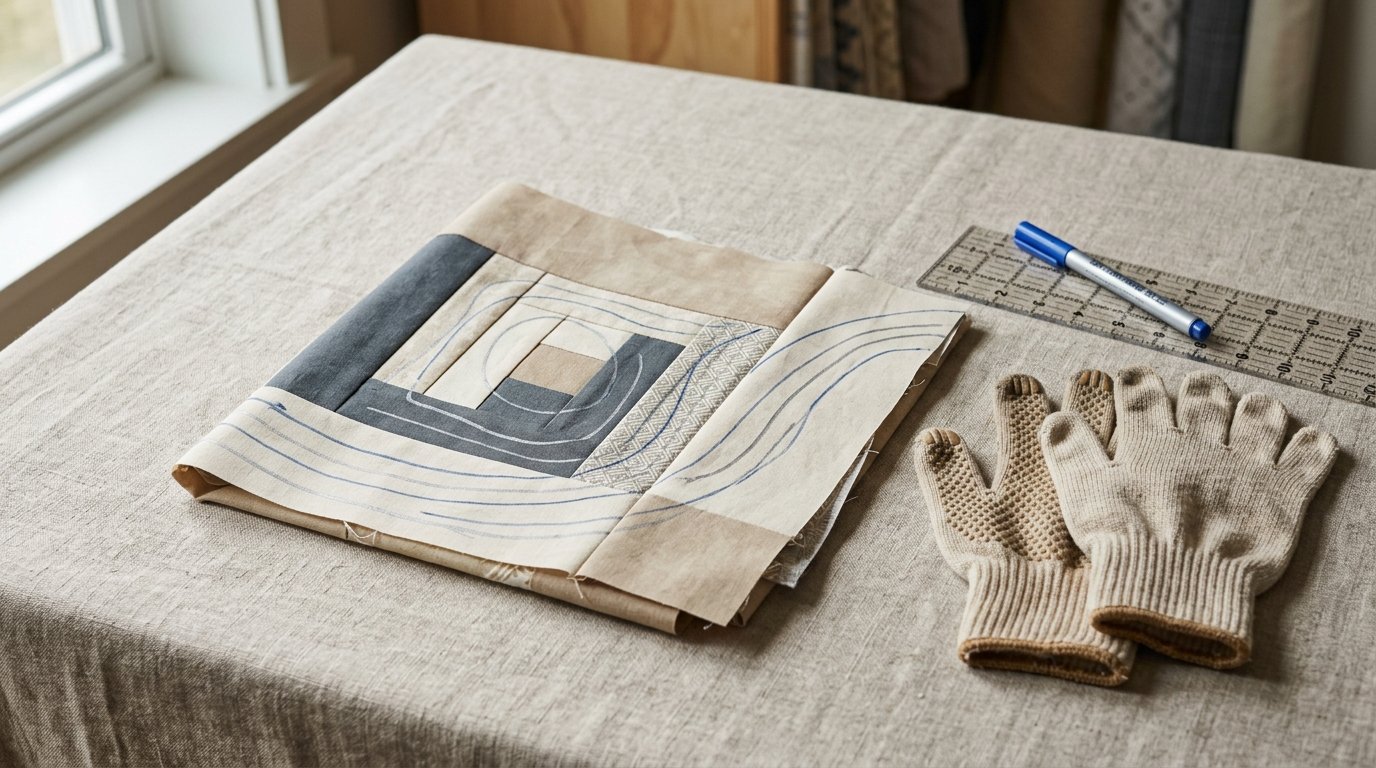
One more reality check: heat erasable markers are useful, but they are not risk-free. Some disappear too soon from body heat, ironing, or even warm machine lights. Some can leave ghosting or behave differently on certain fabrics. Always test on the exact fabric before marking the real quilt top.
Practical Guidance
Use this quick-reference table before you start:
| Part of the process | Best beginner choice | Why it helps |
|---|---|---|
| Marker test | Test on quilt-top scrap | Confirms visibility and safe removal |
| Foot | Machine-compatible hopping or spring free motion foot | Gives clearance and controlled contact |
| Feed dogs | Lower if possible; cover if required | Prevents the machine from pulling the quilt |
| Needle | New quilting or topstitch needle | Reduces skipped stitches and thread stress |
| Thread | Smooth all-purpose or quilting thread | Easier to tension than specialty thread |
| Design choice | Loops, meander, wavy lines, wide echoes | Forgiving and easier to keep continuous |
| Speed approach | Moderate machine speed, steady hand movement | Helps produce more even stitches |
1. Set up the Quilt for Easy Movement
Good quilting starts before the first stitch. Baste thoroughly so the layers stay flat while you move the quilt. Support the quilt’s weight on the table if possible. If part of the quilt hangs off the edge, your hands end up fighting drag instead of guiding the design.
Install the correct hopping foot for your machine, insert a fresh needle, and rethread if needed. Then bring the bobbin thread up to the top and hold both thread tails for the first few stitches to avoid nests underneath.
2. Mark Only What Actually Helps
More marking is not always better. Too many lines can clutter the surface and make you quilt stiffly.
Helpful beginner marking options include:
- row guides for allover meander
- a center line through a border for balanced waves
- wide echo lines around appliqué or patchwork shapes
- diagonal spacing lines for a soft grid effect
A good example: on a baby quilt with large squares, mark one large spiral or a few rows of loops in each square. On a border, a single wavy center guide may be enough.
3. Stitch with Rhythm
Once you begin, think about matching hand speed to machine speed. If the machine runs too fast for your hands, stitches become tiny. If your hands move faster than the needle can stitch, stitches get long.
A few habits help immediately:
- keep your shoulders relaxed
- look slightly ahead of the needle
- pause with the needle down when repositioning hands
- use quilting gloves or grip aids if your hands slide
If you wobble off the line, avoid making a sharp correction unless necessary. A sudden turn often looks more obvious than a gentle drift.
4. Start with Designs That Suit the Tools
The easiest marked designs for beginners are:
- Loose loops
- Wavy lines
- Simple meander
- Large spirals
- Wide echo quilting
These all reward steady movement and are forgiving if spacing varies slightly. Save tiny stippling, dense pebbles, and sharp geometric fills for later.
5. Troubleshoot as You Go
If something feels wrong, stop and diagnose early.
- Skipped stitches: change the needle, rethread, and confirm the foot is the correct one.
- Thread nests underneath: hold thread tails at the start and make sure the presser-foot setup is engaged correctly.
- Jerky movement: reduce quilt drag, loosen your grip, and support more of the quilt on the table.
- Uneven stitch length: practice matching hand speed and machine speed on scrap first.
- Marker disappears too soon: work in smaller sections and avoid heat on marked areas until you are done.
6. Remove the Lines Last
Do not erase the marks until you are sure the quilting is finished correctly. If you need to unpick, you will want the guide still visible. When the stitching is confirmed, use the marker’s recommended heat method and then check the quilt in good light to make sure the lines are actually gone.
FAQ
Can Beginners Use Heat Erasable Gel Markers for Free Motion Quilting?
Yes. They are helpful for beginners because they reduce uncertainty about the quilting path. Just test first on scrap, choose simple designs, and avoid becoming so focused on the line that your stitching gets stiff.
Is a Hopping Foot the Same as a Free Motion Quilting Foot?
Usually, yes in everyday use. Many sewists use the terms interchangeably, especially for a spring-style foot that hops as the needle moves. Check your machine manual because naming and fit vary by brand.
What Designs Are Easiest to Quilt with Marked Lines First?
Start with open continuous motifs such as loops, wavy lines, loose meanders, large spirals, and wide echo quilting. They are much more forgiving than tight fills or sharp-pointed motifs.
Do Heat Erasable Marker Lines Ever Come Back?
They can. Behavior depends on the marker, fabric, and temperature changes. That is why testing on the exact fabric matters before you mark the real quilt.
Should I Lower or Cover the Feed Dogs When Using a Hopping Foot?
In most cases, yes. Free motion quilting works best when the machine is not trying to move the quilt forward on its own. Lower the feed dogs if your machine allows it, or use the machine’s cover plate method.