A wide hem foot helps you sew straighter, more even hems by guiding the folded fabric as it feeds under the needle. Instead of constantly rechecking the edge or correcting drift, you use the foot to keep the fold in a steady position. That makes hemming faster on projects like napkins, curtains, skirts, and other items with long edges. For beginners, the real benefit is not just speed. It is consistency. With the right fabric, a pressed fold, and a simple machine setup, a wide hem foot can reduce wobble, puckering, and re-stitching while giving you a cleaner result.
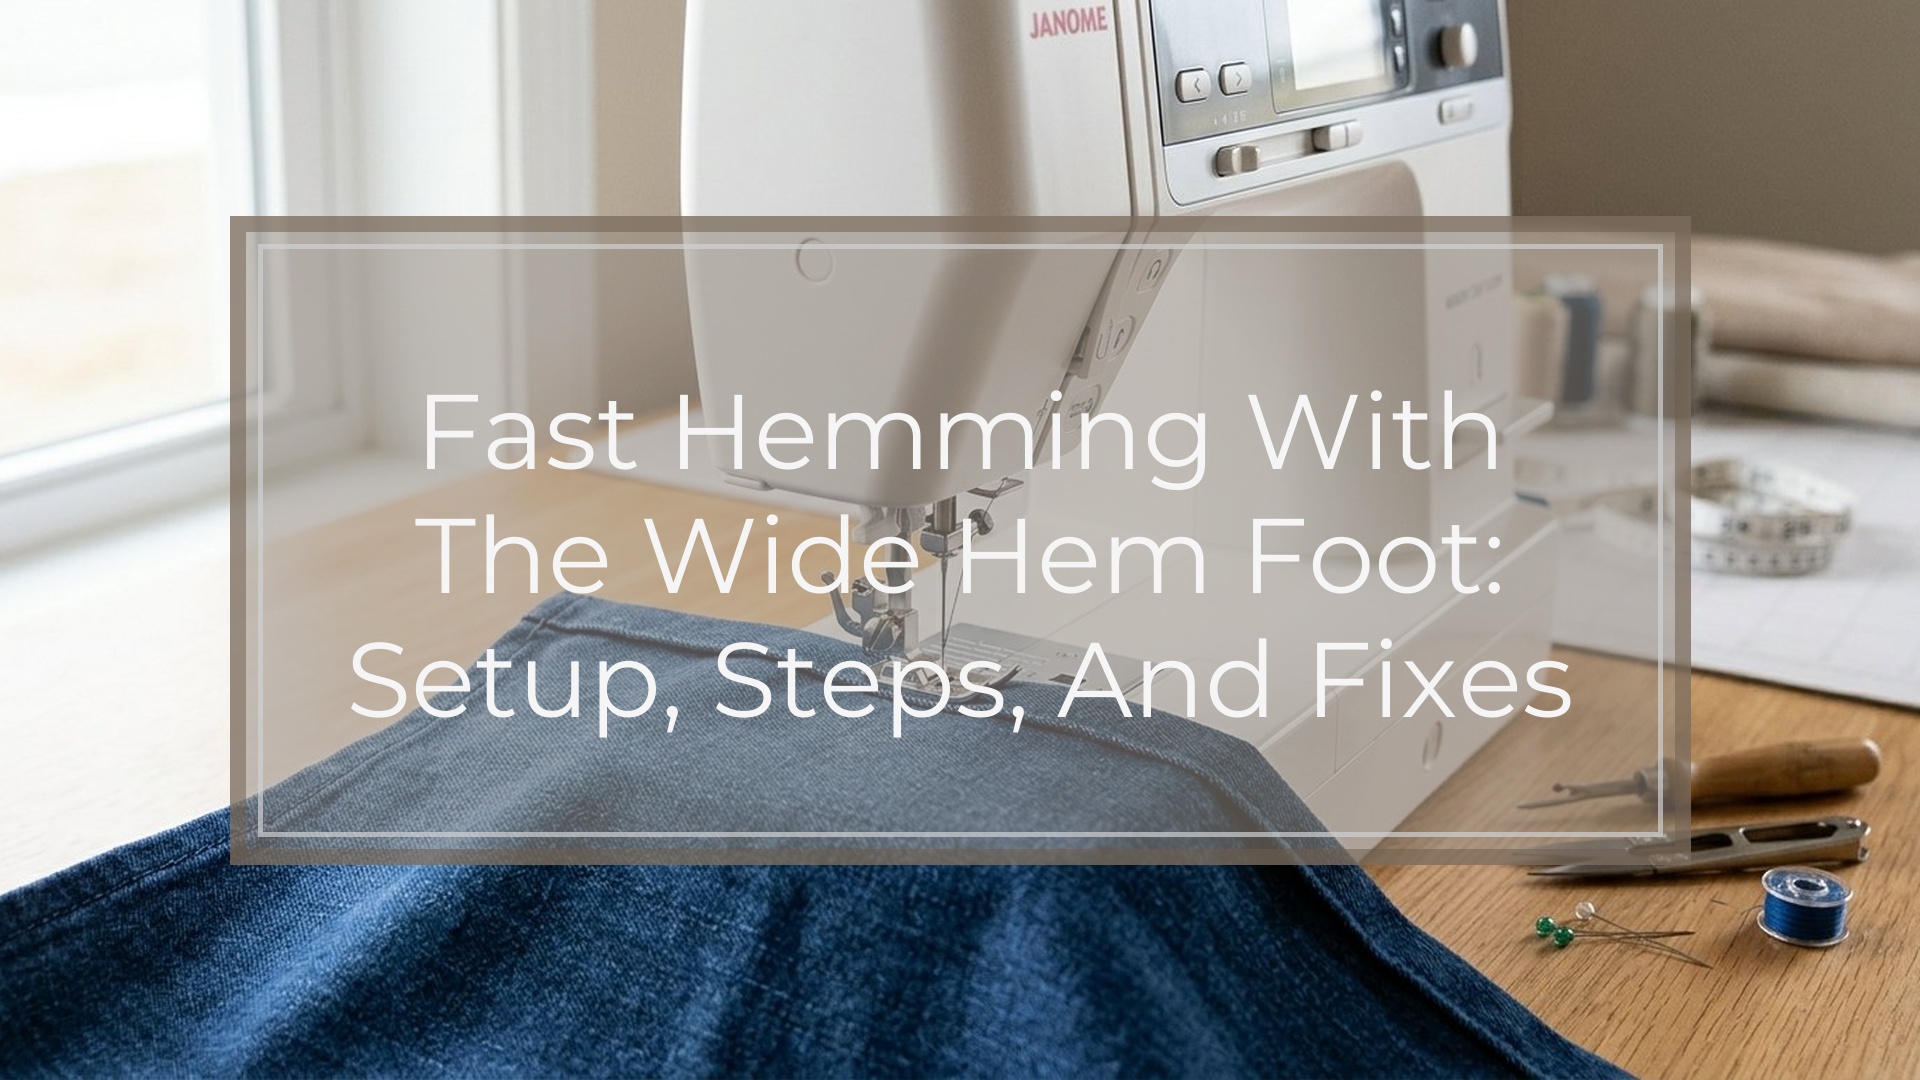
What a Wide Hem Foot Does and Why It Speeds up Hemming
A wide hem foot is best understood as a fabric guide. Its shape helps the folded hem stay aligned while the feed dogs move the fabric forward and the needle stitches in a consistent line.
That matters because hemming usually slows down when the fold shifts, opens, or feeds unevenly. Without a guide, you may stop often to re-measure or straighten the edge. With a wide hem foot, the fold has a reference point, so you can sew in a smoother rhythm.
It does not replace pressing or careful prep. Instead, it helps you maintain a hem you have already folded correctly. On long straight hems, that can save a surprising amount of time.
Best Fabrics and Projects for This Foot
This foot usually works best on stable woven fabrics in light to medium weights. Good beginner choices include cotton, linen blends, poly-cotton, and lightweight home decor fabric.
It is especially useful for:
- napkins
- tea towels
- pillowcases
- curtain panels
- simple skirts
- woven tops with straight hems
It is less reliable on slippery satin, very thick denim layers, bulky seam intersections, or very stretchy knits. If you are new to it, start with an easy household project and test on scraps first.
| Project or fabric | Good match for a wide hem foot? | Why |
|---|---|---|
| Napkins or towels | Yes | Straight edges and stable fabric |
| Curtain panels | Yes | Long hems where consistency saves time |
| Lightweight woven skirt | Usually | Works well if the hem is not too curved |
| Stretch jersey knit | Maybe | Can curl or stretch away from the guide |
| Bulky denim hem | Usually no | Too much thickness for smooth feeding |
| Tiny rolled hem on chiffon | No | A rolled hem foot is a better choice |
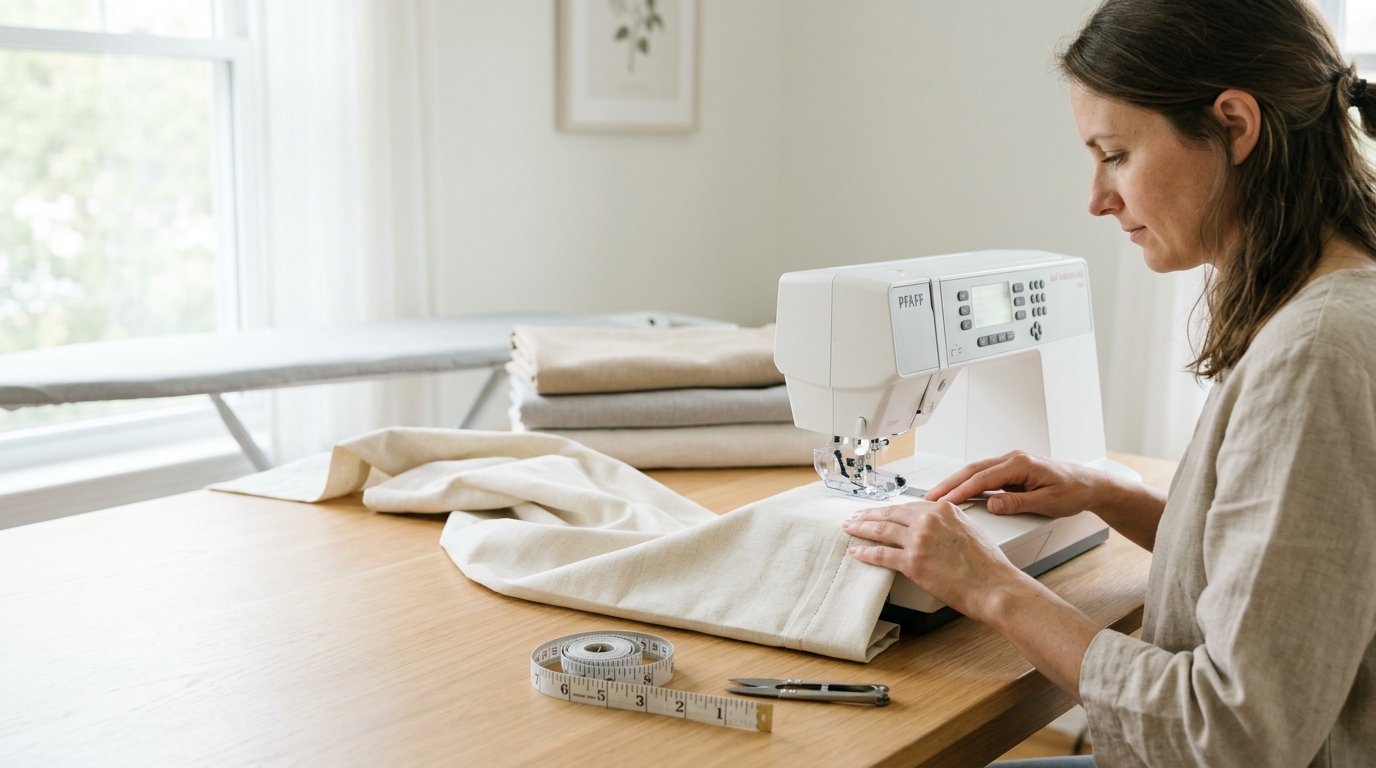
How to Set up Your Machine for Clean, Fast Hems
Good setup prevents most hemming problems before they start. Attach the wide hem foot securely and check that the needle is aligned correctly. If your machine lets you move the needle position, make sure it will not hit the foot.
Use a needle that suits the fabric. A universal needle works for many woven fabrics, while a microtex needle can help on fine or tightly woven cloth. Pair it with regular all-purpose thread unless the project clearly needs something else.
For most woven hems, use a straight stitch around 2.5 mm to 3.0 mm. Very short stitches can pucker light fabric, while long stitches may look loose.
Press the hem before sewing. This is one of the biggest time-savers because a crisp fold feeds more predictably. If your machine has adjustable presser foot pressure and the fabric feels draggy, lowering the pressure slightly can help. Before sewing the real project, stitch a short sample to check tension, stitch placement, and feeding.
Step-by-step: How to Hem with a Wide Hem Foot
Follow this sequence at the machine:
- Finish the raw edge if needed. If the fabric frays, secure the edge first with a zigzag, serger, or another finish.
- Measure and press the hem. Fold the hem to the desired depth and press it firmly. A consistent fold is easier for the foot to guide.
- Prepare the first few inches well. This starting section matters most. If needed, press it again so the fold is crisp.
- Position the fabric under the foot. Place the folded edge so it sits against the foot’s guide. Lower the foot and turn the handwheel once to confirm needle placement.
- Sew the first inch slowly. Use your fingers to keep the fold aligned while the feed dogs take over.
- Watch the guide, not the needle. As you continue, focus on keeping the folded edge touching the guide. That is what keeps the stitching line even.
- Slow down at bulky areas. Side seams and layered corners can push the foot off level. Press them flat first and use a hump jumper if needed.
- Check the hem occasionally. On long hems, stop now and then to make sure the fold has not rolled or drifted.
- Secure the end and press again. Backstitch lightly or secure the threads your usual way, then give the hem a final press.
A curtain panel is a good example. Once the hem is fully pressed, you can stitch the first inch carefully and then sew the rest in one steady pass instead of constantly stopping to recheck width.
Tips That Make Hemming Faster Without Sacrificing Accuracy
Fast hemming comes from preparation more than speed. Press all your hems before you sit at the machine, and if you are sewing several items, mark the same hem depth on each one with a gauge.
Try batching tasks: press all folds, then sew all hems, then trim all threads. Keep both hands lightly on the fabric, but do not pull. Pulling can distort the fold and actually slow you down.
Another simple habit is to keep your eyes on the place where the fold meets the guide. That usually improves both speed and straightness. For slippery fabric, clips near the starting edge can help until the foot has the fold under control.
Common Wide Hem Foot Problems and How to Fix Them
If the fabric keeps slipping away from the guide, the fold may not be pressed firmly enough, or you may be sewing too fast at the start. Re-press and begin more slowly.
If stitches pucker, try a slightly longer stitch, a fresh needle, or a tension check. Lightweight fabric often improves with a small setup adjustment.
If the needle strikes the foot, stop immediately. The foot may be attached incorrectly, or the needle position may be off-center.
If thick seams create uneven stitches, flatten the area with extra pressing and slow down as you cross it. A leveling tool can help keep the foot balanced.
If the hem edge rolls open while you sew, the fabric may be too soft, slippery, or stretchy for this setup. More pressing may help, but sometimes the better fix is choosing a different foot.
When to Choose Another Presser Foot Instead
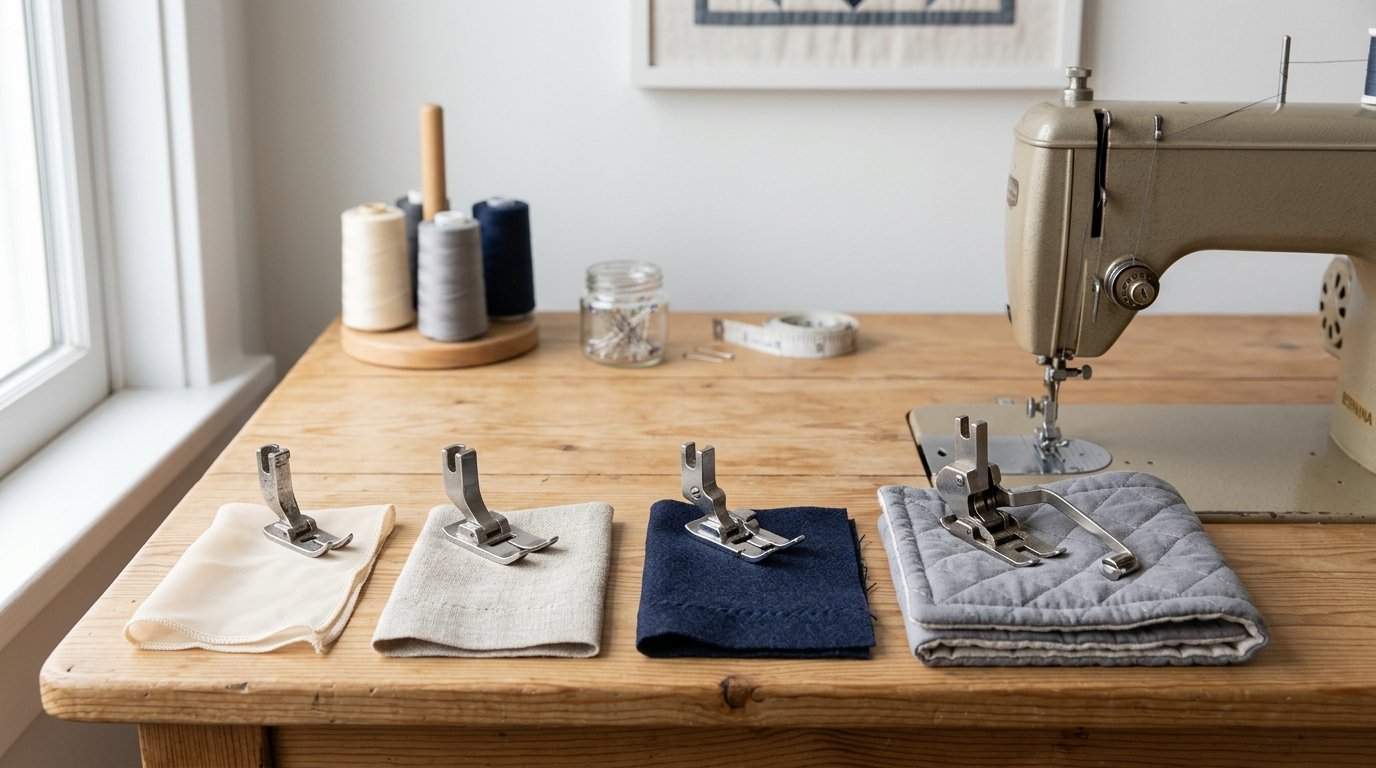
A wide hem foot is not the best answer for every hem. Choose a blind hem foot when you want a nearly invisible hem. Use a rolled hem foot for very narrow hems on lightweight fabric. A walking foot can help when layers feed unevenly or when knit fabric wants to stretch.
For highly curved hems, bulky fabric, or unstable knits, a regular presser foot may give you more control. Sometimes sewing a little slower with the right foot is actually the faster route because you avoid mistakes.
FAQ
Is a Wide Hem Foot Good for Beginners?
Yes. It is beginner-friendly on stable woven fabric because it gives you a clear guide to follow. Start with straight hems on items like napkins or towels for the easiest first success.
Can I Use a Wide Hem Foot on Knit Fabric?
You can, but it is not always ideal. Knits can stretch or curl away from the guide. Test on scraps first, use a ballpoint needle, and sew without pulling the fabric.
What Hem Width Works Best with a Wide Hem Foot?
A moderate, consistent width usually works best. The exact size depends on your foot and fabric, so test a sample first and choose a fold that feeds smoothly without becoming bulky.
Why Does My Fabric Keep Slipping Away from the Guide?
The most common reasons are weak pressing, starting too fast, or using slippery or stretchy fabric. Press the fold firmly, guide the first inch by hand, and keep your eyes on the fold against the guide.
Do I Still Need to Press the Hem First?
Yes. Pressing gives the foot a stable fold to follow. The foot helps maintain that fold, but it cannot create a crisp, accurate hem on its own.