If you want to make beautiful zero waste napkins, start by matching the napkin size to the fabric you already have rather than cutting a standard size first. Choose washable woven fabric such as cotton, linen, or cotton-linen blends, square the fabric, then cut consistent squares or rectangles that use the full piece with little to no leftover. For beginners, a narrow double-fold hem is the easiest finish. If you want a more polished look, sew mitered corners. The project is simple, practical, and ideal for scraps, vintage linens, old sheets, or leftover yardage that is too nice to waste.
What Makes a Napkin Project Zero Waste
A zero waste napkin project is less about a special pattern and more about smart planning. Instead of deciding, “I want 18-inch napkins,” then trimming away extra fabric, you work backward from the fabric piece you already have.
The goal is to use the whole usable area, avoid odd offcuts, and choose a finish that suits the fabric. Sometimes that means making 4 matching squares. Other times it means 6 slightly smaller napkins or a mixed set from several leftovers. Tiny trimmings from squaring the fabric may still happen, but the project stays low-waste when you minimize scraps and give the fabric a full purpose.
Choose the Best Fabric for Reusable Napkins
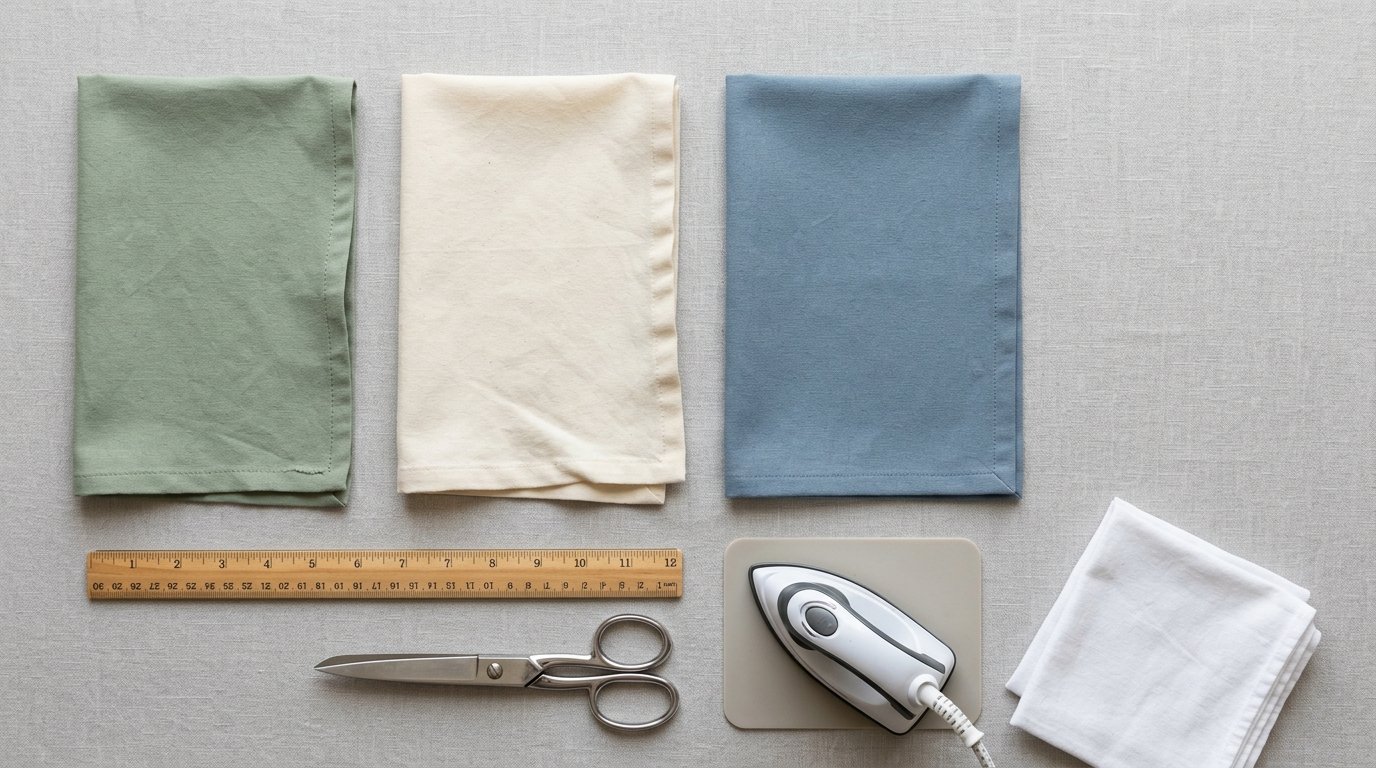
The best napkin fabrics are woven, absorbent, soft, and sturdy enough for repeated washing. Cotton and linen are the easiest choices. Cotton quilting fabric is widely available, easy to sew, and comes in many prints. Linen looks elegant and gets softer with use, though it wrinkles more. A cotton-linen blend gives you a nice middle ground.
Look for medium-light to medium-weight fabric. If it is too thin, the napkin may feel flimsy. If it is too heavy, the corners can become bulky. Prewashed fabric is best because shrinkage happens before you sew.
Good zero waste sources include leftover tablecloth fabric, dressmaking offcuts, clean vintage sheets, and broadcloth or chambray remnants. Avoid stretchy knits, loosely woven gauze, and fabrics with heavy surface finishes that reduce absorbency.
Tools and Supplies You Need
You only need basic sewing tools:
- Prewashed woven fabric
- Sewing machine
- Matching or contrasting thread
- Fabric scissors or rotary cutter
- Ruler or quilting square
- Pins or clips
- Iron and ironing board
- Marking tool
- Seam gauge, if you have one
A rotary cutter and mat help keep the napkins consistent, but they are optional. The iron matters more than fancy tools because pressed folds make cleaner hems and neater corners.
Plan Your Napkin Size to Use Every Inch of Fabric
This is the core zero waste step. Measure the usable width and length of your fabric after prewashing and squaring one edge. Then test dimensions that divide evenly into that space.
A rough guide:
| Fabric you have | Best use | Finished napkin size | Edge finish |
|---|---|---|---|
| — | — | —: | — |
| Small scraps, fat quarters, mixed leftovers | Lunch or snack napkins | 8 to 10 in | Narrow double-fold hem |
| Medium remnants | Everyday napkins | 12 to 16 in | Double-fold or mitered |
| Larger cuts, old sheets, tablecloths | Dinner napkins | 17 to 20 in | Mitered corners |
Remember that hems use fabric. If you sew a double-fold hem of 1/4 inch twice on each side, add about 1 inch total to each cut dimension. For example, a 15-inch finished napkin starts as roughly 16 inches square.
If your fabric is 32 by 48 inches, you could cut six 16-inch squares with no leftover. That is more zero waste than forcing four 18-inch squares and creating unusable strips.
How to Cut Zero Waste Napkins Efficiently
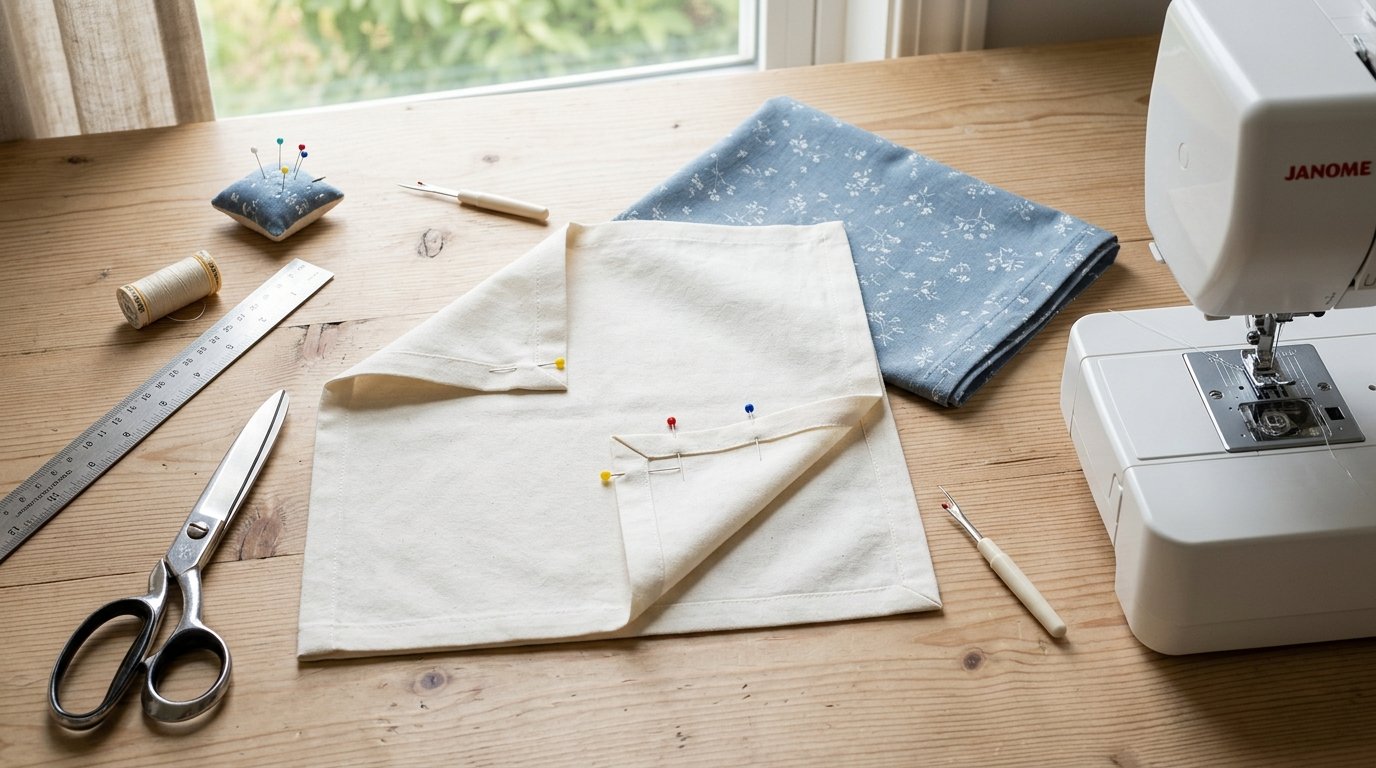
Start by pressing the fabric flat. Square one corner and straighten at least one cut edge so your measurements stay accurate. Then map out the full fabric before cutting anything.
If you are using one piece of fabric, mark the grid directly on the wrong side. Count how many squares or rectangles fit, including hem allowance. If you are combining scraps, group similar weights and colors so the finished set still feels intentional.
Cut in long strips first, then subcut into squares. Stack carefully only if the layers will not shift. Keep a small label or note with each pile if you are making different sizes. Consistency matters more than speed.
Method 1: Sew a Simple Double-fold Hem Napkin
This is the easiest method and a great place to start.
- Cut your napkin pieces. Add enough seam allowance for a double-fold hem. A common beginner option is to cut each piece 1 inch larger than the finished size.
- Press the first fold. On one side, press the raw edge to the wrong side by 1/4 inch. Repeat on all four sides.
- Press the second fold. Fold each edge over another 1/4 inch to hide the raw edge. Press again. At the corners, tuck the folds neatly so no raw threads show.
- Pin or clip. Secure the folds, especially near the corners.
- Topstitch. Sew close to the inner folded edge all the way around. Use a longer stitch length if the fabric is light and crisp.
- Pivot at corners. Stop with the needle down, lift the presser foot, turn the fabric, and continue.
- Press the finished napkin. A final press sharpens the edges and helps the napkin lie flat.
If your corners feel bulky, trim a tiny bit from the corner point before the second fold, but do not cut into the stitching line. This method works especially well for cotton scraps, casual family napkins, and mixed printed sets where a simple finish suits the look.
Method 2: Make Mitered Corners for a More Polished Look
Mitered corners reduce bulk and give your napkins a cleaner, more refined finish.
- Cut the napkin with enough allowance for the hem.
- Press each raw edge to the wrong side by 1/4 inch, then press again by 1/2 inch or your chosen hem depth. Unfold.
- At each corner, use the pressed lines to mark the point where the wider folded lines cross.
- Fold the corner right sides together at a diagonal and stitch across that marked point.
- Trim the seam allowance, turn the corner right side out, and press. The diagonal seam creates a neat miter.
- Refold the hems along the pressed lines and topstitch around the napkin.
This method takes a little more setup, but the corners lie flatter and look especially nice on linen, solids, stripes, or gift sets.
Optional Zero Waste Design Ideas to Make Napkins More Beautiful
Keep embellishment simple so the napkins stay useful.
Use contrasting thread for a subtle frame, or choose one fabric family and vary the prints for a coordinated scrap set. Border prints can become elegant napkins if you center the motifs thoughtfully. If you have narrow leftover strips, piece them into one side of a napkin before hemming to create a color-blocked look. Small embroidered initials also work well, especially for gifts, but place them before hemming.
How to Wash, Press, and Store Reusable Napkins
Wash finished napkins the same way you plan to use them: usually cold or warm water with regular detergent. Shake them out before drying to reduce wrinkles. For the crispest finish, press while slightly damp.
Fold sets together by size or color so they are easy to grab for daily meals. If one napkin becomes stained or worn, keep it for lunchboxes or cleaning small spills instead of throwing it out immediately. That extends the life of the fabric and supports the zero waste goal.
Common Mistakes and Easy Fixes
If your napkins turn out uneven, your fabric probably was not squared before cutting. Trim one to size and use it as a template for the rest. If the hem ripples, press more carefully and check that you are not stretching the edge while sewing.
Bulky corners usually mean the hem is too deep for the fabric weight; switch to a narrower hem or miter the corners. If the set looks mismatched, unify it with the same thread color, same finished size, or the same pressing style.
FAQ
What Is the Best Fabric for Reusable Cloth Napkins?
Cotton, linen, and cotton-linen blends are the best choices. They absorb well, wash easily, and get softer with use. For beginners, quilting cotton is the easiest to sew. For a more elevated look, linen or a smooth cotton sheet works beautifully.
How Big Should Homemade Napkins Be?
That depends on how you plan to use them and what fabric you have. Small lunch napkins can be 8 to 10 inches, everyday napkins often range from 12 to 16 inches, and dinner napkins are commonly 17 to 20 inches finished.
Can I Make Zero Waste Napkins from Old Clothes or Sheets?
Yes, as long as the fabric is clean, woven, and still in good condition. Old sheets are especially useful because they provide large flat sections. Avoid badly worn areas, thin spots, and fabrics with too much stretch or permanent staining.
Do I Need a Serger to Make Cloth Napkins?
No. A regular sewing machine is enough. The simplest finish is a double-fold hem, which encloses the raw edges without a serger. A serger can speed up some sewing tasks, but it is not necessary for attractive, durable napkins.
How Many Napkins Should I Make in One Set?
A practical family set is usually 6 to 12 napkins, but let your fabric decide. If one remnant makes 5 napkins with no waste, that is better than forcing 6 and creating scraps. For gifts, sets of 4 are simple and useful.