Joining blocks using a foot with a guide is a simple way to keep your quilt seams consistent. The guide gives the fabric edge something to ride against, helping you sew an even seam allowance from the beginning of the seam to the end. For most quilt blocks, that means a 1/4-inch seam or a scant 1/4-inch seam, depending on your pattern and fabric.
The key is not just attaching the foot and sewing. First, test the seam allowance, adjust your needle position if needed, then prepare the blocks so edges and intersections match. Once the guide is set correctly, let it do its job: feed the fabric smoothly, avoid pulling, and press the seam carefully afterward.
Why Use a Foot with a Guide for Quilt Blocks?
A guide foot gives you a physical reference point while sewing. Instead of watching only the needle, you watch the fabric edge stay lightly against the guide. This makes your seam allowance more repeatable, especially when joining many blocks into rows.
The mental model is simple: the needle creates the seam, but the guide controls the distance from the fabric edge. If that distance is consistent, your blocks are more likely to finish at the correct size, your points are easier to match, and your rows are less likely to stretch or shrink unexpectedly.
It is especially helpful for beginners because it reduces guesswork and builds muscle memory.
What You Need Before You Start
Gather only what supports accurate block joining:
- Quilt blocks trimmed to the correct unfinished size
- Sewing machine
- Presser foot with a seam guide, often a 1/4-inch guide foot
- Thread suitable for piecing
- Fine pins, clips, or a stiletto if helpful
- Iron and pressing surface
- Small ruler or seam gauge
- Scrap fabric for testing
Use a sharp needle appropriate for quilting cotton, such as an 80/12 universal or microtex needle. If your blocks have many seams, a fresh needle can help the machine stitch cleanly through intersections without shifting the layers.
Set up the Guide Foot for an Accurate Seam
Attach the guide foot according to your machine’s instructions. Lower the presser foot and check where the needle falls in relation to the guide. Many guide feet are designed for a 1/4-inch seam, but the actual result can vary by machine, needle position, fabric thickness, and thread.
Before joining real blocks, sew a test seam on two fabric scraps. Press the seam as you would for your quilt, then measure the seam allowance. If it is too wide, your finished blocks may come out small. If it is too narrow, the blocks may finish too large or the seam may be weak.
Some machines let you move the needle slightly left or right. For quilting, many sewists prefer a scant 1/4-inch seam, which is just a thread or two narrower than a full 1/4 inch. This accounts for the tiny amount of fabric taken up when the seam is pressed to one side.
Guide Foot Setup Comparison
| Setup | Best For | What to Check |
|---|---|---|
| 1/4-inch foot with right-side guide | Standard quilt piecing | Fabric edge touches guide without being forced |
| Adjustable guide foot | Different seam allowances or machines | Measure after changing the guide position |
| Regular foot plus seam guide attachment | Machines without a dedicated quilting foot | Guide is secure and parallel to the needle |
| Scant 1/4-inch setup | Blocks with many seams or points | Finished test unit measures correctly after pressing |
Use the setup that gives the correct finished measurement, not just the one labeled 1/4 inch.
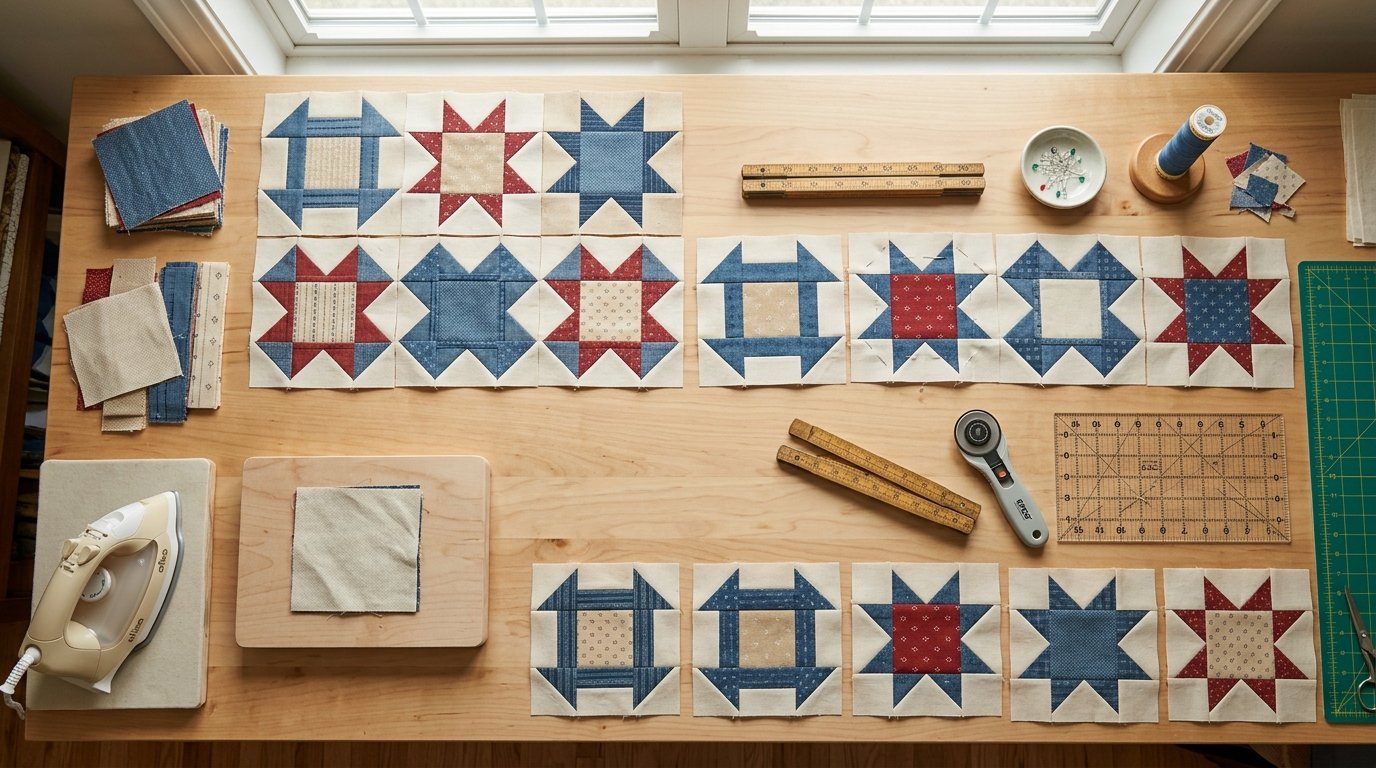
Prepare and Align the Quilt Blocks
Accurate sewing starts before the blocks reach the machine. First, check that both blocks are trimmed to the required unfinished size. If one edge is wavy or oversized, the guide foot cannot correct it while sewing.
Place the blocks right sides together. Match the edges you plan to join, then check important intersections such as corners, points, or seam crossings. If the seams should nest, press one seam allowance in one direction and the matching seam in the opposite direction so they lock together.
Pin at key intersections first, then pin the beginning and end if needed. Keep pins away from the guide so they do not interfere with the foot. For short seams, two or three well-placed pins are usually enough. The goal is control, not over-handling.
Step-by-step: Joining Two Blocks with the Guide Foot
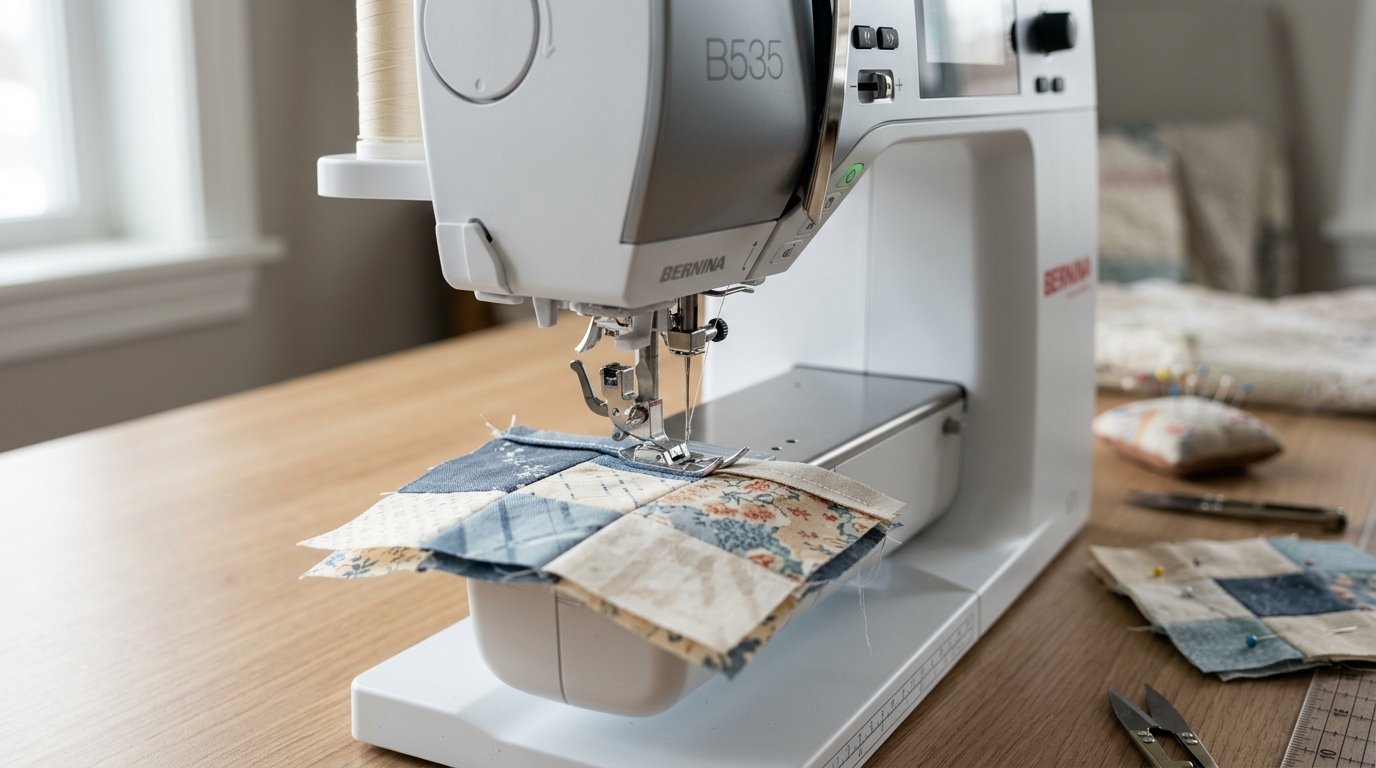
- Place the blocks under the foot. Position the fabric so the raw edge sits against the guide. Lower the presser foot before sewing; this stabilizes the layers.
- Start with a steady first stitches. Hold the thread tails if your machine tends to nest thread underneath. Begin slowly so the block edge stays aligned with the guide.
- Watch the guide, not just the needle. The needle area shows stitching, but the guide tells you whether the seam allowance is staying consistent. Keep the fabric edge lightly touching the guide.
- Do not push the fabric into the guide. Pushing can bend the edge and create a seam that is too narrow. Let the feed dogs move the fabric forward.
- Support the block as it feeds. Keep the fabric flat in front of the foot. If a block hangs off the table, its weight can pull the seam off line.
- Slow down at intersections. As you approach a pinned or nested seam, reduce speed. Remove pins before they reach the foot unless your machine manual says otherwise.
- Check the end of the seam. Keep the final edge against the guide until the last stitch. Many seams become uneven at the end because the sewist relaxes too early.
- Inspect before continuing. Open the blocks and check that points and intersections look correct. If something is noticeably off, it is easier to unpick one seam now than after the row is assembled.
Press the Joined Blocks Without Distorting Them
Pressing sets the seam and helps the joined blocks lie flat. First, place the joined blocks on the ironing surface just as they were sewn and press the seam flat for a moment. This helps settle the stitches.
Then open the blocks and press the seam allowance according to your pattern: to one side or open. Use an up-and-down pressing motion rather than sliding the iron. Sliding can stretch edges, especially along bias pieces or blocks with many seams. If the block is warm and damp from steam, let it cool flat before moving it.
Joining Blocks Into Rows, Then Rows Into a Quilt Top
Once you can join two blocks accurately, use the same method to build rows. Sew blocks together in pairs or in order, depending on your layout. After each seam, press as planned so the next intersections will nest or lie flat.
When joining rows, match the major seam intersections first. Pin those points carefully, then align the row ends and any long edges between them. Sew with the same guide-foot habit: edge lightly against the guide, steady speed, no pulling.
Small seam errors multiply across a row. A seam that is off by only 1/16 inch can change the row length noticeably after many blocks, so consistency matters more than speed.
Common Problems and Quick Fixes
If your blocks finish too small, your seam allowance is probably too wide. Move the needle slightly right if your machine allows it, or retest with a scant 1/4-inch setup.
If blocks finish too large, the seam is too narrow. Adjust the needle left or choose a guide position that gives a fuller seam.
If points do not match, pin or nest intersections more carefully before sewing. Also check that the blocks were trimmed accurately.
If the fabric drifts away from the guide, slow down and support the block. Do not steer aggressively; gentle correction works better.
If the seam looks wavy, avoid pushing the fabric into the guide and check that the presser foot pressure is not too heavy for your fabric.
FAQ
What Should a Beginner Know First About Joining Blocks Using the Foot with Guide?
A guide foot helps you keep a consistent seam allowance, but it does not replace measuring. Test the seam on scraps before joining blocks. The correct setup is the one that makes your sewn and pressed block finish at the size your pattern expects.
What Matters Most When Evaluating Joining Blocks Using the Foot with Guide?
Accuracy matters most. Check whether the seam allowance stays consistent, whether intersections match, and whether the joined blocks measure correctly after pressing. A foot labeled 1/4 inch is useful, but your actual stitched result is what counts.
What Mistakes Should Readers Avoid with Joining Blocks Using the Foot with Guide?
Avoid forcing the fabric against the guide, skipping a test seam, sewing over bulky intersections too quickly, and pressing with a dragging motion. These habits can distort blocks or change the seam allowance even when the correct foot is attached.
What Is the Next Logical Step After Learning About Joining Blocks Using the Foot with Guide?
Practice by joining a small set of blocks into one row, then measure the row against the pattern. Once your seams are consistent, move on to matching row intersections and assembling a small quilt top with the same guide-foot technique.