A walking foot with a guide bar is one of the easiest ways to quilt evenly spaced straight or gently curved lines on a home sewing machine. The walking foot helps move the quilt sandwich evenly from top and bottom, while the guide bar rides along a previous seam or quilting line so the next row stays parallel. Think of it like this: the foot manages feeding, and the bar manages spacing. For most beginners, the simplest method is to mark one accurate starting line, quilt it, then use the guide bar to place the rest. With good basting, a suitable stitch length, and steady sewing, you can get clean, repeatable rows without marking the whole quilt.
Quick Answer
The main takeaway is simple: if you want straight, evenly spaced quilting lines, a walking foot with a guide bar is usually the most beginner-friendly setup.
The basic process is:
- Attach the walking foot correctly.
- Insert the guide bar and set the spacing.
- Mark and quilt the first line.
- Let the guide bar follow that line while you sew the next row.
- Repeat across the quilt.
The guide bar does not stitch. It works as a spacer. As you sew, the bar touches a previous quilting line or seam, which keeps each new line the same distance away. That makes it useful for channel quilting, evenly spaced straight-line quilting, and simple echo-style rows.
This setup works best for designs that are mostly straight or only softly curved. It is not meant for tight swirls, feathers, or free-motion motifs.
For the cleanest result, baste thoroughly, support the quilt so its weight does not drag, and sew at a steady pace without pushing or pulling. If your first line is accurate, the guide bar makes the rest of the quilting much easier.
How to Think About This Topic
A useful mental model is that quilting with a walking foot and guide bar is really a repeatable spacing system.
The walking foot solves one problem: layered fabric tends to shift. Its upper-feed action helps move the quilt top, batting, and backing more evenly than a standard foot alone. That reduces drag and lowers the chance of puckers.
The guide bar solves a different problem: spacing. Instead of measuring every row, you establish one reference line and let the bar repeat that distance. That is exactly why this tool is so helpful for people who want neat, parallel quilting without a lot of marking.
Think of the job in three parts:
- Control the layers with good basting and a walking foot.
- Control the spacing with the guide bar.
- Control the look by choosing line distance on purpose.
Spacing changes both appearance and texture. Lines 1/2 inch apart create a denser, more modern look and a firmer finish. Lines at 3/4 inch or 1 inch feel more open and sew faster. Wider spacing often suits large prints, while closer spacing tends to stand out more on solids or small prints.
The first quilting line matters more than all the others because the guide bar copies whatever you give it. If the first line wanders, the rest will echo that path. That is why many quilters mark one accurate line with a ruler and removable marker, then rely on the guide bar for the rows that follow.
It also helps to know the tool’s limits. A guide bar works best when it can touch a clear reference line consistently. Straight lines are ideal. Broad, smooth curves can work too. Tight turns usually do not, because the bar cannot track them cleanly without pushing the quilt sideways.
If you remember one idea, make it this: the walking foot helps the quilt move evenly, and the guide bar helps your rows repeat evenly.
Practical Guidance
Use this quick setup reference before you start:
| Part of setup | Beginner-friendly choice | Why it helps |
|---|---|---|
| Needle | New quilting or microtex needle, size 80/12 or 90/14 | Penetrates cleanly through layers |
| Stitch length | 3.0 to 3.5 mm | Gives visible, balanced quilting stitches |
| Thread | Quality 40 wt or 50 wt cotton or polyester | Runs smoothly and is easy to control |
| Spacing | 1/2", 3/4", or 1" | Simple guide-bar distances for parallel rows |
| Basting | Pins, spray, or thread basting placed securely | Reduces shifting and puckers |
| Sewing pace | Moderate, steady speed | Easier to steer accurately |
| Starting line | Mark one line first | Gives the guide bar a true reference |
Prepare and Test Before Quilting
Press the top and backing, smooth the backing well, and baste more thoroughly than you think you need. Many problems blamed on the walking foot are really preparation problems. If the layers can shift between basting points, the foot cannot fully fix that.
Also support the quilt on the table or in your lap so its weight does not pull against the needle. Drag makes lines veer and can create puckers on the back.
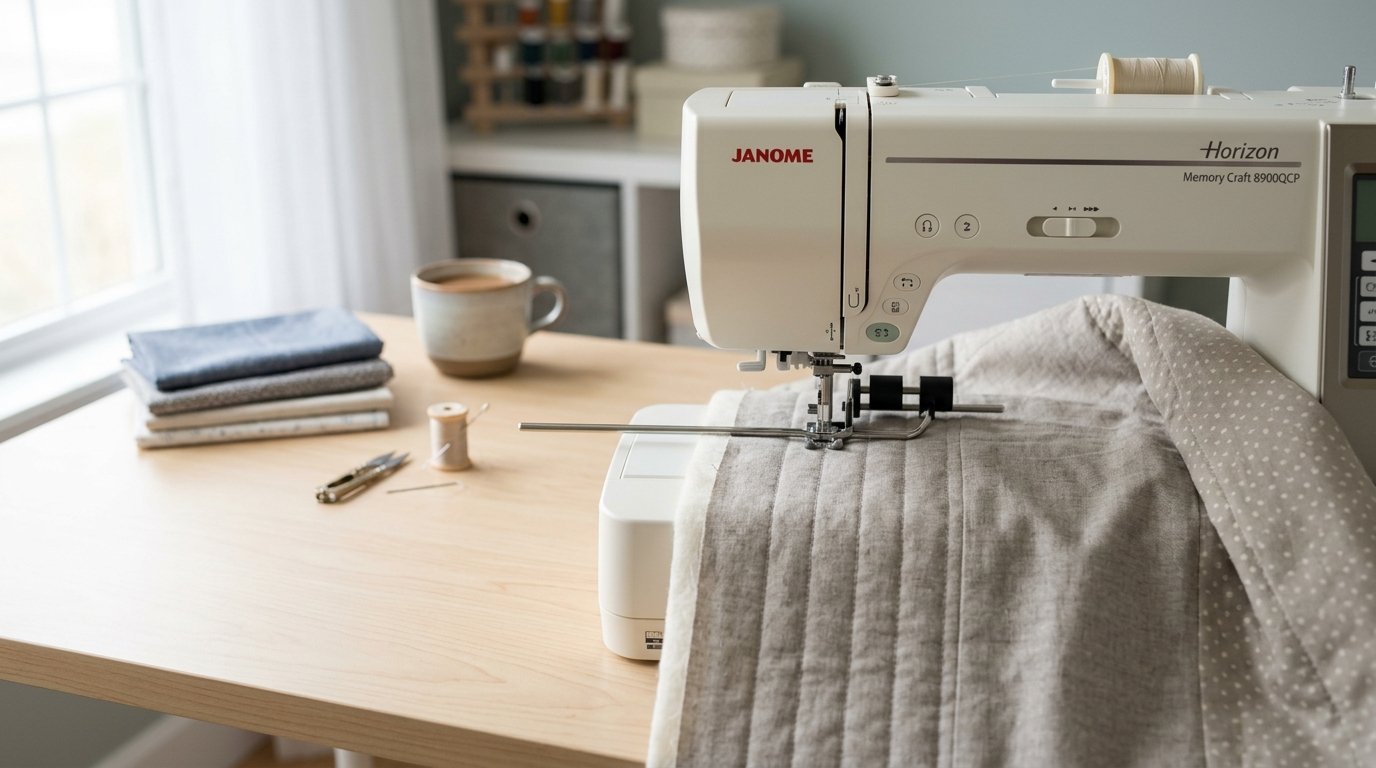
Install the walking foot according to your machine manual. On many machines, the fork sits above the needle clamp screw so the foot can move with the needle. Insert the guide bar and tighten it securely.
Then make a small test sandwich from the same fabrics and batting. Quilt one line, set the guide bar against it, and stitch a second line. This lets you check spacing, stitch length, and tension before sewing on the actual quilt.
Choose Spacing with Purpose
A few common spacing choices work well for beginners:
- 1/2 inch: denser texture, crisp look, more time
- 3/4 inch: balanced choice for many baby quilts, lap quilts, and runners
- 1 inch: more open look, quicker to sew
- Over 1 inch: use only if your batting allows it
Always check the batting package for the maximum quilting distance. If your lines are too far apart, the quilt may not hold up as well over time.
Quilt the First Line, Then Let the Bar Do the Repeating
Mark the first line with a ruler. It might run down the center, parallel to an edge, or along a design line in the quilt top. Sew that first line carefully, using both hands to guide rather than pull.
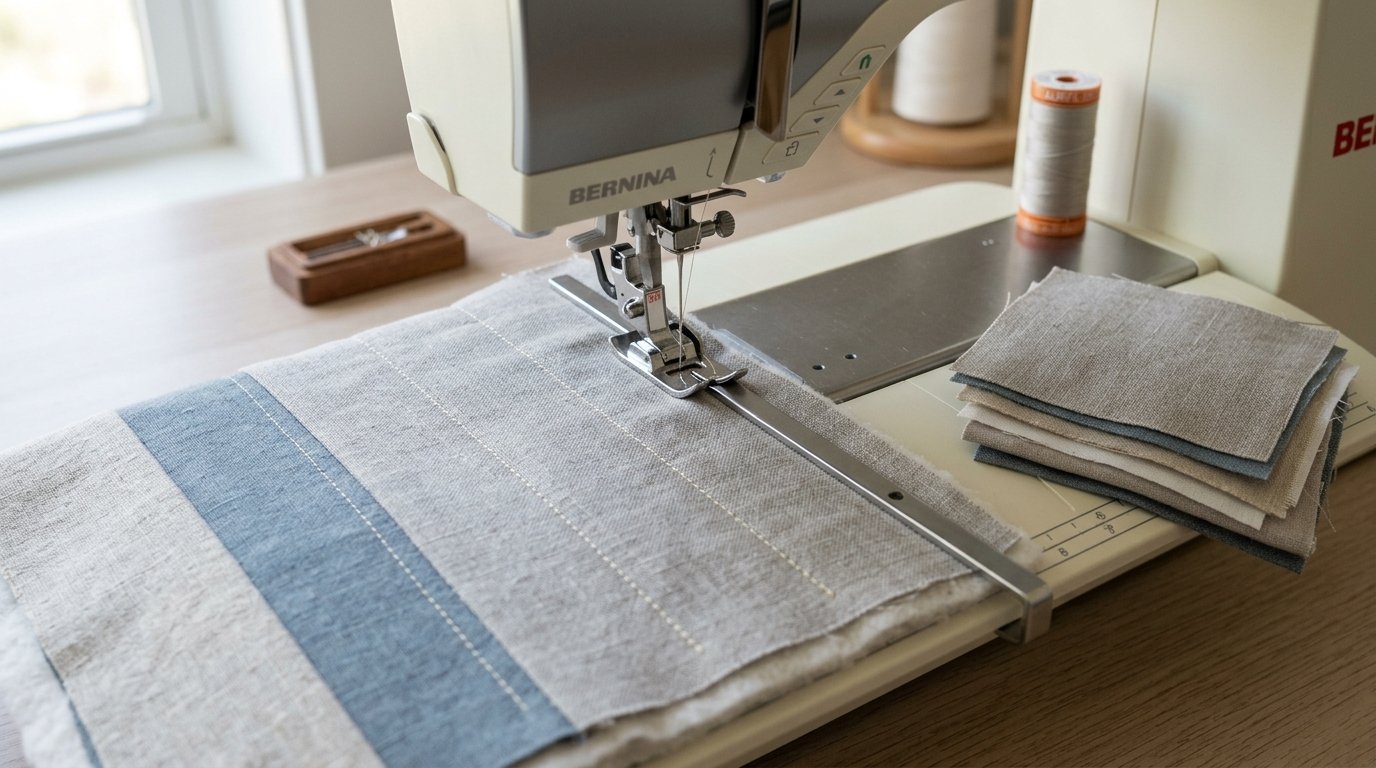
For the next row, position the guide bar so it rides on the first stitched line while the needle forms the new one. Keep light, consistent contact between the bar and the reference line. Do not shove the bar hard against it, or you may push the quilt sideways.
A common beginner mistake is watching only the needle. Instead, glance at both the needle path and the guide bar. If the bar starts drifting away from the previous line, make a small correction early.
Use It for the Right Kinds of Quilting
A walking foot with guide bar is best for:
- channel quilting
- evenly spaced straight lines
- simple echo rows around a shape
- broad waves or gentle curves
For example, if you are quilting a baby quilt with 3/4-inch channels, you can mark one center line and let the guide bar place all the others. On a table runner, you might stitch beside a seam first, then use the bar for evenly spaced rows across the rest of the piece.
If you want tight curves, spirals, or decorative free-motion designs, this is not the right tool.
Troubleshoot as You Go
If something looks off, the cause is usually easy to narrow down:
- Backing puckers: improve basting, smooth the backing better, and support the quilt’s weight.
- Uneven spacing: tighten the guide bar and be sure it is following the stitched line, not the foot edge.
- Wavy rows: slow down and stop pulling the quilt.
- Skipped stitches: insert a fresh needle and rethread.
- Every line drifting: your first line may be off; it is worth fixing early.
A simple practice project helps a lot. Quilt a placemat or cushion front with lines spaced 3/4 inch apart. Mark one line, then quilt the next five or six using only the guide bar. That repetition builds the exact skill this tool is meant to support.
FAQ
Do I Need to Mark Every Quilting Line When Using a Guide Bar?
No. Usually you only need to mark the first line accurately. After that, the guide bar can follow the previous stitched line. You might still mark extra lines for symmetry or gentle curves.
Can You Quilt Curves with a Walking Foot and Guide Bar?
Yes, but only gentle ones. Broad waves and soft arcs usually work well. Tight curves and sharp turns are harder for the bar to track consistently.
What Spacing Should I Use for Straight-line Quilting?
A good beginner range is 1/2 inch to 1 inch. Use 1/2 inch for denser texture, 3/4 inch for an all-purpose choice, and 1 inch for a more open look. Also check your batting’s maximum quilting distance.
Why Is My Backing Puckering Even with a Walking Foot?
The usual causes are loose basting, an uneven backing, quilt weight dragging off the table, or pushing and pulling while sewing. A walking foot helps feed layers evenly, but it cannot fix poor prep.
Is a Guide Bar the Same as Stitching in the Ditch?
No. A guide bar is a spacing attachment for the walking foot. Stitching in the ditch is sewing directly in a seam line between patches. They are different things.