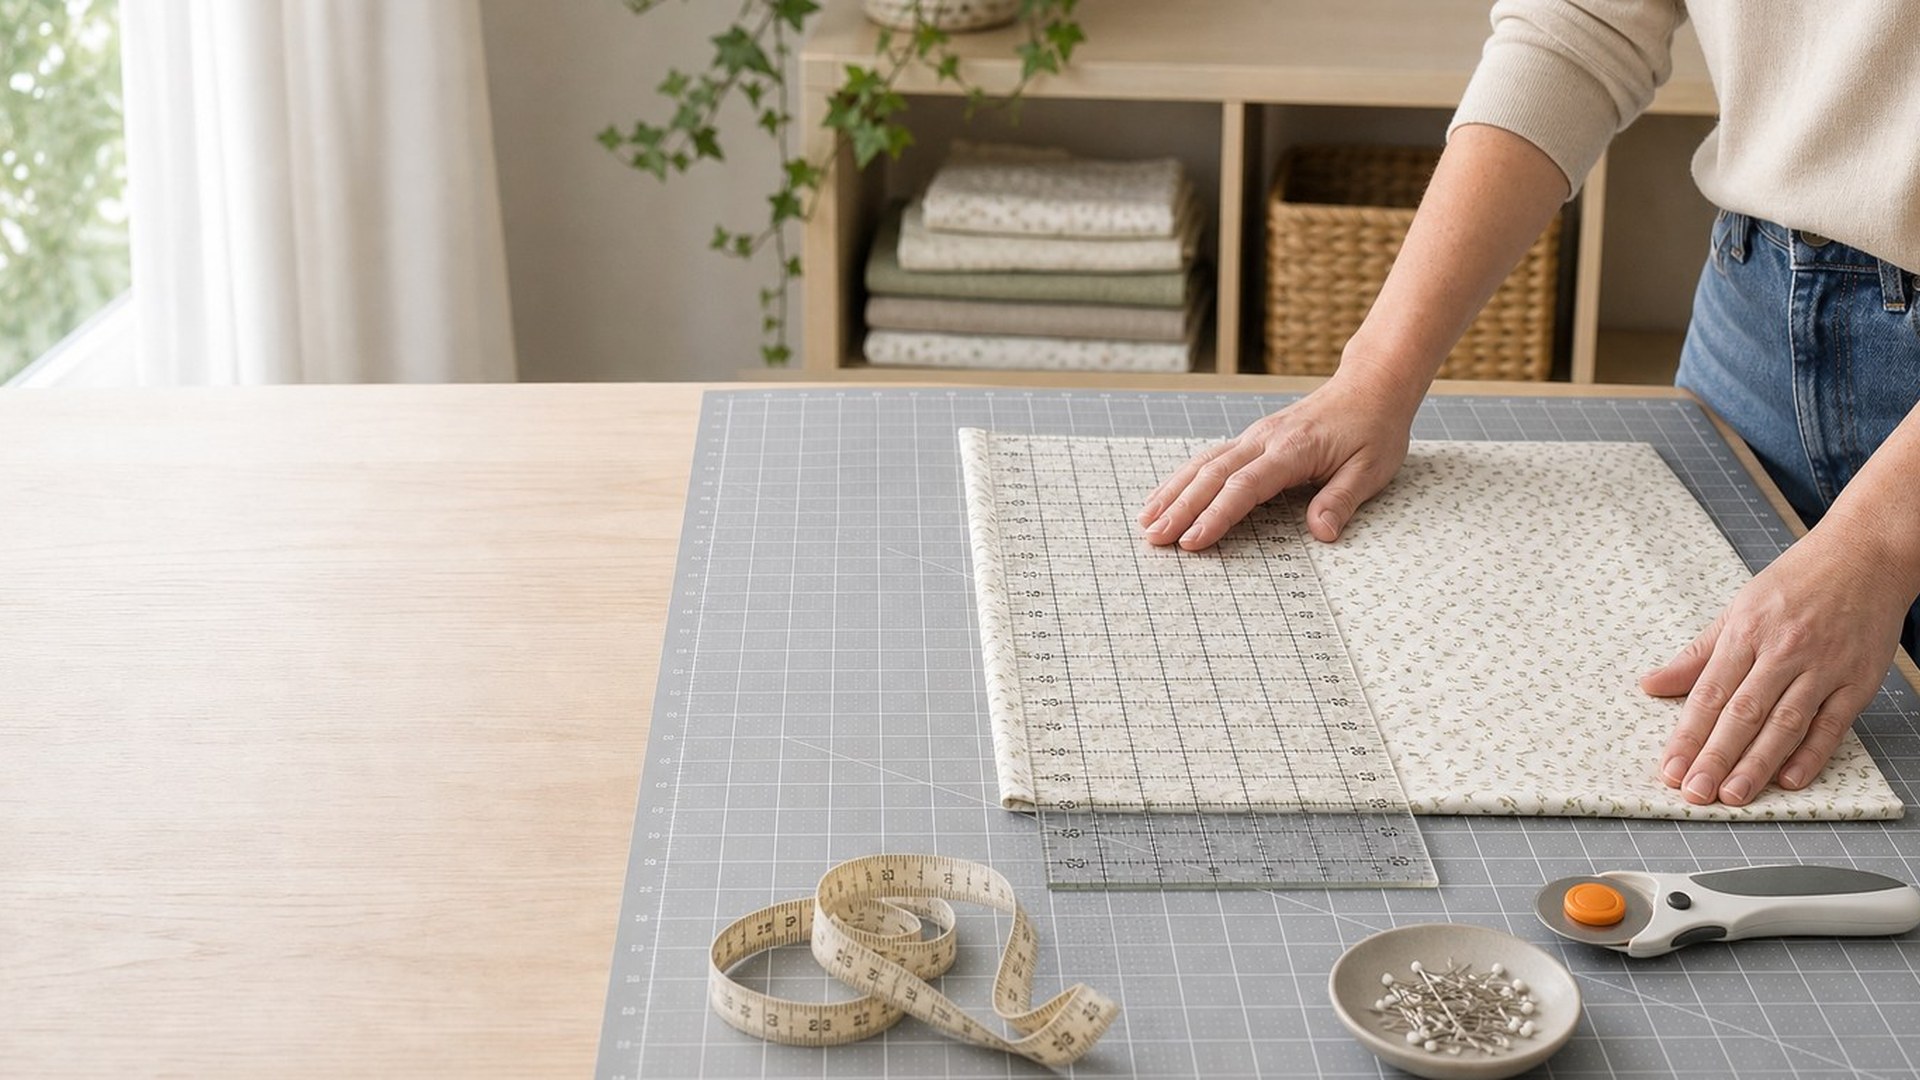
Squaring up fabric before cutting means aligning the fabric so the cut edge, fold, and grain are working together instead of fighting each other. When fabric is off-grain, twisted, or folded unevenly, pattern pieces can come out skewed, quilt strips can bow, and seams may not hang correctly.
The basic process is simple: press the fabric, find the straight grain or selvage, fold it accurately, trim one true straight edge, then cut your pieces from that corrected edge. You do not need complicated tools, but you do need patience. A small correction before cutting is much easier than fixing a garment, quilt block, or hem after the fabric has already been cut wrong.
Quick Answer
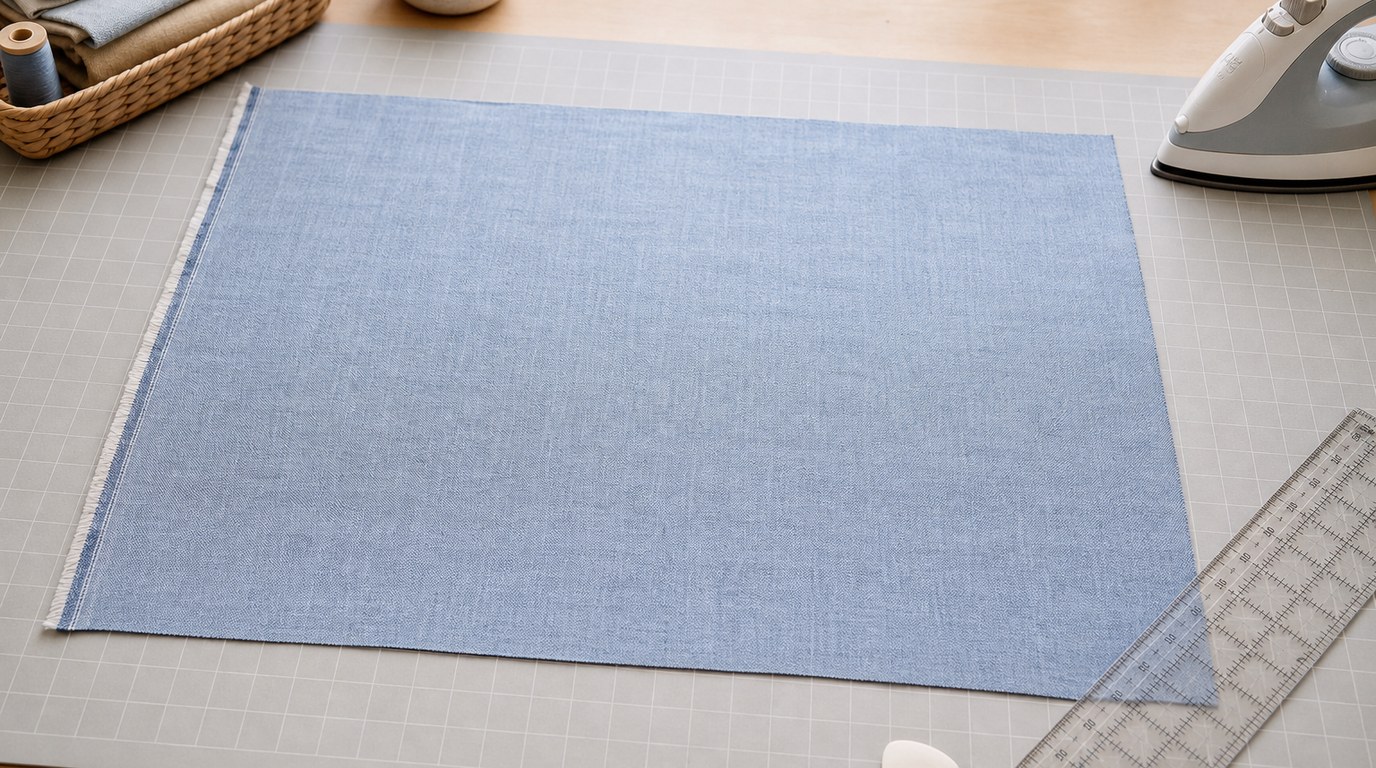
To square up fabric before cutting, start by pressing it flat so wrinkles do not hide the true shape. Lay the fabric on a large cutting surface. Match the selvages together if the fabric is woven, letting the fabric relax instead of forcing the edges to line up. Smooth from the fold toward the selvages, checking that the fold is straight and not twisted.
Next, create one clean reference edge. For quilting cotton or stable woven fabric, place a ruler across the fabric at a right angle to the fold and trim a narrow strip from the raw edge. This gives you a squared edge to measure from. For garment fabric, you may also pull a crosswise thread or tear along the cross grain if the fabric allows it, then press the edge flat.
The main takeaway: square the fabric to the grain, not just to the printed design or the uneven cut edge from the store. Store cuts are often crooked. Prints can also be slightly off-grain. Trust the grain, fold, selvage, and ruler more than the outer edge.
Once the fabric has one straight edge and a smooth fold, place pattern pieces or measure quilt strips from that corrected edge. Recheck alignment every few cuts, especially with long yardage, slippery fabric, or fabric that shifts easily.
How to Think About This Topic
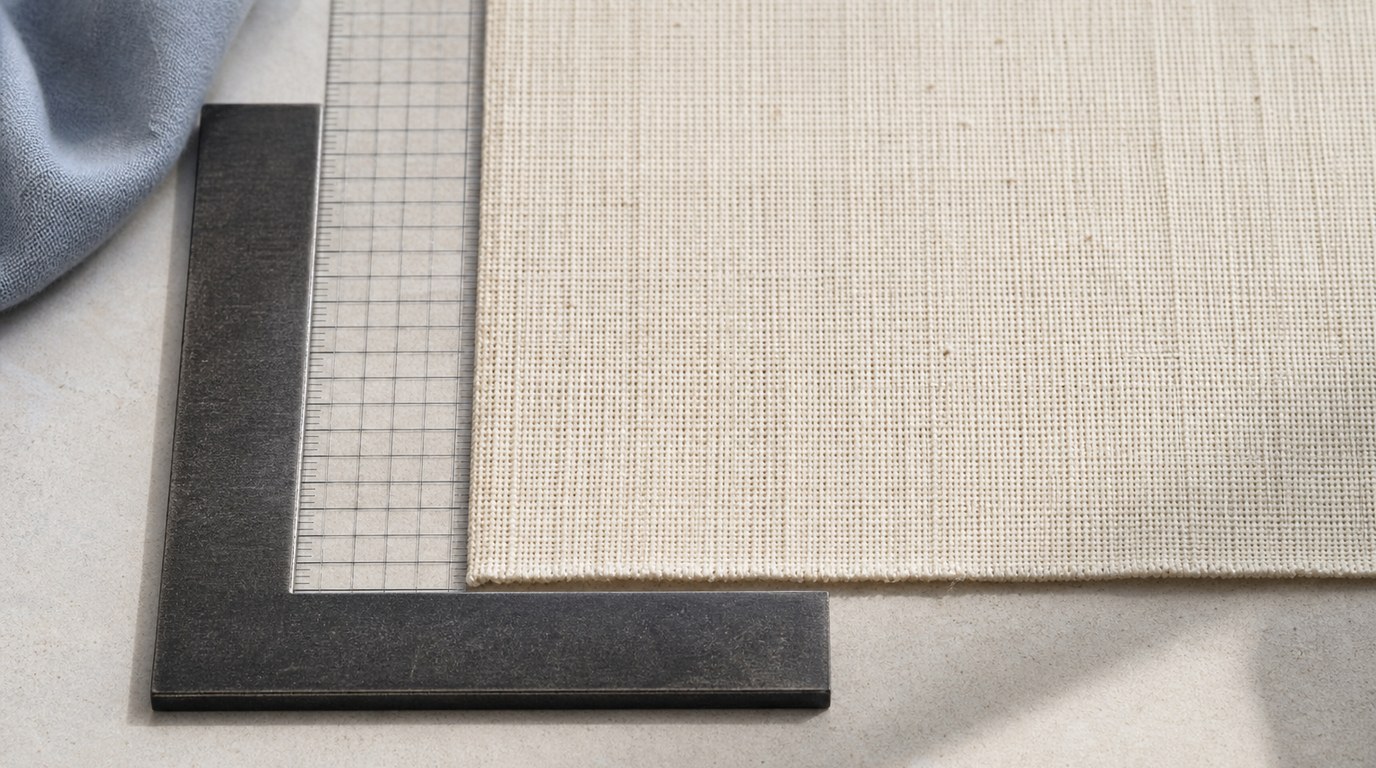
The easiest way to understand how to square up fabric before cutting is to think of fabric as a grid. On woven fabric, one set of threads runs lengthwise, parallel to the selvage. The other set runs crosswise, from selvage to selvage. When those threads meet at clean right angles, the fabric is “square.” When they are pulled, twisted, or cut unevenly, the grid becomes distorted.
Your goal is not to make the fabric look perfect on the table. Your goal is to make your cuts follow that internal grid. This matters because fabric behaves according to grain. Lengthwise grain is usually the most stable. Crosswise grain has a little more give. Bias, which runs diagonally across the grid, stretches the most. If a pattern piece meant to be cut on straight grain is accidentally angled, the finished project may twist, sag, or hang unevenly.
Beginners often assume the raw cut edge from the fabric store is straight. It often is not. Fabric may be cut quickly with scissors, torn unevenly, rolled under tension, or shifted on the bolt. If you line up your ruler with that crooked edge, every strip or pattern piece after it can be slightly wrong.
The selvage is a better clue, but even selvages are not magic. They show the lengthwise direction, but the fabric between them may still be distorted from washing, drying, folding, or storage. That is why pressing and relaxing the fabric are important. If you tug the fabric into position, it may spring back later.
For sewing garments, squaring helps pattern pieces hang correctly on the body. A skirt panel cut slightly off-grain can twist around the legs. A shirt front may pull to one side. For quilting, squaring is even more visible because small errors multiply. A strip that starts one-eighth inch off can create blocks that refuse to match after several seams.
Think of squaring as the setup step that protects all the cutting work that follows. You are choosing one trustworthy edge, confirming the grain, and building the rest of your measurements from there.
Practical Guidance
Gather a few basic tools: an iron, a large flat surface, fabric scissors or a rotary cutter, a cutting mat if using a rotary cutter, and a clear ruler. A long quilting ruler is helpful for straight cuts, but you can still square fabric with careful measuring and sharp shears.
First, prewash the fabric if your project requires it, especially for garments, quilts that will be washed, or natural fibers likely to shrink. Dry it as you plan to dry the finished item. Then press the fabric rather than simply smoothing it with your hands. Pressing removes wrinkles that can throw off your fold and ruler.
For stable woven fabric, fold selvage to selvage. Do not automatically force the raw ends to match. Instead, hold the selvages together and let the fold settle naturally. Smooth the fabric from the fold outward. If diagonal ripples appear, lift and adjust rather than stretching the fabric flat.
Place the folded fabric on the cutting mat with the fold aligned to a horizontal grid line if you have one. Put your ruler at a right angle to the fold near the uneven raw edge. Trim off the smallest amount needed to create a clean, straight edge. This is your squared edge. From there, measure strips, place pattern pieces, or make additional cuts.
For garment patterns, check the grainline arrow on each pattern piece. That arrow should be parallel to the selvage or fold, depending on the layout. Measure from each end of the arrow to the selvage; both measurements should match. This is more reliable than eyeballing.
Different fabrics need slightly different handling:
| Fabric type | Best adjustment |
|---|---|
| Quilting cotton | Press well, fold selvage to selvage, square with ruler and rotary cutter. |
| Linen | Prewash, press with steam, and avoid stretching while aligning the grain. |
| Slippery fabric | Cut in a single layer if needed, use pattern weights, and check alignment often. |
| Knits | Do not use selvage alone; align the ribs or vertical knit columns and avoid pulling. |
| Printed fabric | Square to the grain first, then decide whether the print needs visual adjustment. |
If the fabric is badly off-grain, you can sometimes correct it by gently pulling opposite corners on the bias, then pressing. This works best on woven fabric with moderate distortion. If the print is dramatically crooked compared with the grain, choose based on the project. For a garment, grain usually matters more for fit and drape. For a wall hanging or simple decorative item, visual straightness may matter more.
Common mistakes include cutting before pressing, using the store-cut edge as the starting line, pulling the fabric tight to make edges meet, and stacking too many layers. Another mistake is trimming too much. Squaring usually requires only a narrow slice from the raw edge. If you keep trimming because the fabric shifts, stop and refold.
Before making final cuts, do a quick check: the fold should be smooth, the selvages should be aligned without strain, the ruler should sit square to the fold, and the fabric should not have ripples under the pattern. If something looks twisted, correct it before cutting. Five extra minutes here can save a whole project.
FAQ
What Should a Beginner Know First About How to Square up Fabric Before Cutting?
A beginner should know that the store-cut edge is not usually reliable. Start by pressing the fabric, aligning the selvages or grain, and creating one clean straight edge. All accurate cutting depends on that first corrected edge.
What Matters Most When Evaluating How to Square up Fabric Before Cutting?
The most important thing is whether your cut follows the fabric grain. A straight-looking edge is not enough if the fabric is twisted. Check the fold, selvage, ruler angle, and pattern grainline before cutting.
What Mistakes Should Readers Avoid with How to Square up Fabric Before Cutting?
Avoid cutting wrinkled fabric, forcing selvages to match, stretching the fabric flat, or trusting a crooked raw edge. Also avoid rushing through slippery fabric or knits, because they shift easily and may need single-layer cutting.
What Is the Next Logical Step After Learning About How to Square up Fabric Before Cutting?
The next step is learning how to lay out pattern pieces or measure quilt strips accurately. Once the fabric is squared, keep using the grainline, ruler, and corrected edge as your guides for every cut.