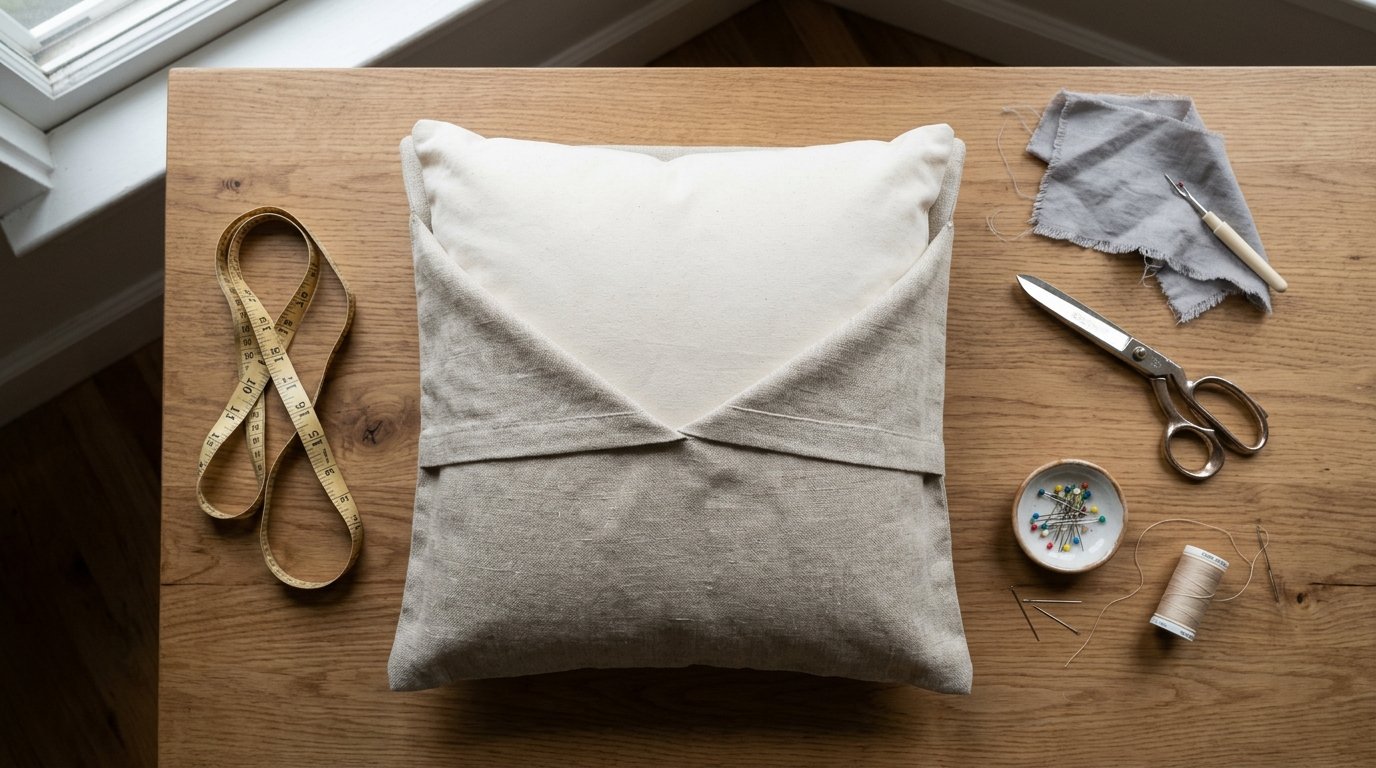
An accent pillow cover is one of the easiest home decor sewing projects because it is mostly straight seams. The simplest beginner method is an envelope pillow cover: the back has two overlapping fabric panels, so you can insert and remove the pillow form without sewing a zipper or buttonholes.
To make one, measure your pillow insert, cut one front piece and two back pieces, hem the overlapping back edges, layer the pieces right sides together, sew around all four sides, clip the corners, turn the cover right side out, and press it. The key is measuring accurately and sewing a neat, even seam allowance so the finished cover fits snugly without looking strained.
Quick Answer
To make an accent pillow cover, use the envelope method. Cut a front fabric piece the same size as your pillow insert plus seam allowance, then cut two back pieces that overlap by several inches. Hem one long edge on each back piece. Place the front piece right side up, lay the two back pieces right side down with the hemmed edges overlapping in the middle, pin, and sew around all four sides. Trim the corners, turn the cover right side out, push out the corners, press, and insert the pillow form.
For a common 18-inch pillow insert, you can cut:
| Pillow insert size | Front piece | Two back pieces |
|---|---|---|
| — | —: | —: |
| 14" x 14" | 15" x 15" | 15" x 10" each |
| 16" x 16" | 17" x 17" | 17" x 11" each |
| 18" x 18" | 19" x 19" | 19" x 12" each |
| 20" x 20" | 21" x 21" | 21" x 13" each |
These measurements use a 1/2-inch seam allowance and create a comfortable overlap on the back. If your fabric is thick, loosely woven, or prone to fraying, add a little extra overlap or finish the raw seams with a zigzag stitch.
You will need fabric, matching thread, scissors or a rotary cutter, pins or clips, a ruler, an iron, and a sewing machine.
How to Think About This Topic
The easiest way to understand how to make an accent pillow cover is to think of it as a fabric envelope wrapped around a pillow insert. The front is one flat square or rectangle. The back is made from two panels that overlap. That overlap becomes the opening, but it stays hidden because the pillow insert pushes the layers closed from inside.
This mental model helps with the whole project. You are not building a complicated cushion; you are sewing a removable sleeve. That means your main decisions are the pillow size, fabric type, seam allowance, and back overlap.
Start with the pillow insert, not the fabric. If the insert is 18 inches square, your finished cover should usually be about 18 inches square. Many sewers cut the fabric slightly larger to include seam allowance, not to make the finished cover larger. For example, with a 1/2-inch seam allowance, a front piece cut at 19 inches square becomes about 18 inches square after sewing.
The back pieces need extra width or height so they can overlap. For square pillows, keep the same height as the front piece, then make each back panel roughly two-thirds of the pillow width plus seam allowance. That gives enough overlap to prevent the insert from peeking out.
Fabric choice also affects the result. Medium-weight cotton, linen blends, canvas, home decor cotton, and upholstery remnants all work well. Very thin quilting cotton can work for a light decorative cover, but it may need interfacing if you want more structure. Very thick fabric can look polished, but beginners may find it harder to fold, pin, and sew at the overlaps.
Pressing is just as important as stitching. A crisp pressed hem on the back panels makes the envelope opening look intentional rather than homemade. Pressing the finished seams also helps the cover sit squarely on the pillow.
For beginners, the best goal is not perfection. It is a clean, washable, removable cover with straight seams and corners that look tidy. Once you understand the envelope construction, you can reuse the same method for seasonal fabrics, throw pillows, bed pillows, or quick room updates.
Practical Guidance
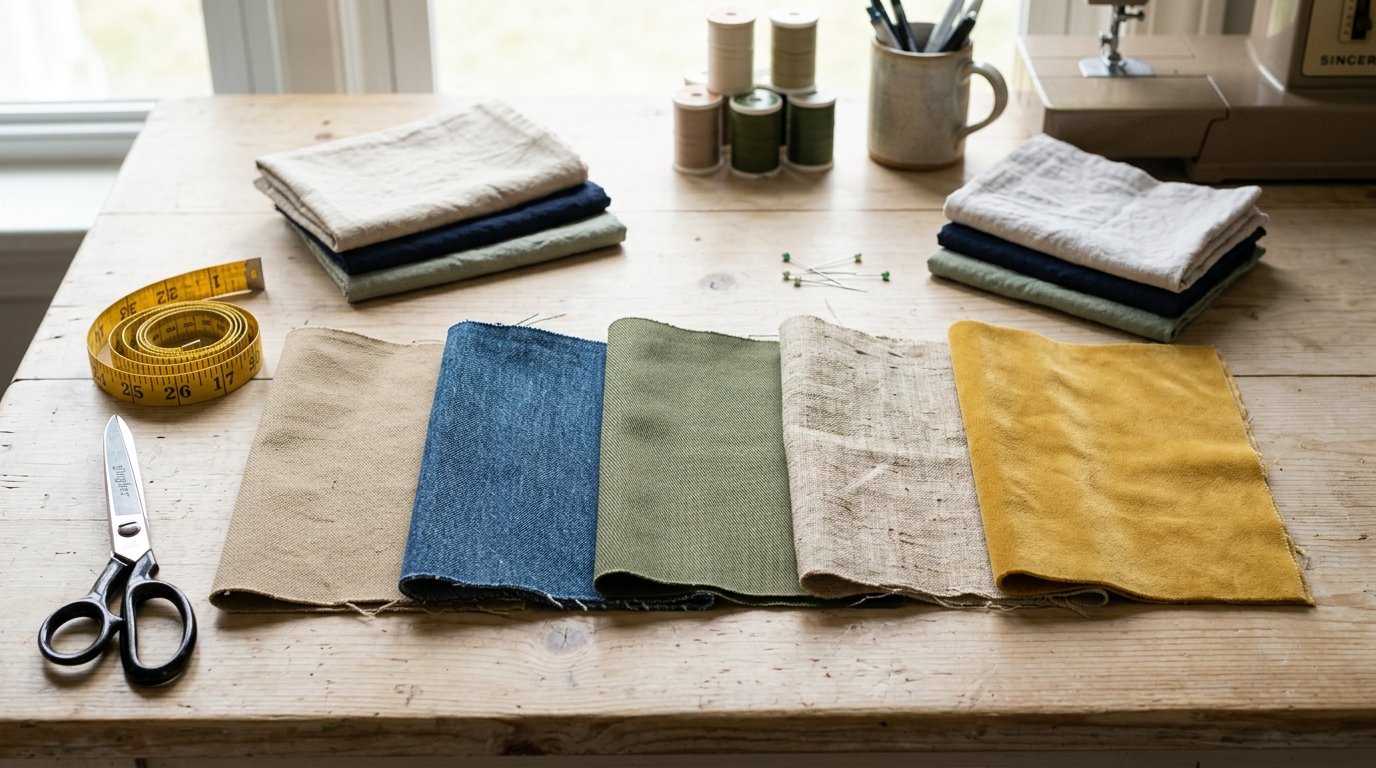
Choose a fabric that suits how the pillow will be used. For a sofa pillow that gets daily use, pick cotton canvas, denim, twill, linen blend, or home decor fabric. For a bedroom accent pillow, lighter cotton or velvet-look fabric can be fine. Prewash washable fabric before cutting so the finished cover does not shrink later.
Gather these supplies:
- Pillow insert
- Fabric
- Matching thread
- Measuring tape or ruler
- Fabric scissors or rotary cutter
- Pins or sewing clips
- Iron and ironing board
- Sewing machine
- Point turner or blunt chopstick
Measure your pillow insert from seam to seam. Do not rely only on the package label, especially if the insert is full or rounded. Decide on a seam allowance; 1/2 inch is beginner-friendly. Add 1 inch total to the pillow height and width for the front piece.
For the back pieces, use the same height as the front piece. For the width, use about two-thirds of the front width. For an 18-inch insert, cut the front 19 by 19 inches and cut two back pieces 19 by 12 inches.
Cut carefully with the fabric grain straight. If your fabric has a directional print, make sure the design faces the same way on the front and back pieces before cutting.
Hem the back opening edges first. On one long edge of each back piece, fold the fabric 1/2 inch toward the wrong side and press. Fold it another 1/2 inch, press again, and stitch close to the inner fold. These two hemmed edges will overlap at the center back.
Now assemble the cover. Lay the front piece right side up. Place one back piece on top, right side down, aligning its raw edges with the top, side, and bottom edges of the front. Place the second back piece right side down from the opposite side so the hemmed edges overlap in the middle. Pin or clip all around the outside edges.
Sew around all four sides using a 1/2-inch seam allowance. Backstitch at the beginning and end. For extra strength, backstitch again across the points where the back panels overlap because those areas get pulled when inserting the pillow.
Trim the corners diagonally, being careful not to cut through the stitching. If your fabric frays, finish the raw edges with a zigzag stitch or serger. Turn the cover right side out through the envelope opening. Push out the corners gently, then press the edges flat.
Insert the pillow form by folding it slightly and sliding it under one back flap, then the other. Adjust the corners until the pillow fills the cover evenly.
To customize the cover, keep it simple: add piping before sewing the layers together, topstitch around the finished edge, use contrasting fabric for the back, or sew a decorative panel on the front before assembly. Avoid bulky trims on your first attempt unless your machine can handle thick layers.
If the cover looks loose, use a fuller insert or sew the side seams slightly deeper. If the back gaps open, increase the overlap on your next cover. If the corners look pointy or empty, make sure the insert reaches the corners and press the seams well.
For care, follow the fabric’s washing instructions. Remove the insert before laundering. Press after washing if the seams or envelope opening look wrinkled.
FAQ
What Should a Beginner Know First About How to Make an Accent Pillow Cover?
Start with the envelope pillow cover method. It needs only straight seams and no zipper. Measure the pillow insert first, add seam allowance to your fabric pieces, and make sure the two back panels overlap enough to hide the insert.
What Matters Most When Evaluating How to Make an Accent Pillow Cover?
Fit matters most. A good accent pillow cover should be snug enough to look full but not so tight that seams pull. Accurate measuring, consistent seam allowance, and enough back overlap make the biggest difference in the finished result.
What Mistakes Should Readers Avoid with How to Make an Accent Pillow Cover?
Avoid cutting fabric the exact finished size without adding seam allowance. Also avoid skipping pressing, using too little back overlap, or forgetting to reinforce the overlap edges. These small issues can make the cover look uneven or cause the insert to show.
What Is the Next Logical Step After Learning About How to Make an Accent Pillow Cover?
Make one simple envelope cover first, then repeat the process with better fabric or added details. Once you are comfortable, try piping, topstitching, patchwork fronts, or a zipper closure for a more tailored removable pillow cover.