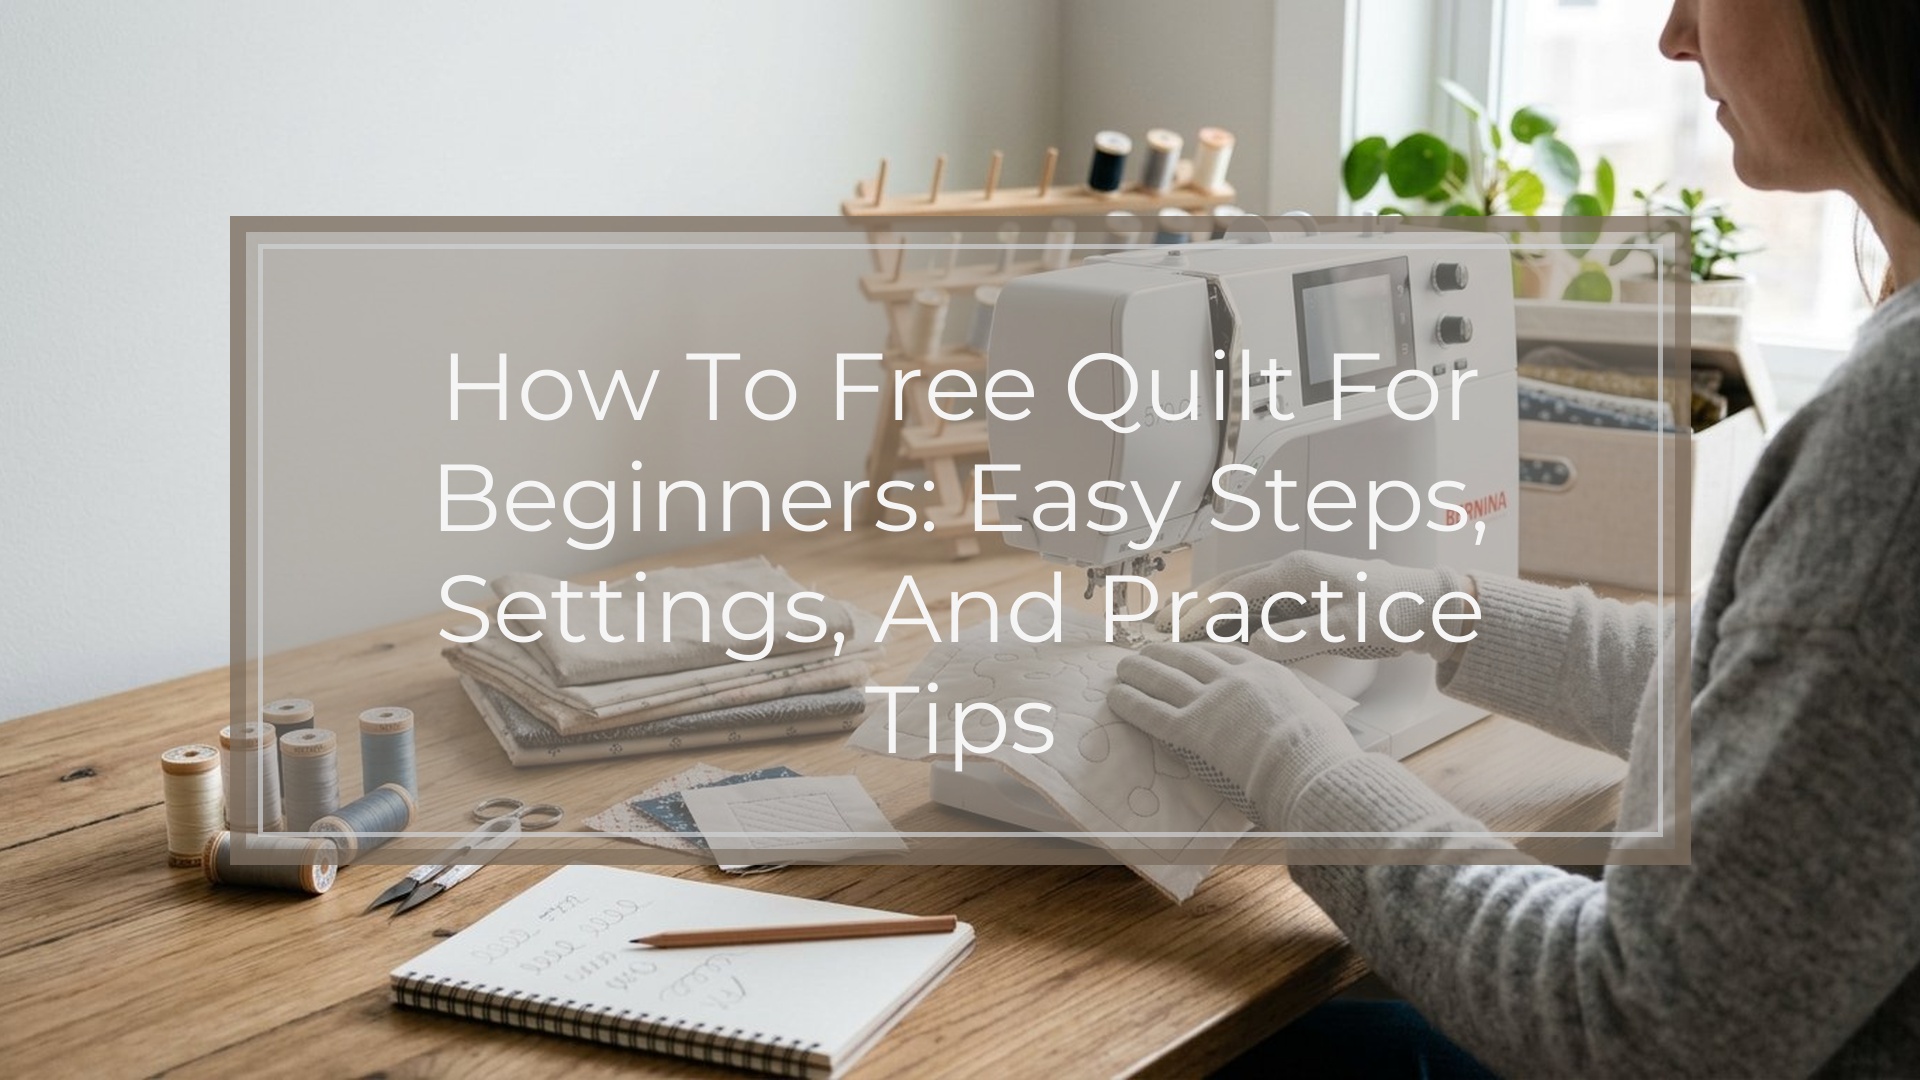
Free-motion quilting means the machine makes the stitches while you guide the quilt in any direction, instead of letting the feed dogs pull it straight. Your job is to move the quilt smoothly; the machine’s job is to keep stitching. For beginners, the real goal is not fancy patterns or perfect stitches. It is learning a steady rhythm between machine speed and hand movement.
To start, use a simple setup: a free-motion or darning foot, lowered or covered feed dogs, a fresh needle, good thread, and a small practice quilt sandwich. Begin with easy shapes like wavy lines, loops, and open meanders on scrap fabric before quilting a real project. Expect some uneven stitches at first. That is normal. Good setup, solid basting, and short practice sessions will help you improve much faster than jumping into a large quilt or complicated design.
What Free-motion Quilting Is and How It Feels Different from Regular Sewing
In regular sewing, the feed dogs pull the fabric through the machine and you mostly keep it straight. In free-motion quilting, you take over that movement. The feed dogs are lowered or covered, and you move the quilt sandwich by hand under the needle.
That changes the experience in a few important ways:
- You can stitch forward, backward, sideways, and in curves.
- Stitch length depends on the balance between machine speed and your hand speed.
- You are moving a bulkier quilt sandwich, not a single layer of fabric.
A simple mental model helps: the needle goes up and down, and your hands “draw” with the quilt. You are not forcing the fabric. You are gliding it.
This feels awkward at first because you are coordinating speed, movement, and quilt weight at the same time. That is why beginners should practice on small quilt sandwiches first. They let you learn the motion without risking a finished quilt.
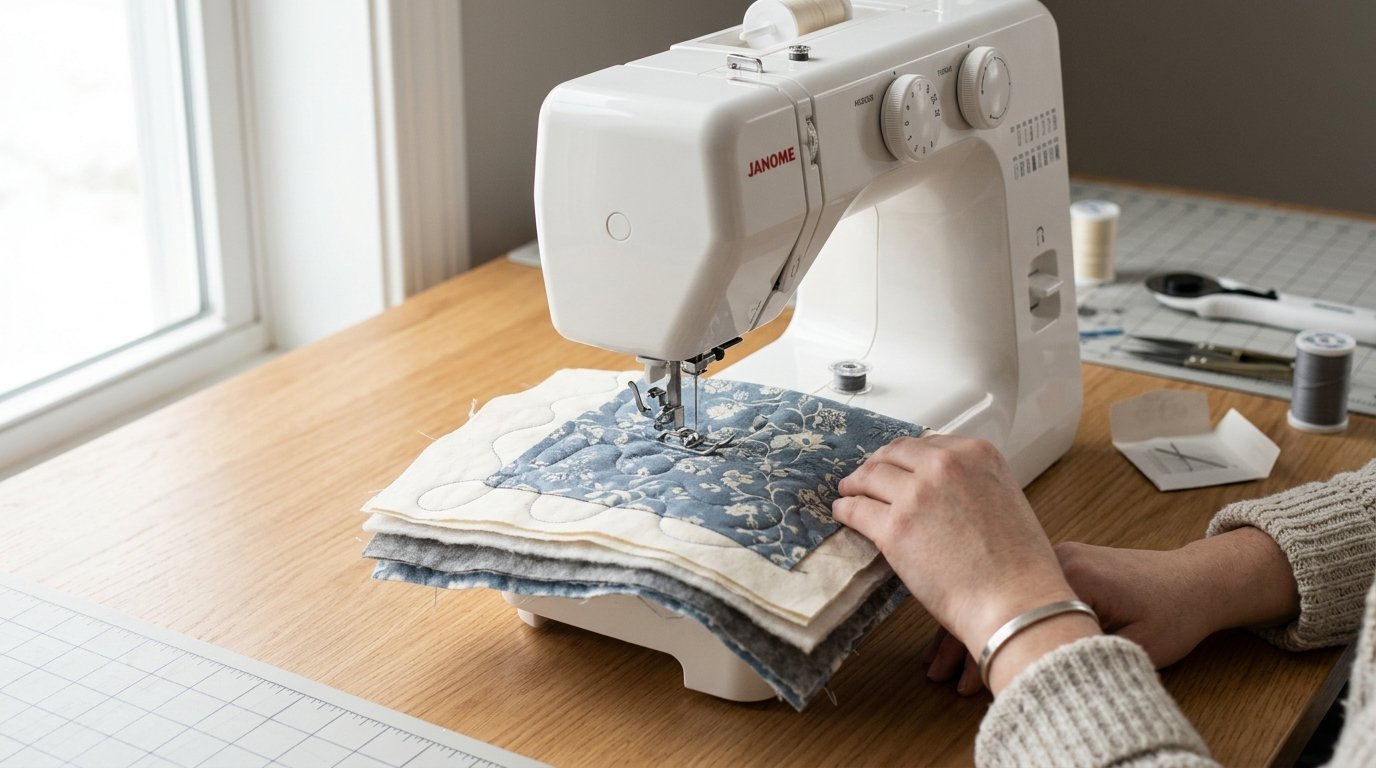
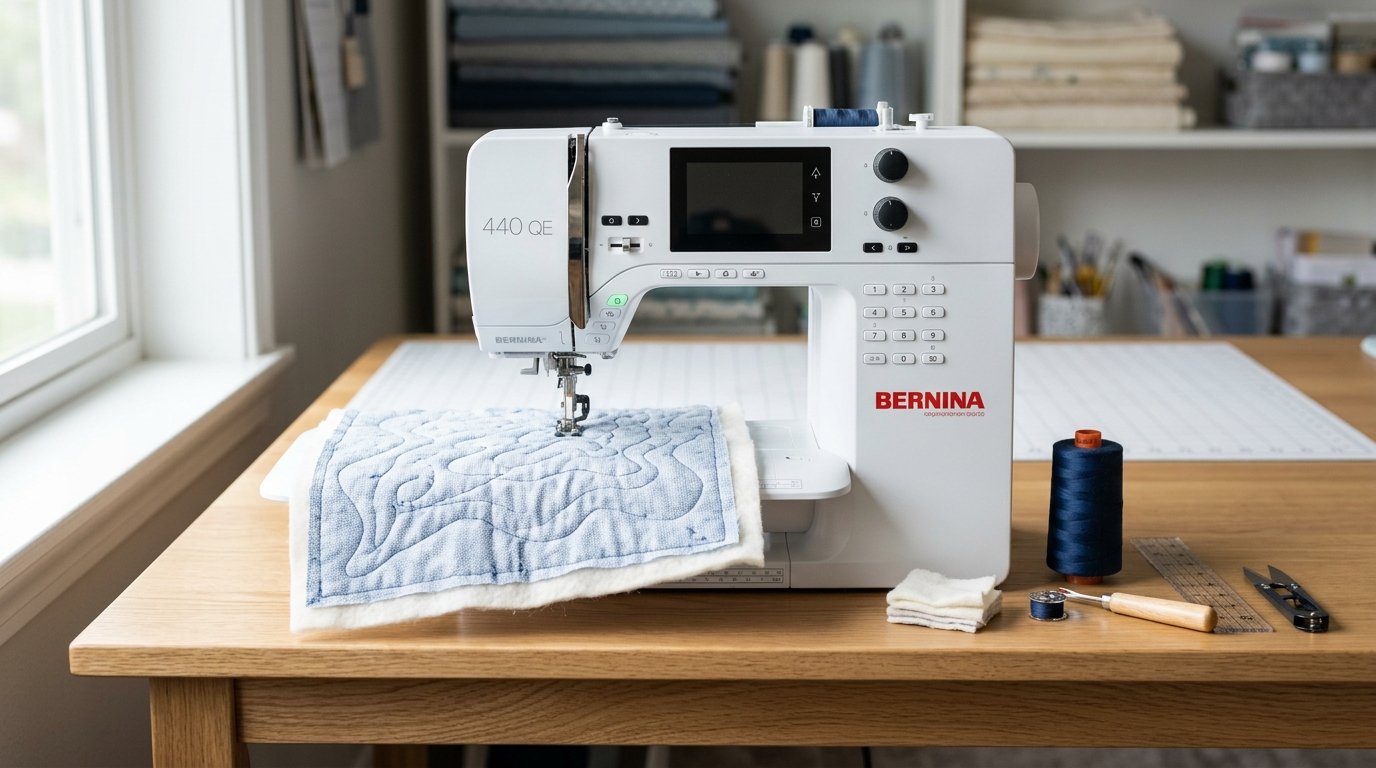
Tools, Materials, and Machine Settings That Make Learning Easier
A simple setup prevents many beginner problems. You do not need expensive gear, but a few basics help a lot.
| Item or setting | Why it matters for beginners |
|---|---|
| Free-motion or darning foot | Lets the quilt move freely under the needle |
| Feed dogs lowered or covered | Stops the machine from pulling fabric one way |
| New quilting or topstitch needle | Helps reduce skipped stitches |
| 40 wt or 50 wt quality thread | Runs more smoothly than cheap thread |
| Practice quilt sandwich | Lets you test tension and movement safely |
| Pins, spray baste, or fusible batting | Keeps layers from shifting |
| Quilting gloves | Improve grip and control |
| Extension table or larger surface | Supports quilt weight |
| Moderate machine speed | Easier to control than abrupt starts and stops |
Keep your first project small. A placemat, pillow front, coaster, or baby quilt is much easier than a bed quilt.
Helpful setup tips:
- Start with your machine’s default tension and test first.
- Match your practice sandwich to your real quilt materials when possible.
- Choose a light, stable batting for learning.
- Sit so your shoulders are relaxed and your forearms are supported.
- If your machine has a speed slider, try a comfortable medium-high setting for smoother stitching.
How to Prepare Your Quilt so It Moves Smoothly
Preparation matters almost as much as stitching skill. If the layers shift or the quilt drags, free-motion quilting gets frustrating fast.
Start with a stable quilt sandwich:
- Press the top and backing.
- Cut backing and batting slightly larger than the quilt top.
- Baste securely with pins, spray, or your preferred method.
- Smooth from the center outward to remove wrinkles.
Then reduce drag around the machine:
- Support the quilt on the table so it does not hang.
- Clear clutter away from the machine bed.
- Roll or fold the unquilted part so it is easier to handle.
You can mark guidelines if you want, but for a first attempt, simple reference points are enough. Before quilting the real project, always test on the same layered materials. That quick sample helps you check tension and movement before mistakes end up on the quilt.
Step-by-step: How to Free-motion Quilt for the First Time
Start with a small practice sandwich so you can focus on movement instead of managing a full quilt.
- Set up the machine.
Attach the free-motion foot, lower or cover the feed dogs, insert a new needle, and thread the machine.
- Prepare your practice sandwich.
Use simple cotton layers and secure basting so nothing shifts.
- Test tension.
Stitch a few lines on scrap and check both sides. Make small adjustments only if needed.
- Position your hands.
Rest both hands flat and relaxed a few inches from the needle. Do not grip tightly.
- Bring up the bobbin thread.
Hold the top thread, lower and raise the needle once, then pull the bobbin loop to the top. Hold both tails at the start.
- Secure the beginning.
Take a few tiny stitches in place, or knot and bury tails later if you prefer.
- Start sewing at a steady speed.
Keep the machine running smoothly, then move the quilt gently. Smooth movement matters more than speed.
- Practice an easy design.
Try wavy lines, loops, or an open meander. Look slightly ahead of the needle instead of staring at it.
- Pause with the needle down.
If you stop, leave the needle in the fabric to keep your place.
- Finish cleanly.
Secure the end, cut threads, and check the back as well as the front.
A few habits make early sessions easier:
- Practice for 10 to 15 minutes at a time.
- Keep your shoulders relaxed.
- Aim for smooth motion, not perfect stitch length.
- If something goes wrong, change one variable at a time.
The Easiest Free-motion Quilting Designs for Beginners to Practice
Start with designs that are smooth and forgiving. Avoid anything with sharp points, tight spacing, or lots of stops.
Wavy Lines
Gentle side-to-side curves are one of the easiest ways to learn hand movement and rhythm.
Open Meander
This is a wandering curved line that fills space without crossing itself. Keep the shapes open at first. Tiny meanders are harder to control.
Loops
Connected loops teach circular motion and steady momentum. They are a great next step after wavy lines.
Cursive E’s or Soft Swirls
Think of writing rows of lowercase cursive e’s. This helps you practice repeatable movement and works well as an allover pattern.
Large Loose Circles
Small pebbles are advanced, but larger circles are useful for learning smooth curves and spacing.
A good practice order is:
- Wavy lines
- Loops
- Open meander
- Cursive e’s
- Large circles
It also helps to draw these shapes on paper before stitching them. If a design makes you tense up, go back to an easier one and rebuild your rhythm.
Common Beginner Problems and How to Fix Them
Most beginner issues come from speed, tension, drag, or setup.
- Uneven stitch length
Usually a mismatch between hand speed and machine speed.
Fix: keep the machine running more steadily and move the quilt more evenly.
- Skipped stitches
Often caused by a dull or wrong needle.
Fix: insert a new quilting or topstitch needle and recheck the foot setup.
- Thread nests on the back
Common when starting.
Fix: bring up the bobbin thread first and hold both thread tails.
- Puckers or pleats
Usually caused by poor basting or hanging quilt weight.
Fix: baste more securely and support the quilt on the table.
- Top thread breaking
Often linked to thread quality, tension, or incorrect threading.
Fix: rethread the machine, test tension, and switch to better thread if needed.
- The quilt feels hard to move
Usually drag, not lack of skill.
Fix: clear the surface, support the quilt, and use gloves if they help.
When troubleshooting, change one thing at a time and test again.
A Simple Beginner Practice Plan to Build Confidence
Short, repeated practice works better than one long frustrating session.
- Day 1: Set up the machine and test tension.
- Day 2: Practice wavy lines for 10 minutes.
- Day 3: Practice loops for 10 to 15 minutes.
- Day 4: Try open meanders on a fresh sandwich.
- Day 5: Quilt a small real project, like a coaster or placemat.
- Day 6: Review trouble spots and adjust your setup.
- Day 7: Repeat your easiest design and compare progress.
Keep your practice pieces. They show improvement clearly and help you decide what to work on next.
FAQ
What Should a Beginner Know First About How to Free Quilt for Beginners?
The most important idea is that free-motion quilting is about guiding the quilt smoothly while the machine stitches. Beginners improve faster with a small practice sandwich, easy designs, and a steady rhythm than by chasing perfect stitches right away.
What Matters Most When Evaluating How to Free Quilt for Beginners?
Setup matters most. A free-motion foot, lowered feed dogs, secure basting, good needle, supported quilt weight, and balanced tension make learning much easier. If the quilt moves smoothly, control improves faster.
What Mistakes Should Readers Avoid with How to Free Quilt for Beginners?
Avoid starting on a large quilt, choosing dense or complex designs, skipping practice sandwiches, or using cheap thread and a dull needle. Another common mistake is quilting too stiffly instead of moving in a relaxed, steady way.
What Is the Next Logical Step After Learning About How to Free Quilt for Beginners?
After wavy lines, loops, and meanders feel comfortable, quilt a small finished project. Then repeat a few beginner designs until they feel consistent before moving on to denser fills or more detailed motifs.