
A sharp seamed edge with understitching comes from controlling where the seam wants to roll. After sewing the garment edge and its facing or lining right sides together, press the seam, trim or grade the seam allowance if needed, then stitch the seam allowance to the facing very close to the seam line. That extra row of stitching pulls the seam allowance inward, so the edge naturally rolls to the inside instead of showing from the right side. Used well, understitching gives necklines, facings, and armholes a cleaner, flatter, more professional finish without visible topstitching.
Quick Answer
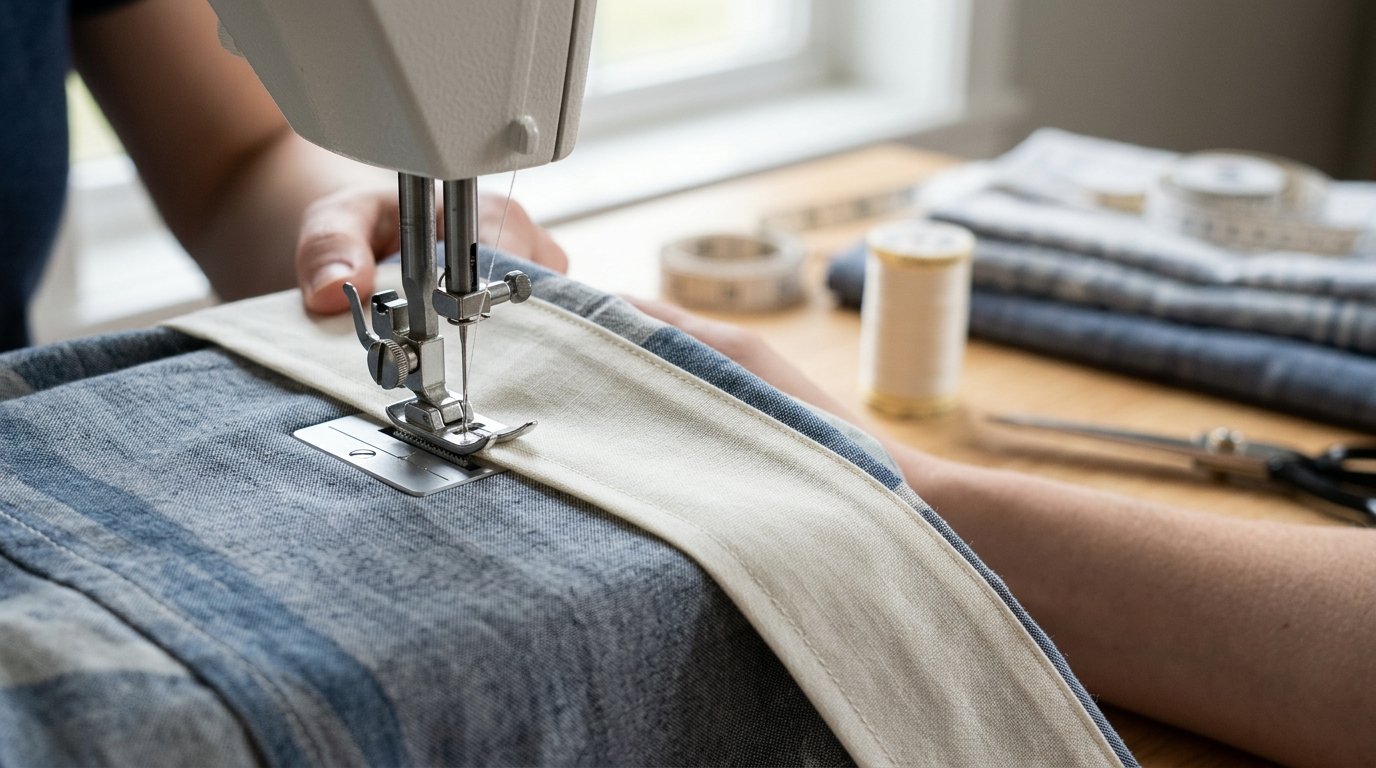
If you want a crisp edge that stays turned to the inside, understitching is one of the most useful techniques in sewing. The basic idea is simple: sew the main piece to the facing or lining, press the seam allowances toward the facing, and stitch through the facing and seam allowances close to the original seam. Do not stitch through the garment front.
That second line of stitching acts like a guide rail. It tells the seam allowance to live on the inside, which helps the outer fabric wrap slightly over the edge. That tiny roll is what makes the seam look sharp from the right side instead of showing a ridge or a bit of facing.
For the cleanest result:
- Stitch close to the seam, usually about 1/16 to 1/8 inch away.
- Press before and after understitching.
- Trim bulky seam allowances so the edge can turn neatly.
- Stop where the shape gets too tight to sew flat, such as the last bit of a deep curve.
Understitching works best on necklines, sleeveless armholes, facings, linings, and some waistline edges. It is less useful when the seam will be fully enclosed, heavily topstitched, or too narrow to handle cleanly.
How to Think About This Topic
The easiest mental model is this: understitching does not just “hold things down.” It changes the balance of the seam so the edge rolls to the side you want hidden.
When two layers are sewn together and turned, the seam has to settle somewhere. If you do nothing, it may sit right on the edge, wobble back and forth, or even roll outward so the facing peeks out. That is exactly what readers are trying to avoid when they search for a sharp seamed edge with understitching.
Understitching fixes that by anchoring the seam allowance to the inside layer. Once the seam allowances are stitched to the facing or lining, they stop floating freely. The garment fabric can then wrap just a bit over the edge, which hides the seam line from view.
Think of the finished edge as having three jobs:
- Look clean from the right side. No facing should show.
- Lie flat. The edge should not puff, twist, or ripple.
- Stay stable in wear. Movement, washing, and body shape should not pull the facing outward.
That is why pressing matters as much as sewing. Pressing sets the seam, helps the stitches relax into the fabric, and shapes the edge before you ask it to behave. If the seam allowance is bulky, trimming or grading helps too. A thick seam fights the turn and makes the edge look rounded instead of crisp.
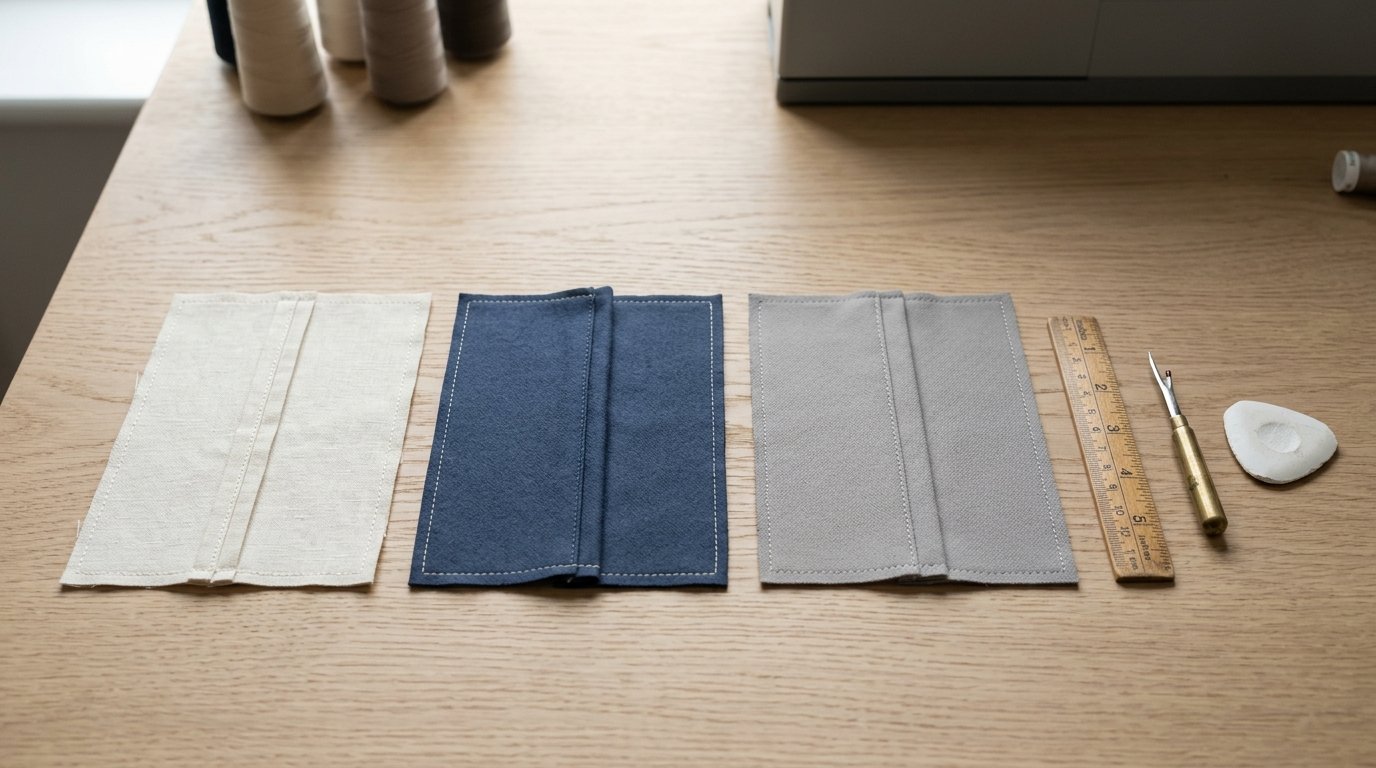
Fabric choice also affects results. Lightweight cotton lawn often understitches beautifully because it presses flat and turns easily. Linen, denim, wool coating, and quilted fabrics can still be understitched, but they may need more aggressive grading and careful pressing to avoid bulk. Slippery rayon or satin may need extra pins, basting, or a slower pace so the layers do not shift.
A useful rule: understitch wherever you can sew the seam allowance flat against a facing or lining after the seam is joined. If another seam gets in the way, you may only understitch part of the edge. That is normal. Even partial understitching often improves the finish a lot.
Practical Guidance
Here is the most reliable method for getting a sharp edge.
Core Method
- Sew the seam accurately. Join the garment edge to the facing or lining right sides together.
- Press the seam flat as sewn. This sets the stitches.
- Press the seam allowances toward the facing or lining.
- Trim or grade if bulky. On curves, clip or notch as needed so the seam can spread or compress.
- Understitch close to the seam. Sew through the facing or lining plus the seam allowances, about 1/16 to 1/8 inch from the seam line.
- Turn to the inside and press. Roll the seam slightly inward so it disappears from the right side.
When Understitching Works Best
| Situation | Good candidate for understitching? | Prep that helps | Better alternative if not |
|---|---|---|---|
| Scoop or V neckline with facing | Yes | Grade, clip curves, press well | Edge topstitching if a sporty look is fine |
| Sleeveless armhole with facing | Yes, often partial | Clip curves, sew in sections | Hand tack facing at seams |
| Lined bodice edge | Yes | Press seam allowances toward lining | “Stitch in the ditch” at seams if access is limited |
| Collar or cuff edge | Sometimes | Trim corners, grade layers | Turn, poke corners carefully, topstitch if desired |
| Very narrow edge or enclosed seam | Often no | Minimal bulk only | Hand understitching or skip and press carefully |
Shape and Fabric Tips
For curves, clip inward curves like necklines so the seam allowance can spread when turned. On outward curves, notch away small wedges to reduce bulk. For corners, trim the point before turning, but do not cut too close to the stitching.
For thick fabrics, grade the seam allowances so one layer is narrower than the other. This prevents a hard ridge. For fine or shifty fabrics, shorten your stitch slightly and consider basting first.
Common Trouble Spots
If the facing still rolls out, one of four things is usually wrong:
- The understitching is too far from the seam.
- The seam allowance is too bulky.
- The curve was not clipped or notched enough.
- The final pressing did not roll the seam inward.
If the edge looks puckered, check whether you stretched the fabric while sewing, used too much thread tension, or clipped unevenly. A gentle repress over a ham or curved pressing surface often improves necklines and armholes.
Short Project Examples
- Cotton dress neckline: Understitch almost the entire neckline after clipping the curve. Press on a tailor’s ham for a smooth inward roll.
- Sleeveless blouse armhole: Understitch from the shoulder toward the underarm on each side, stopping where the seam becomes too tight to keep flat.
- Lined skirt waistband facing: Grade the seam allowance first, then understitch to keep the facing from creeping upward during wear.
FAQ
How Close Should Understitching Be to the Seam?
Usually sew about 1/16 to 1/8 inch from the seam line. Close is better than far, as long as the stitching stays even and catches the full seam allowance. If it sits too far away, it will not control the edge well.
Do You Always Need to Trim the Seam Allowance Before Understitching?
Not always. On light fabrics with little bulk, you may not need much trimming. But on curves, corners, or thicker fabrics, trimming, grading, clipping, or notching often makes the edge turn better and look sharper after pressing.
Can You Understitch a Full Circle Neckline or Armhole?
Sometimes, but not always in one continuous pass. You can understitch as much as you can keep flat under the presser foot. On tight curves or closed shapes, partial understitching is common and still helps keep the facing inside.
Why Is My Facing Still Rolling to the Outside After Understitching?
The most common reasons are stitching too far from the seam, skipped clipping on curves, excess bulk, or weak pressing. Also check that the seam allowances were pressed toward the facing before understitching, not left open or toward the garment.
Is Understitching Visible from the Right Side?
No, it should not be. Understitching is sewn on the facing or lining side through the seam allowances, not through the garment front. If it shows from the right side, the seam may not be fully rolled inward or pressed correctly.